Tag: RX7

  • Rotary Extreme RX7 Build Day 23 Turbo Side

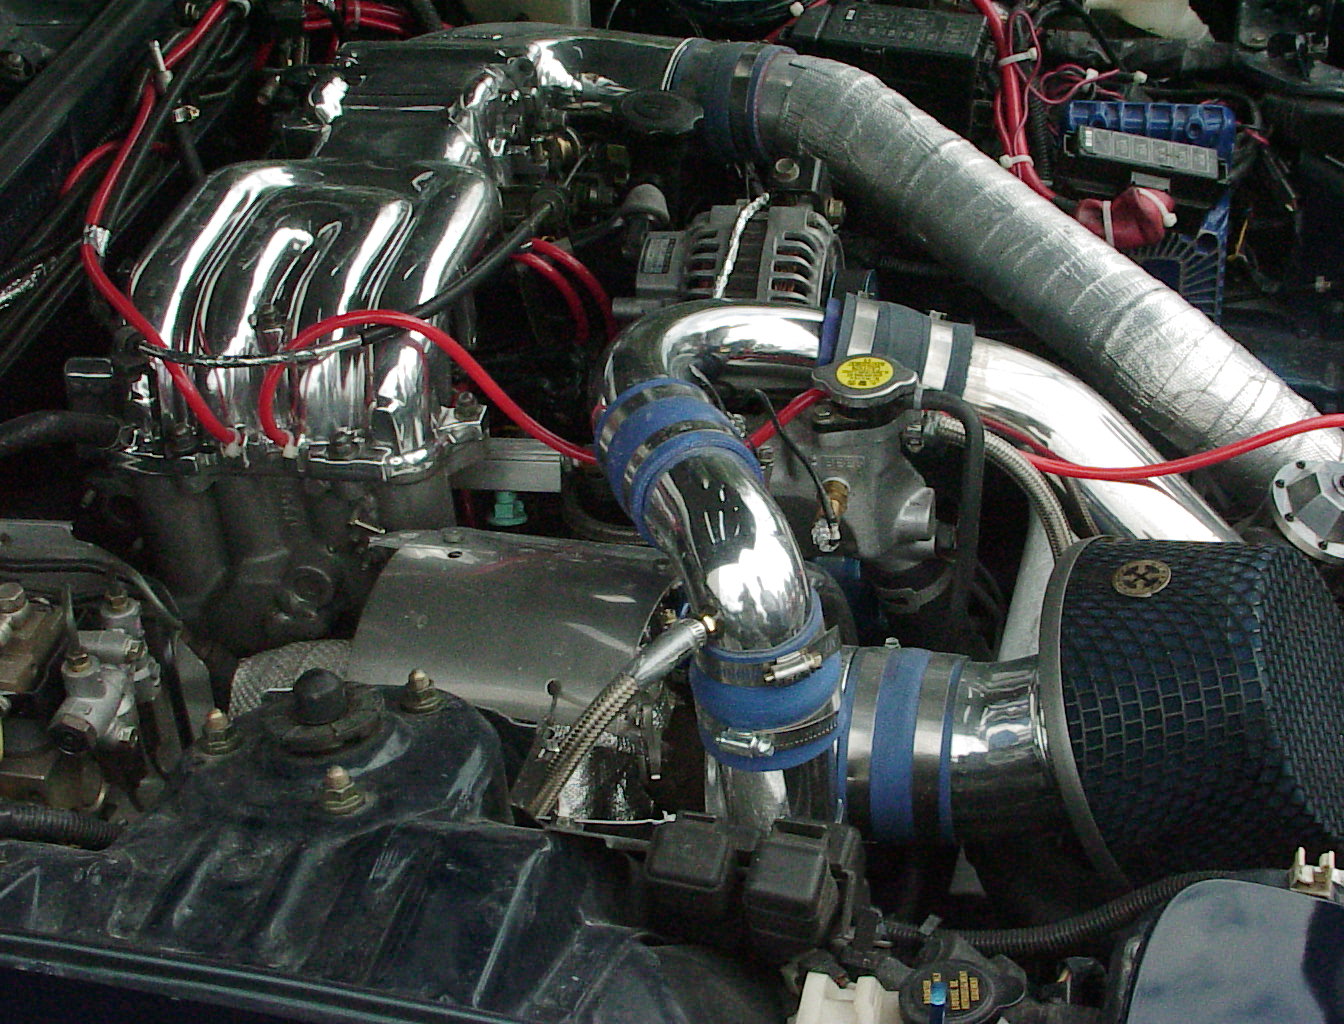
    Rotary Extreme RX7 Build Day 23 Turbo Side

    Day 23

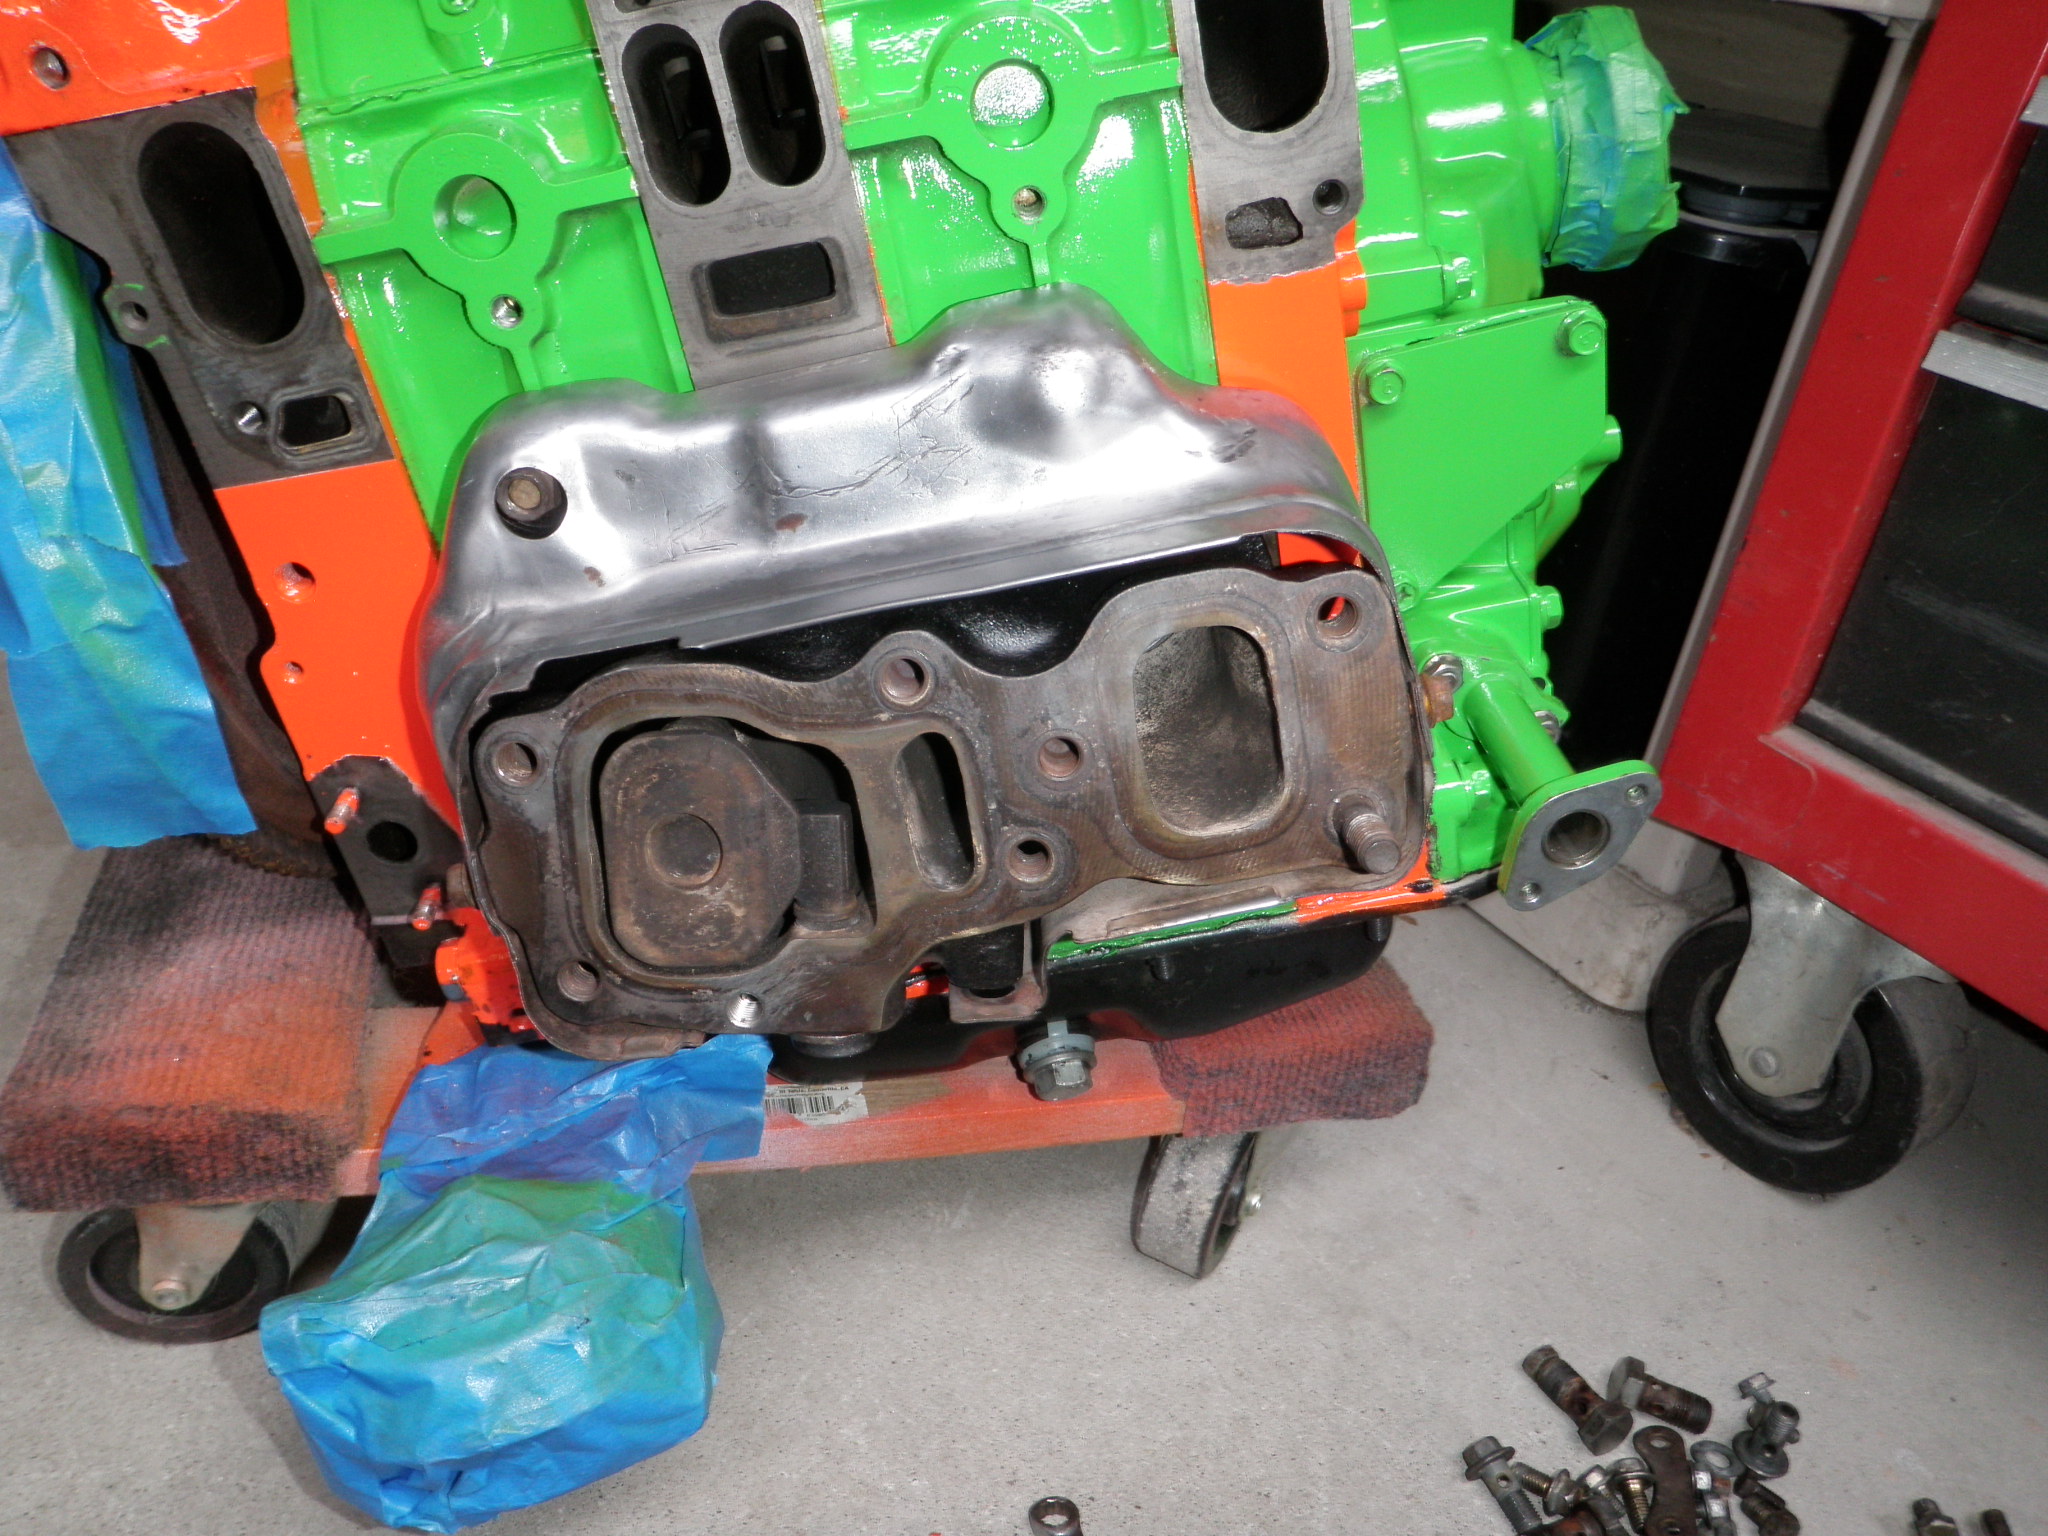
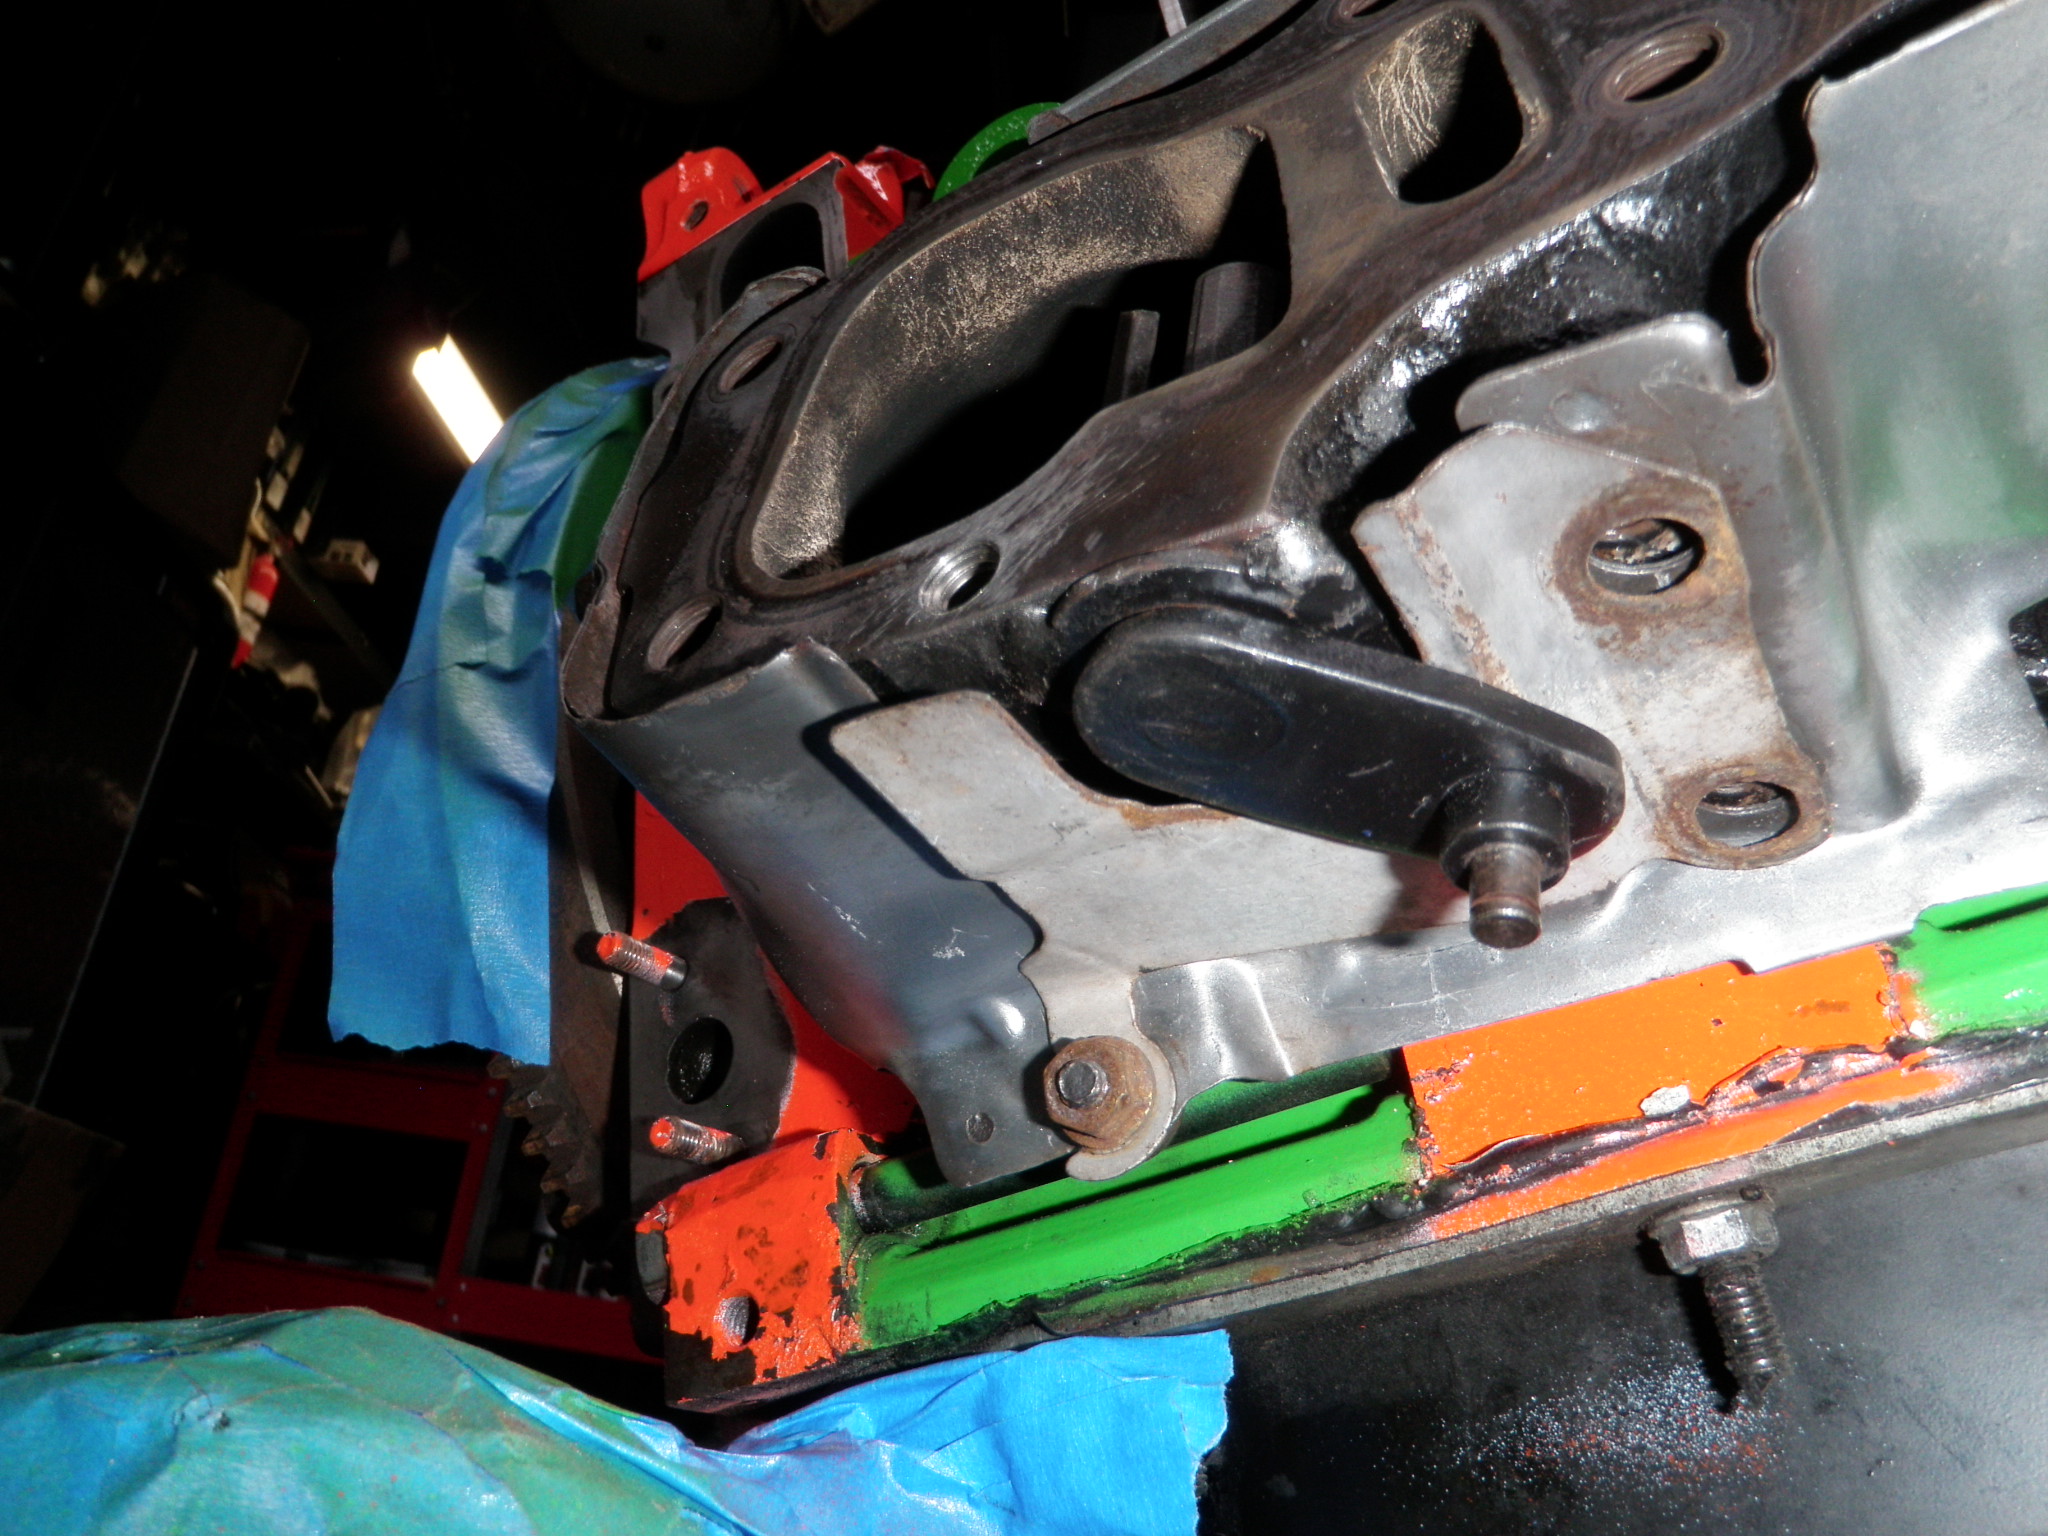
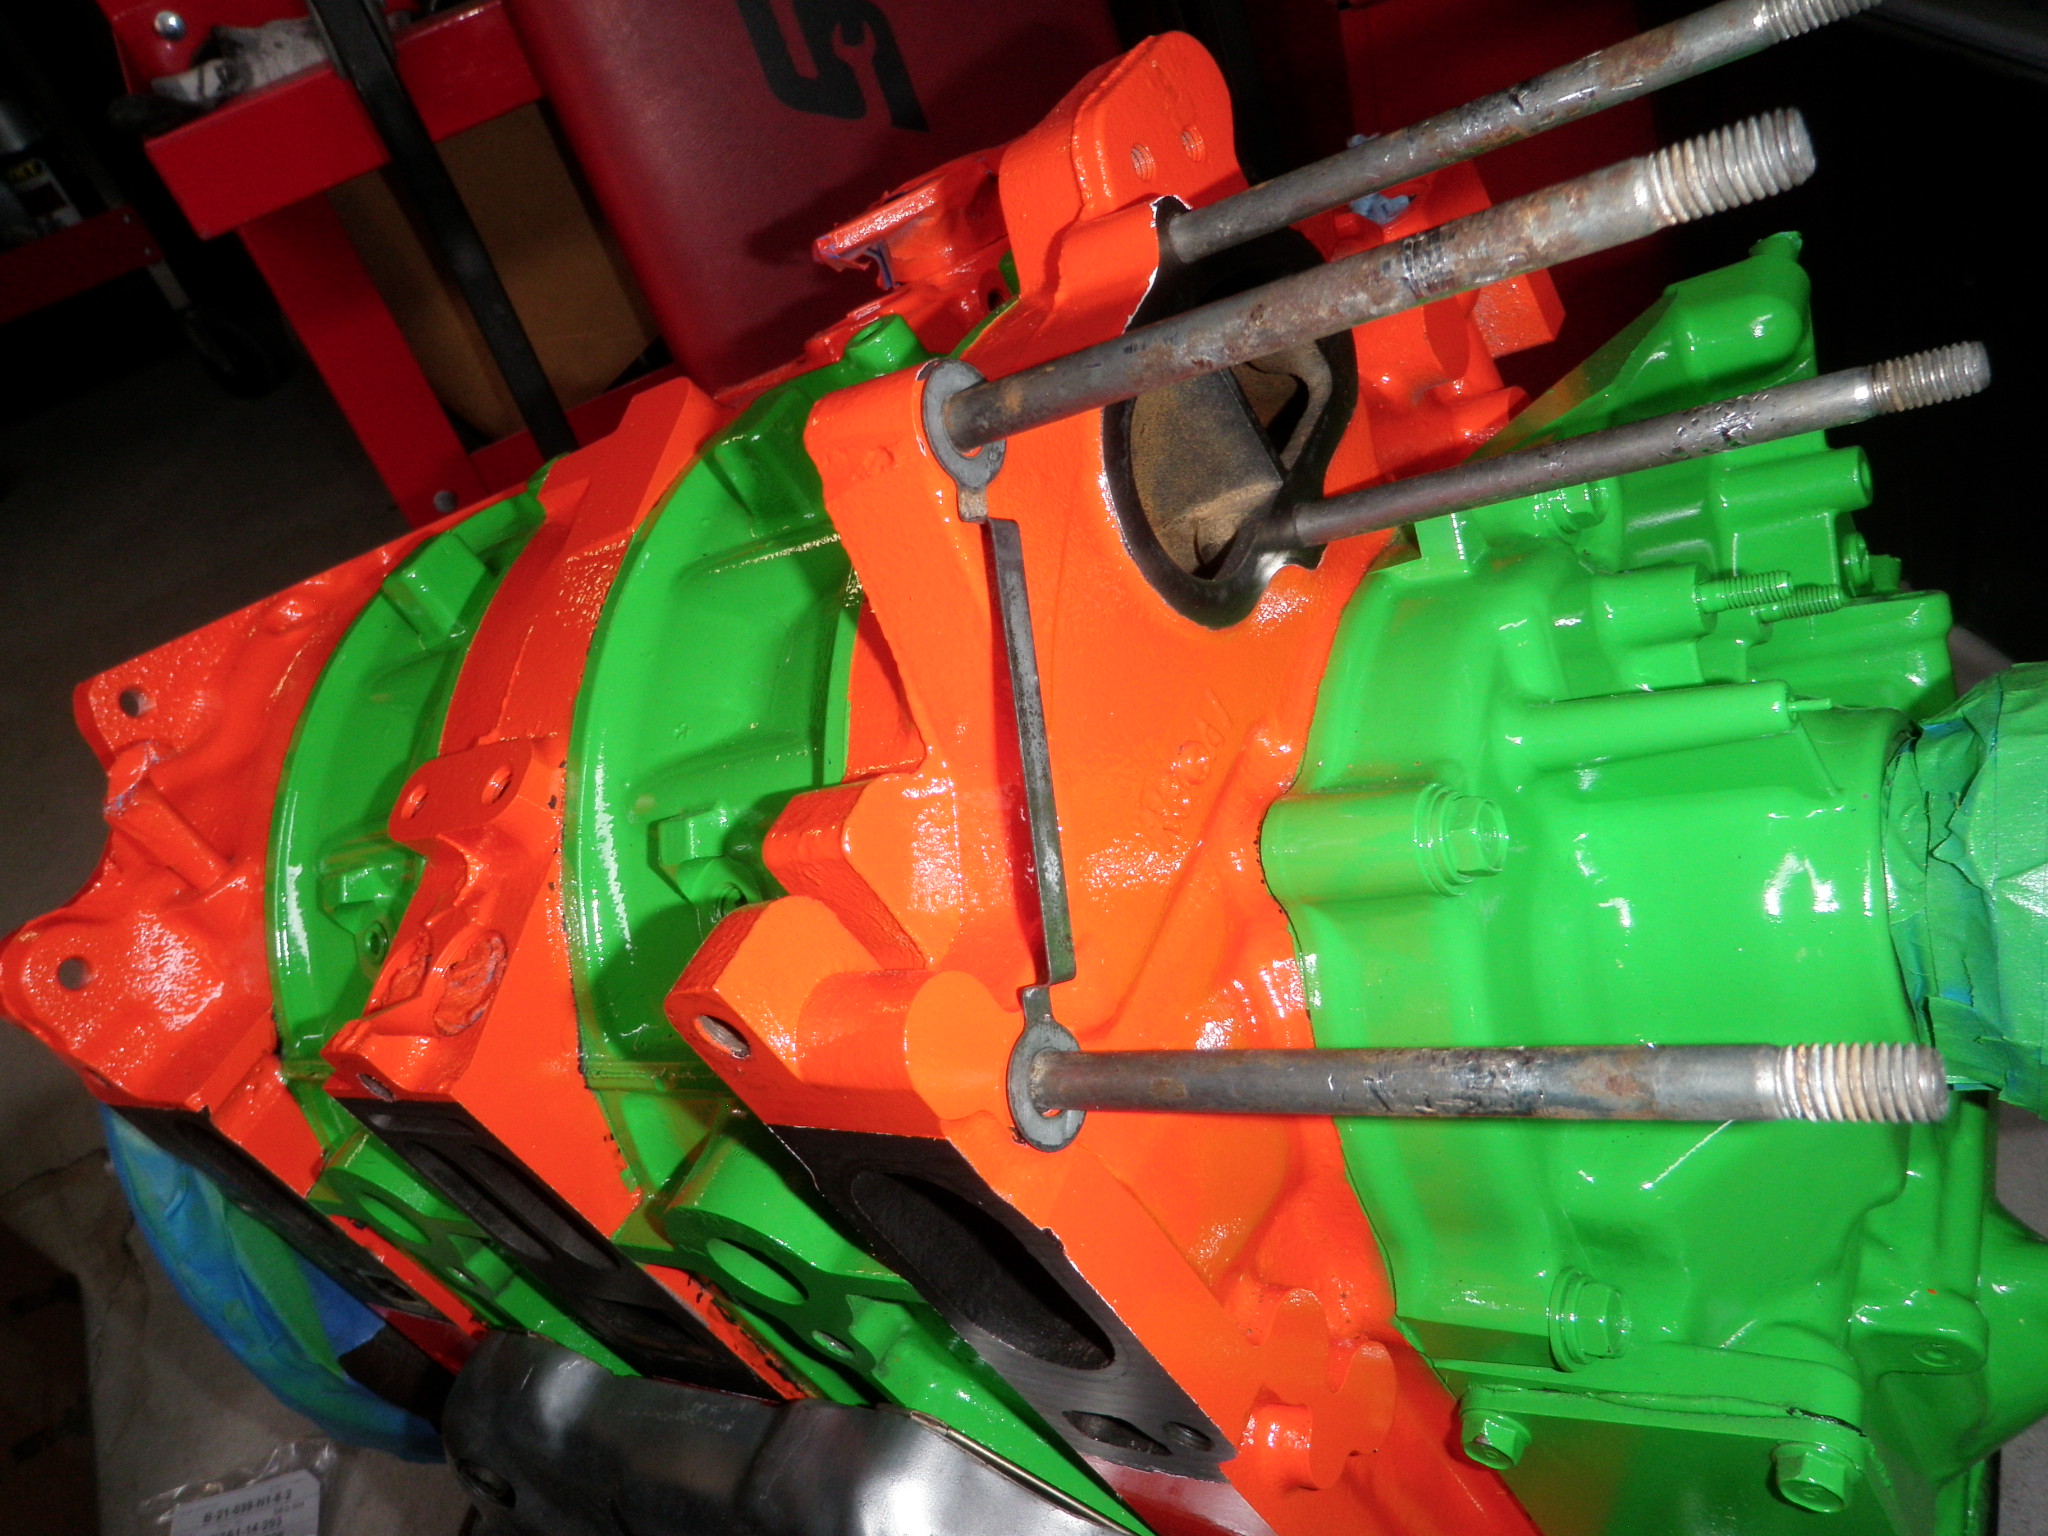
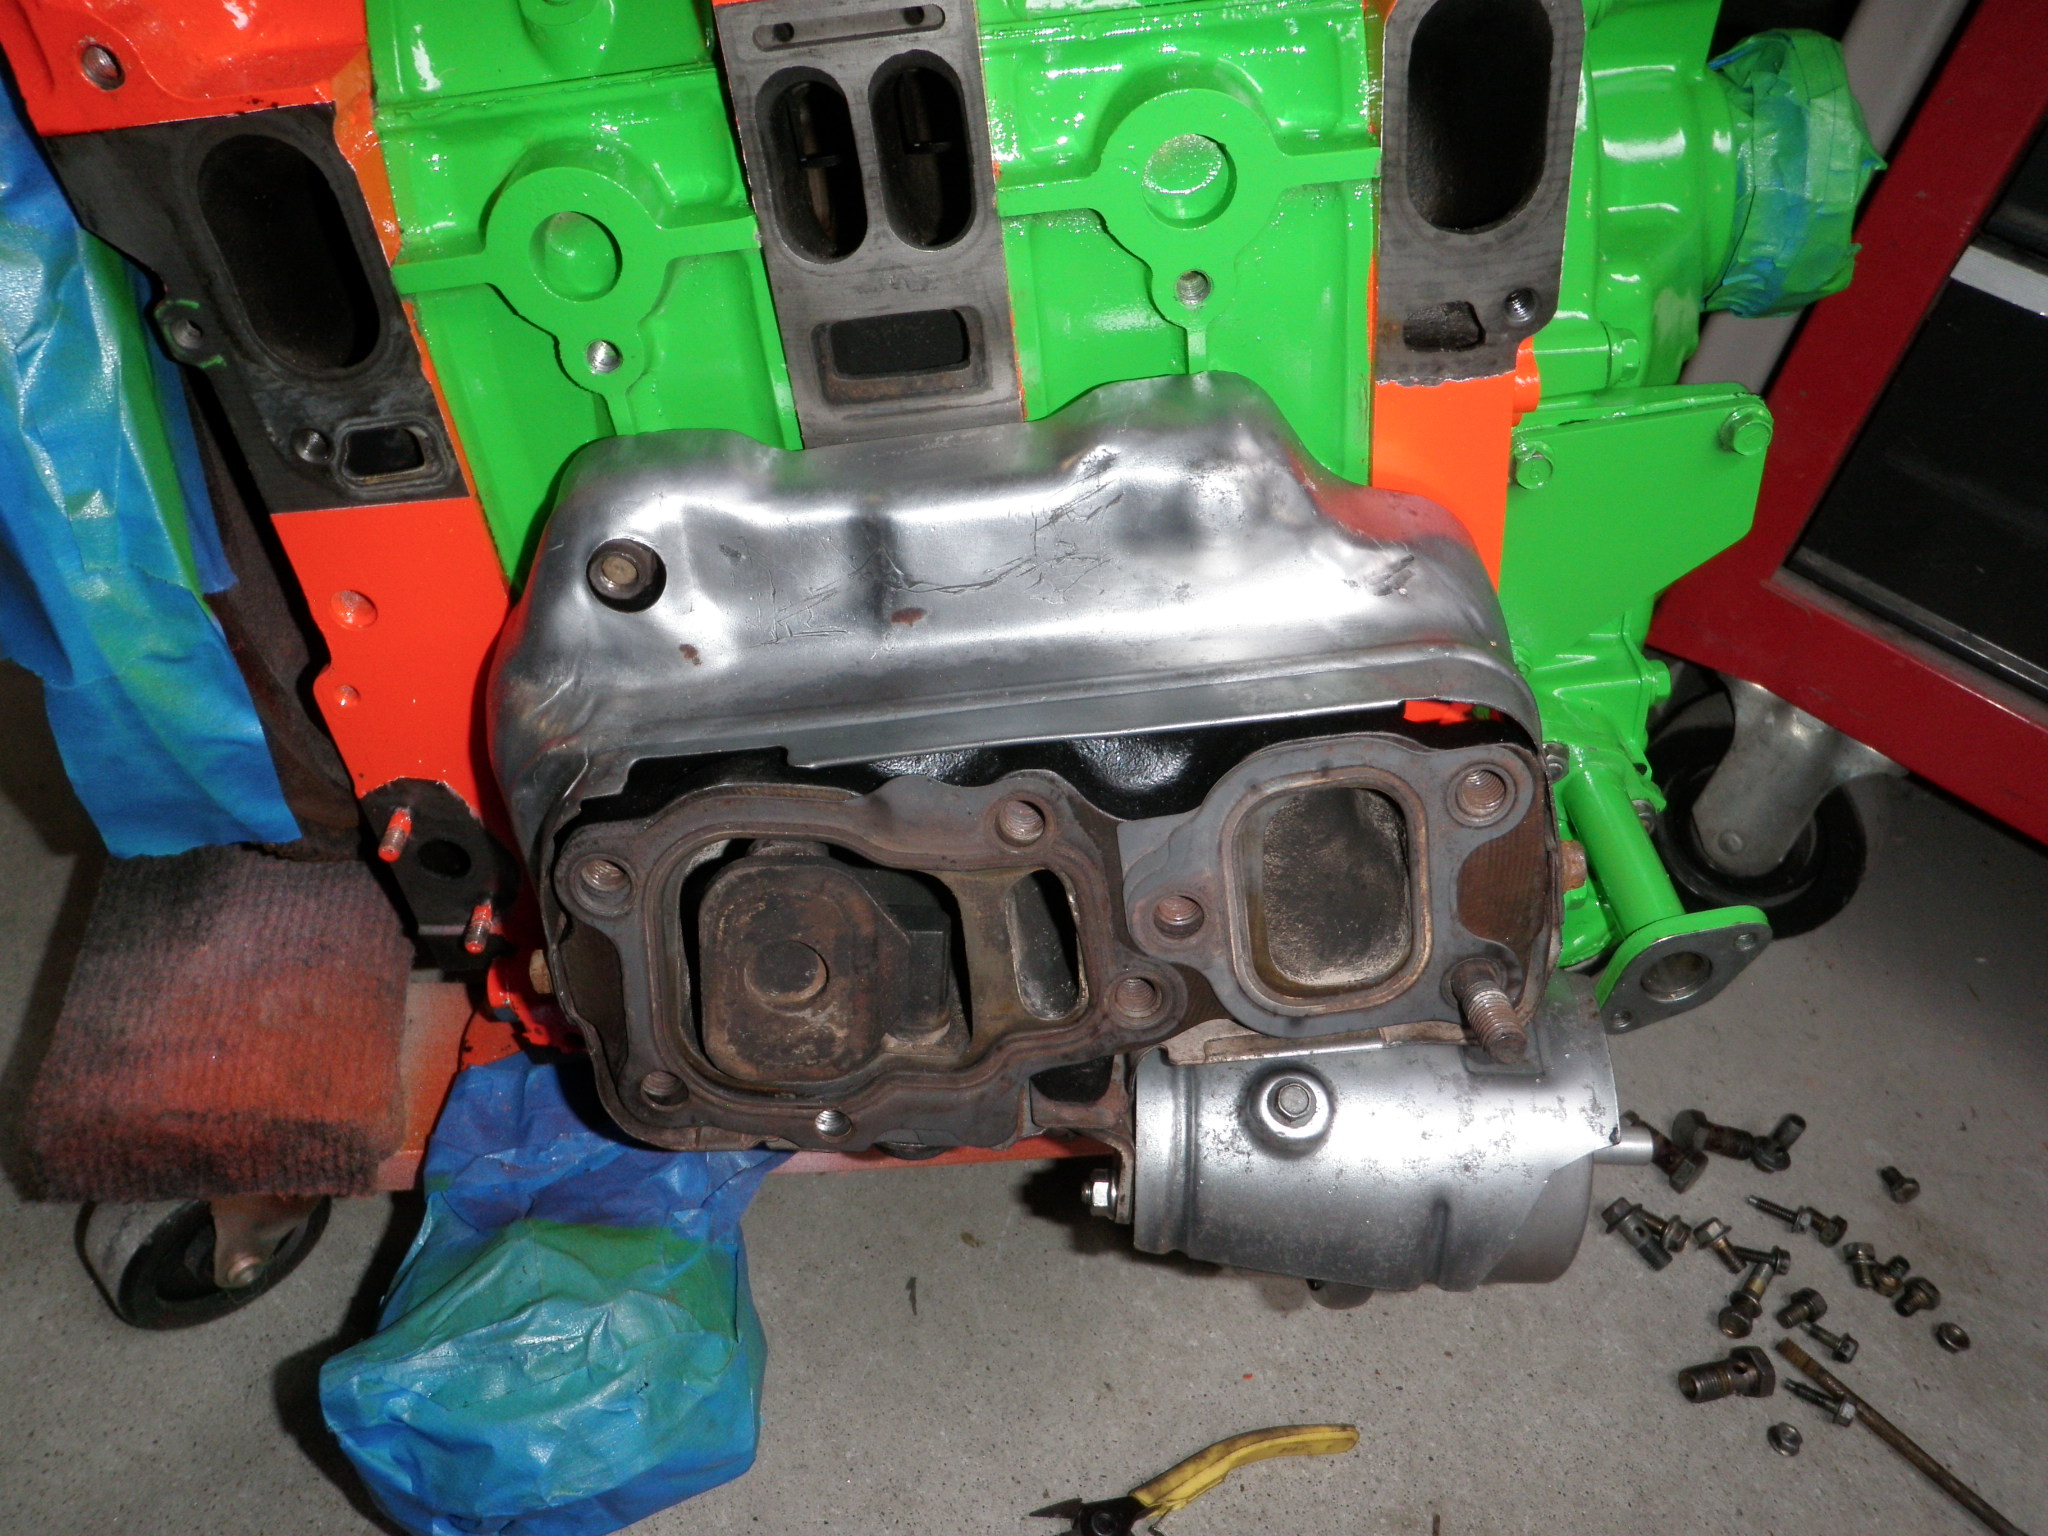
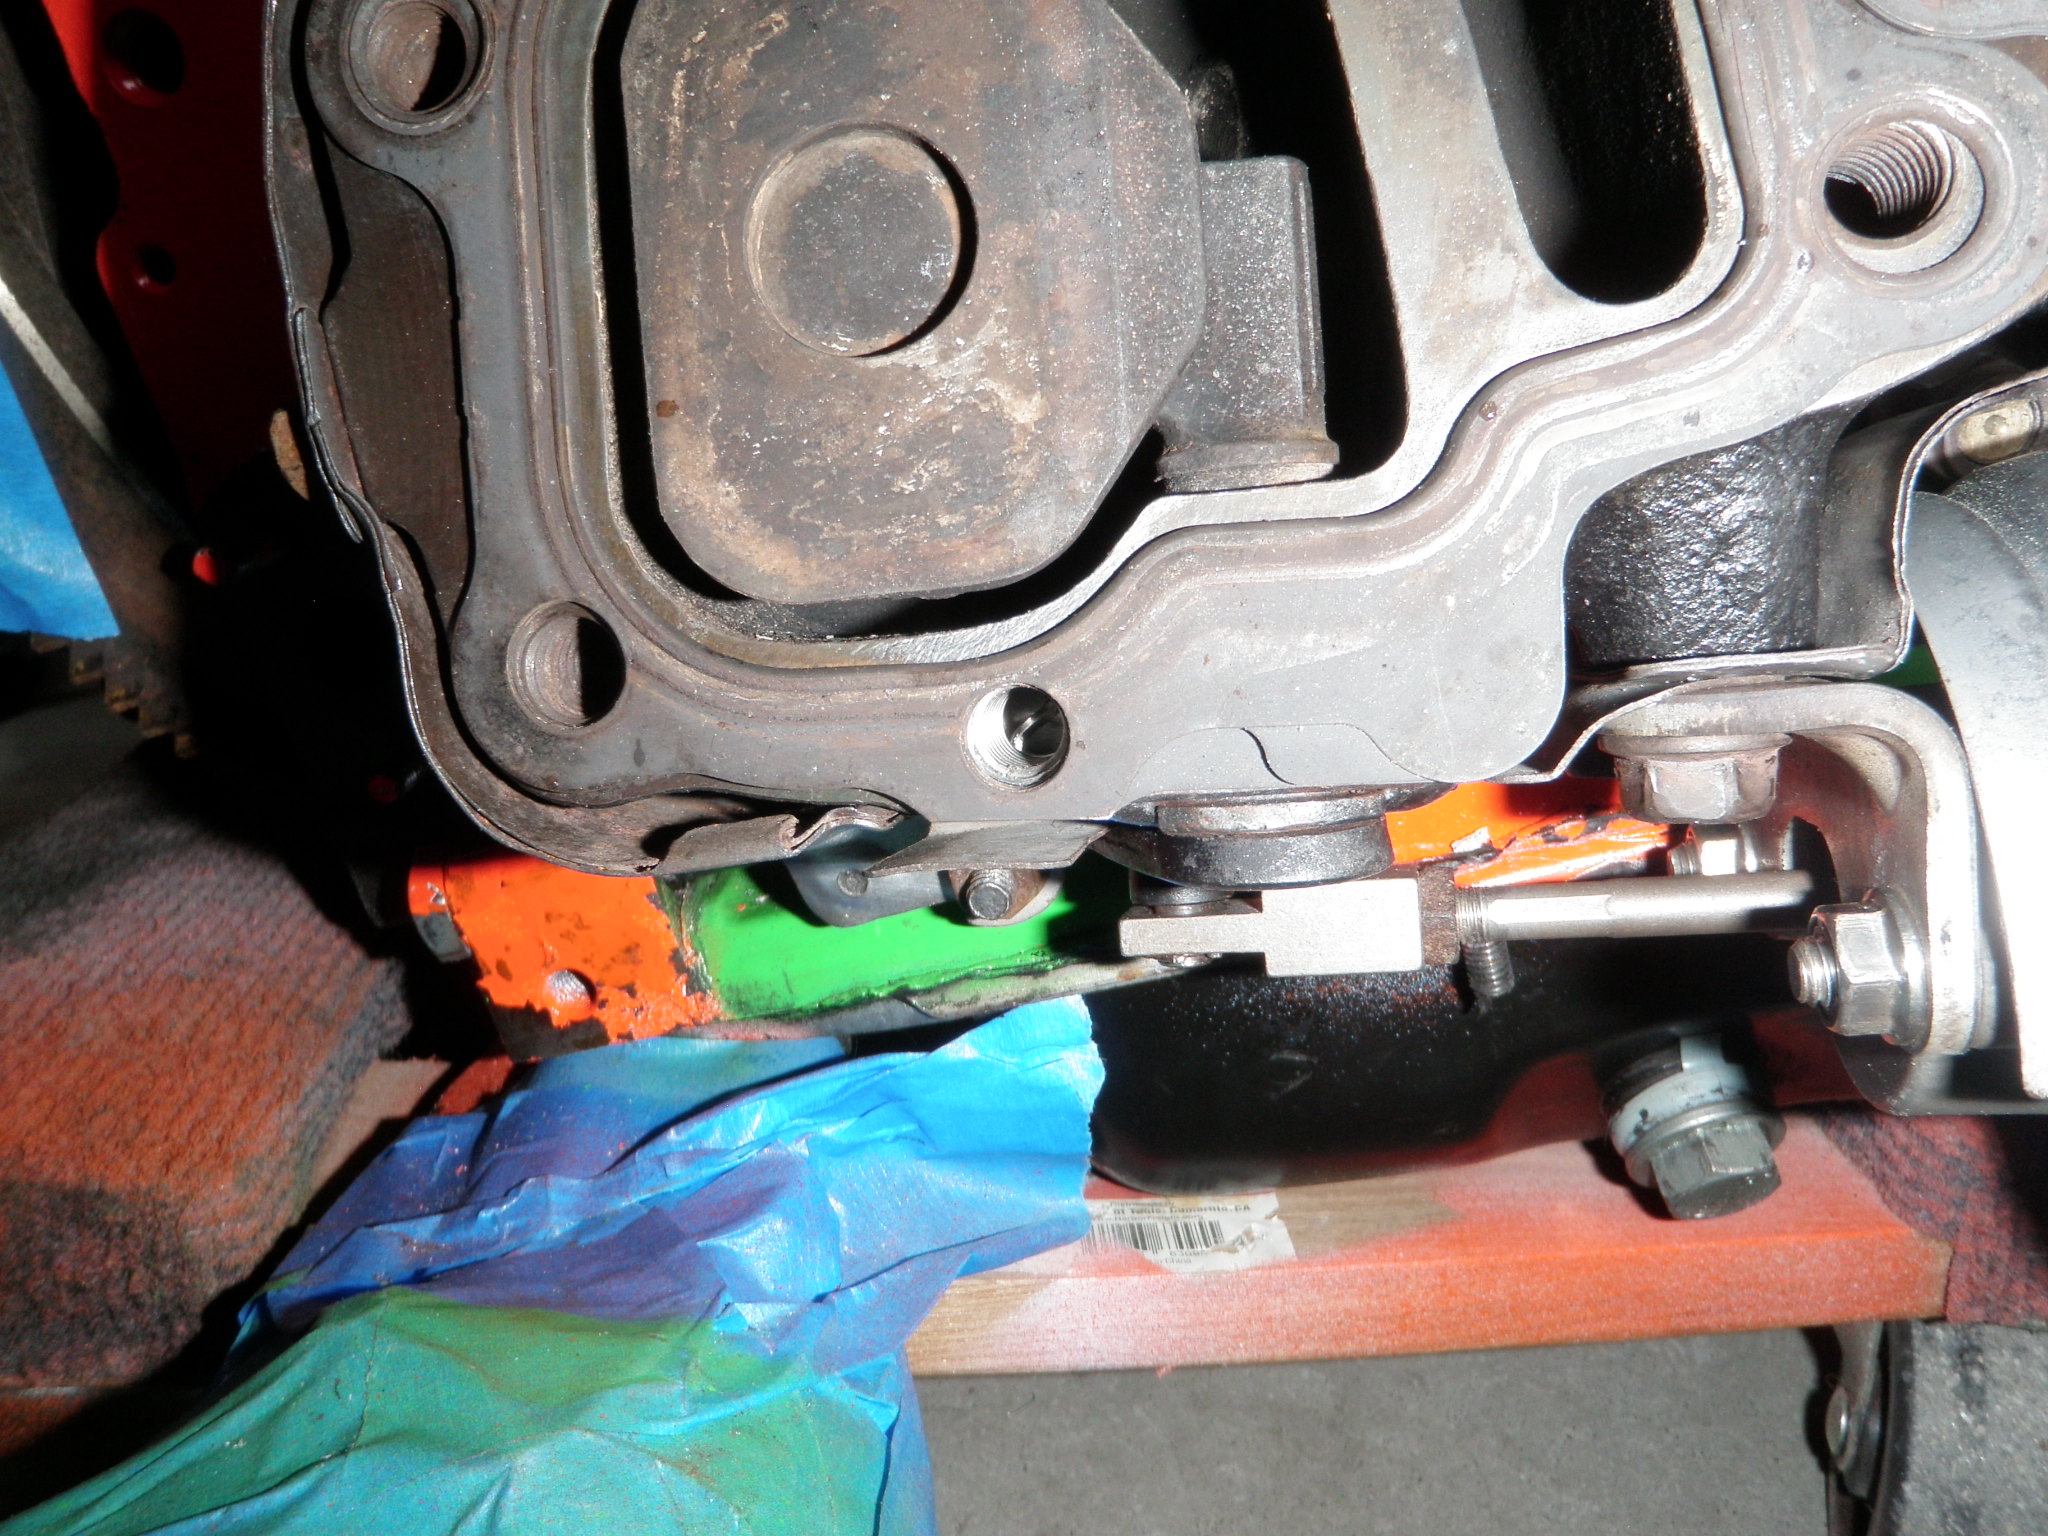
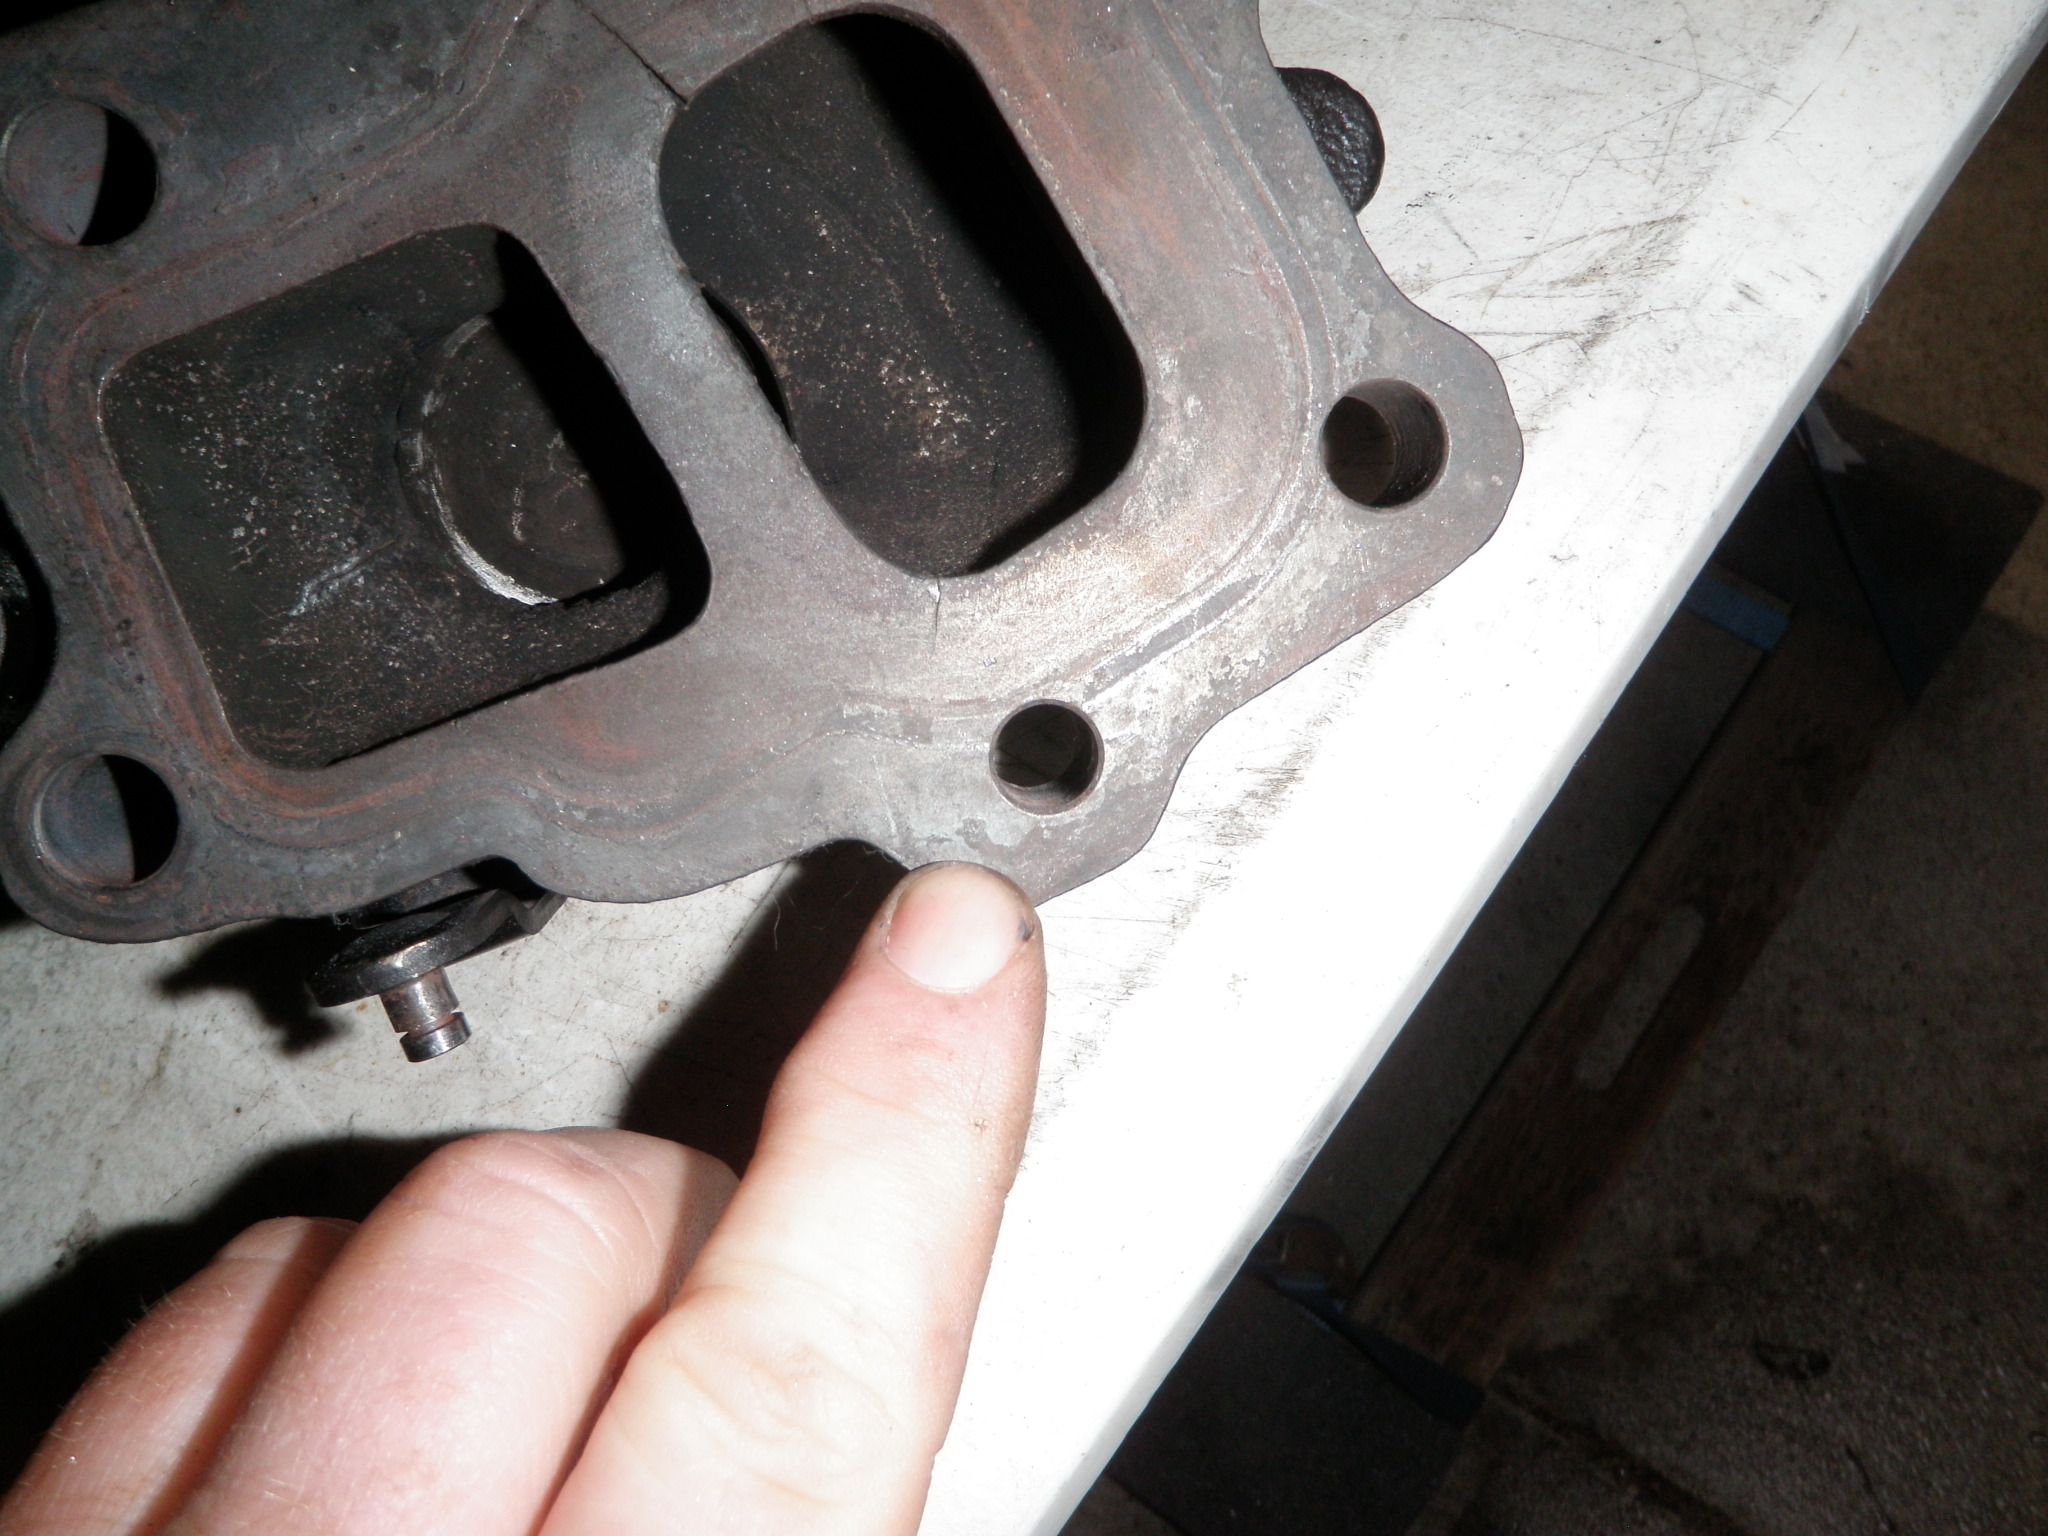
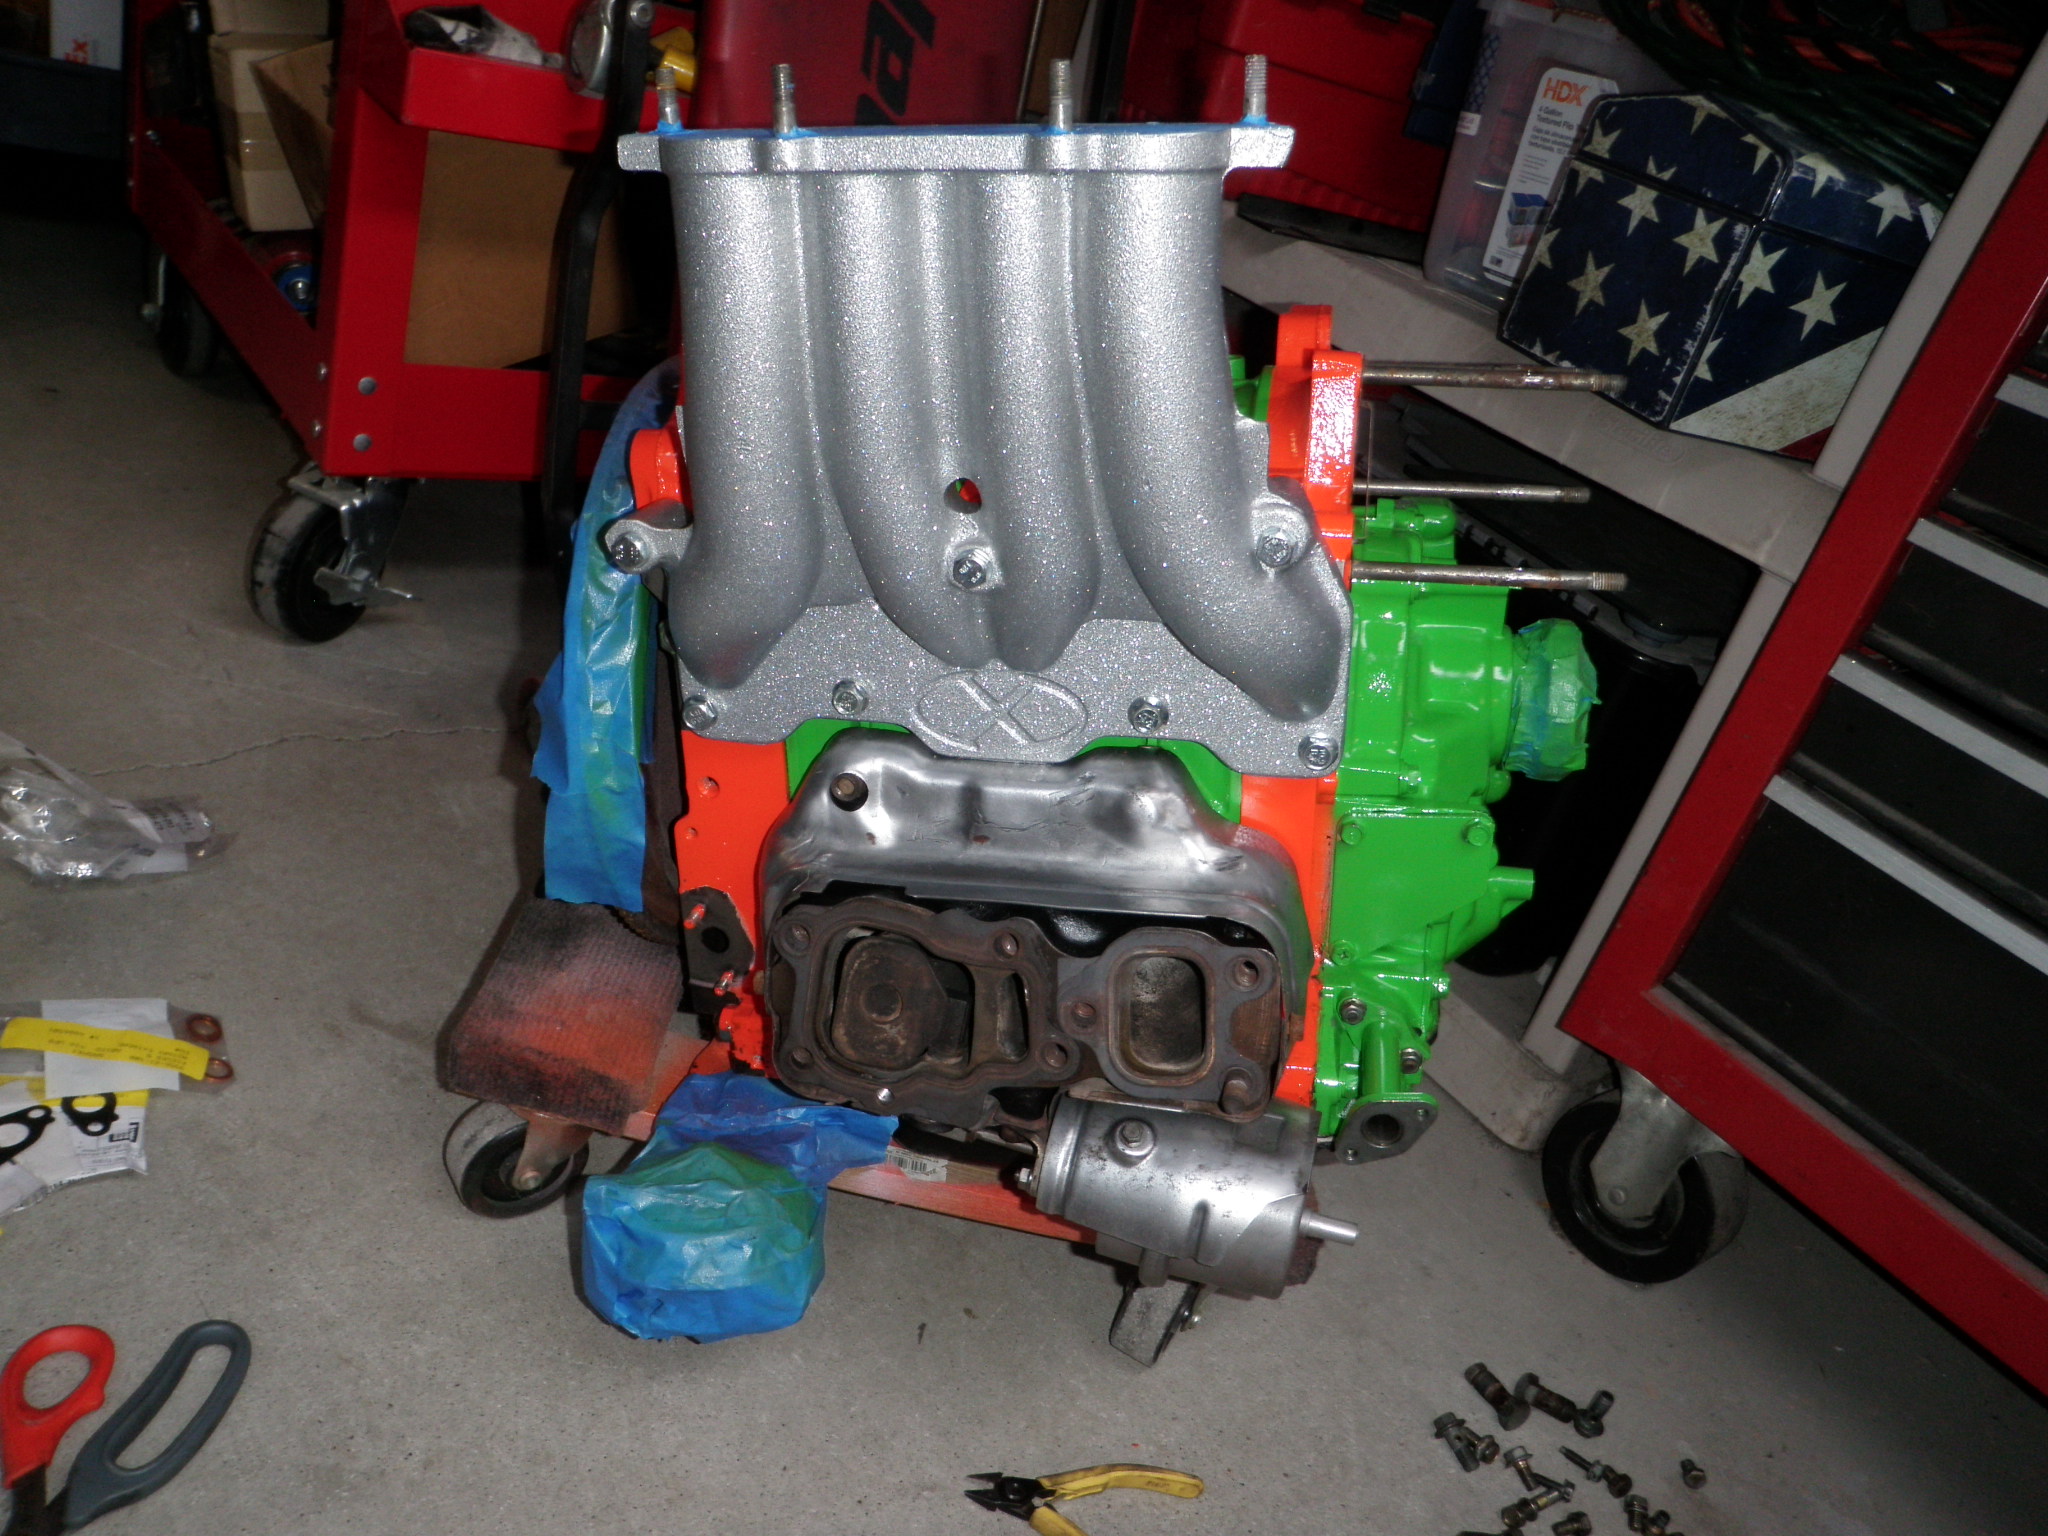
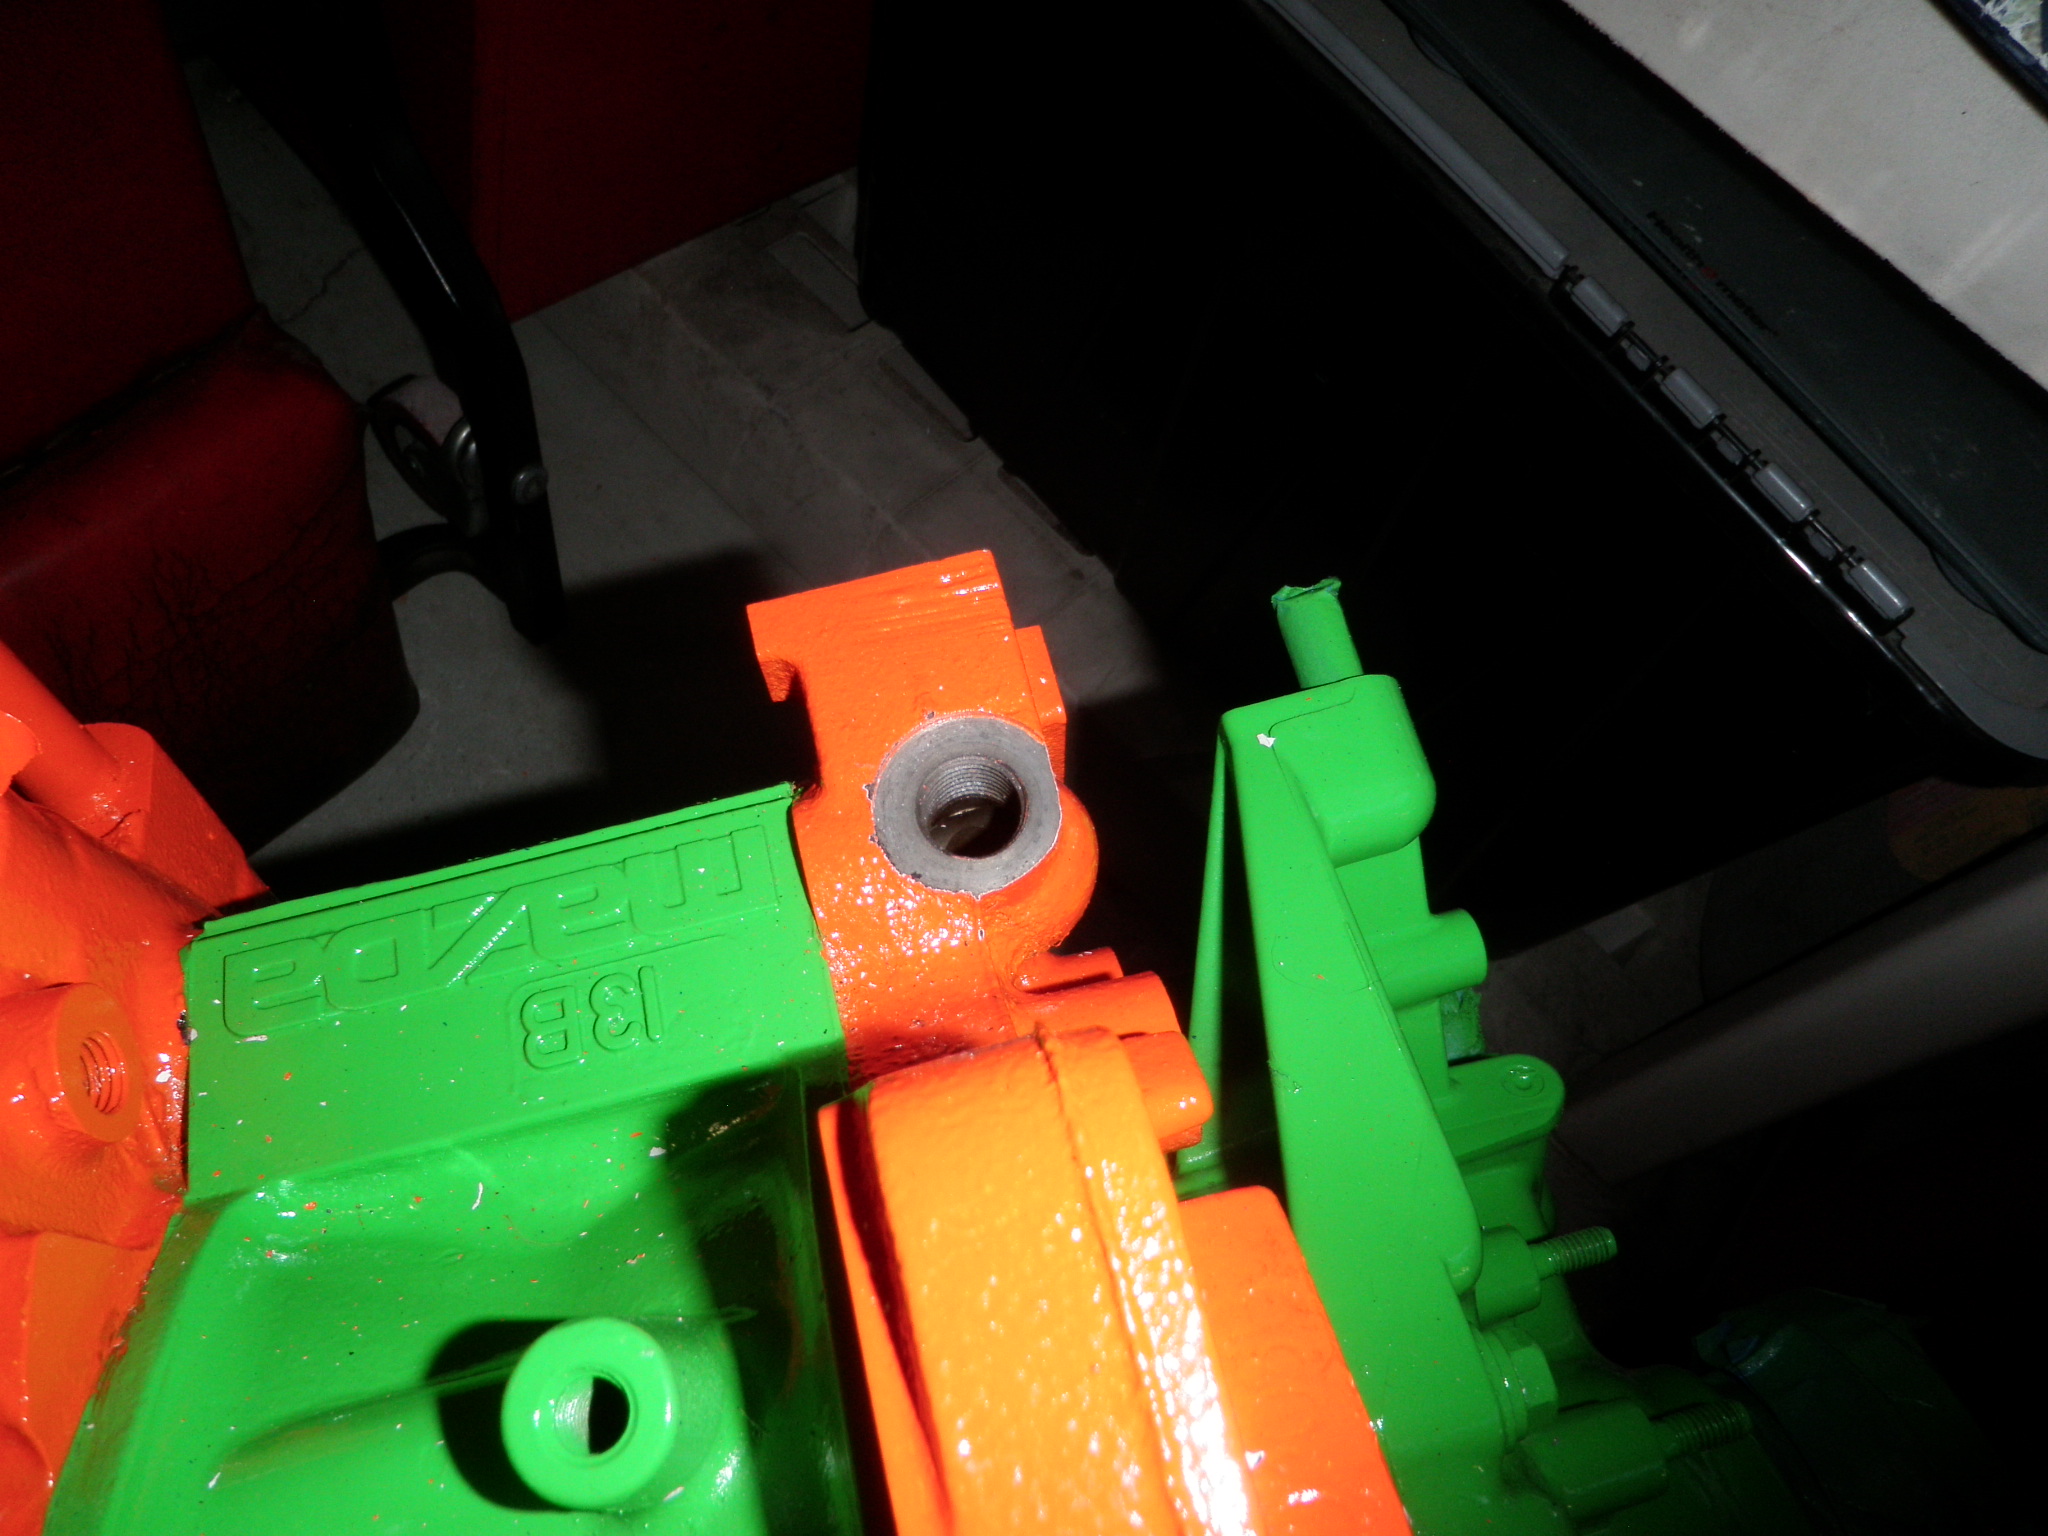
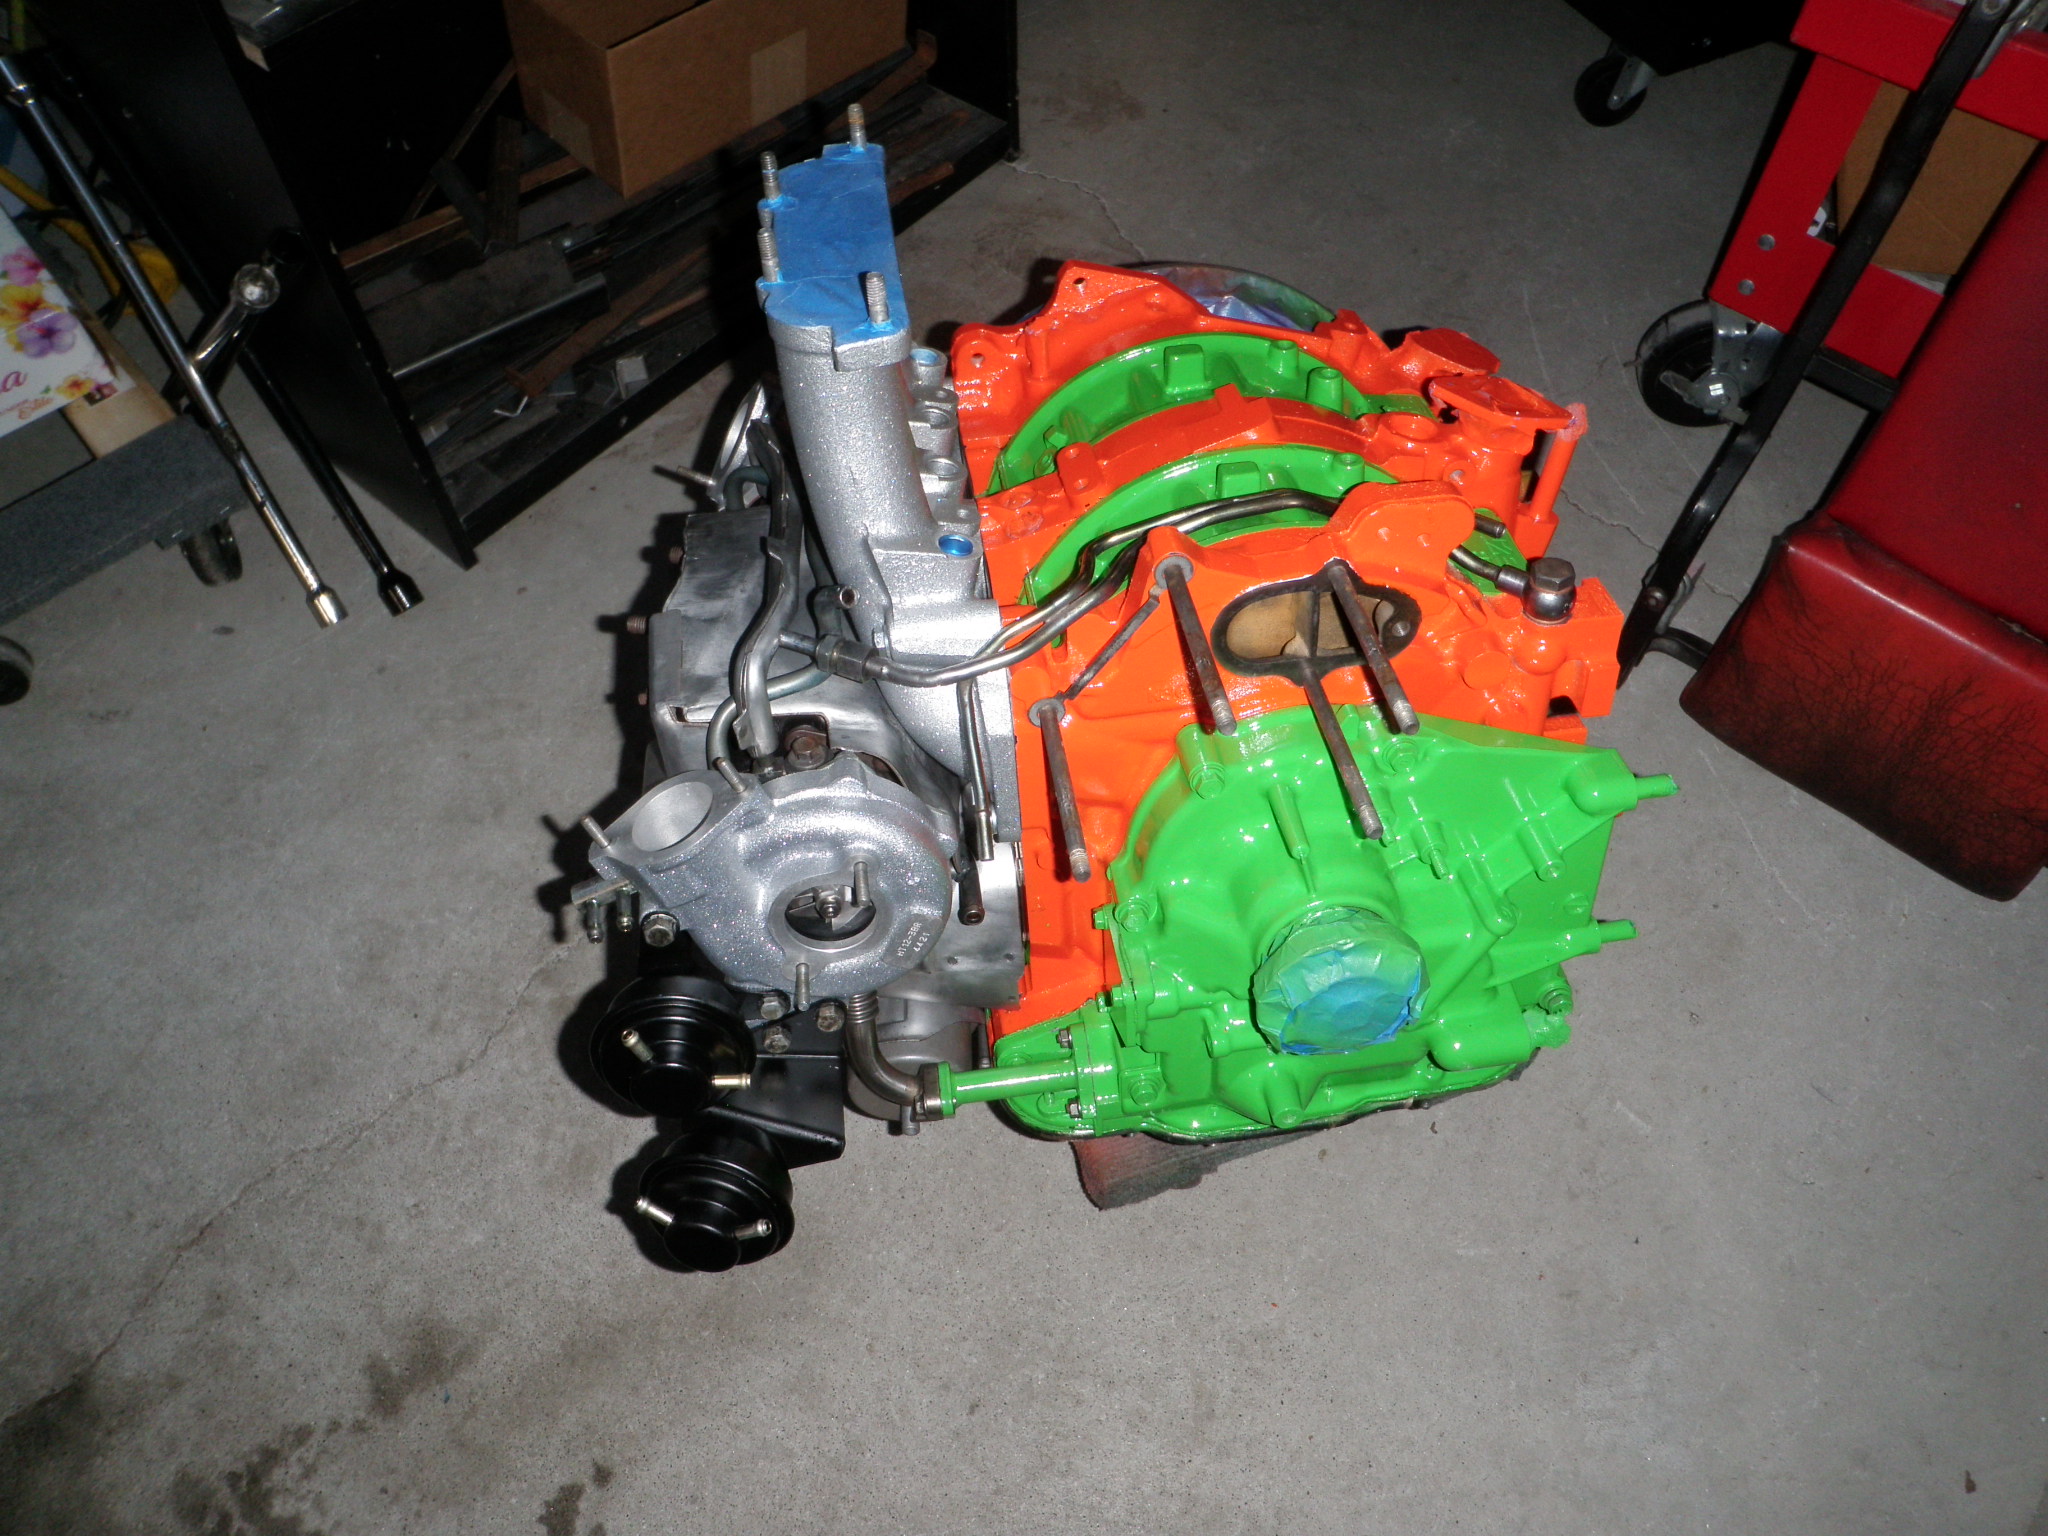
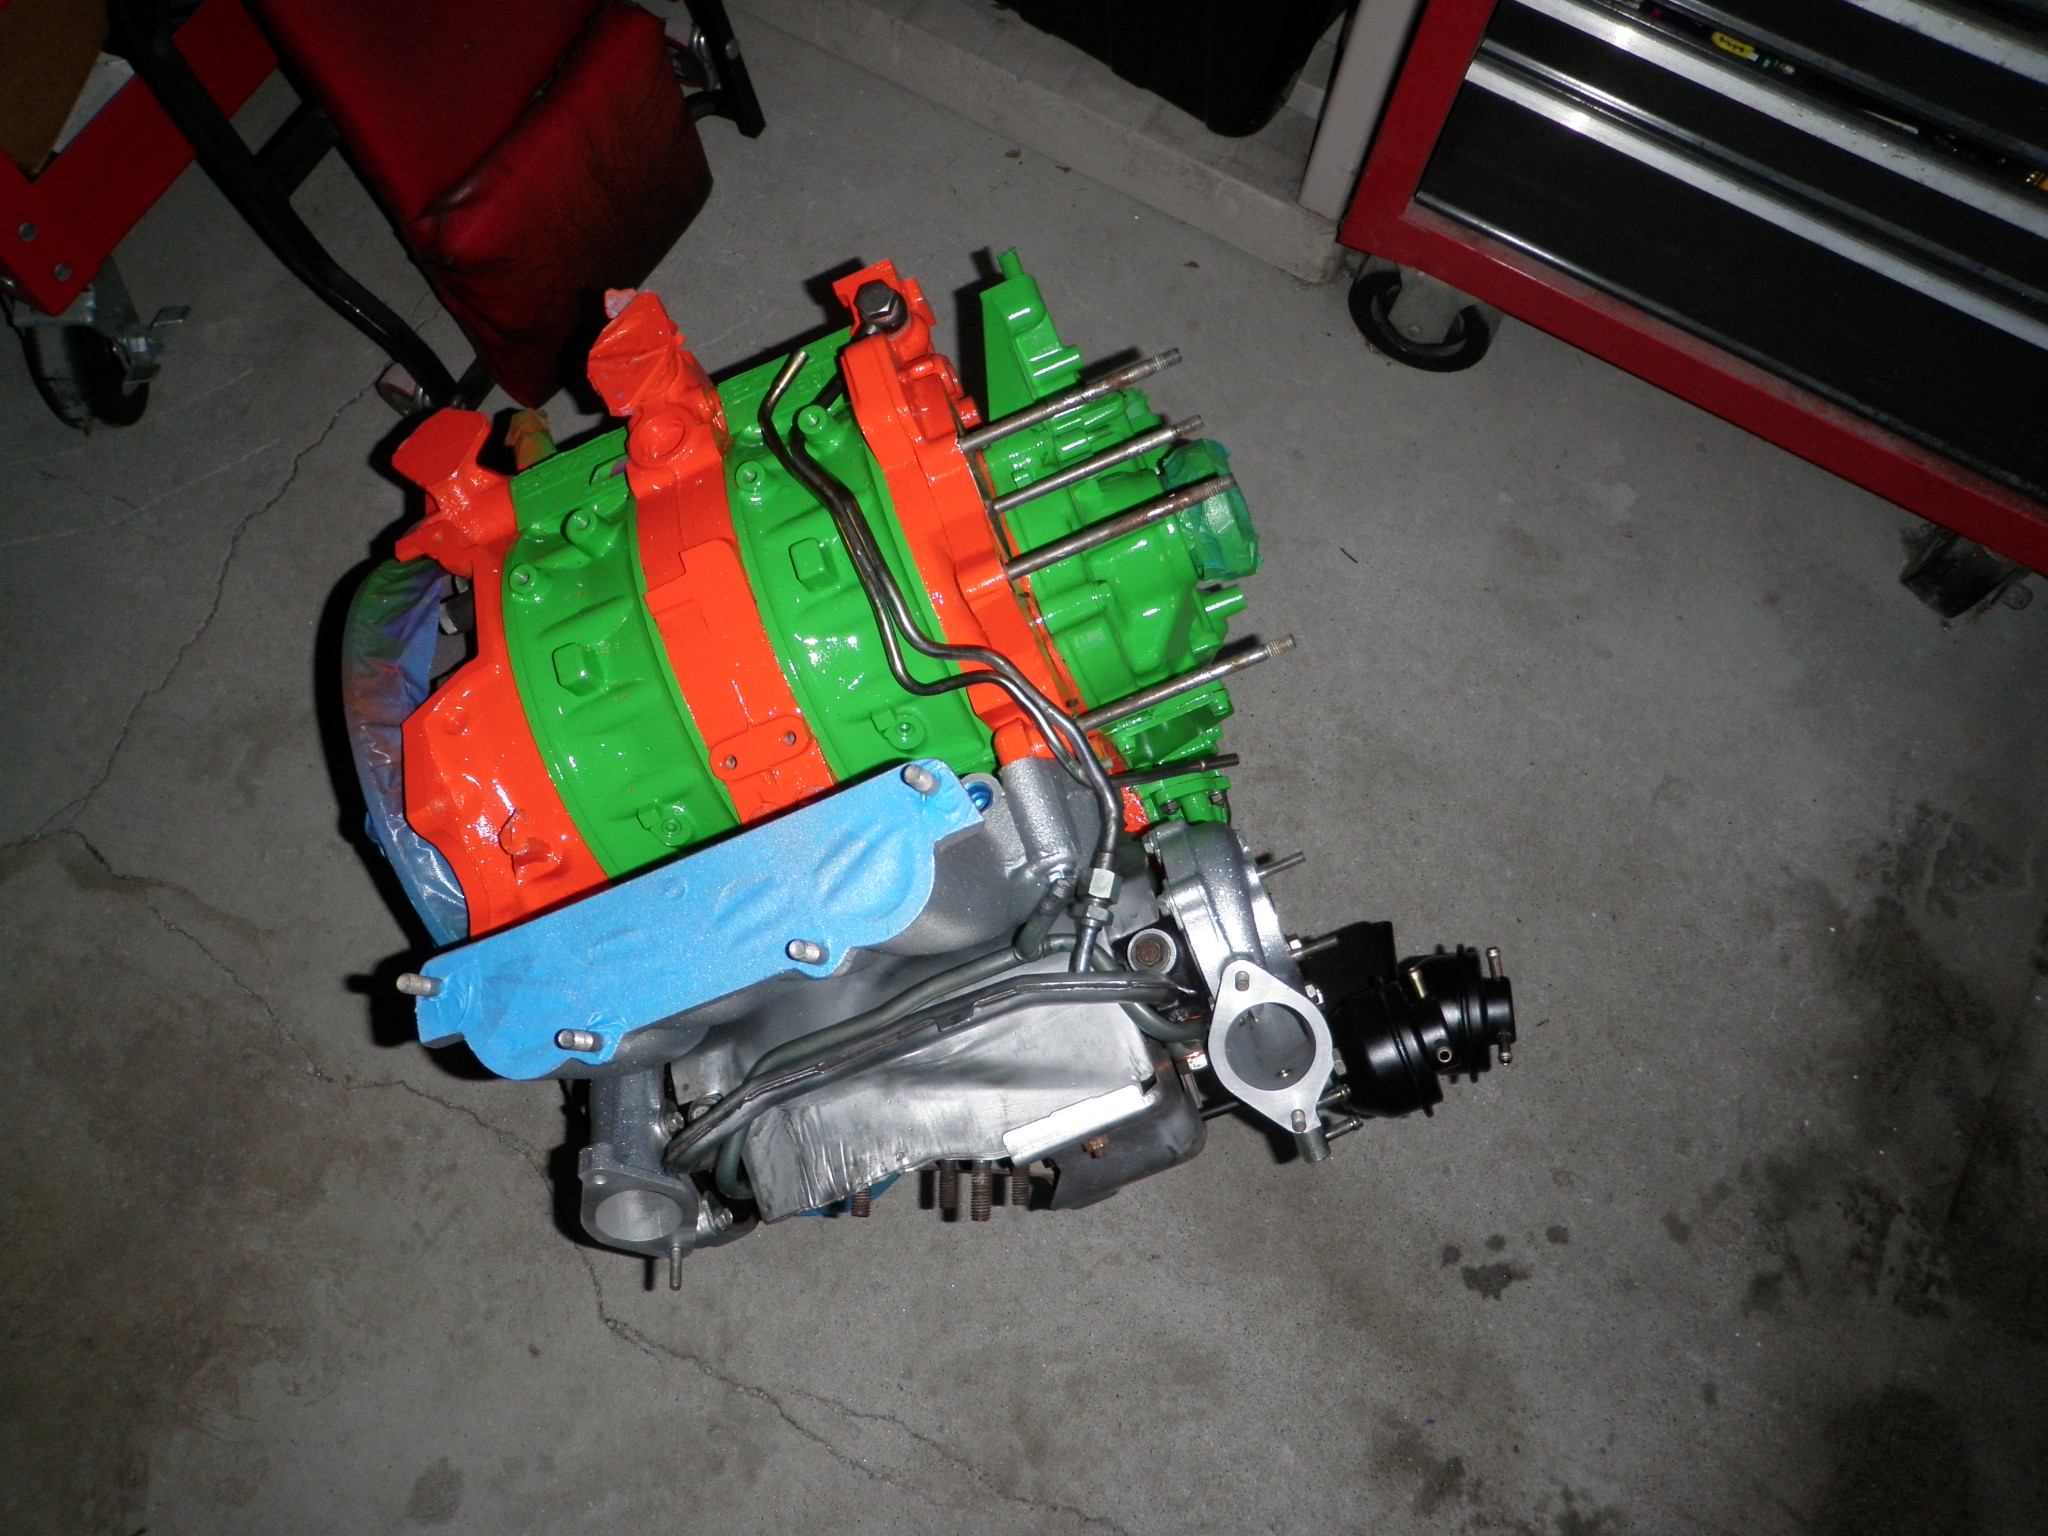
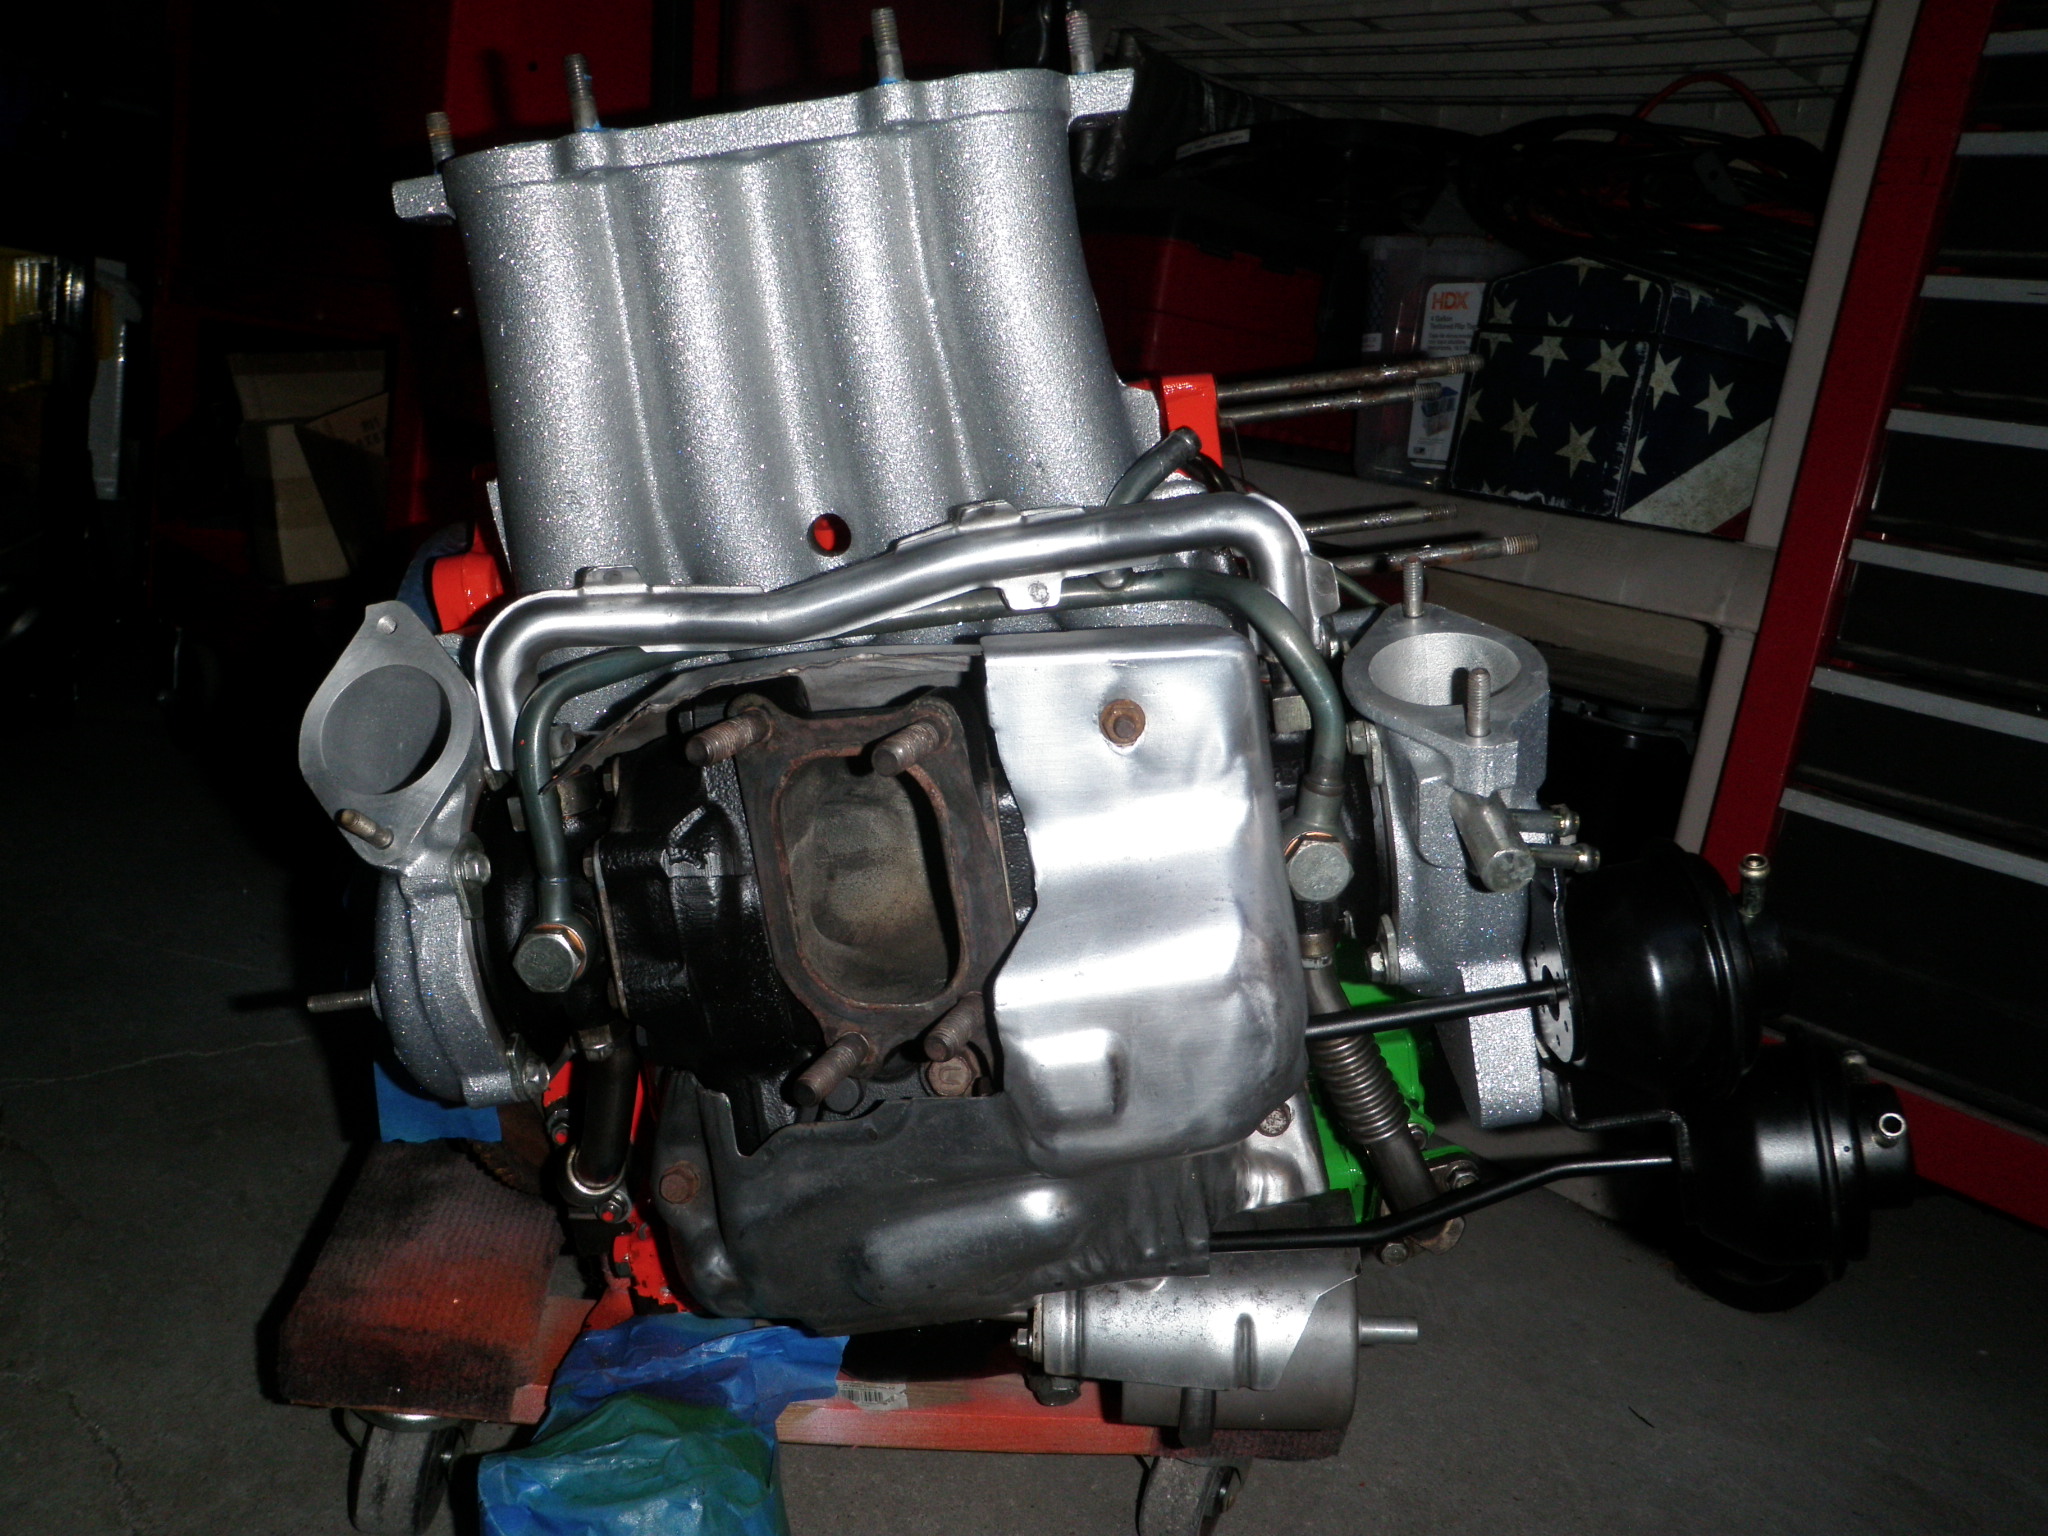
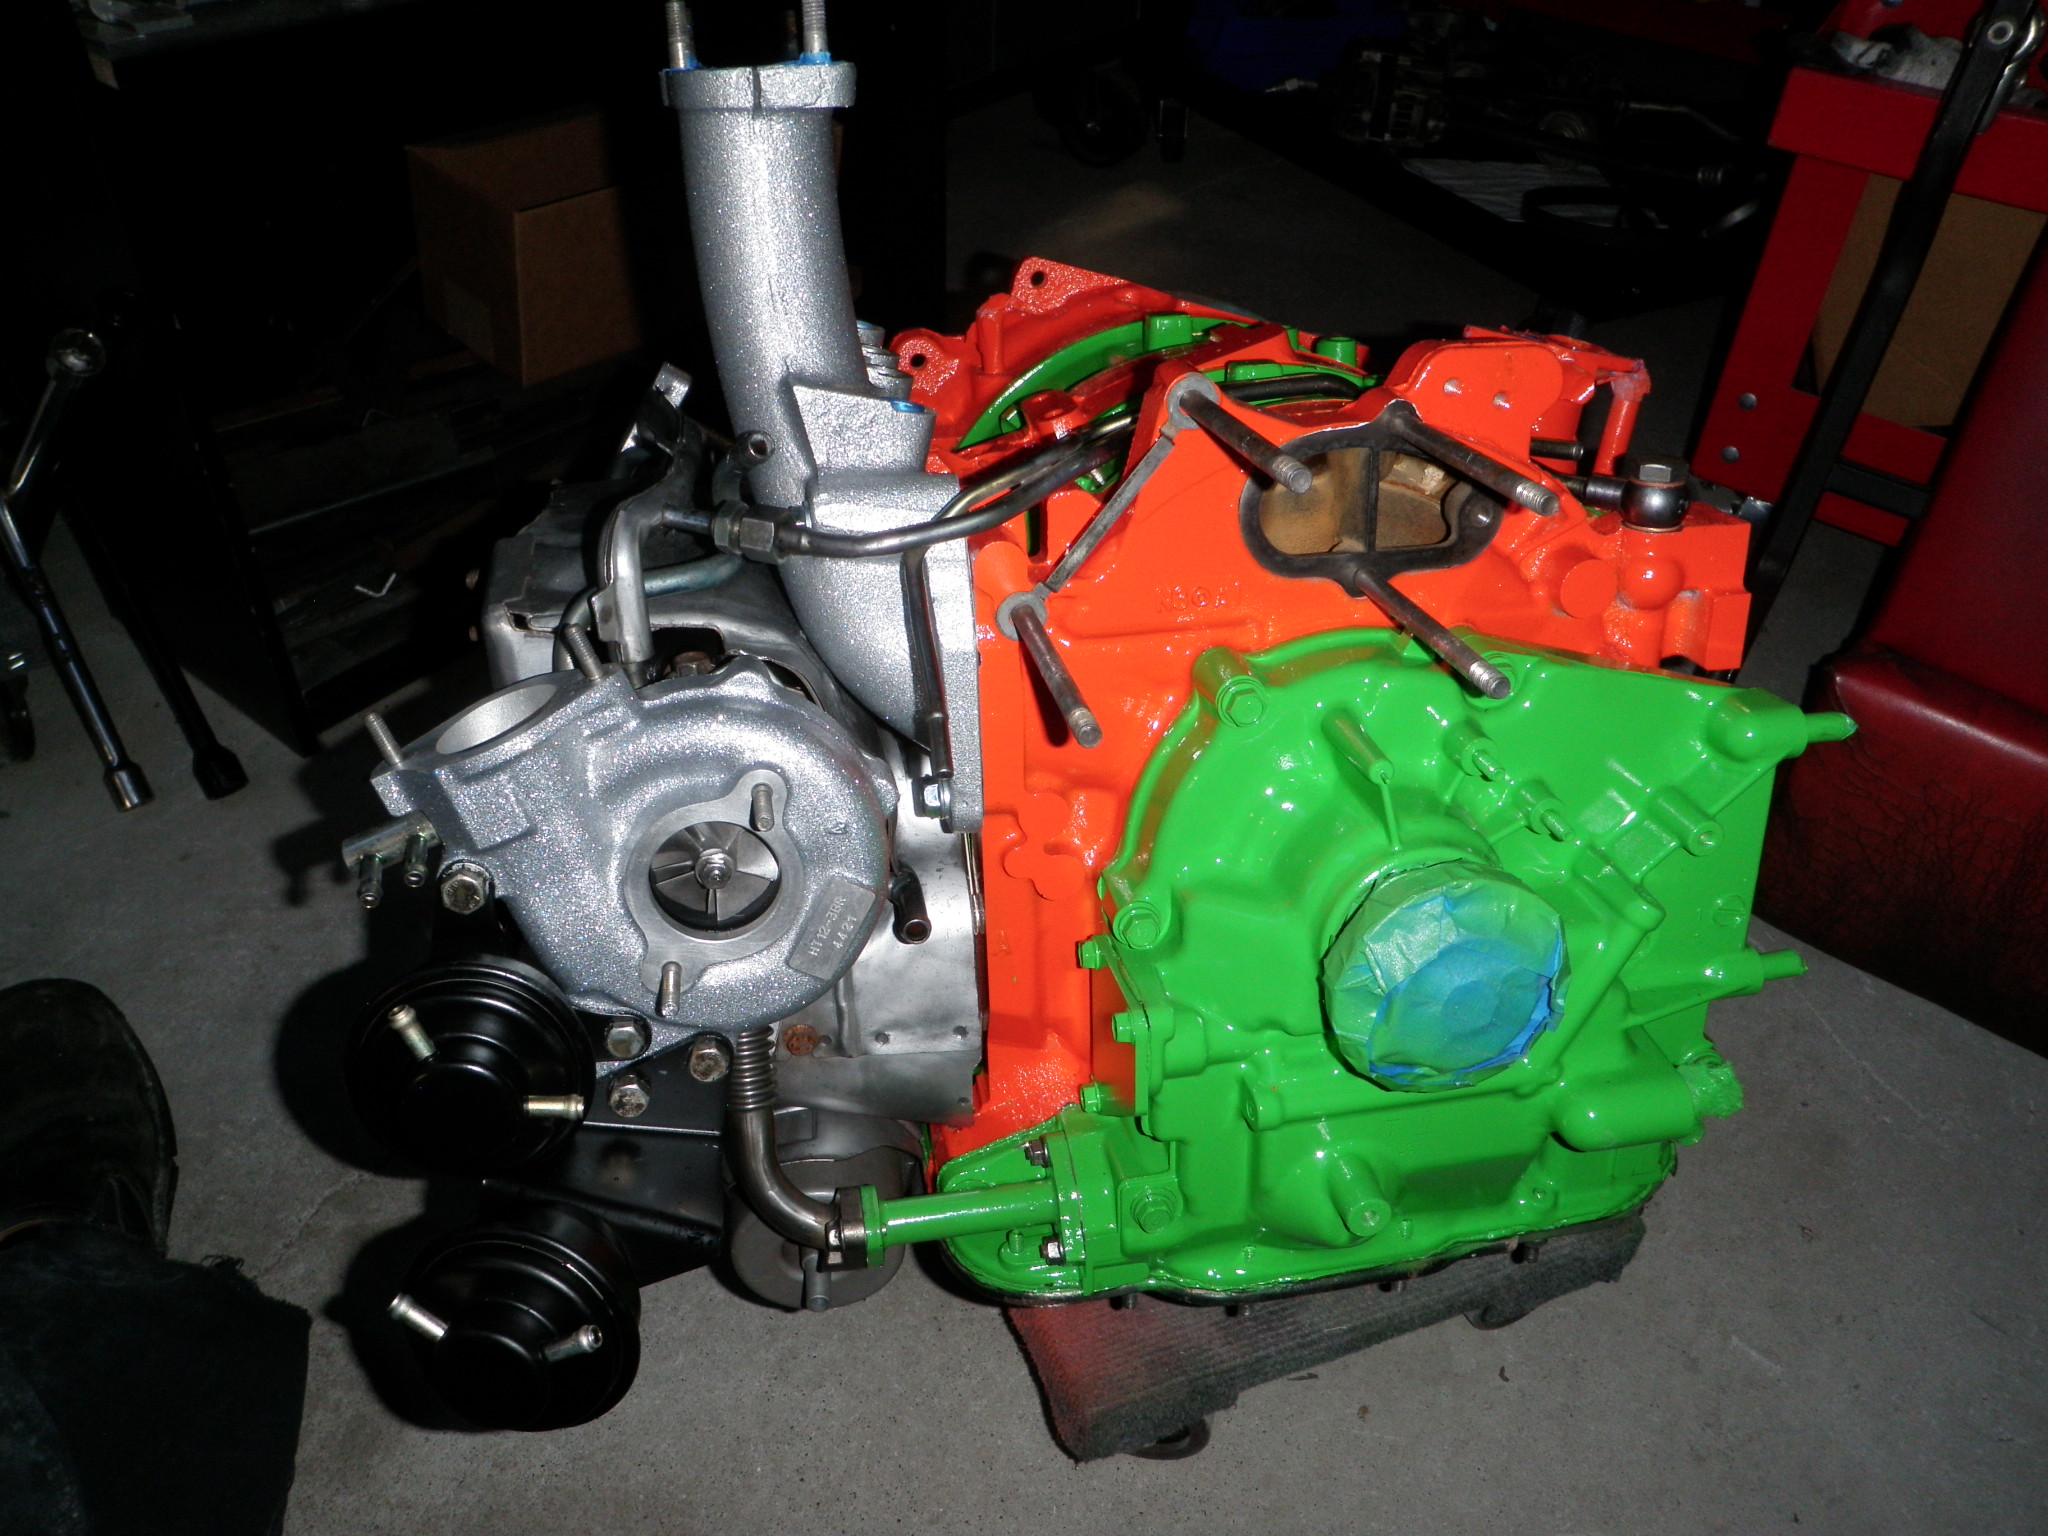
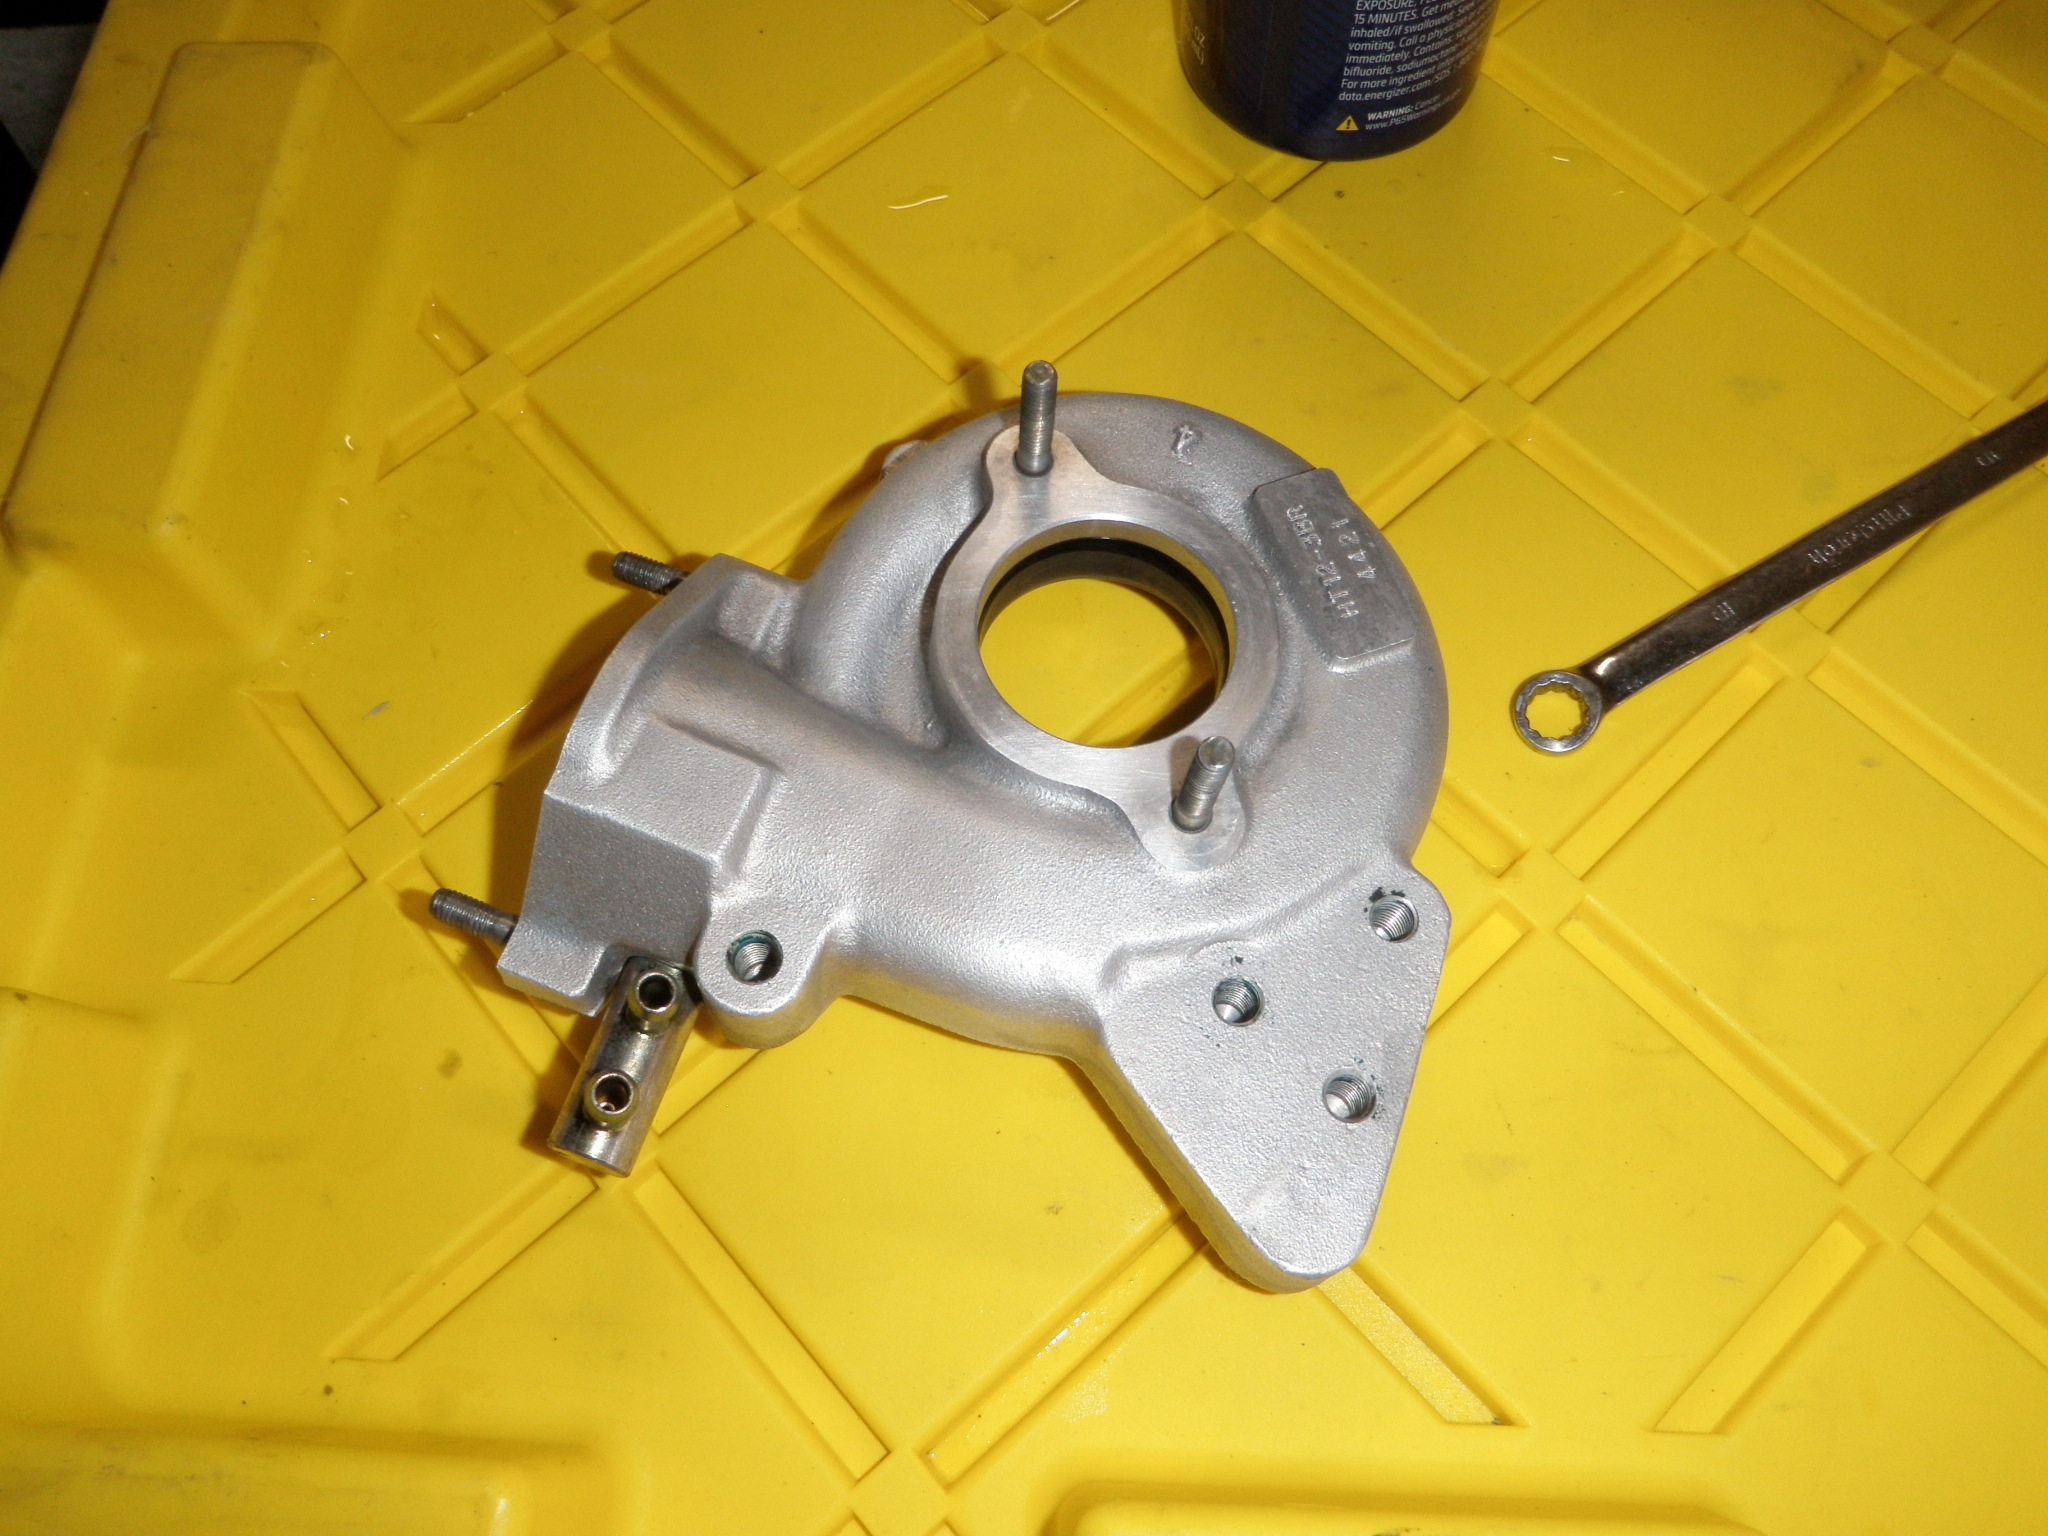
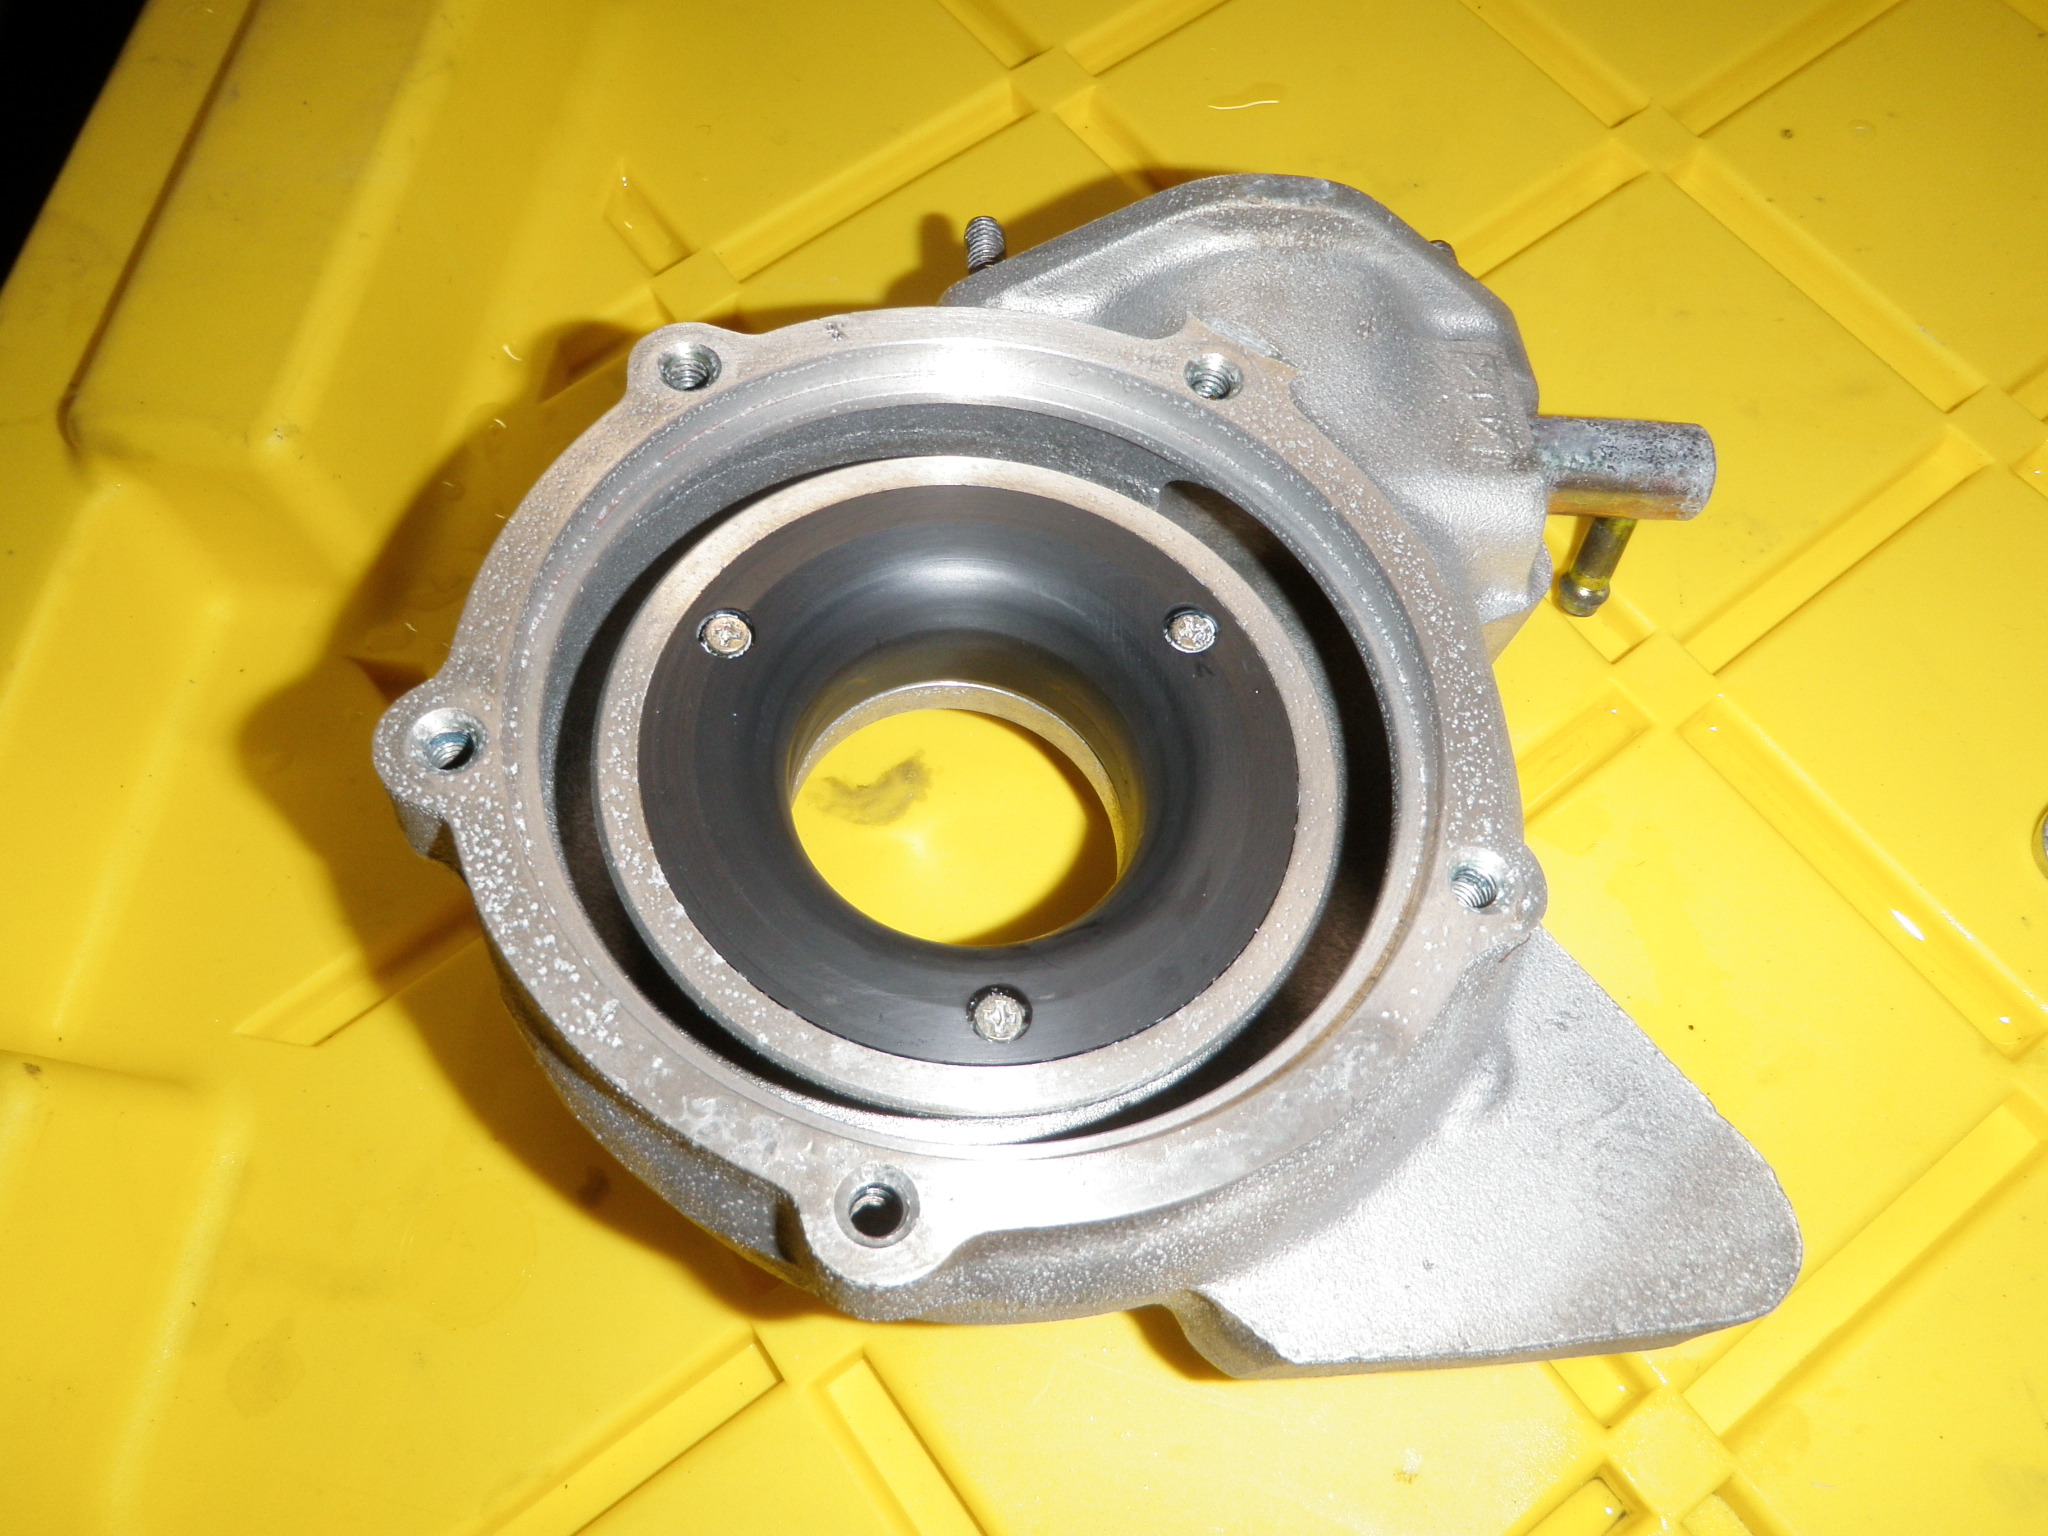
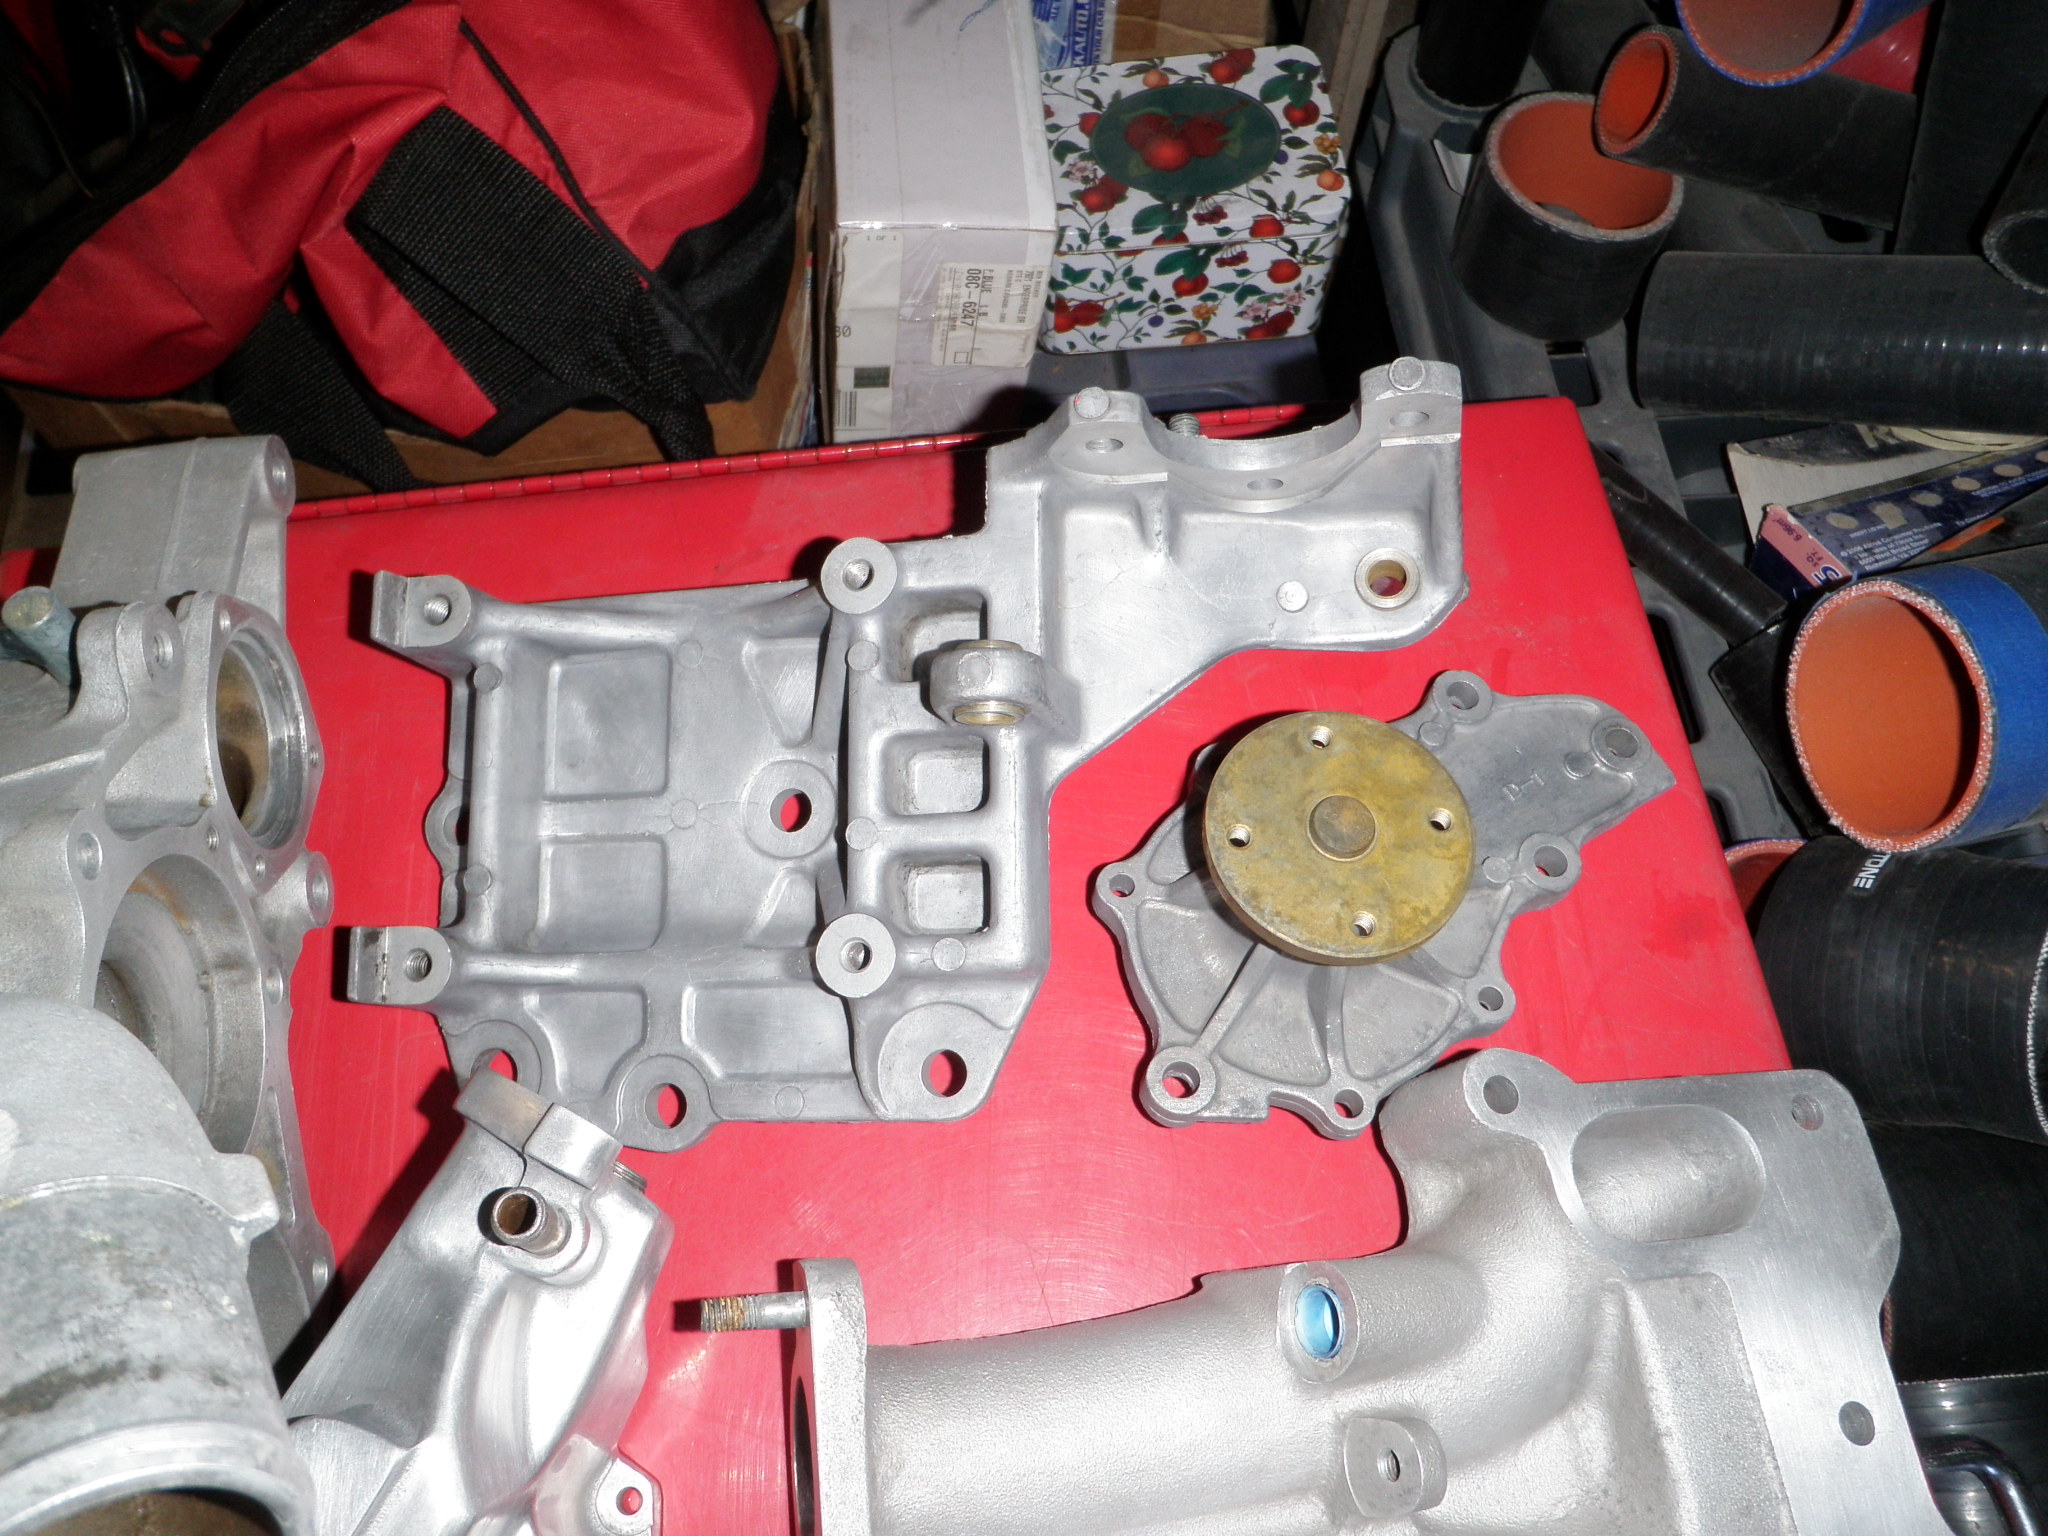
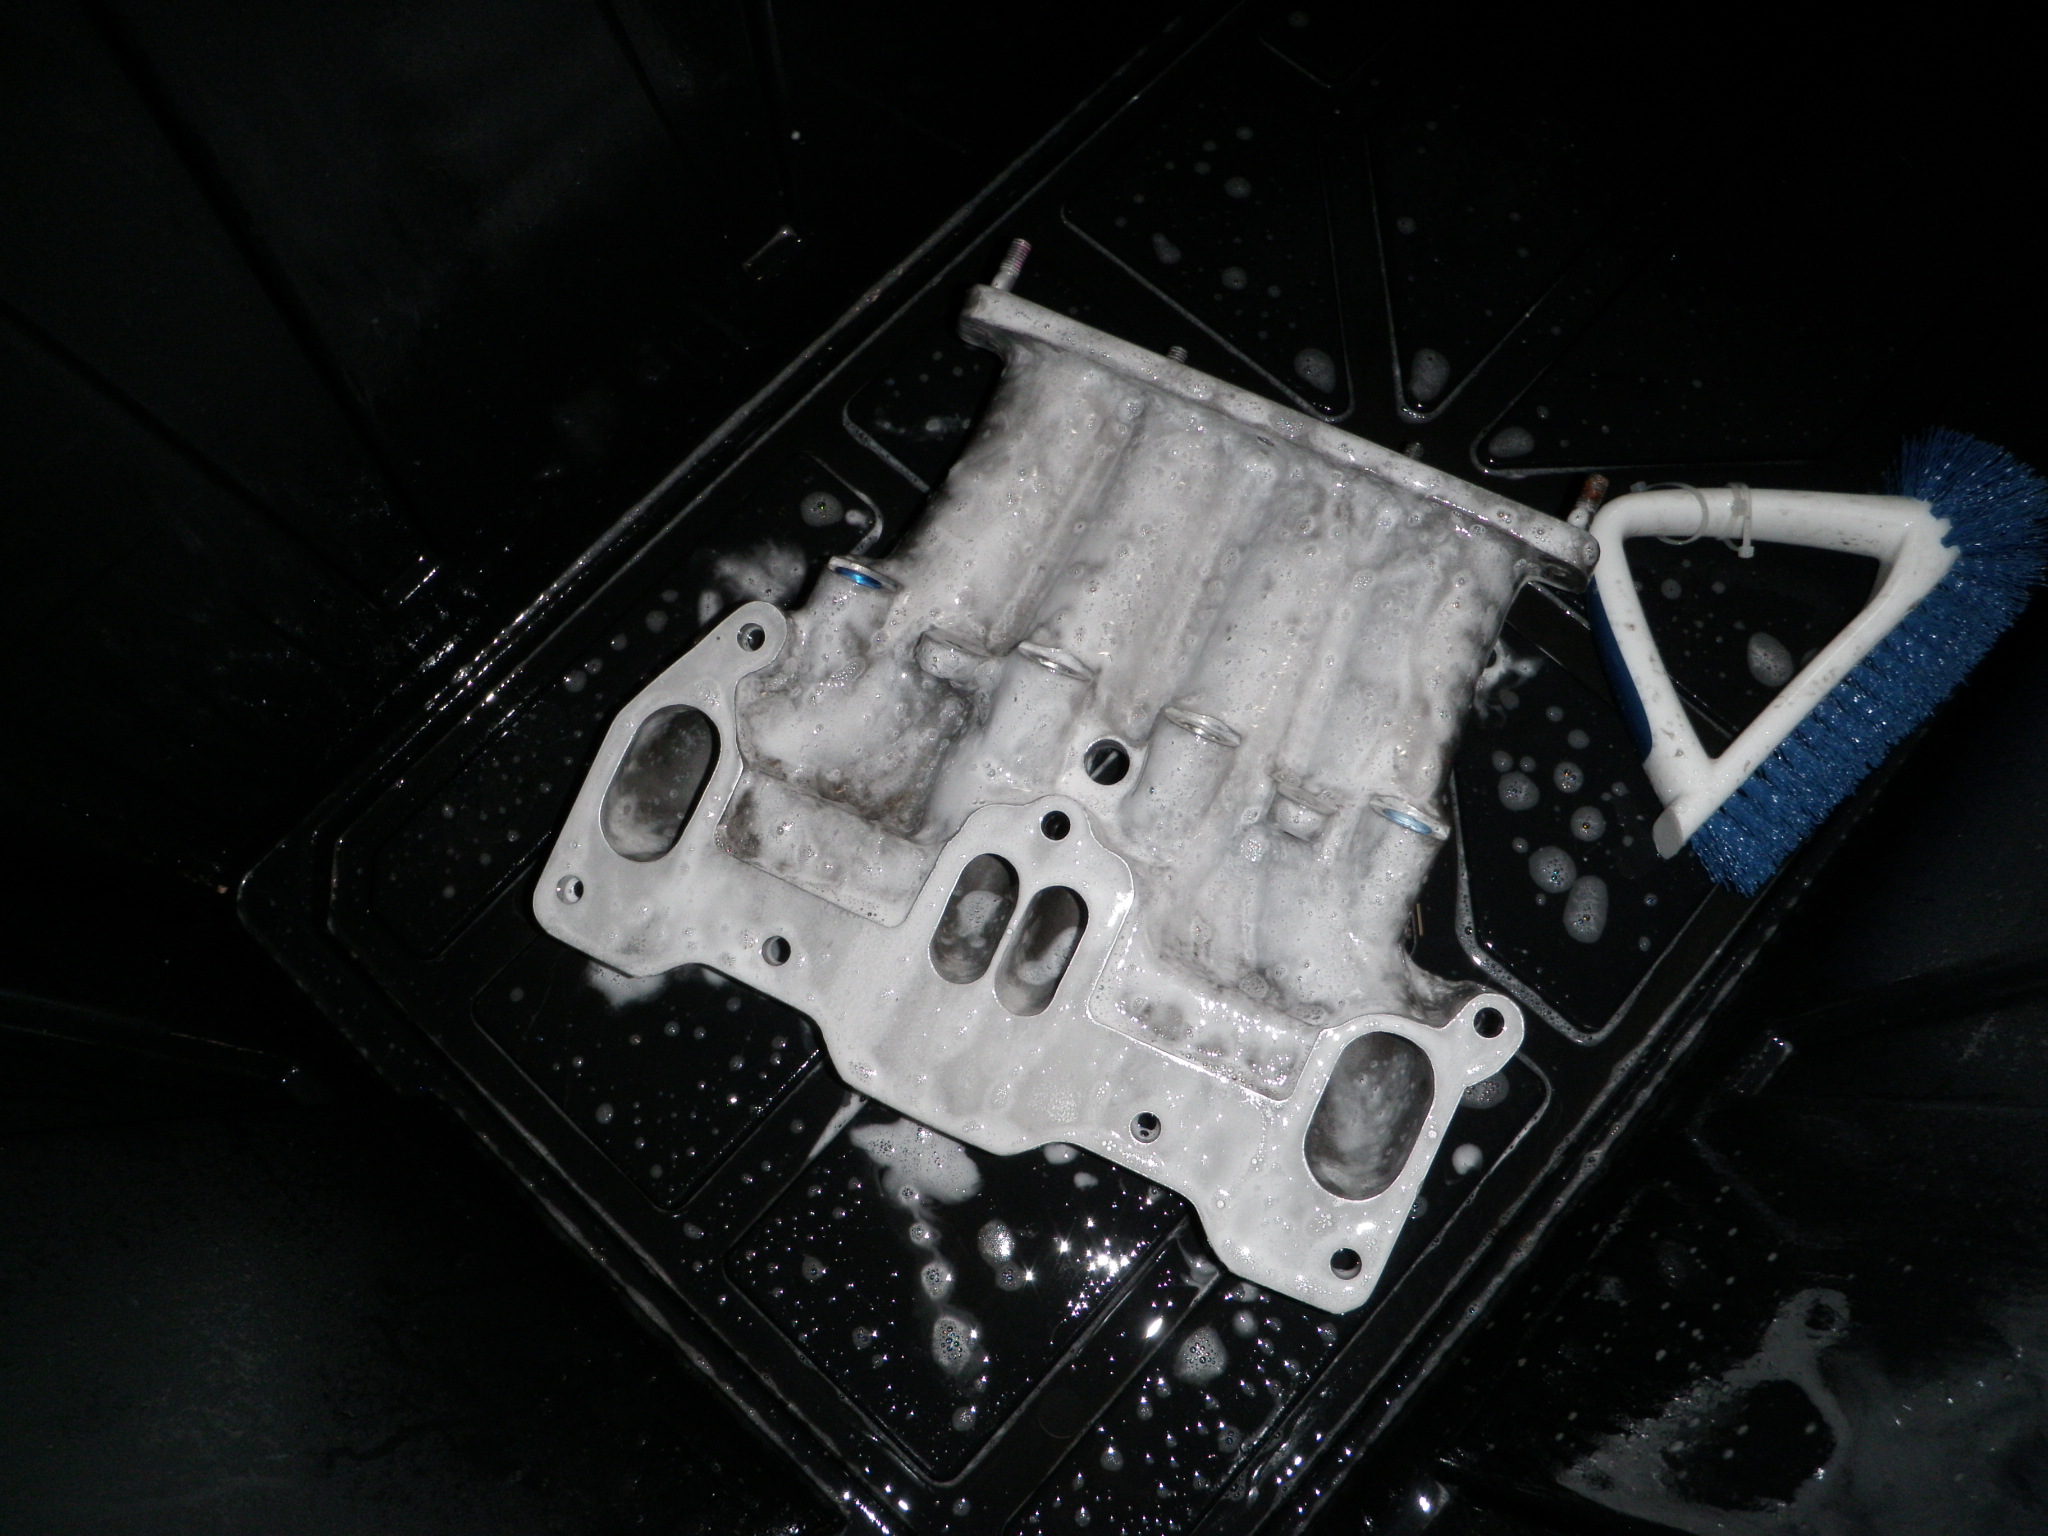
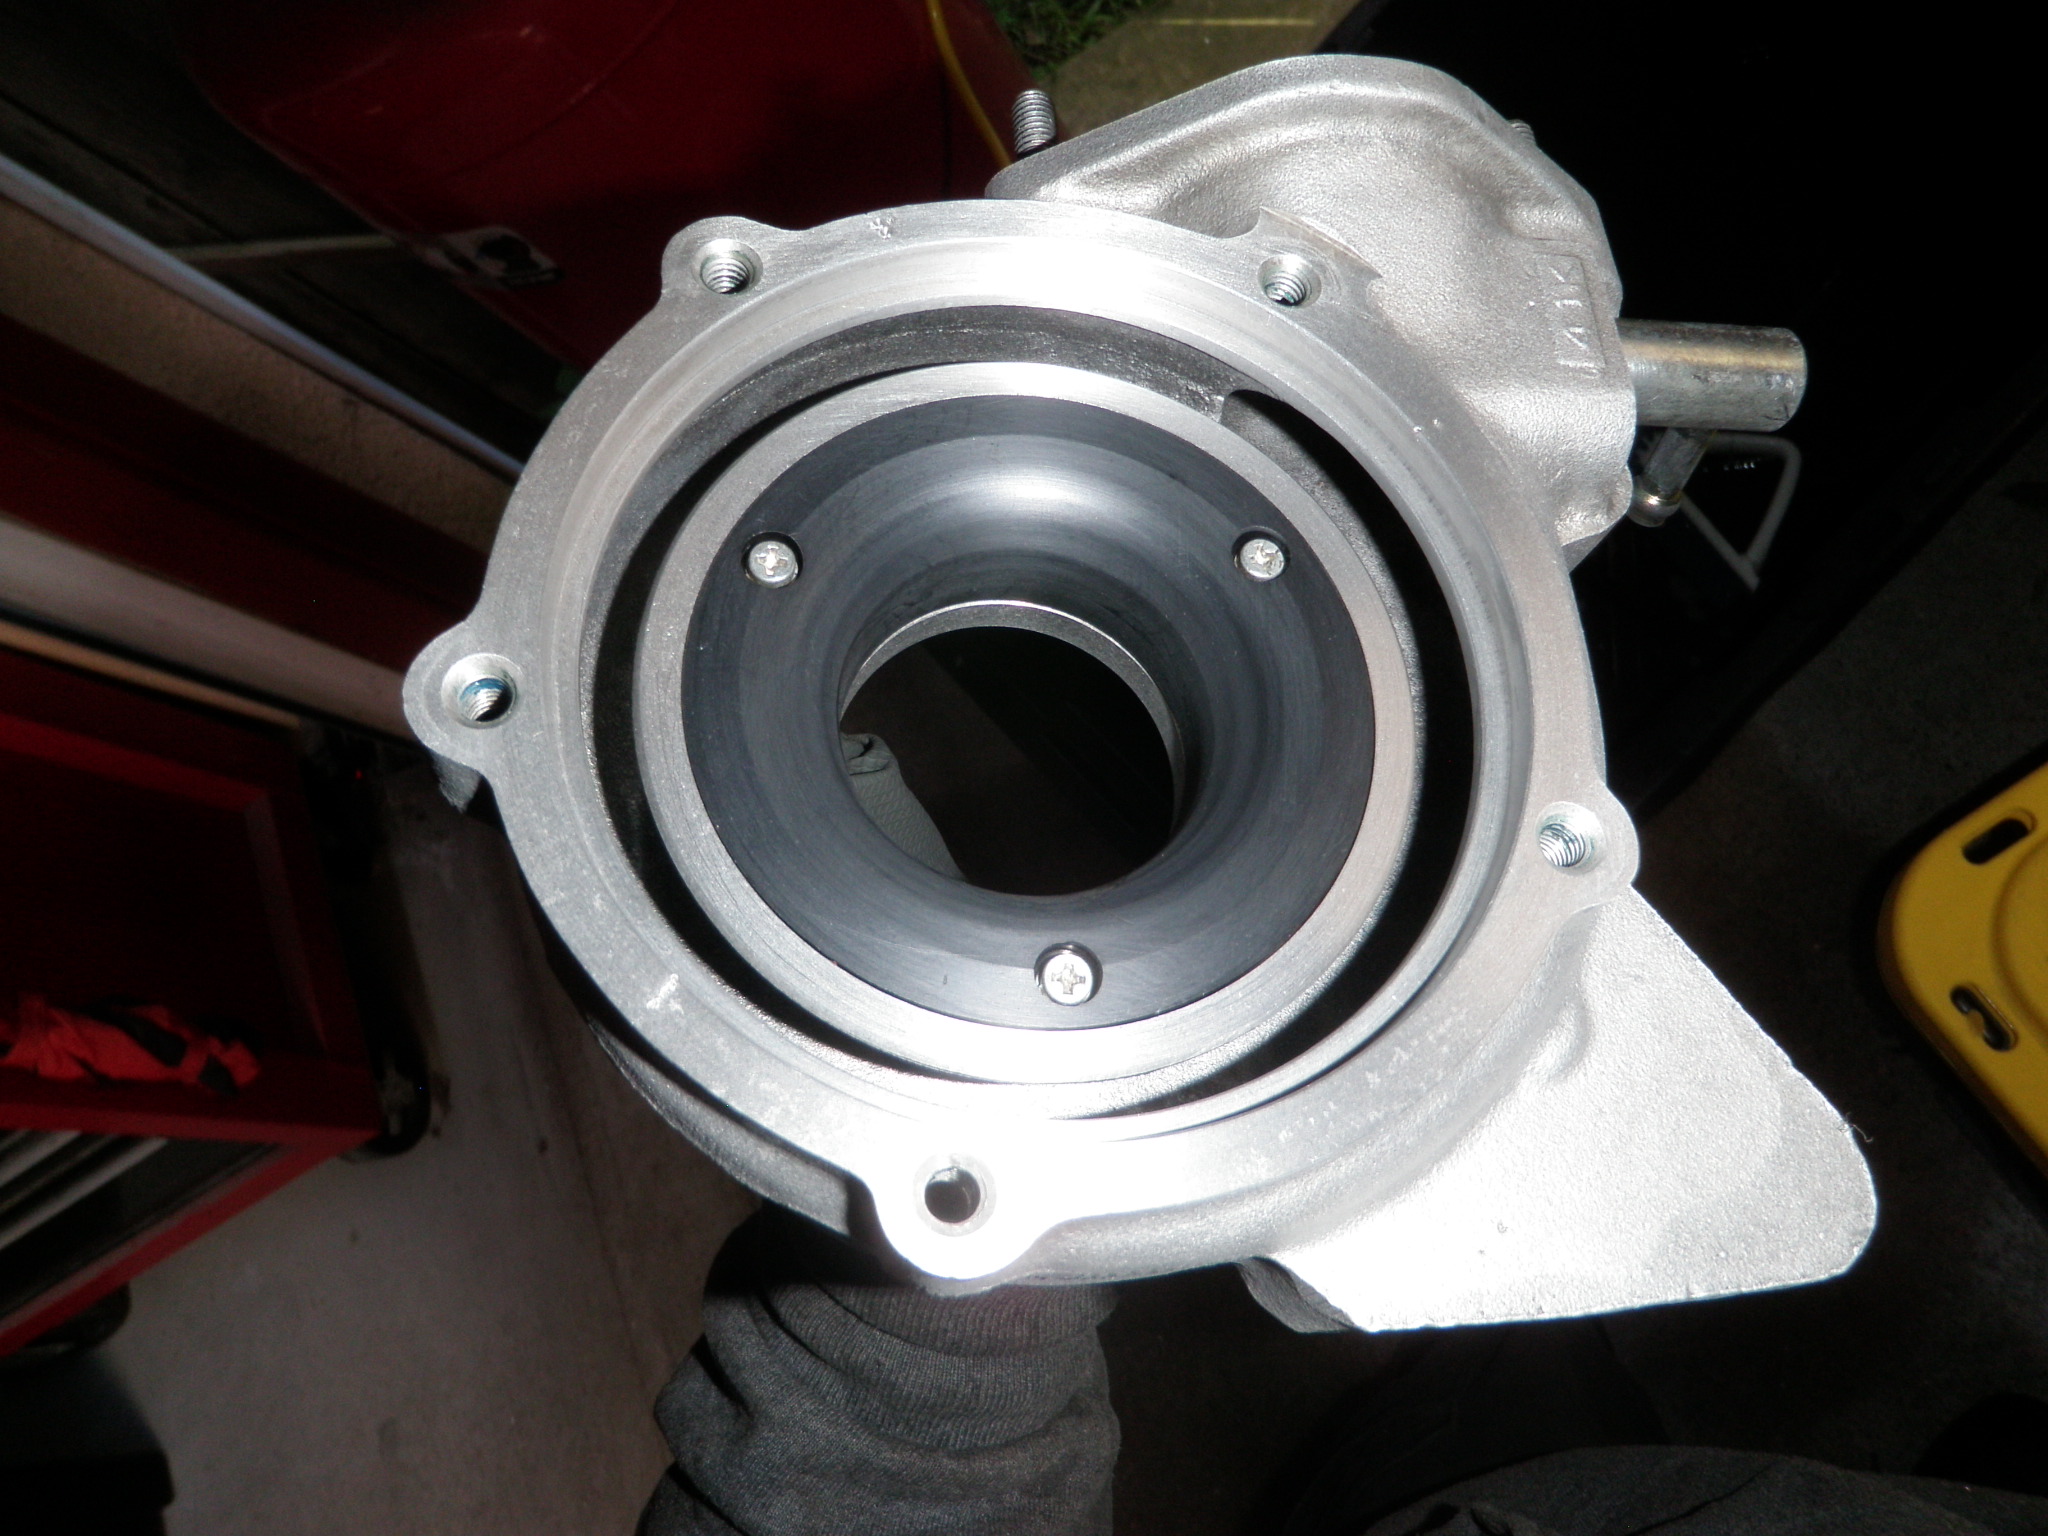
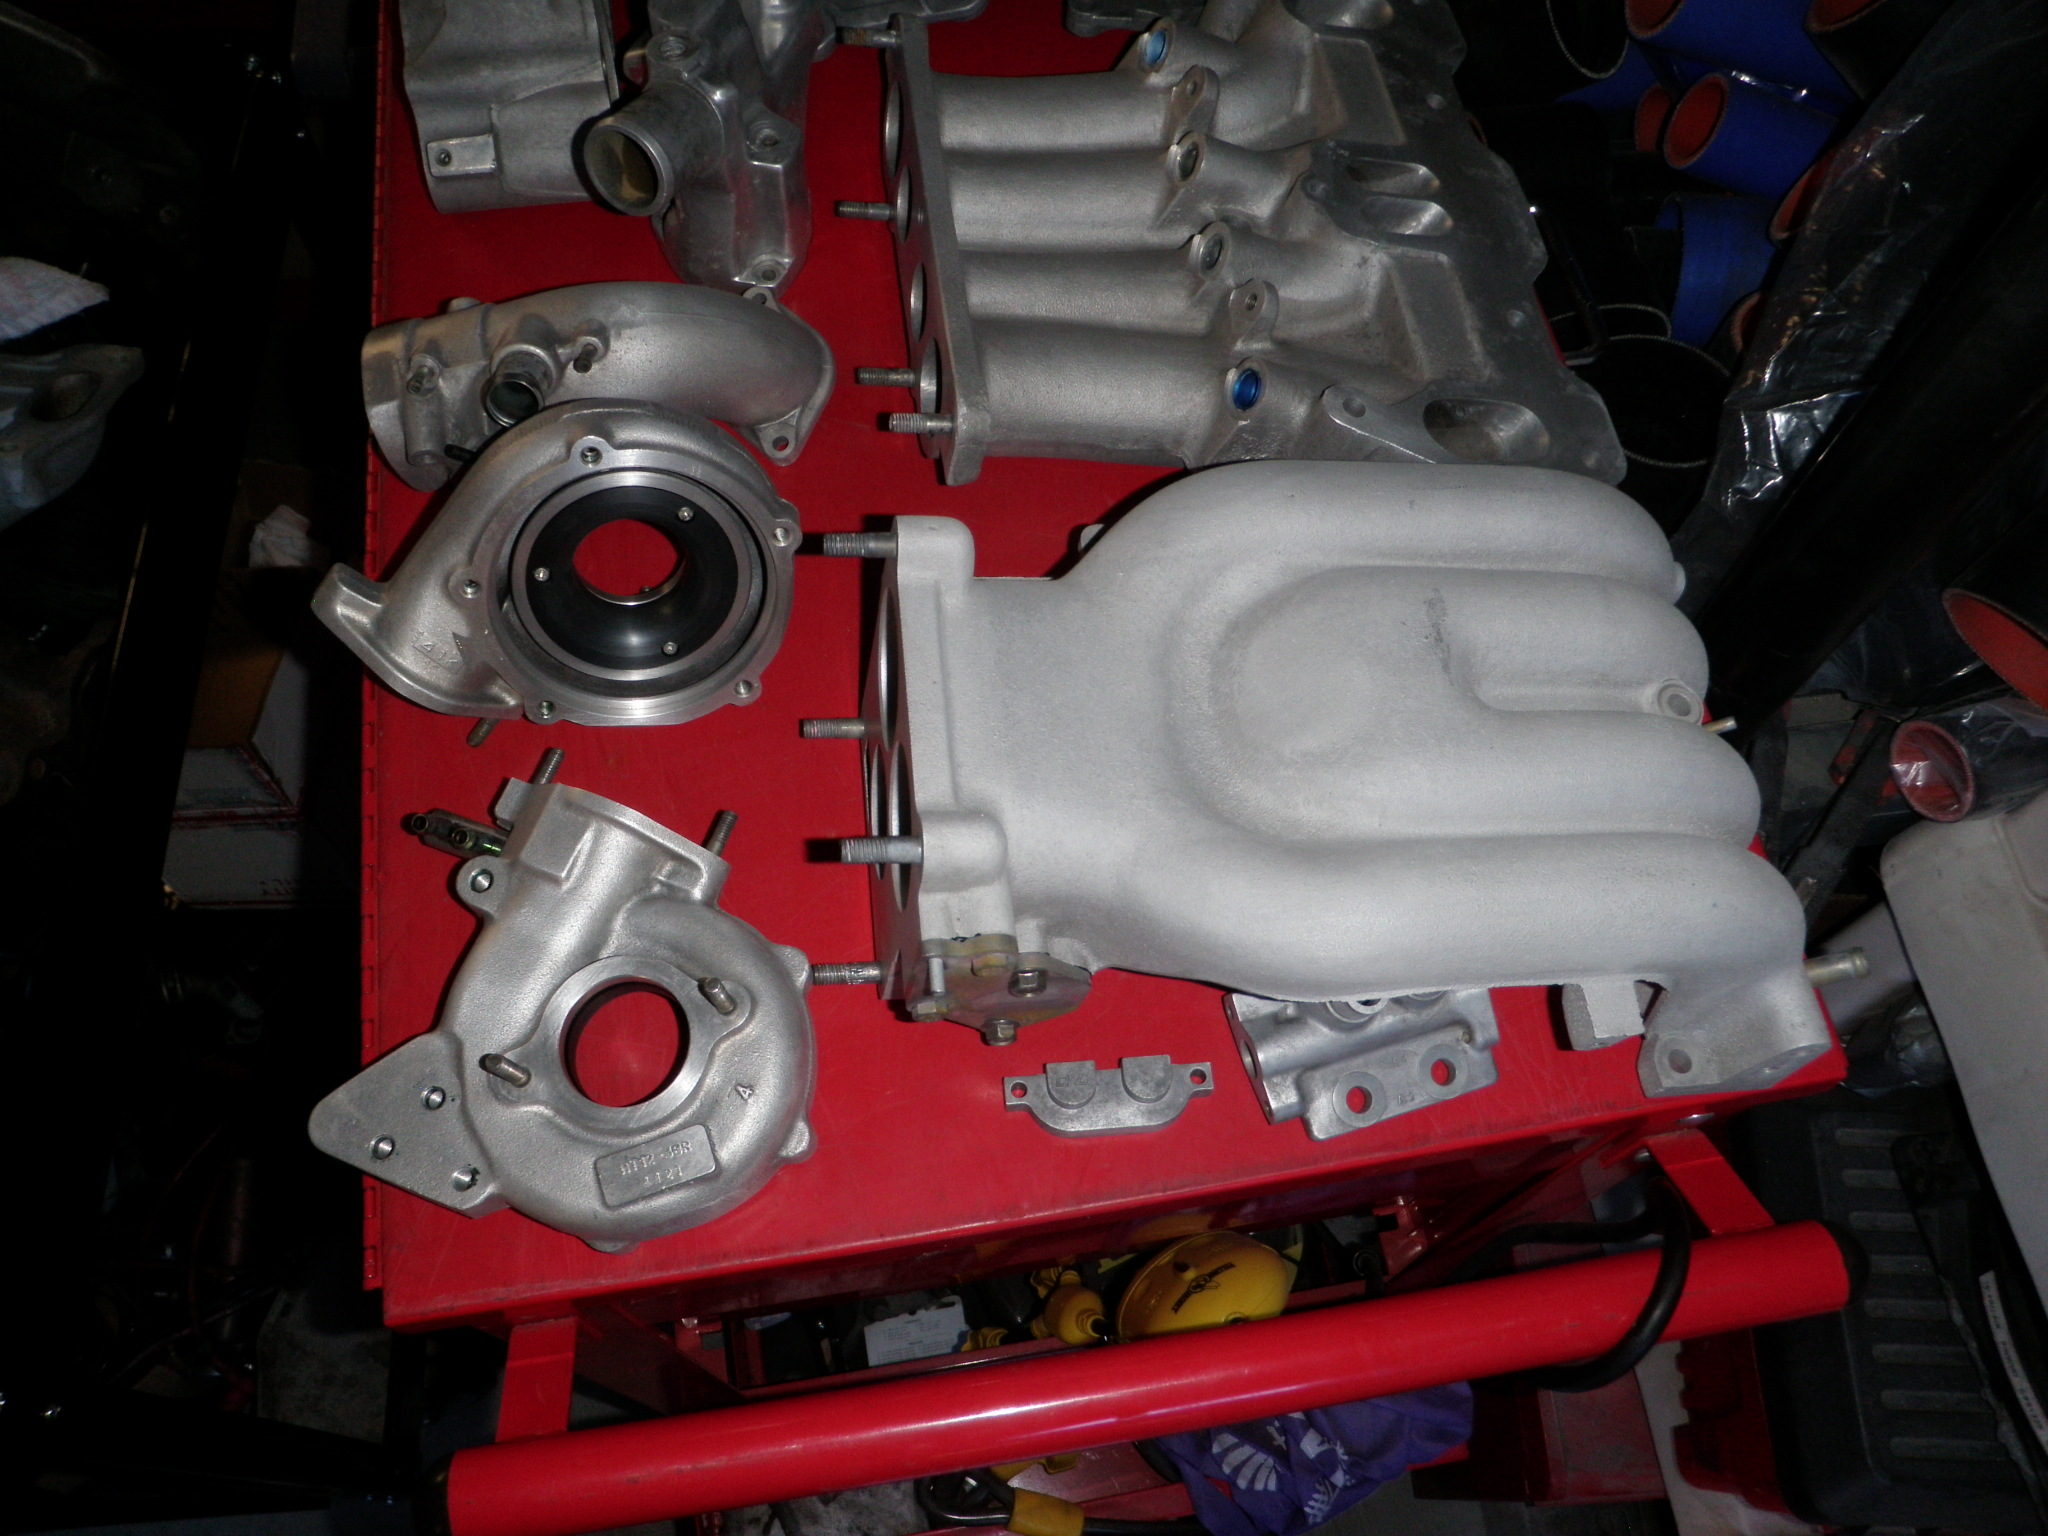
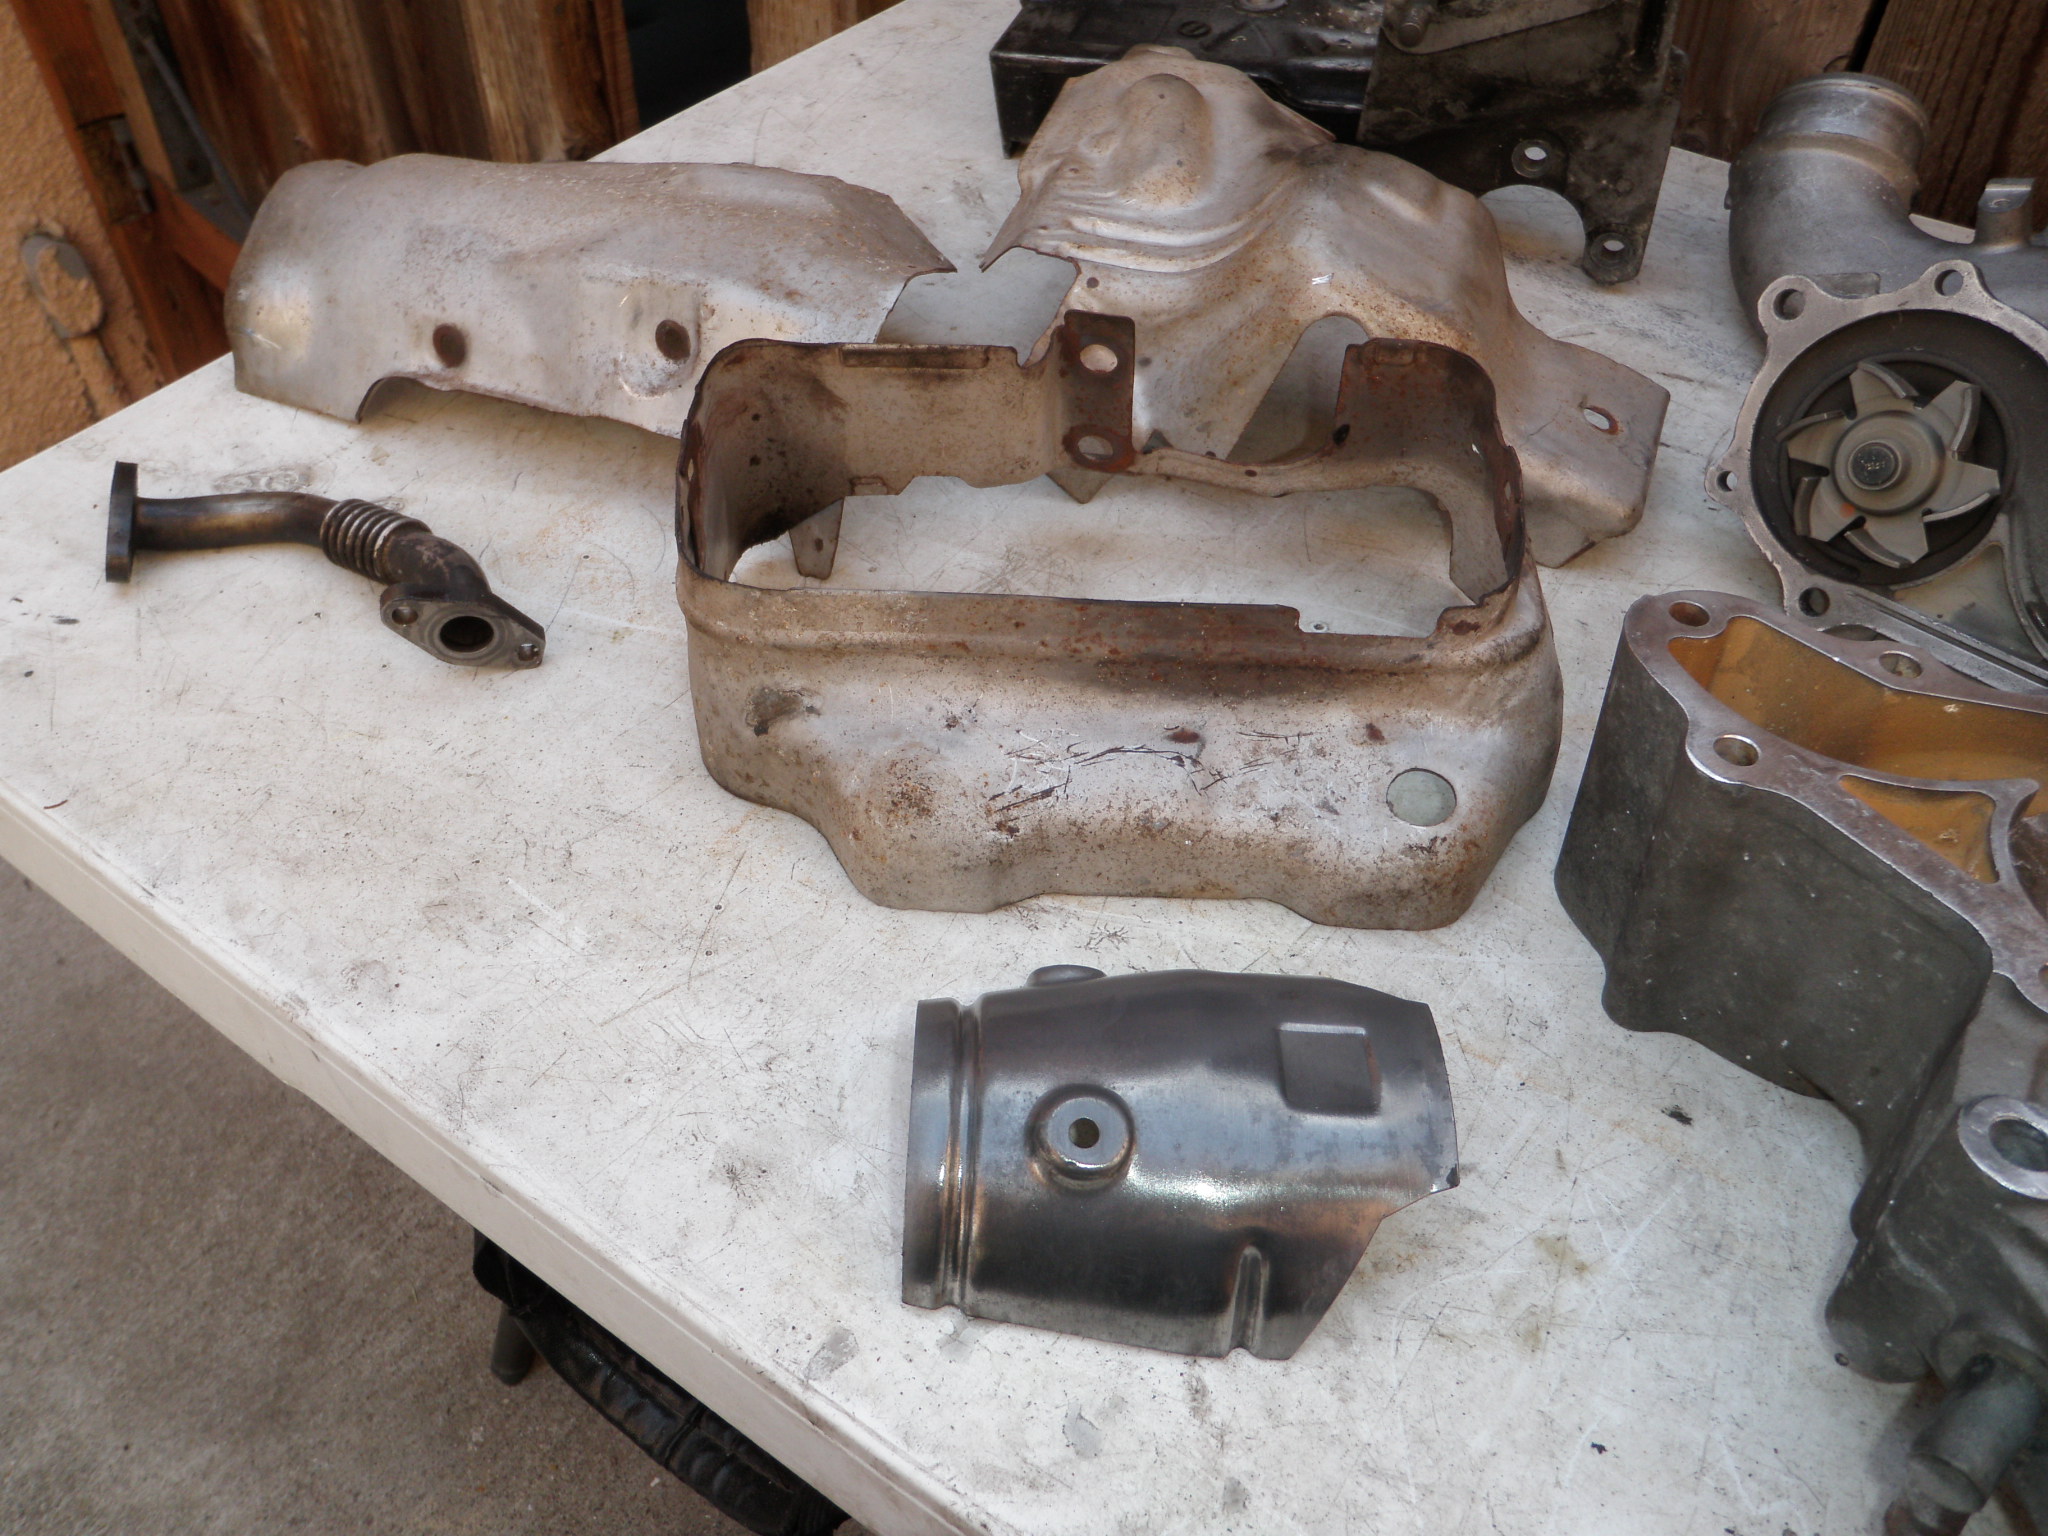
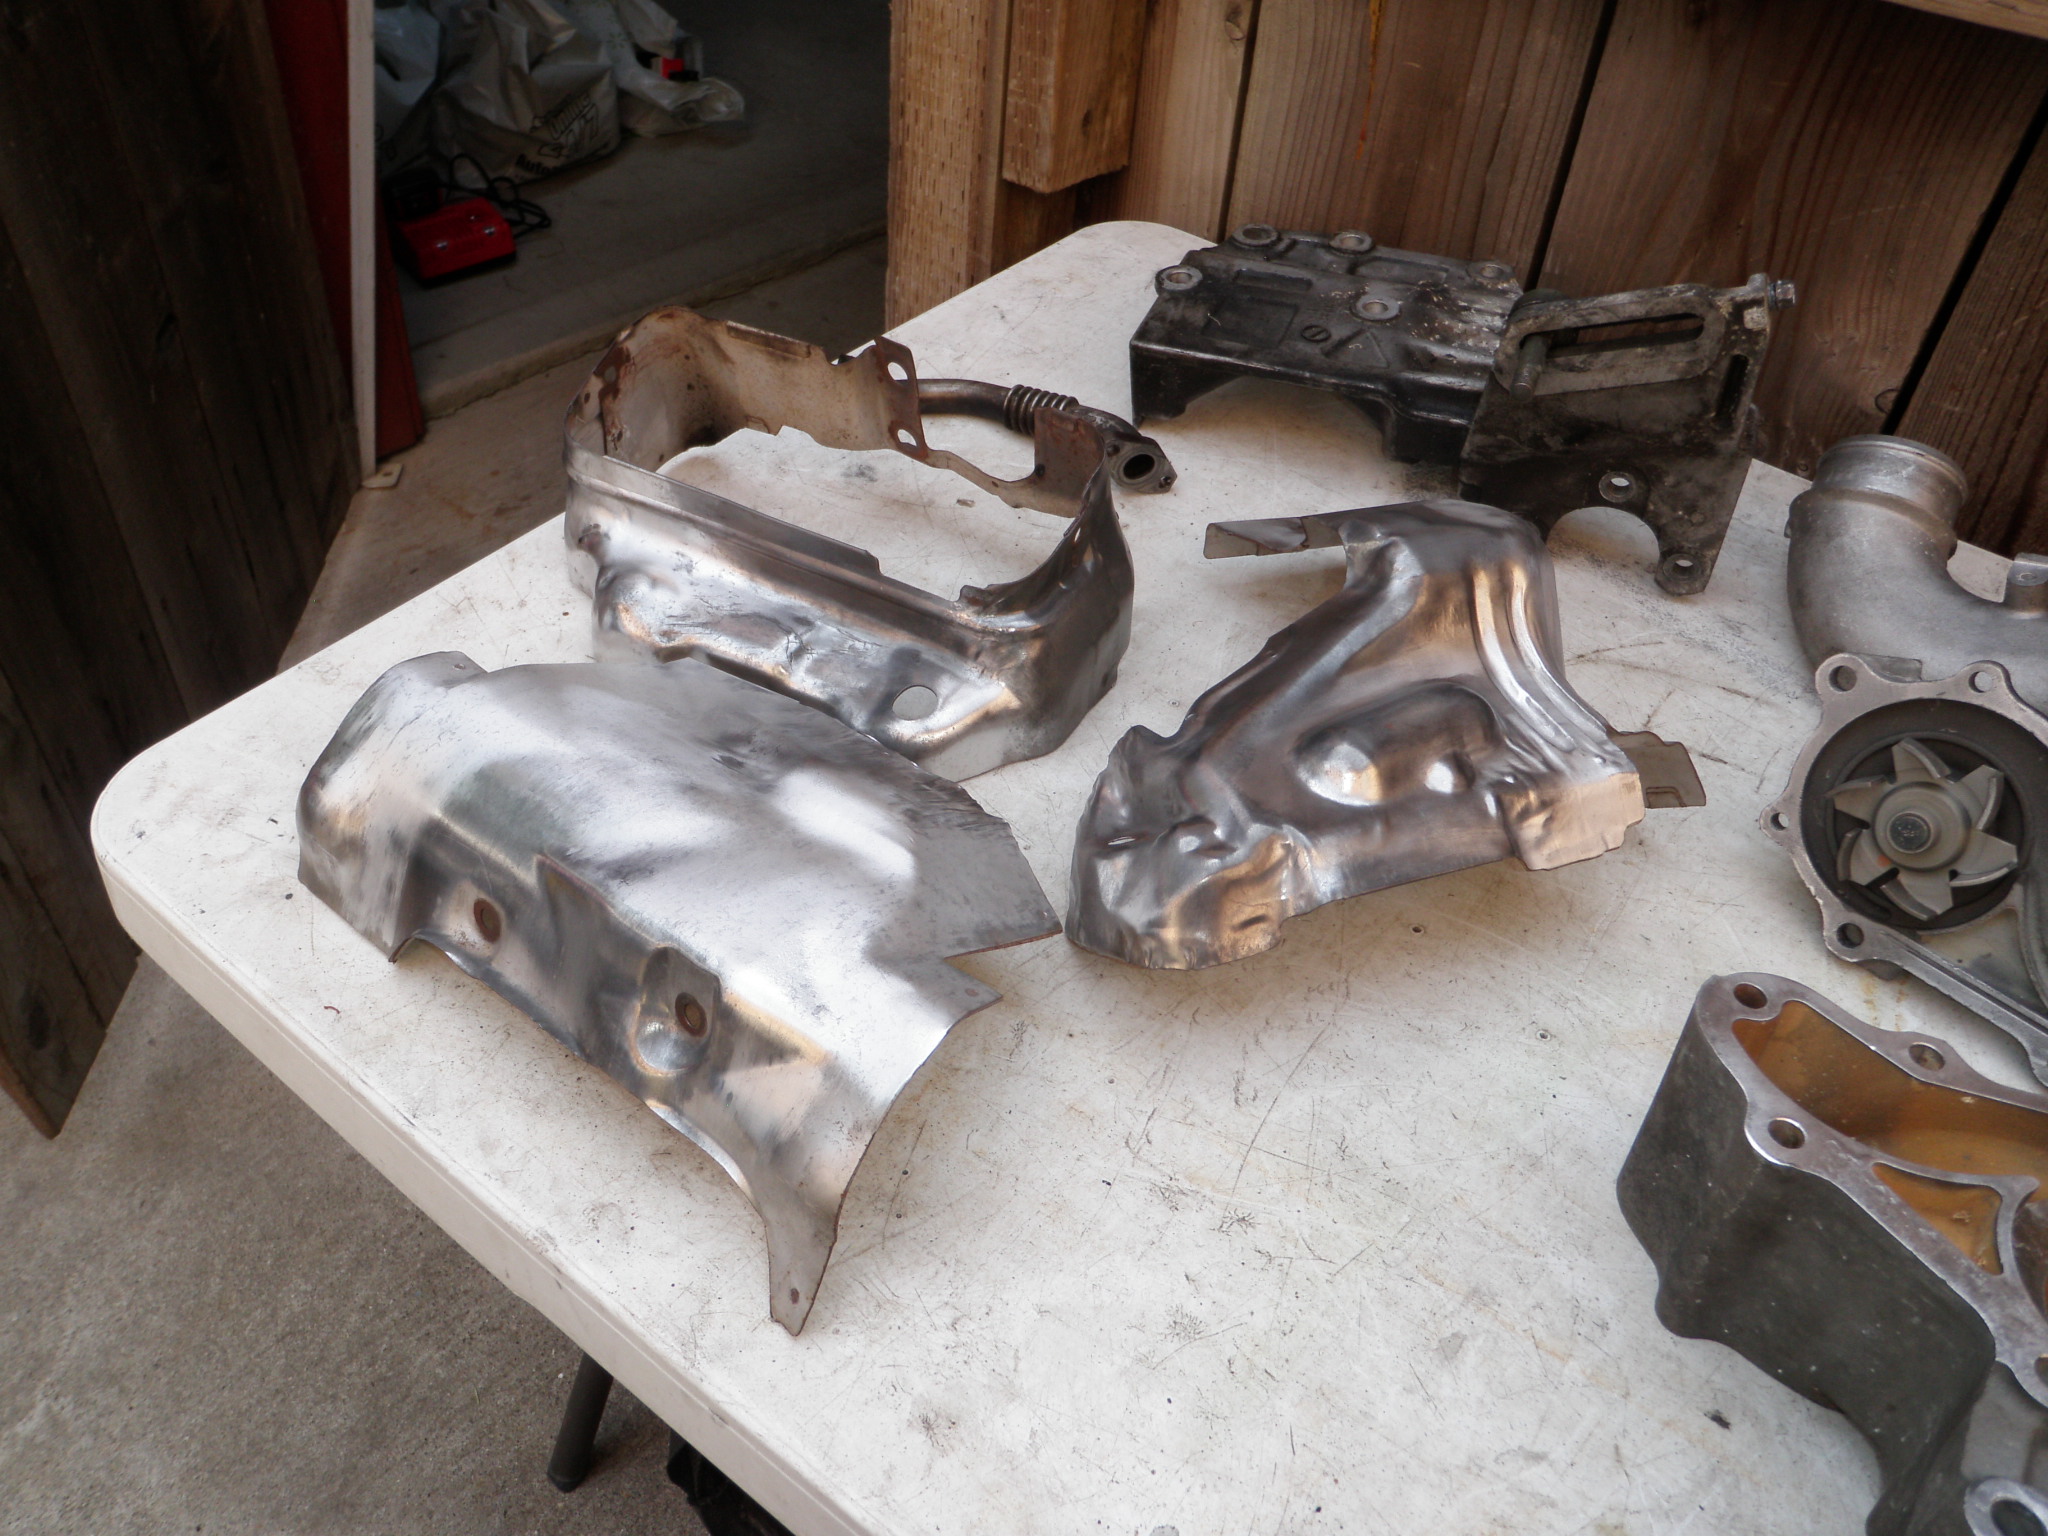
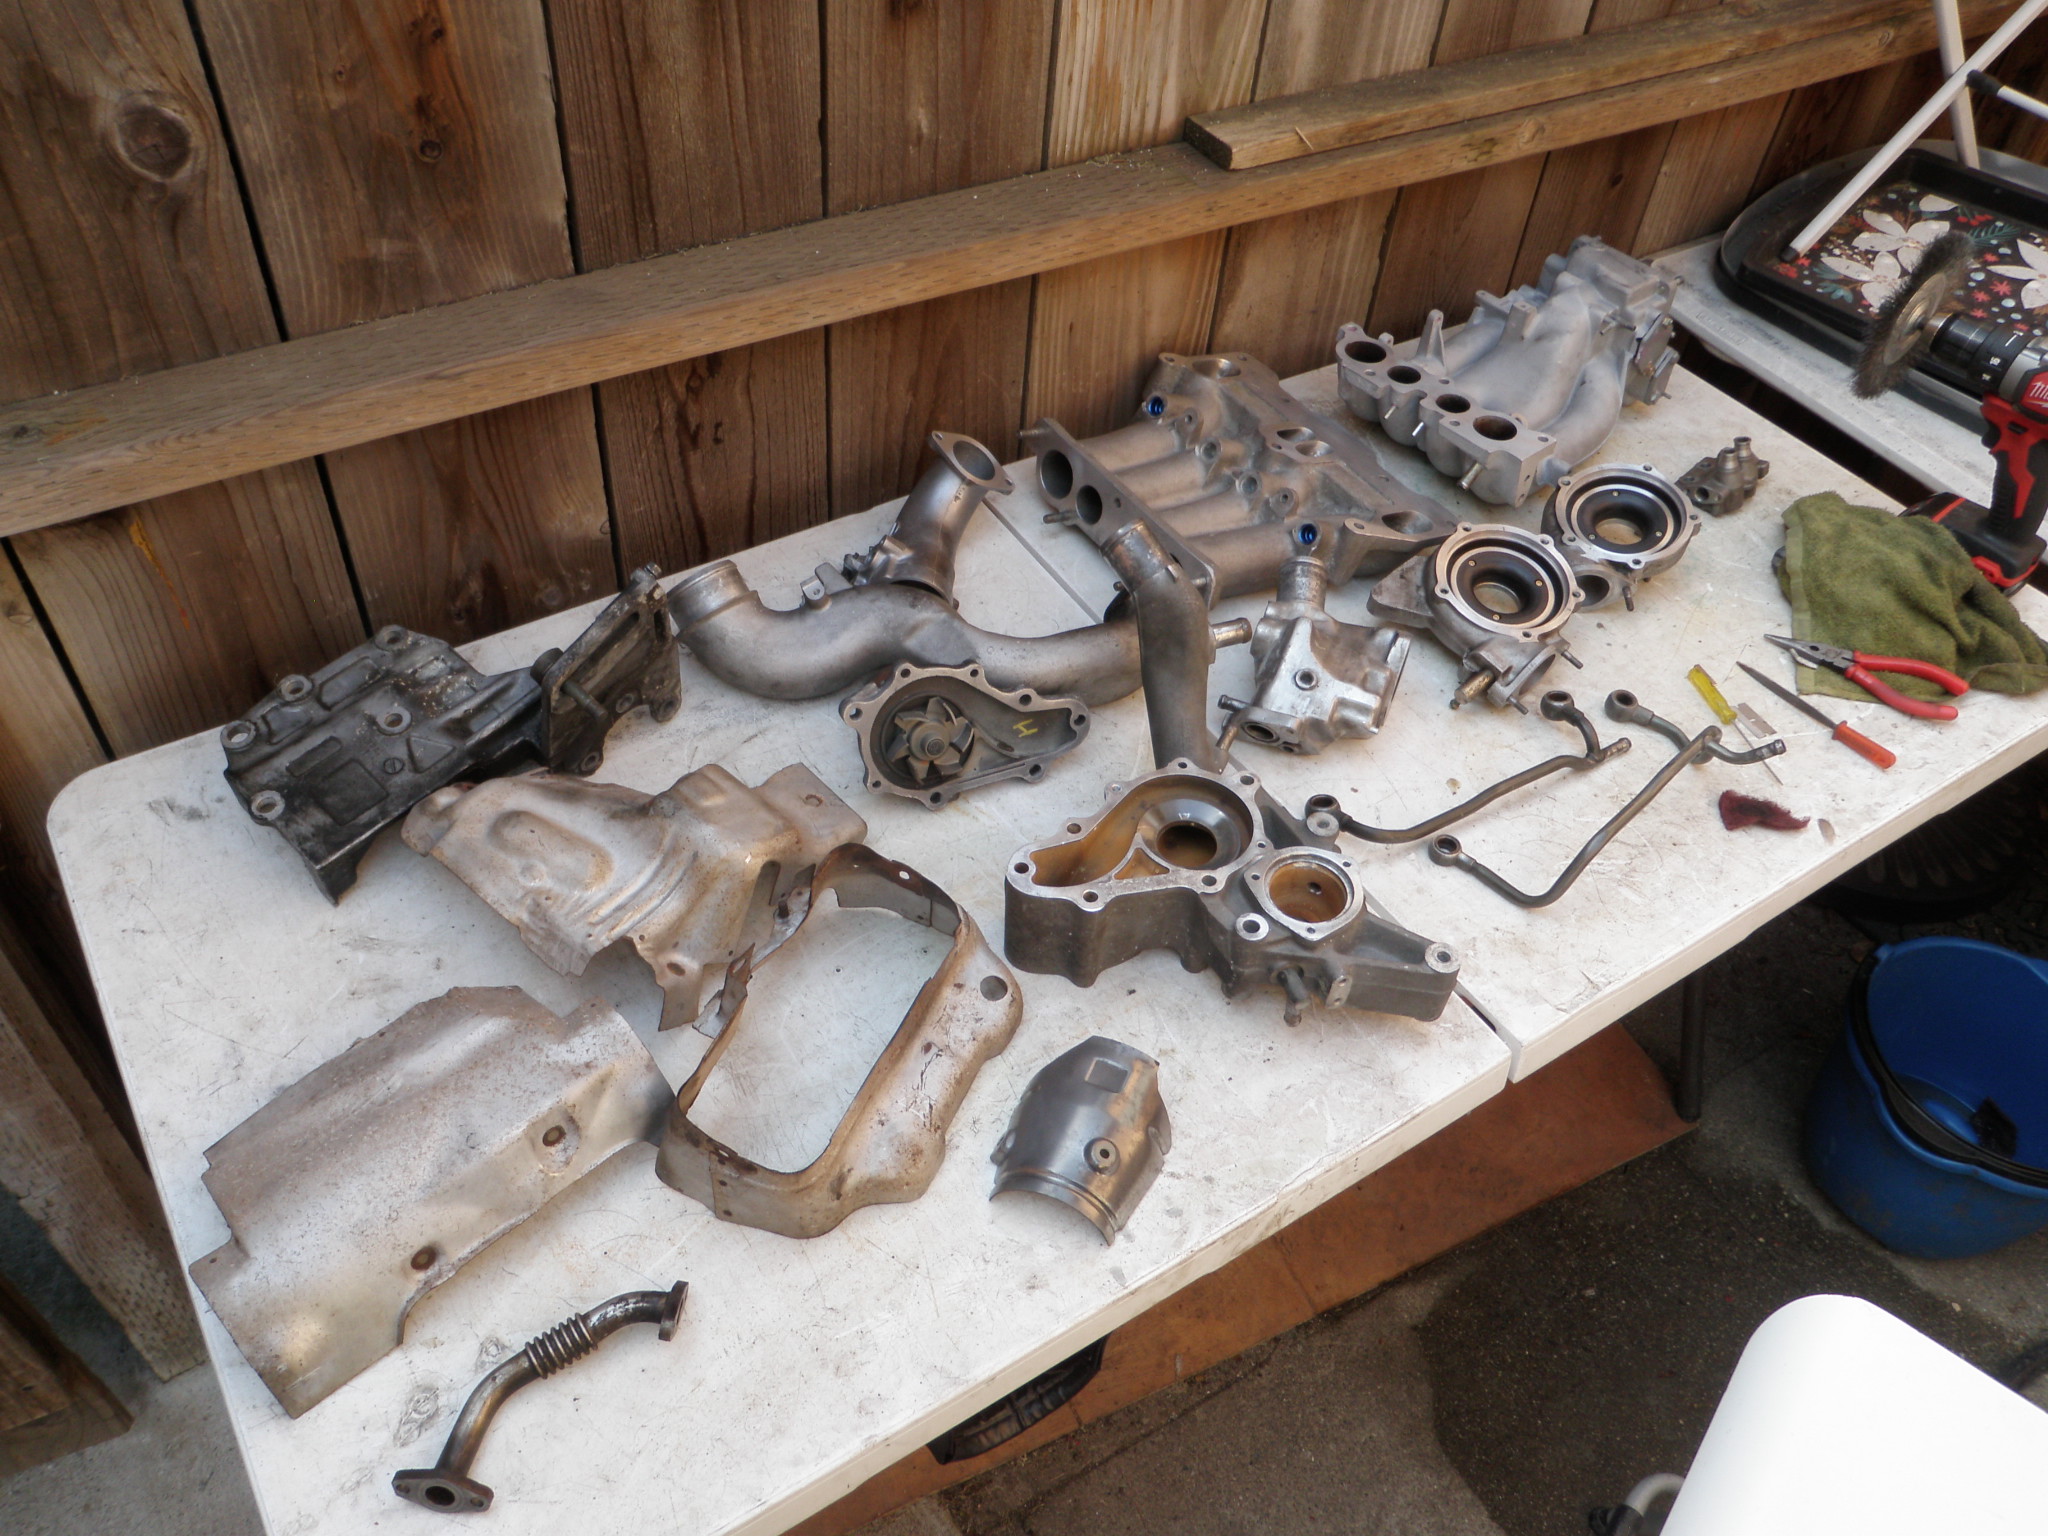
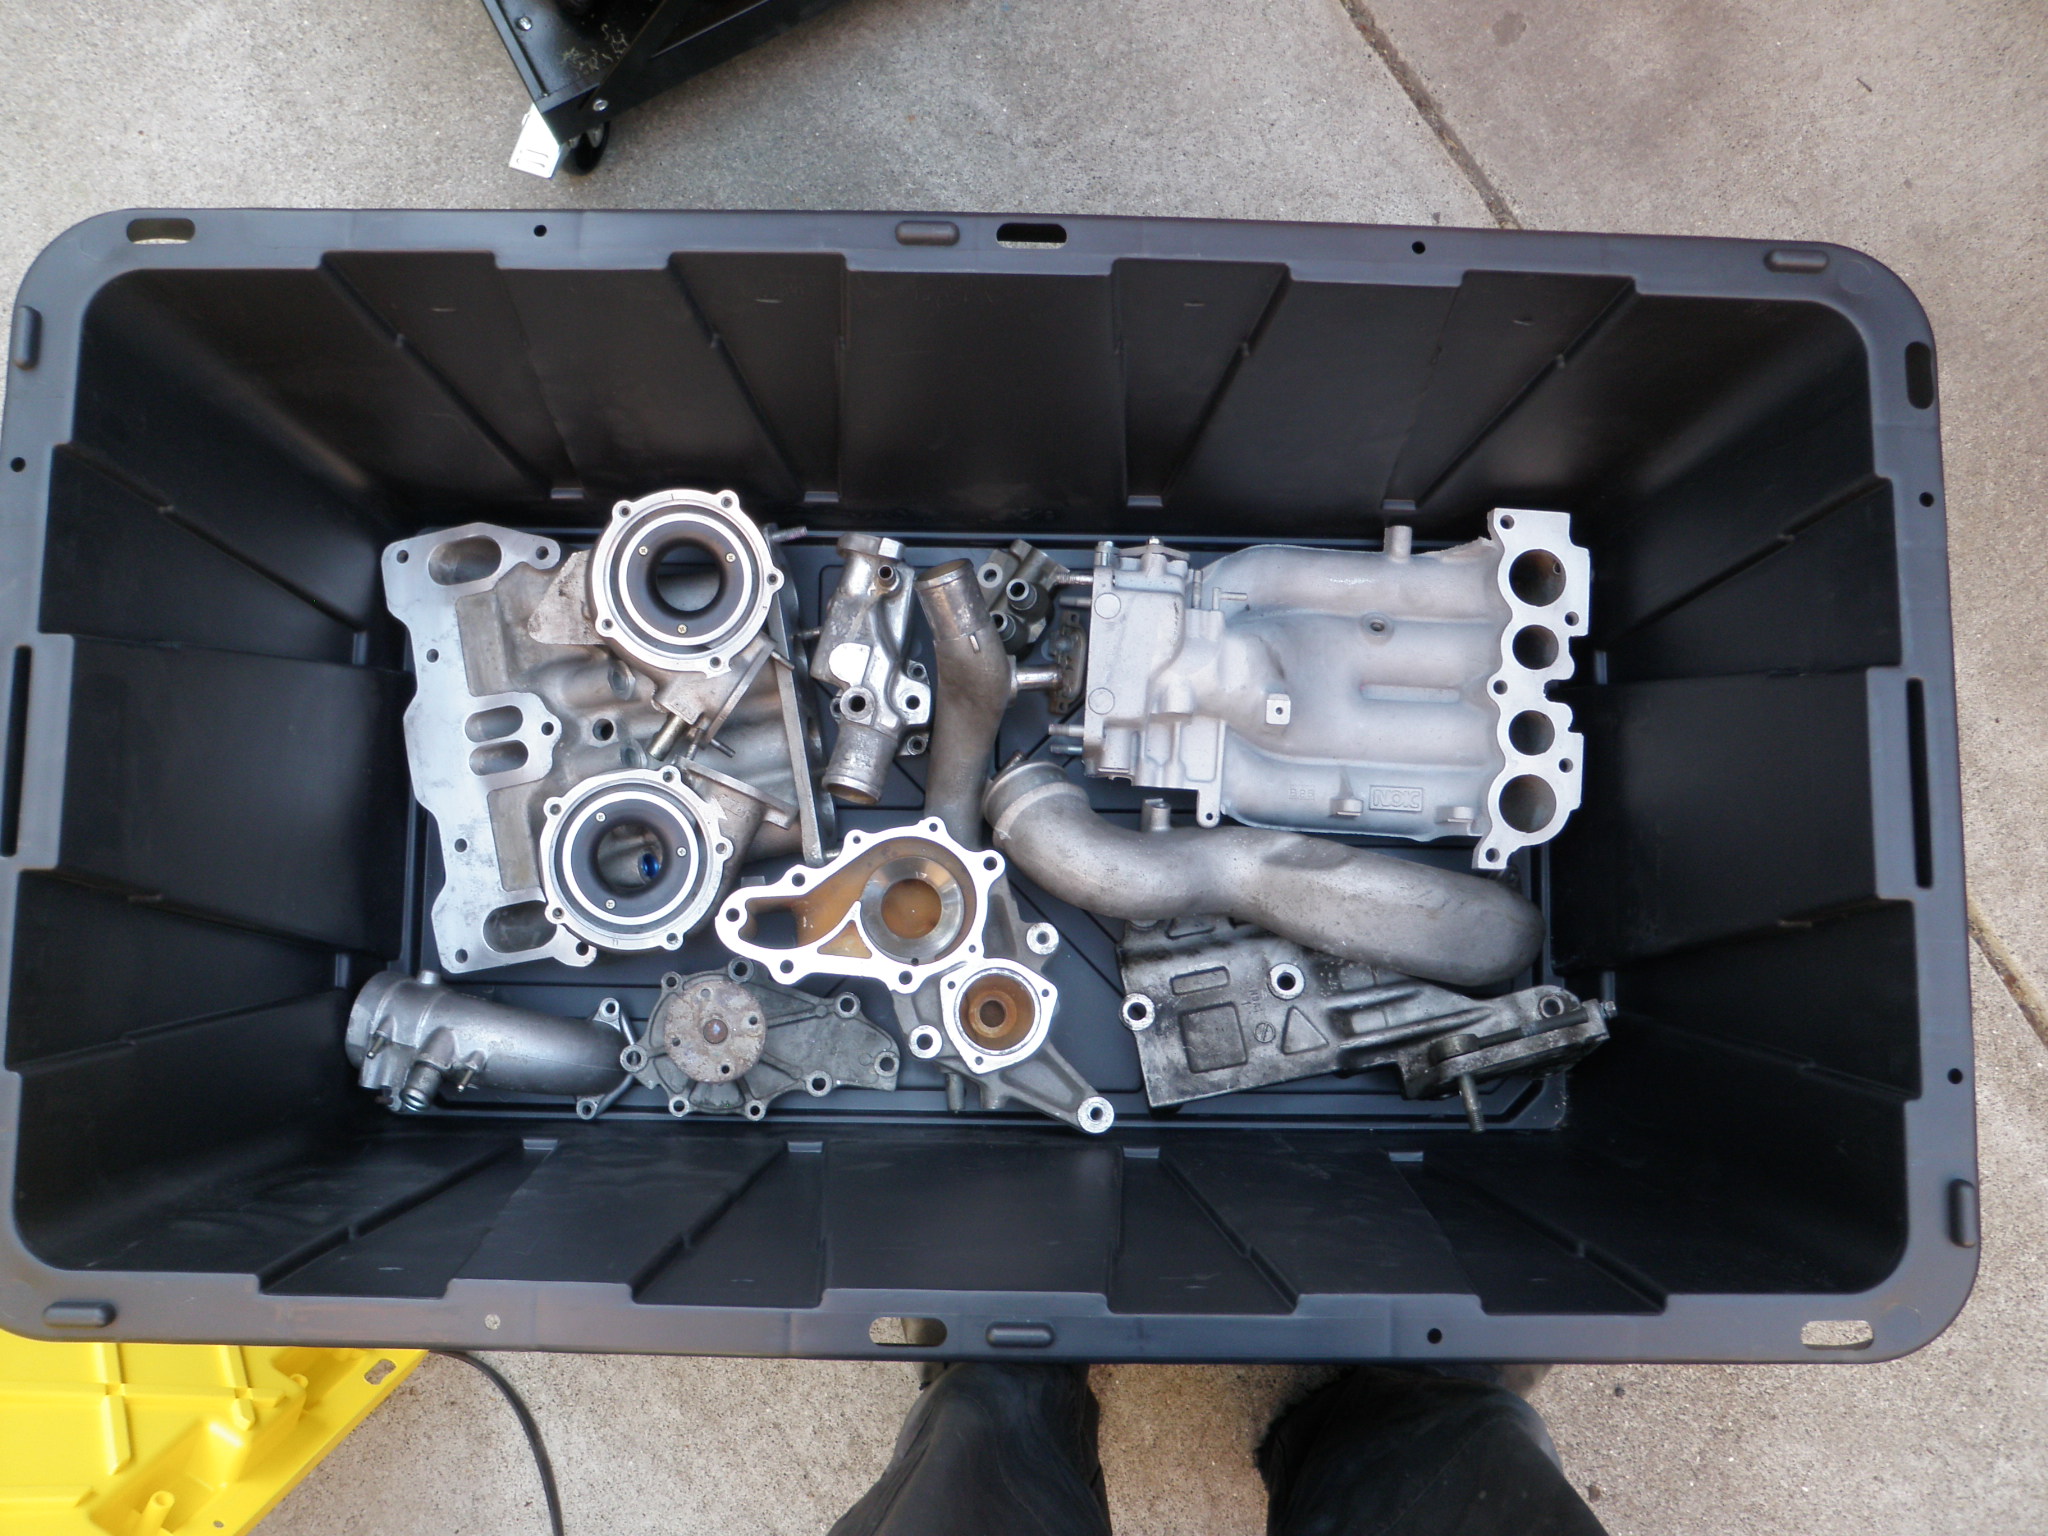
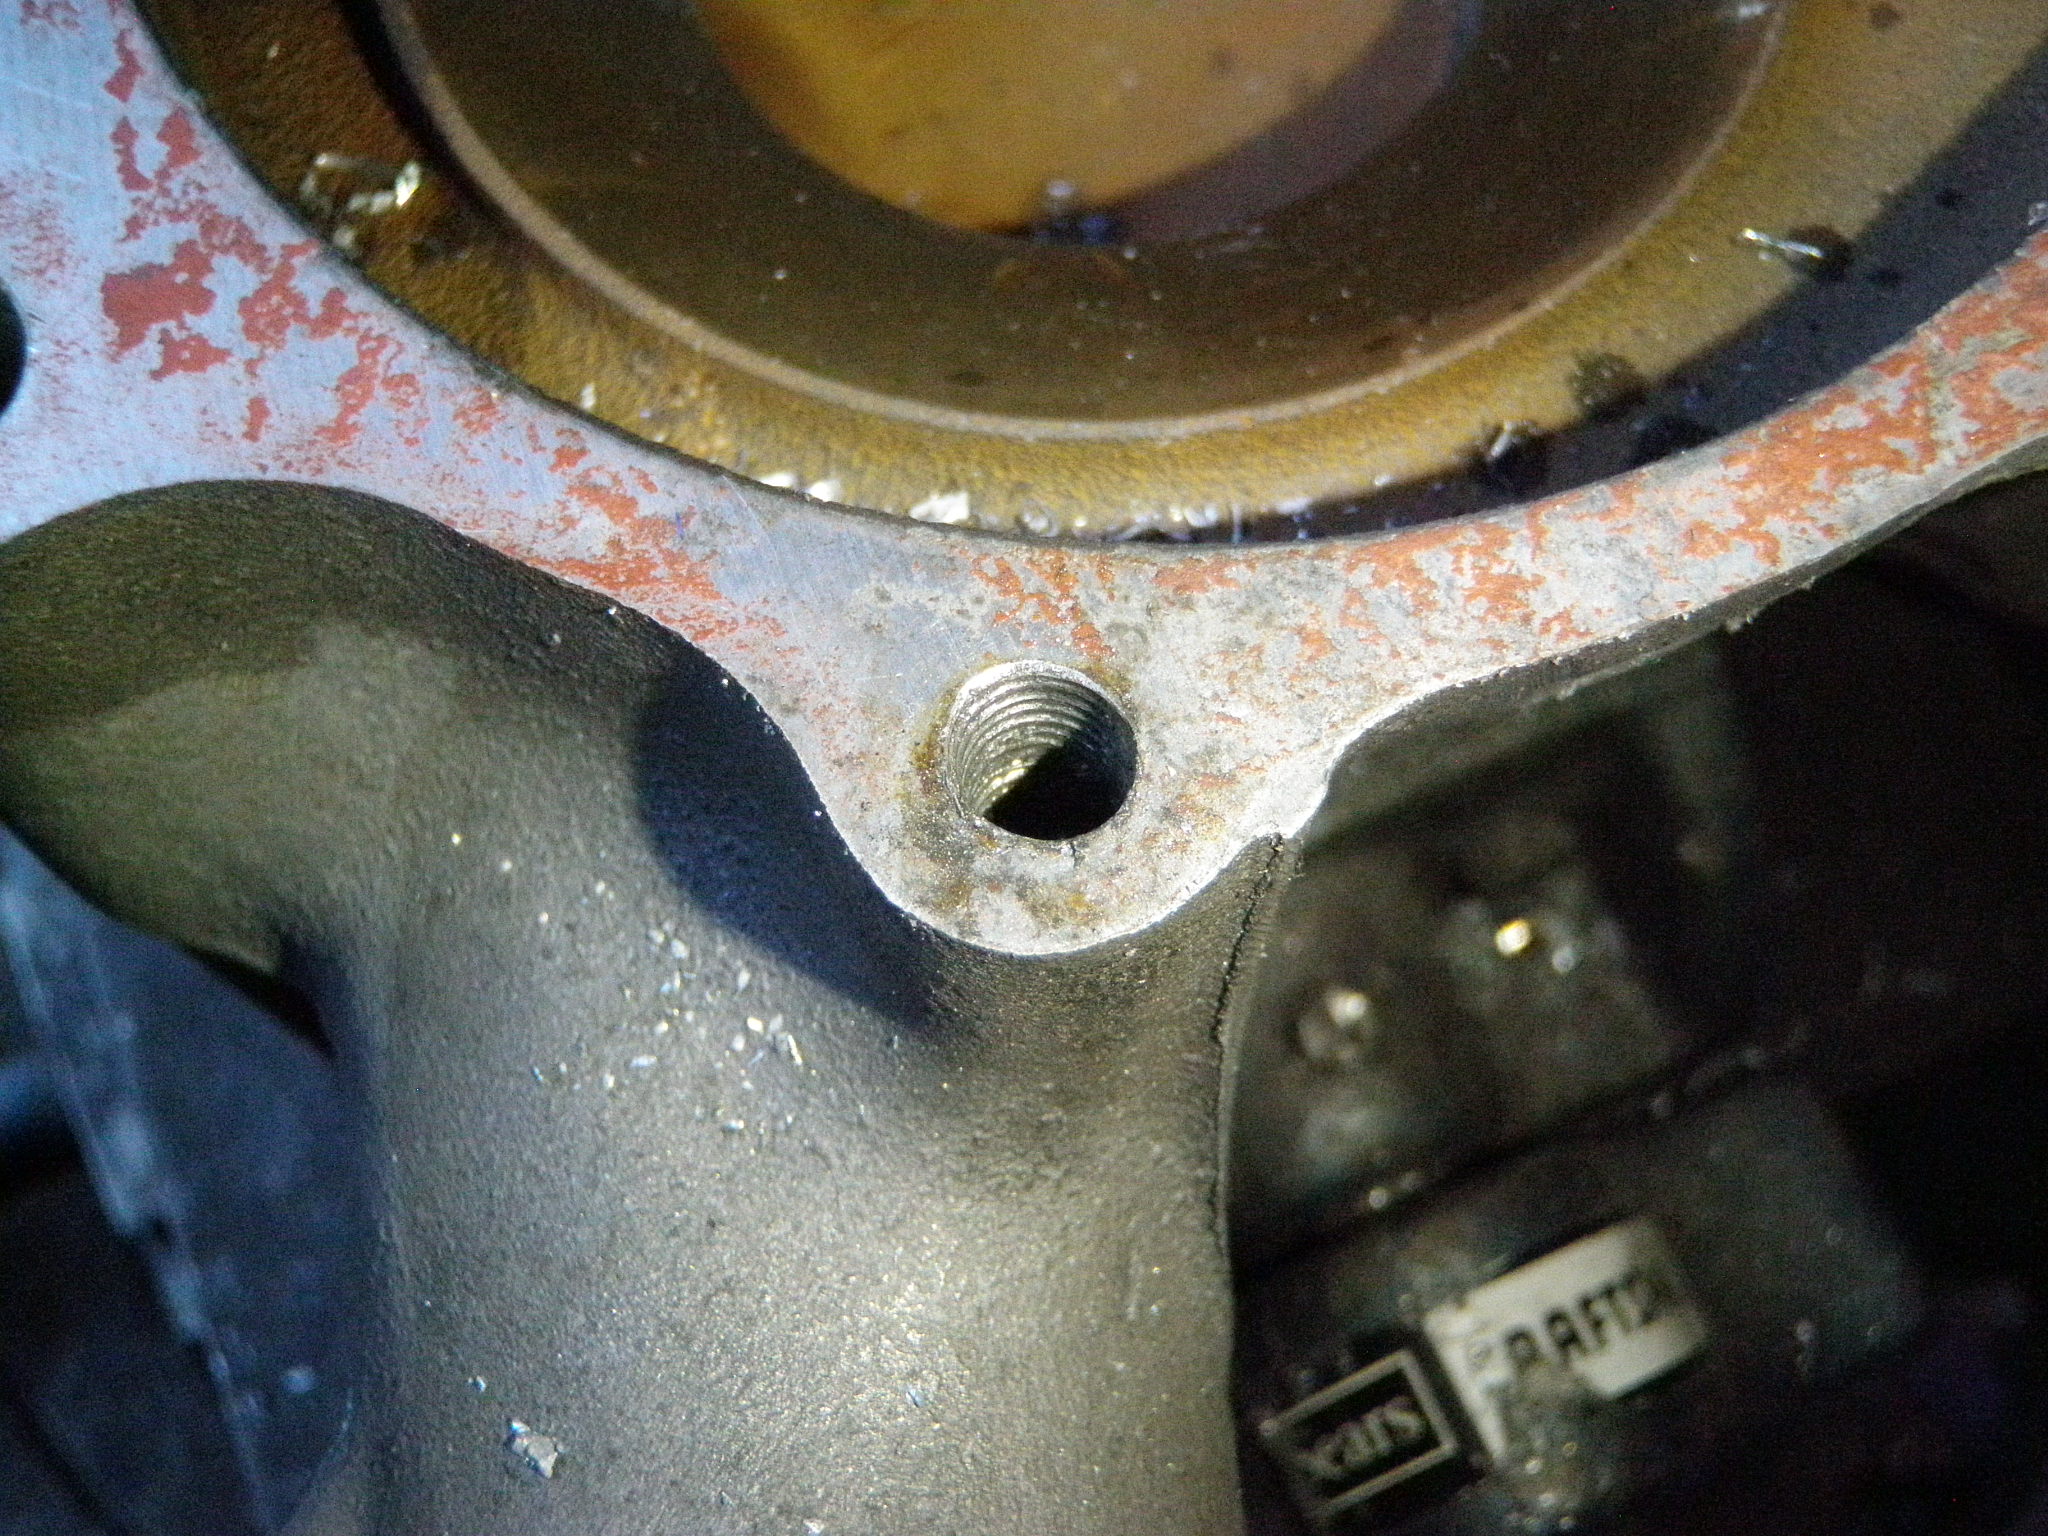
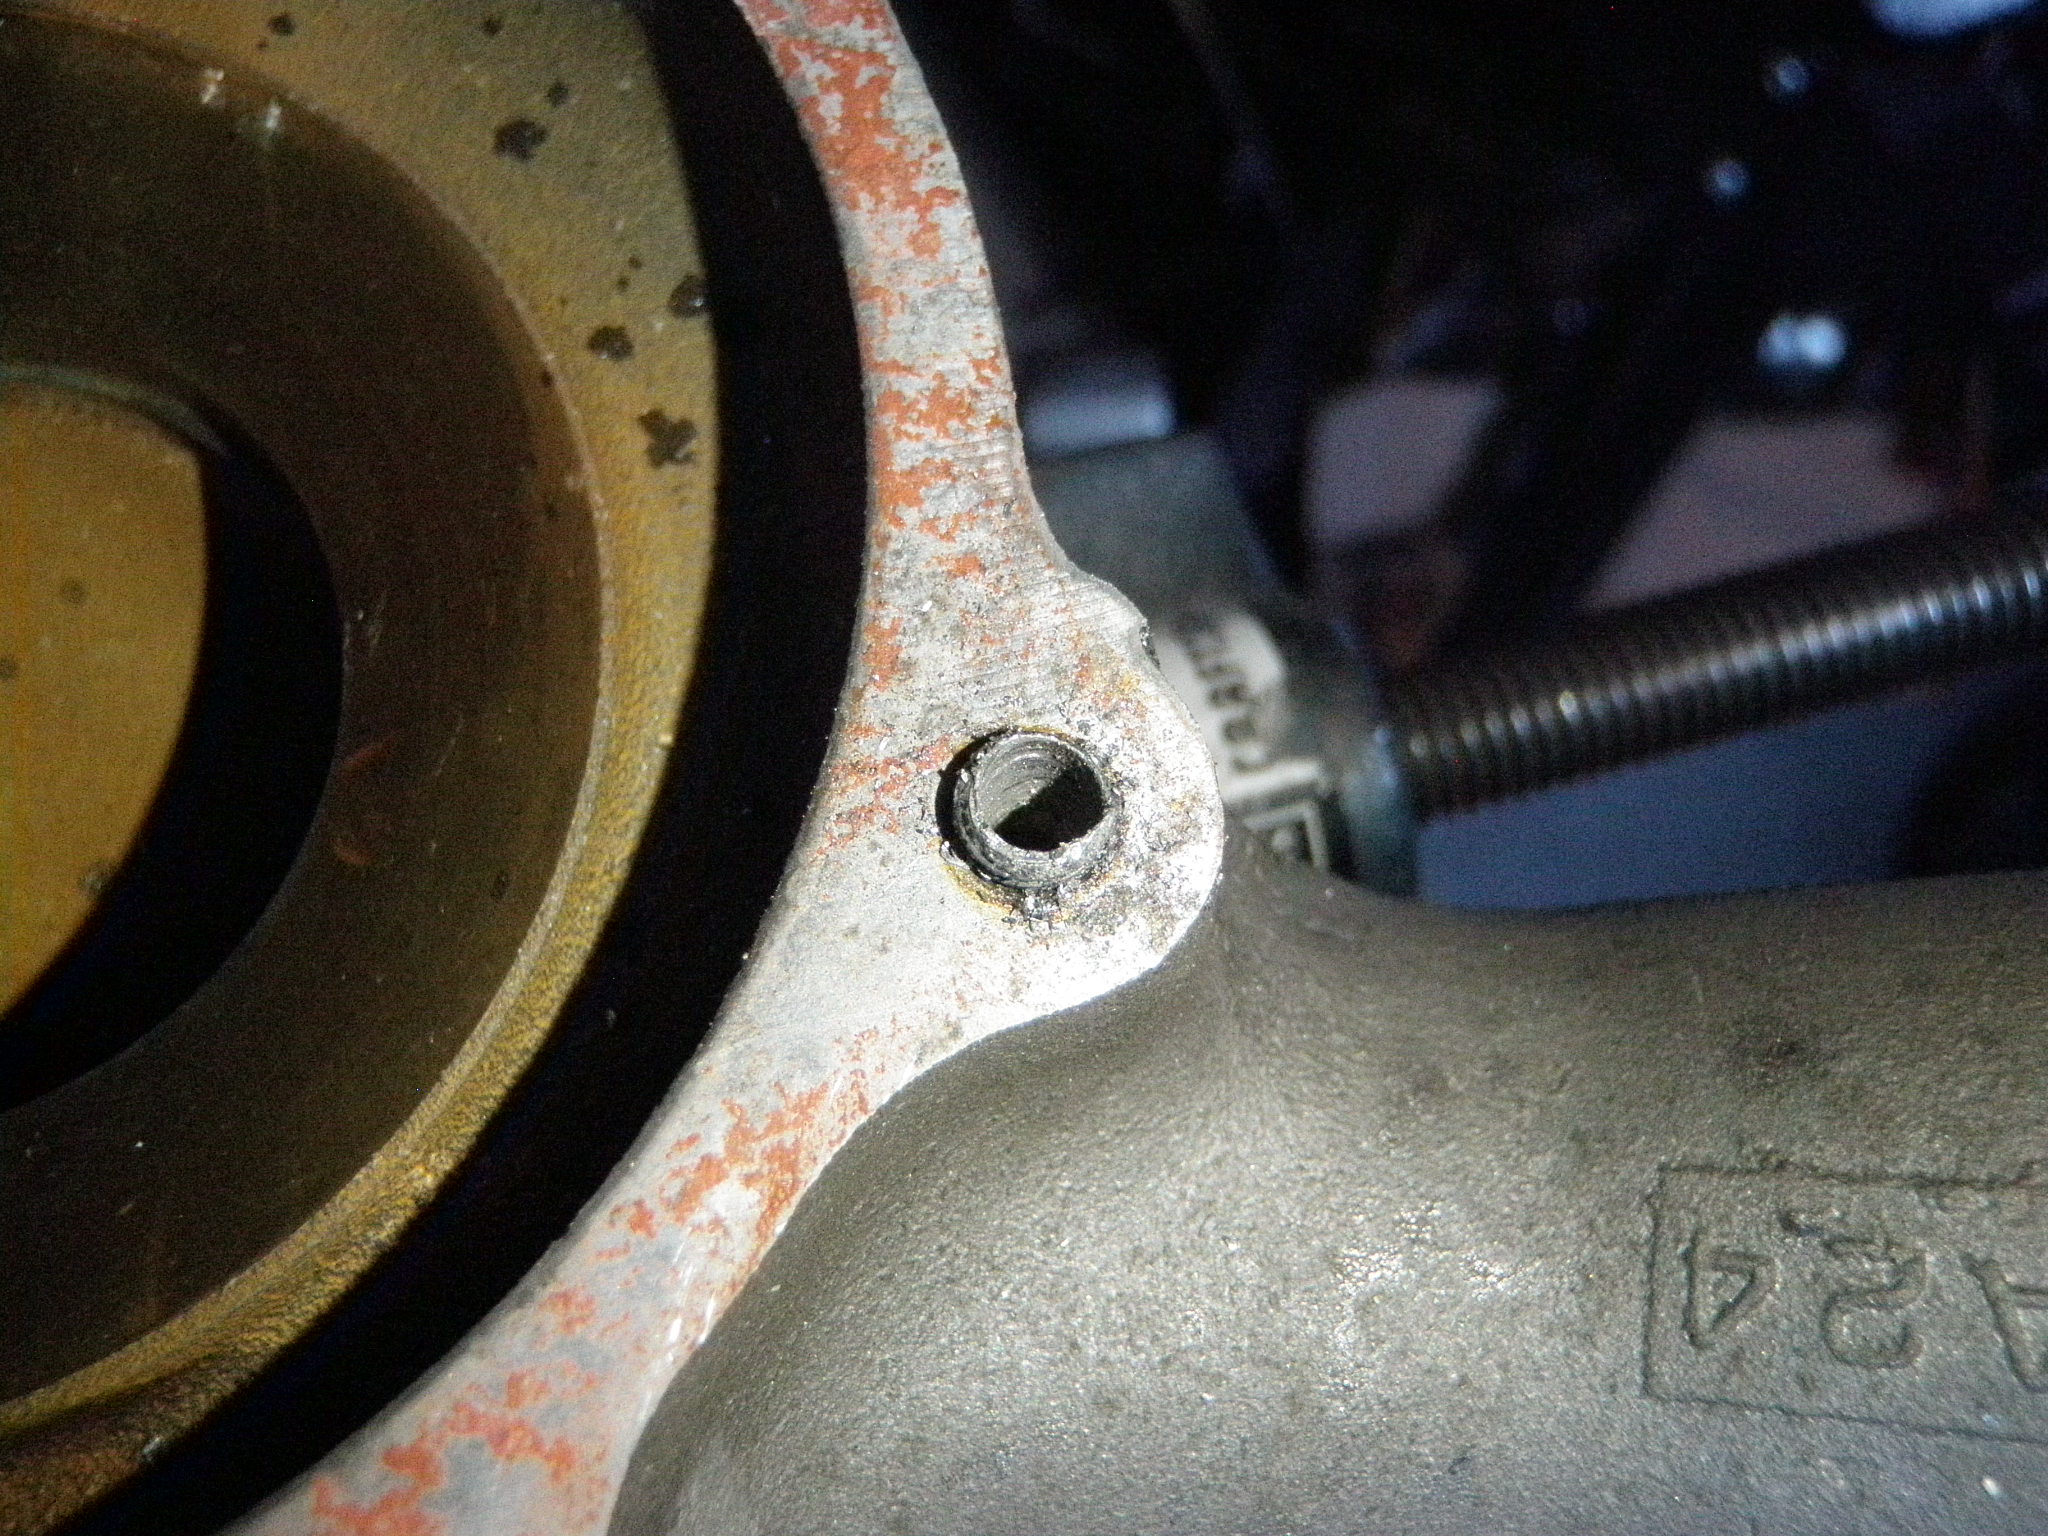
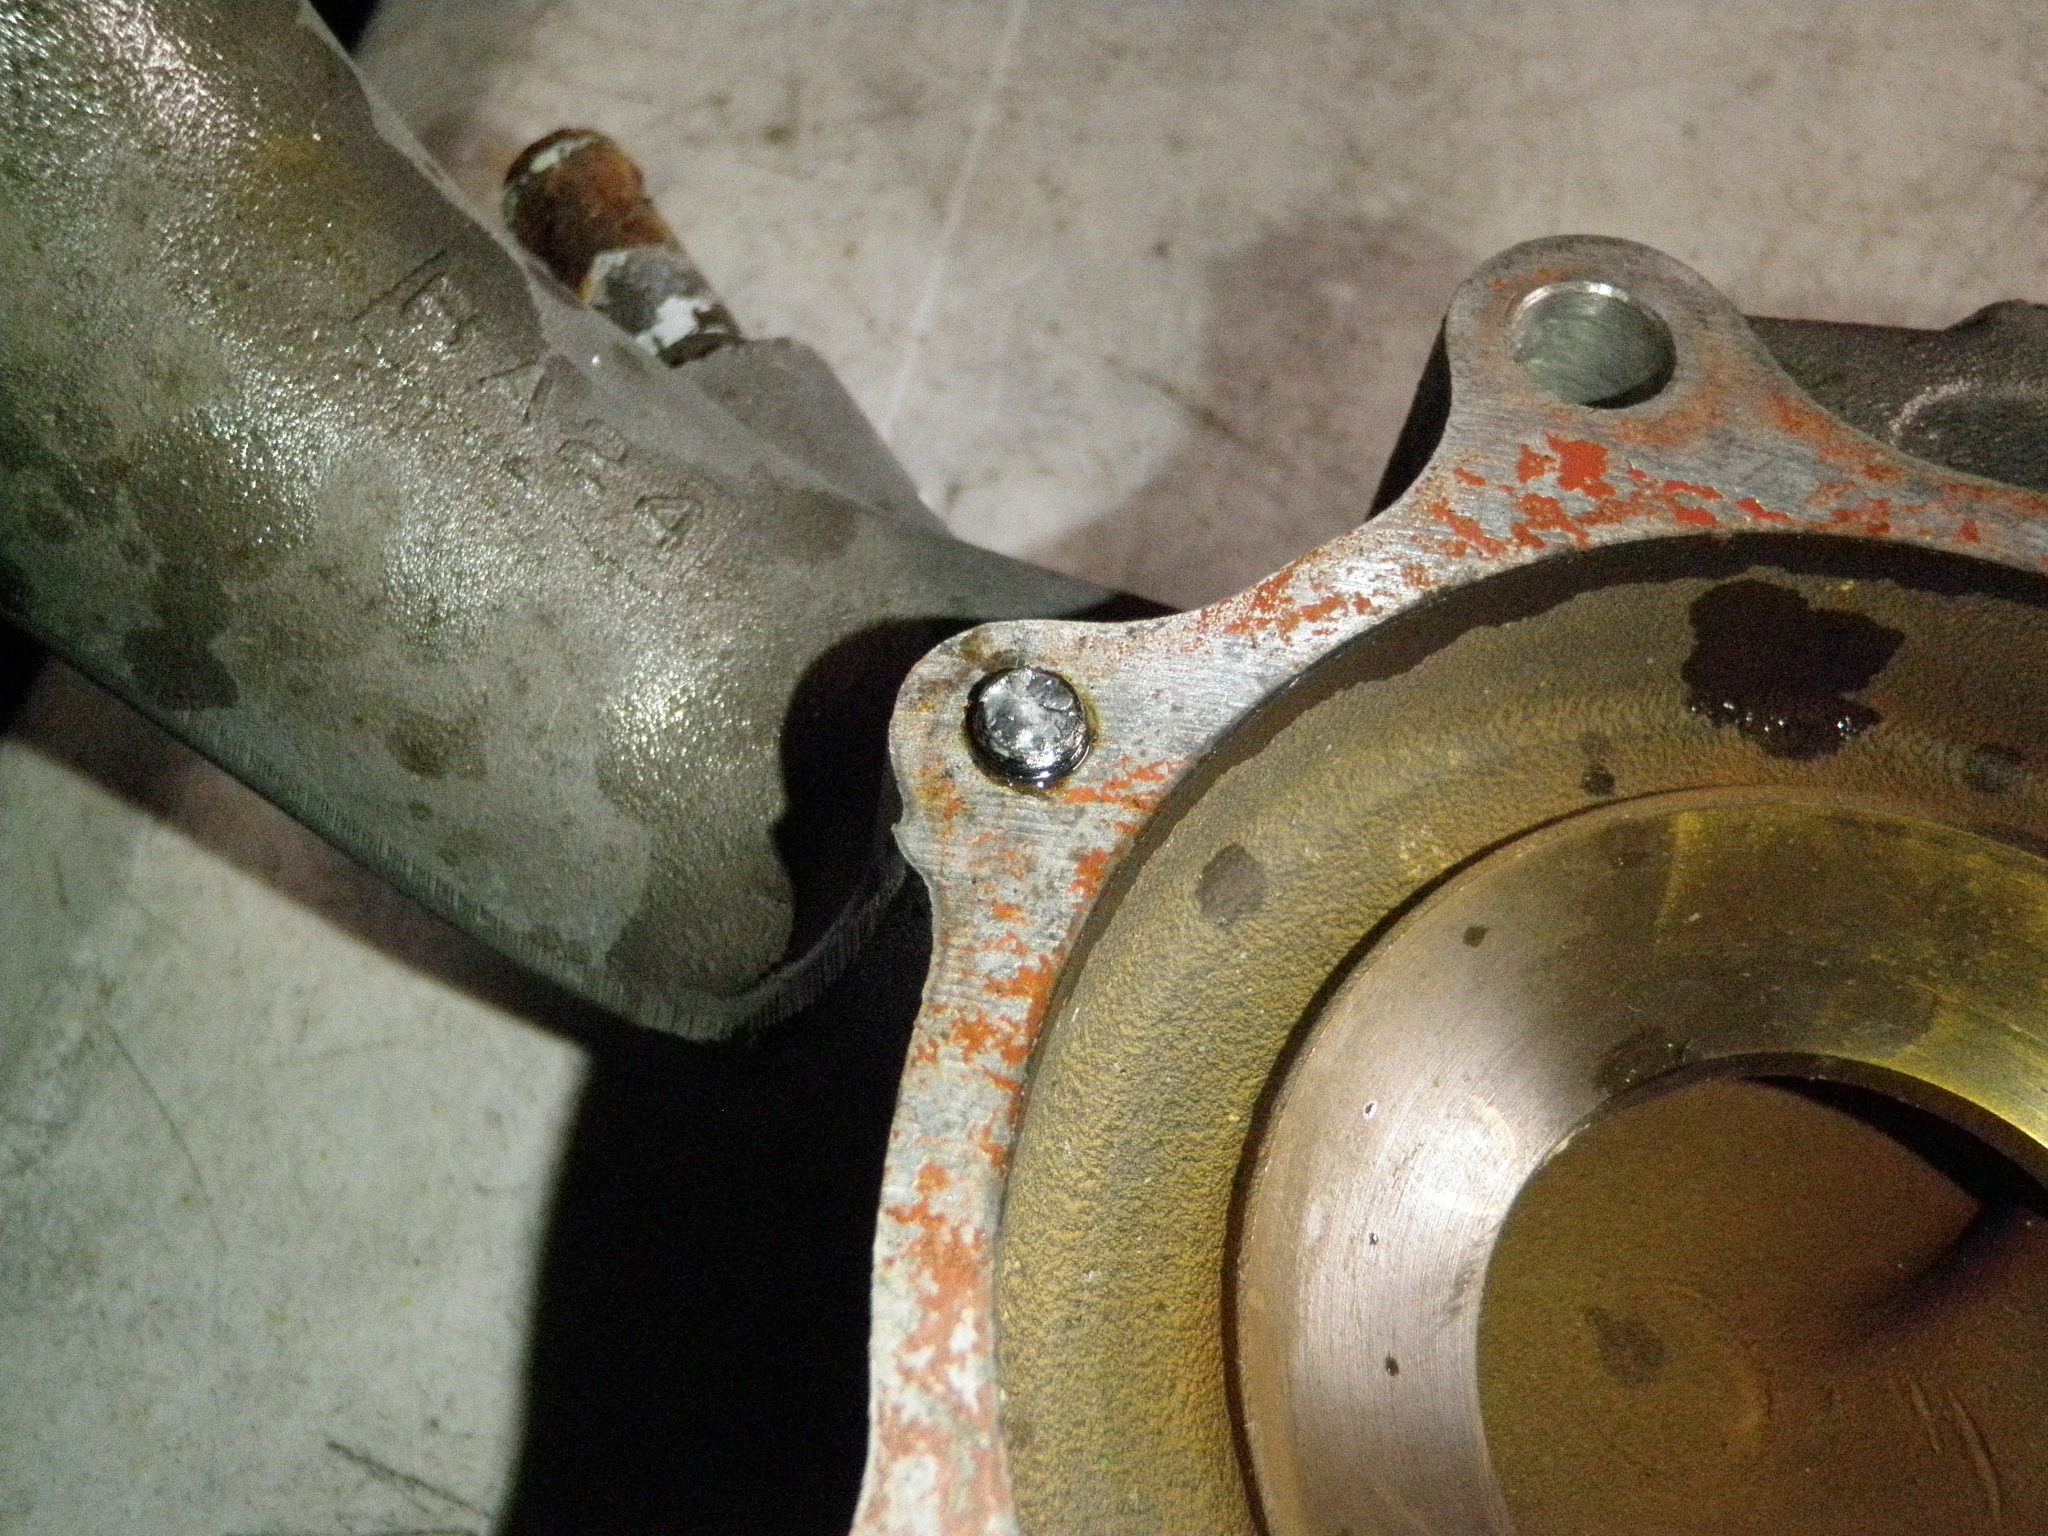
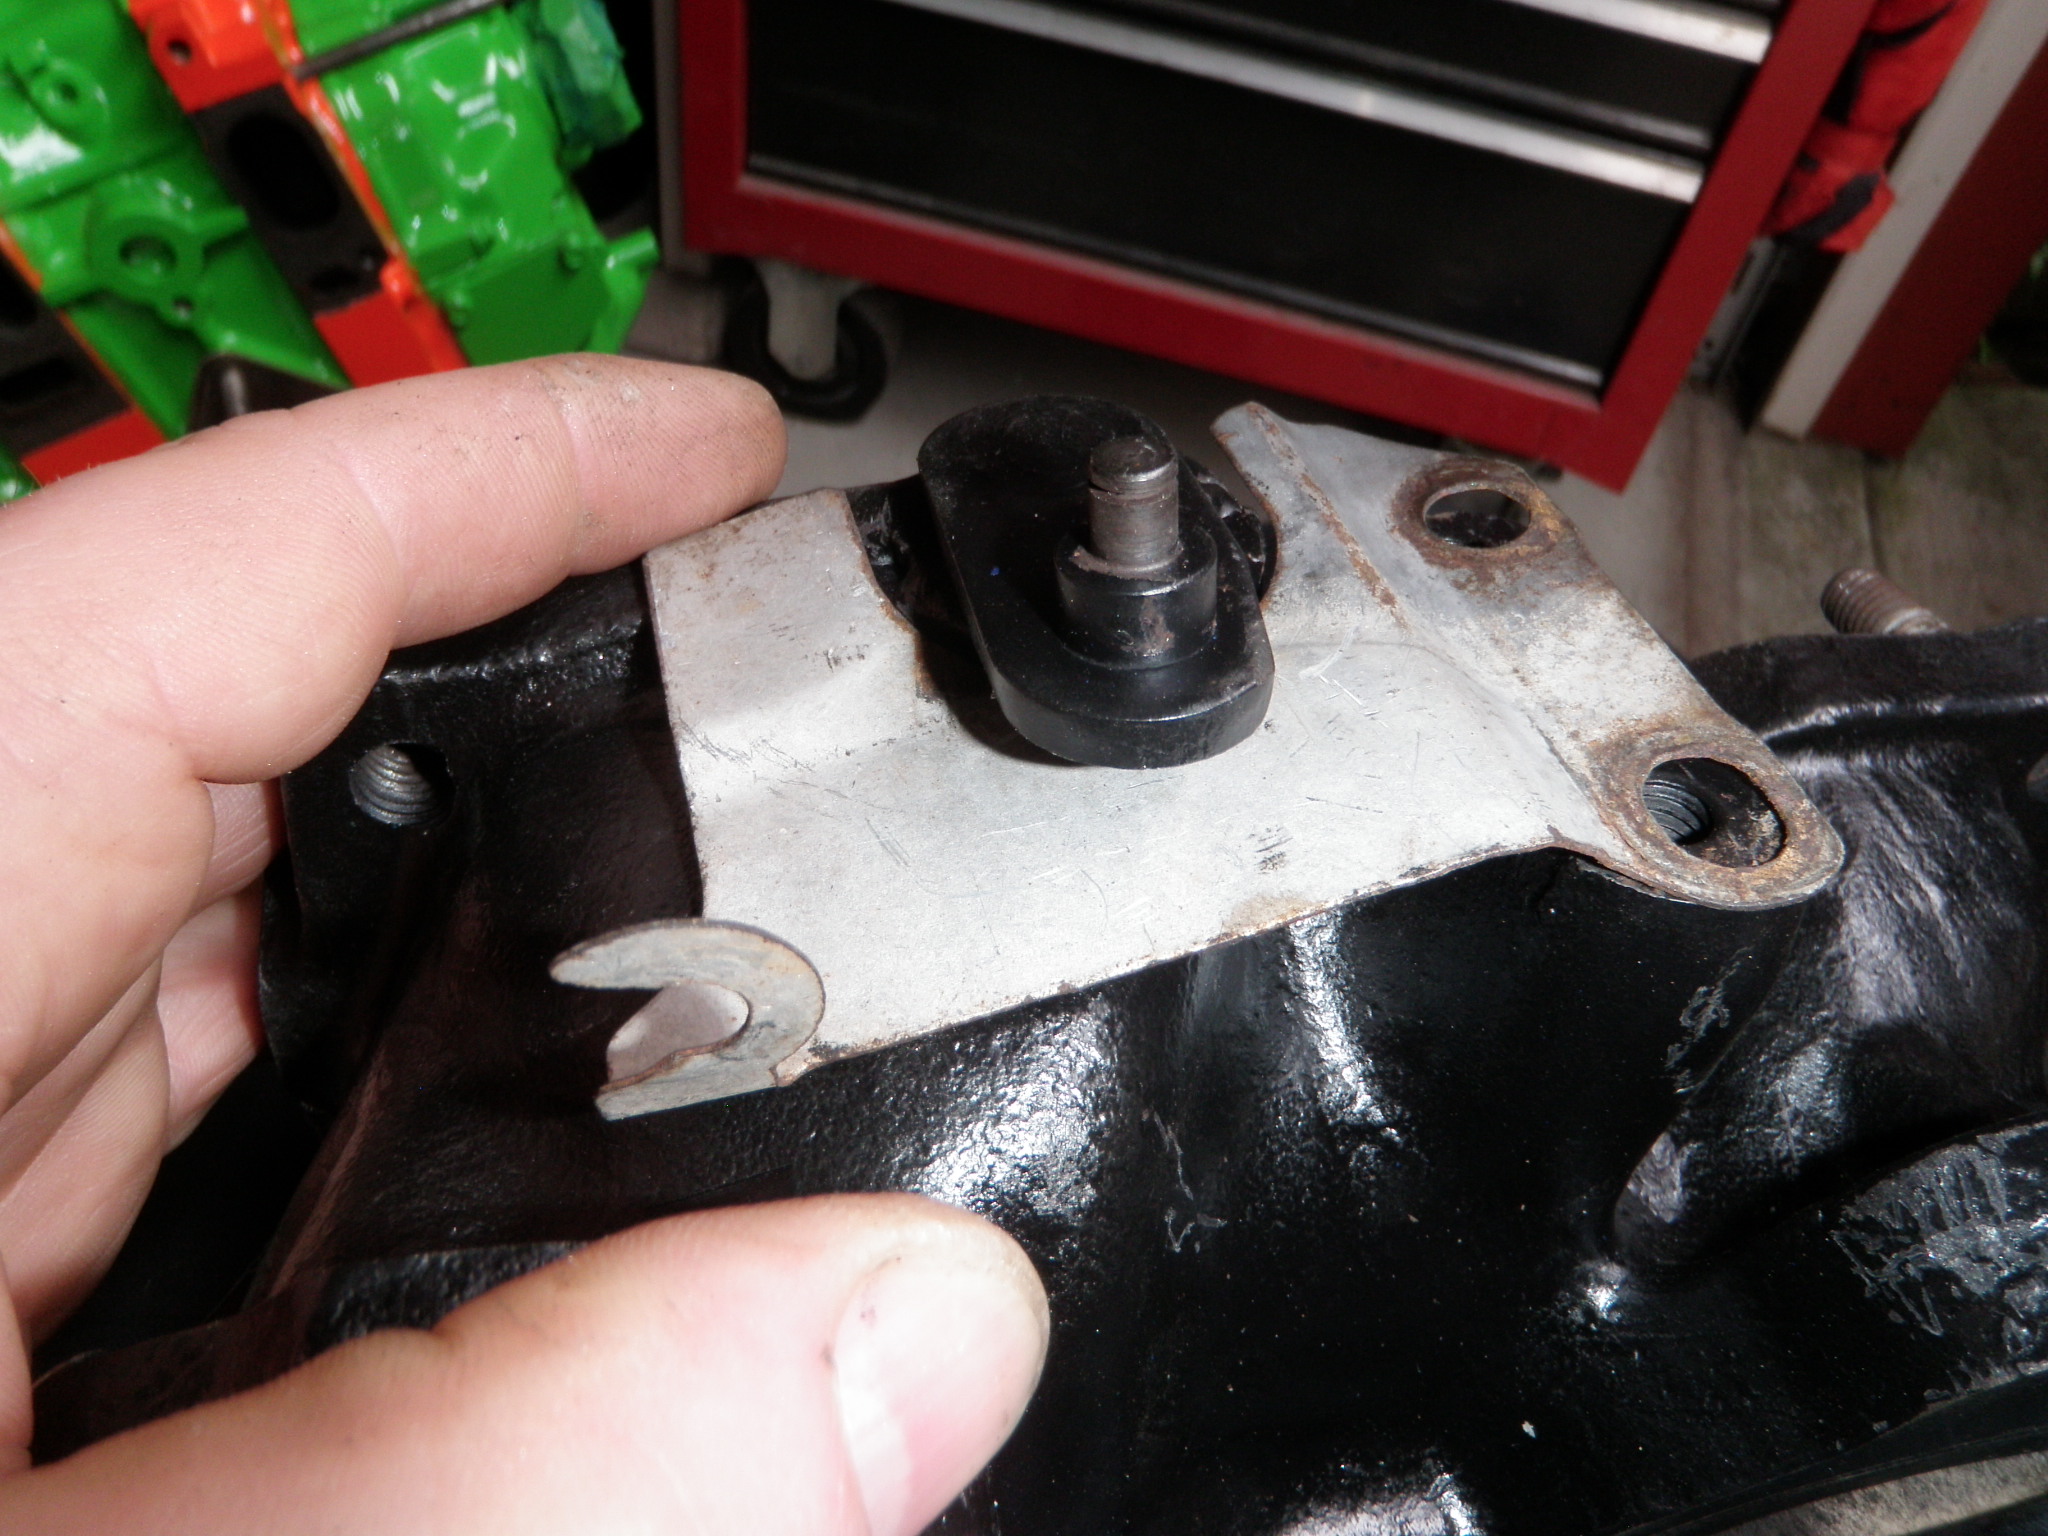
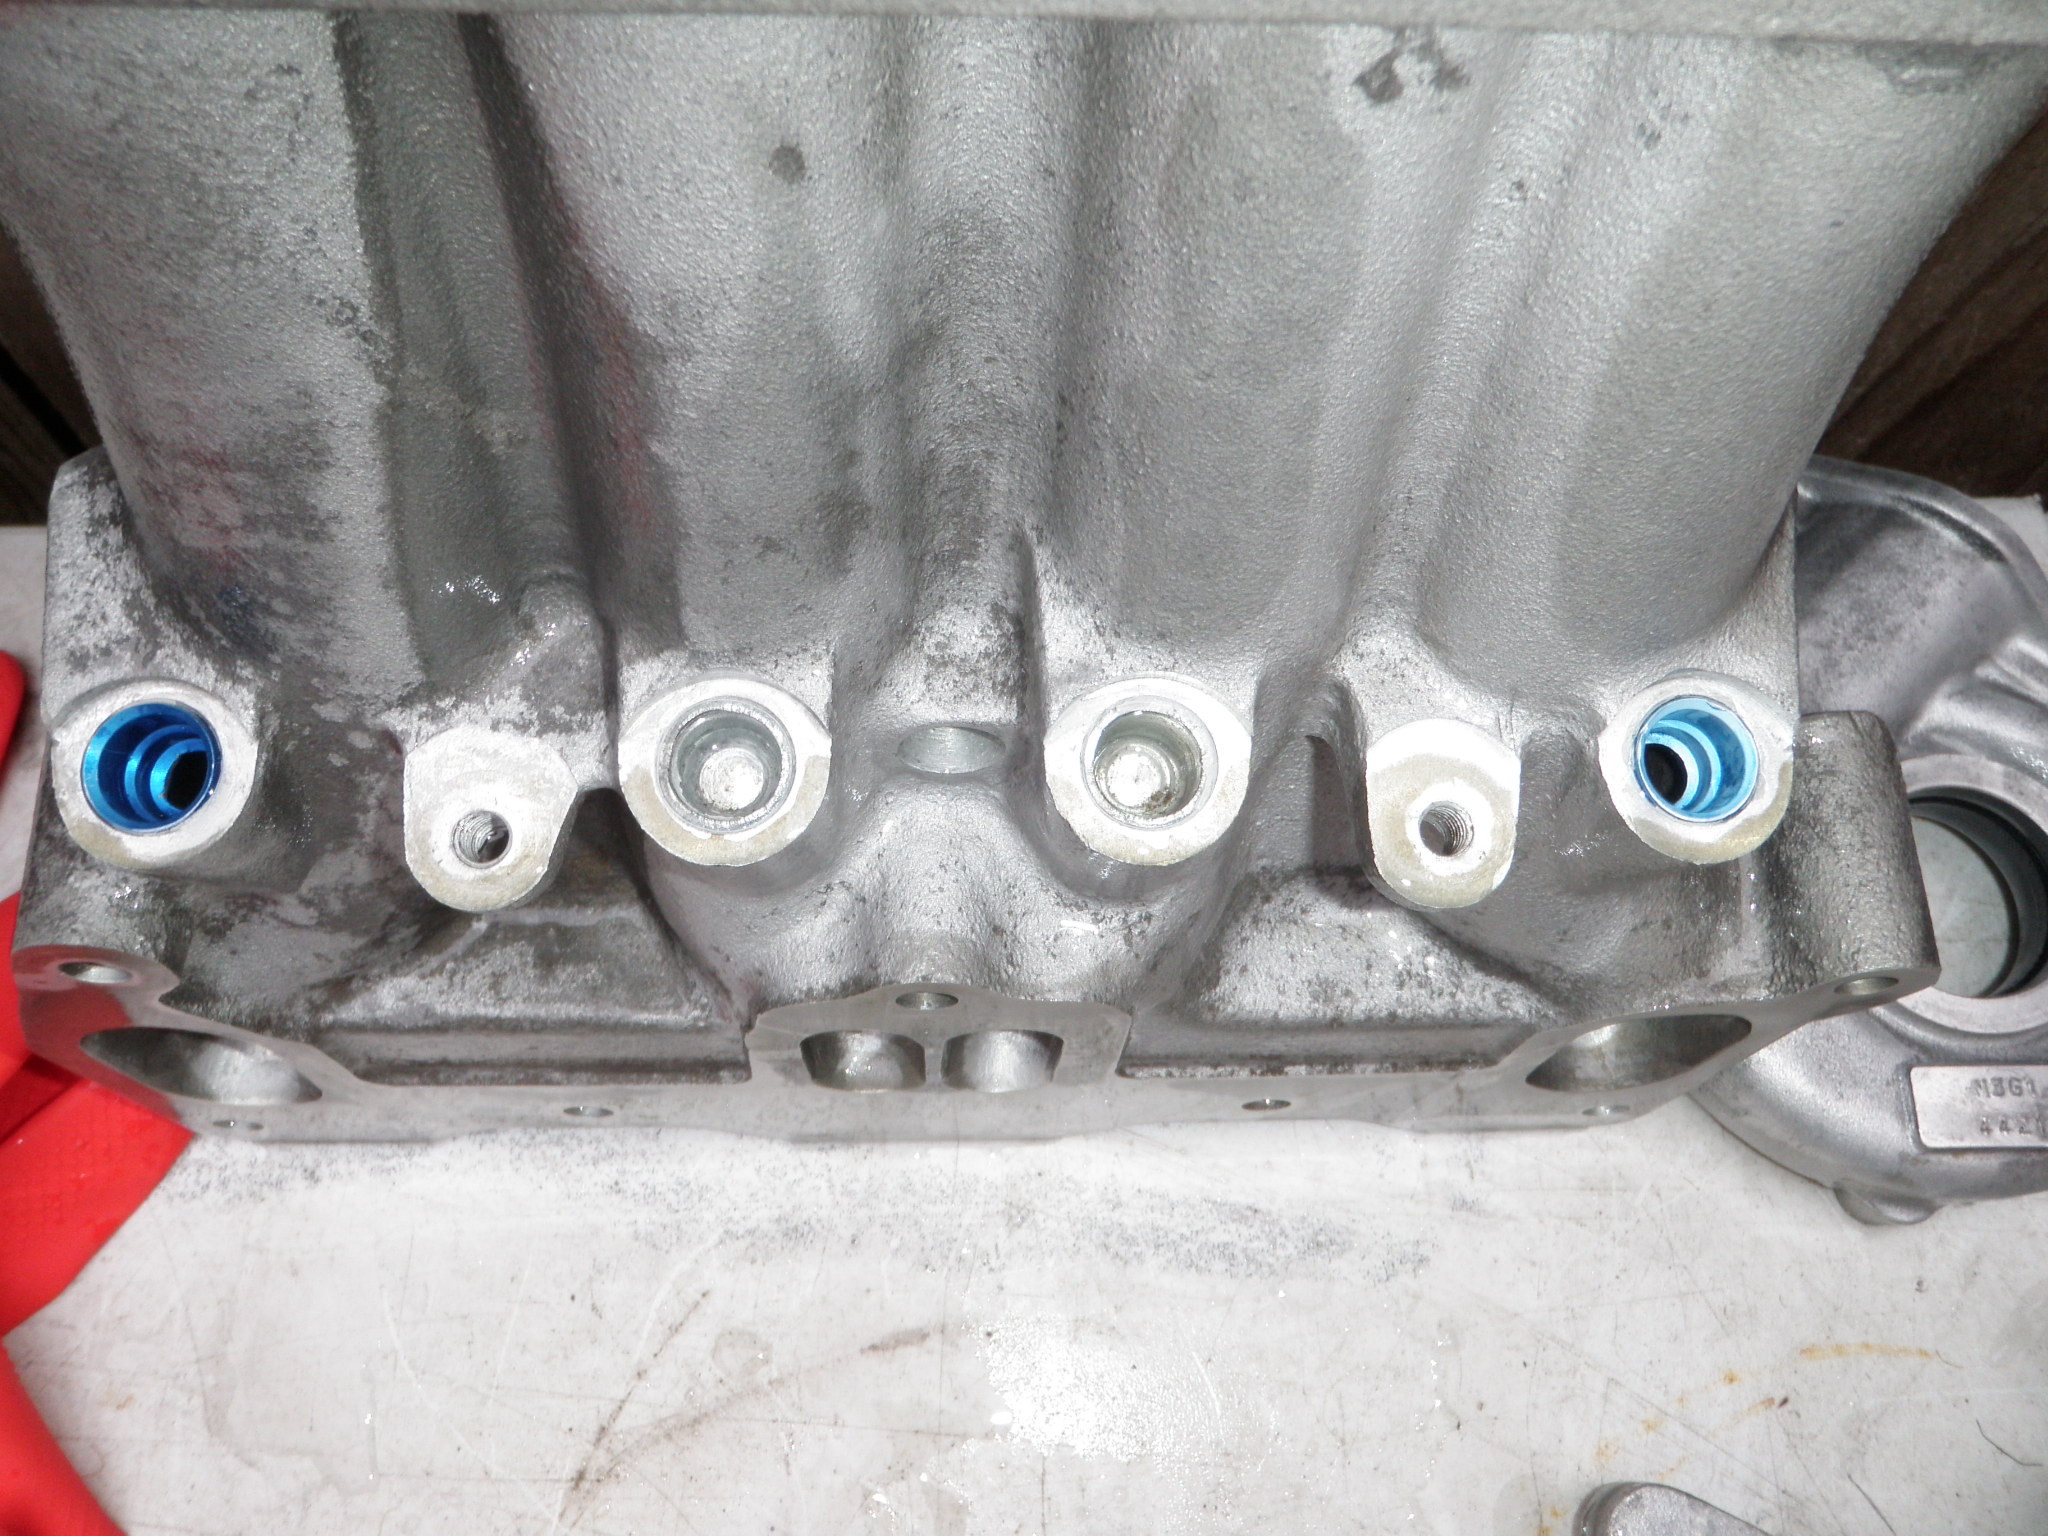
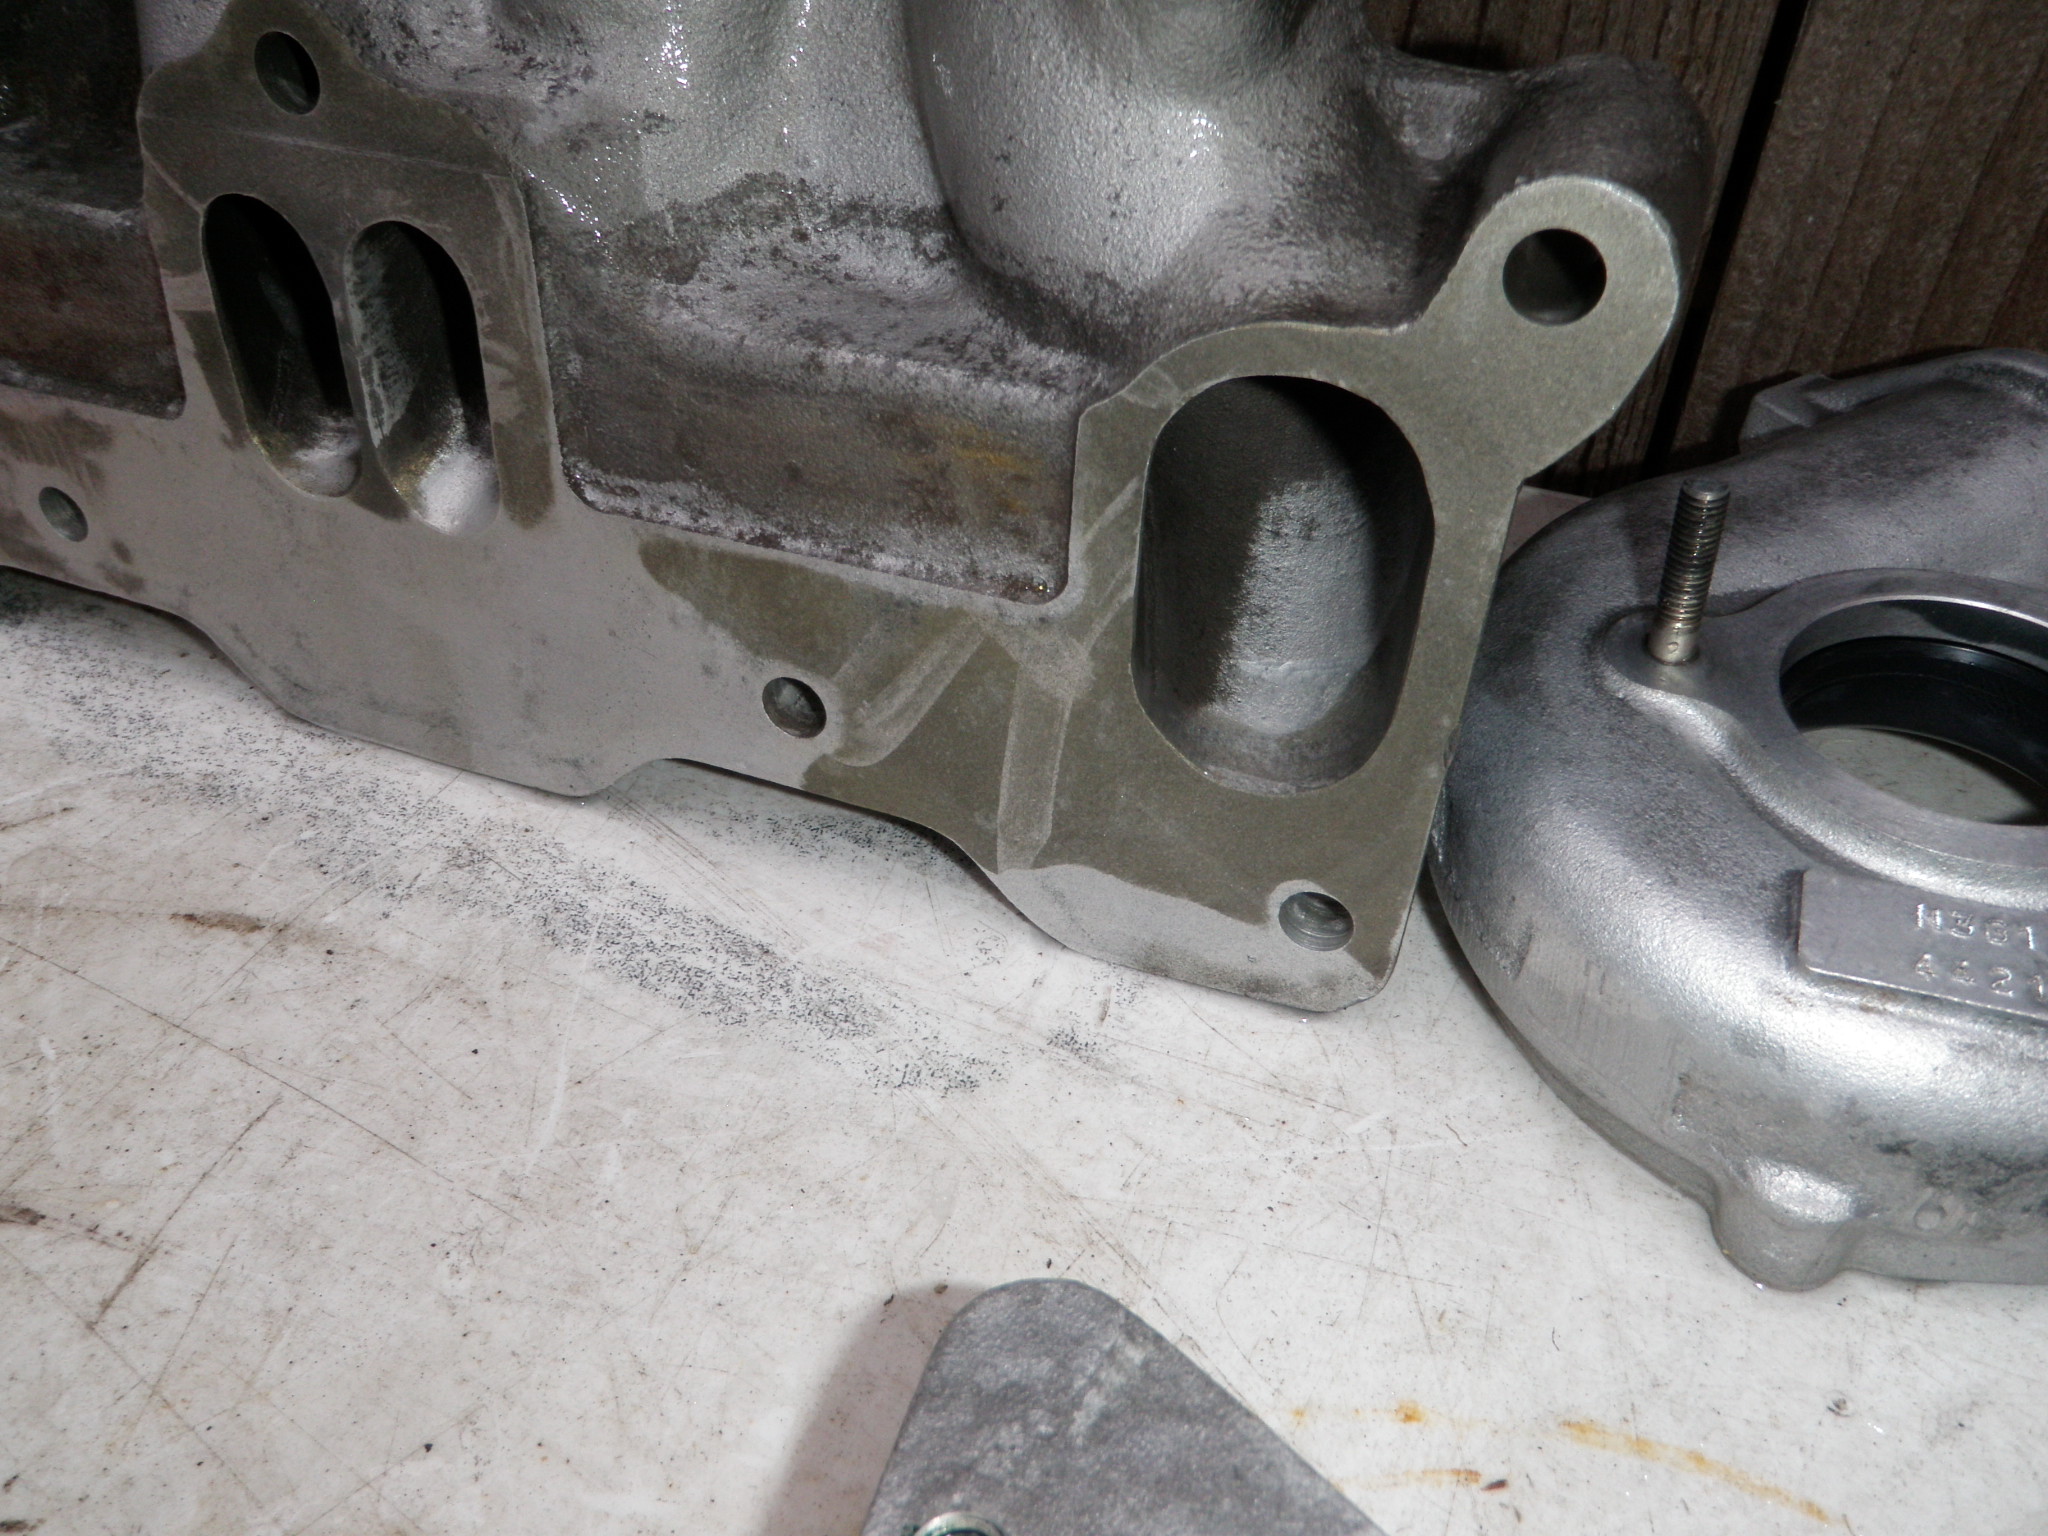
    To re-cap – I am so glad that I put a heli-coil for the 8×1.25 mm because anything bigger would affect the gasket clearance in between the low and upper turbo manifold and the bolt hole clearance on the upper turbo manifold. You can see what I mean in the pics by looking at the wear from the outline of the gasket on the metal. Im also glad I test fit everything before painting the Xcessive LIM and other parts – it all went together like butter.

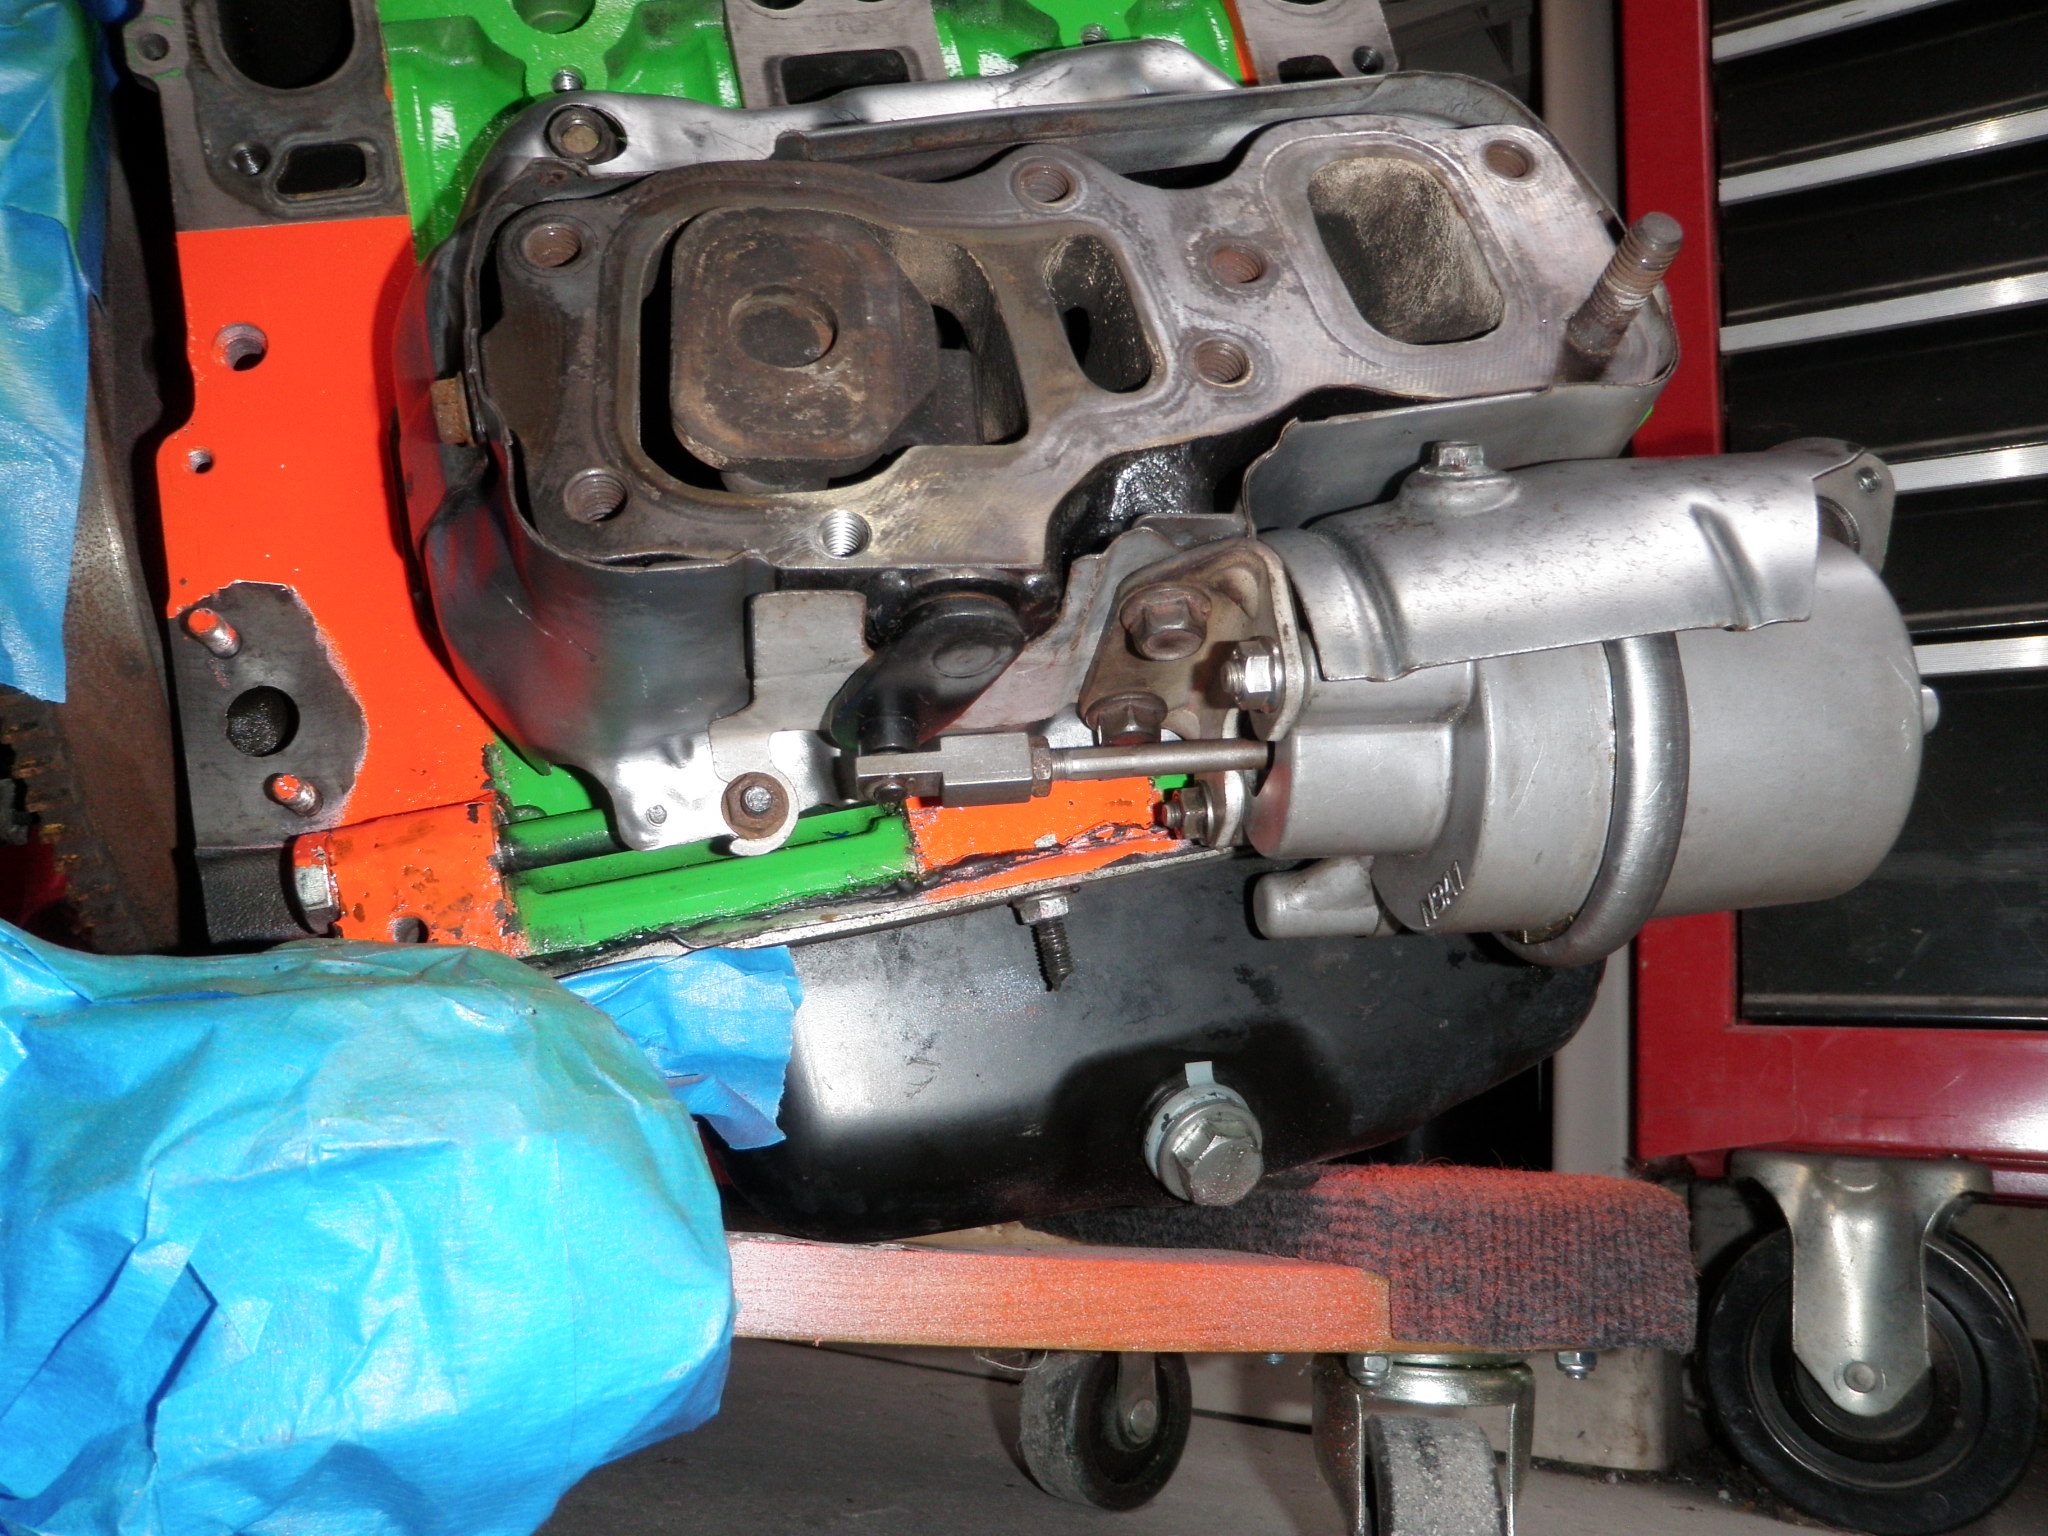
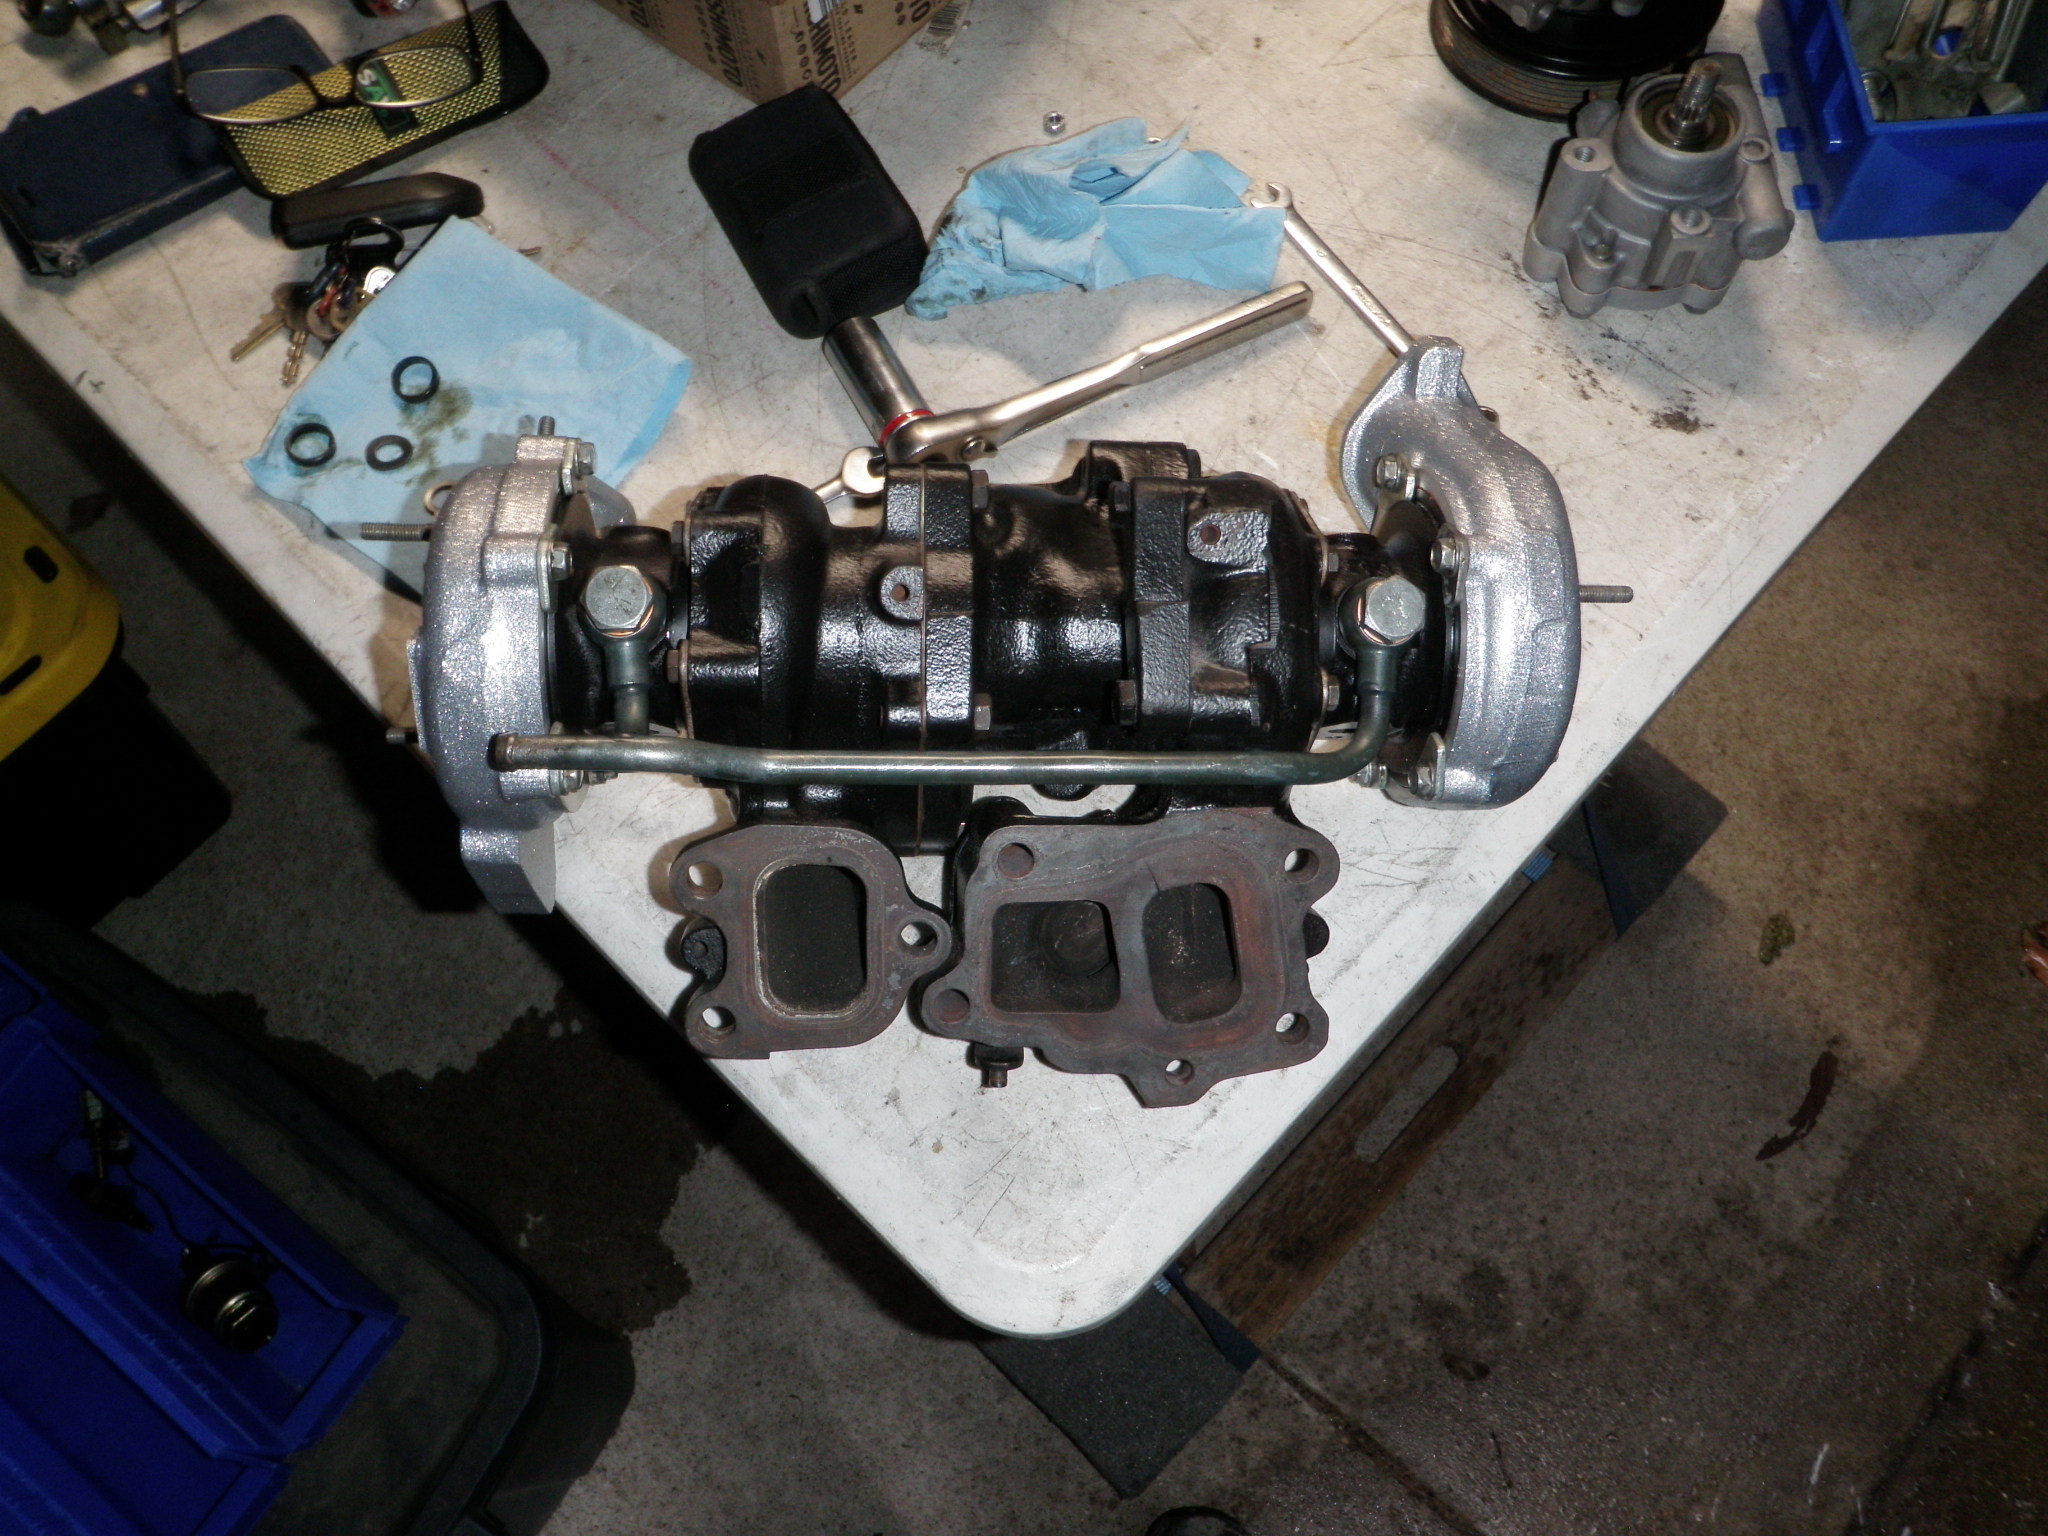
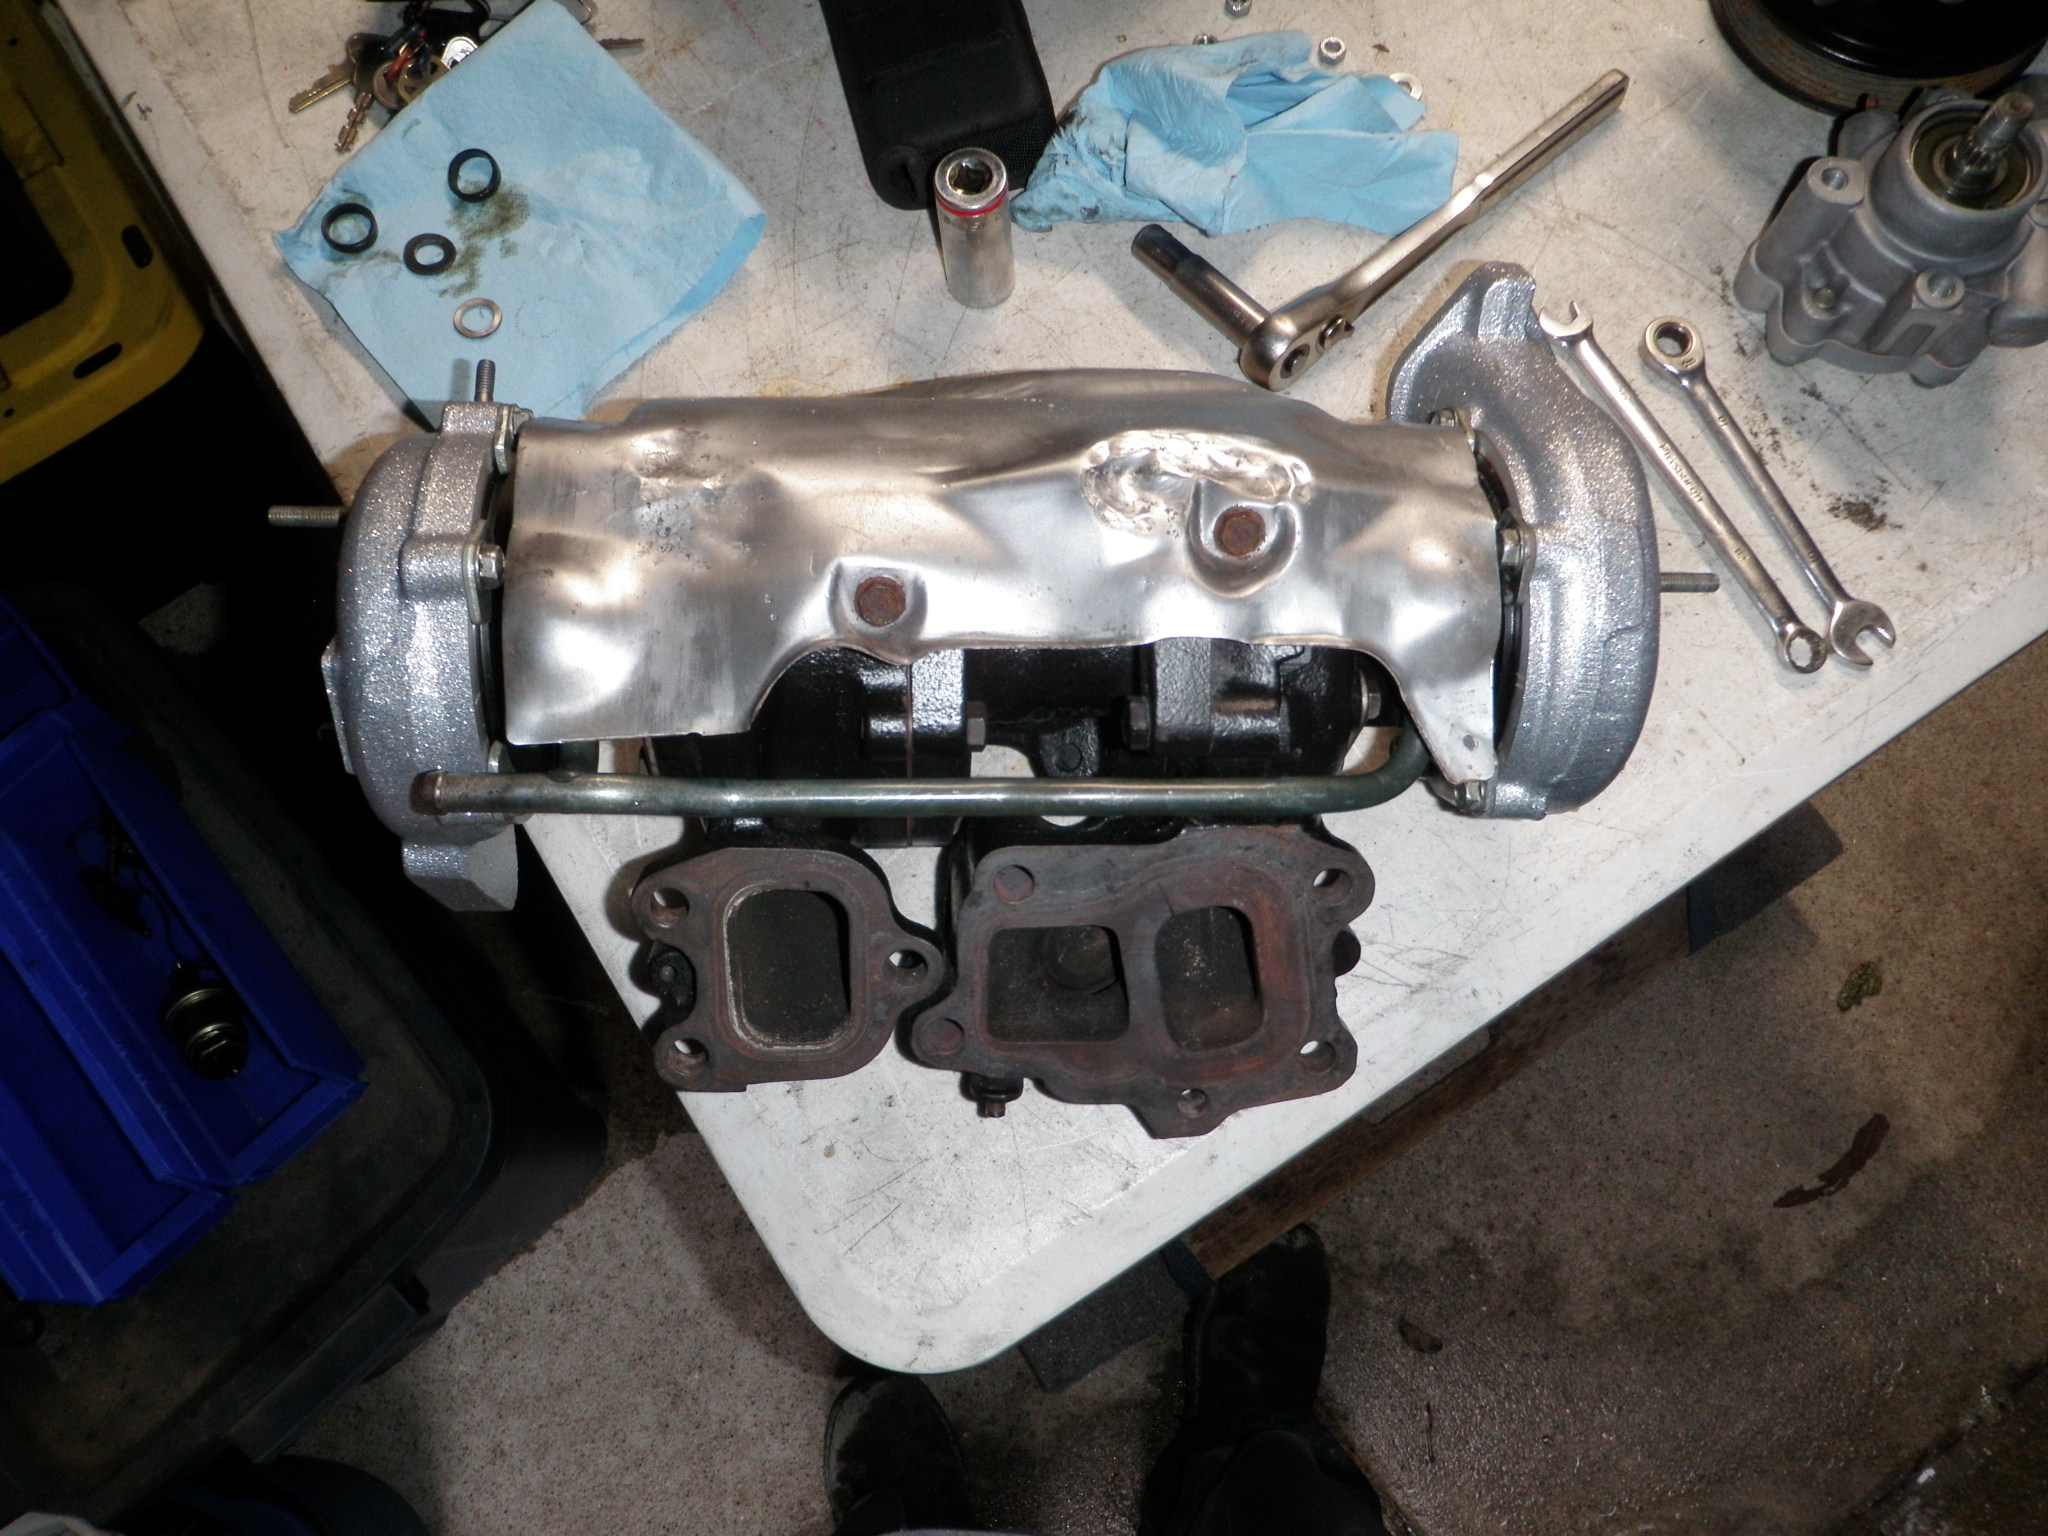
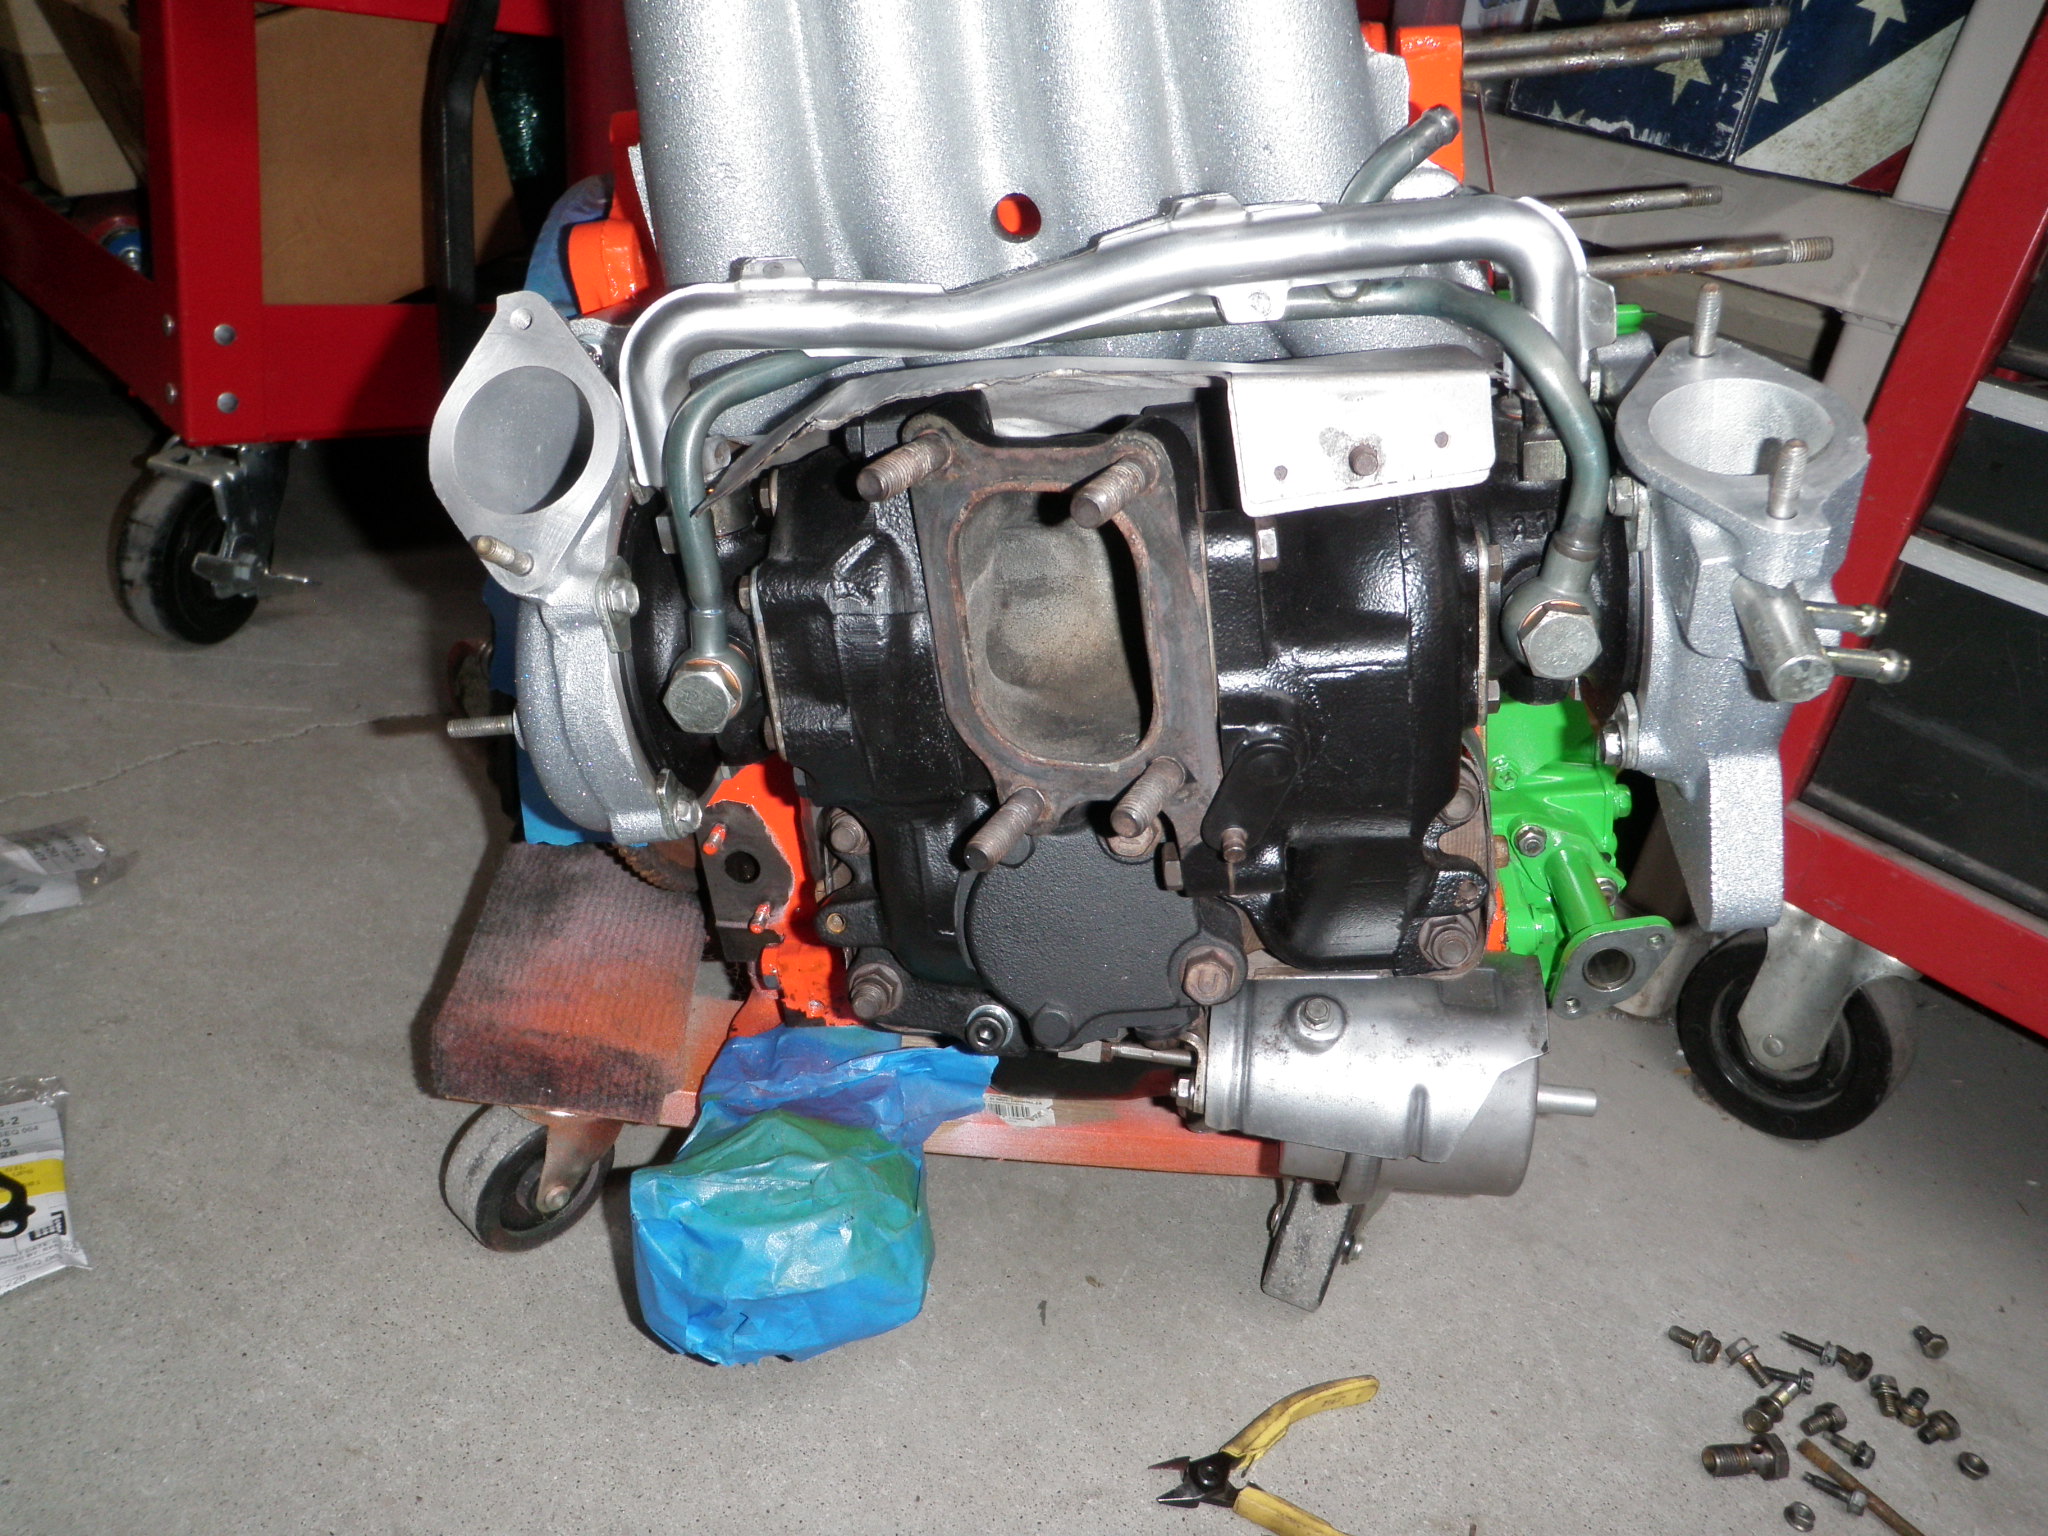
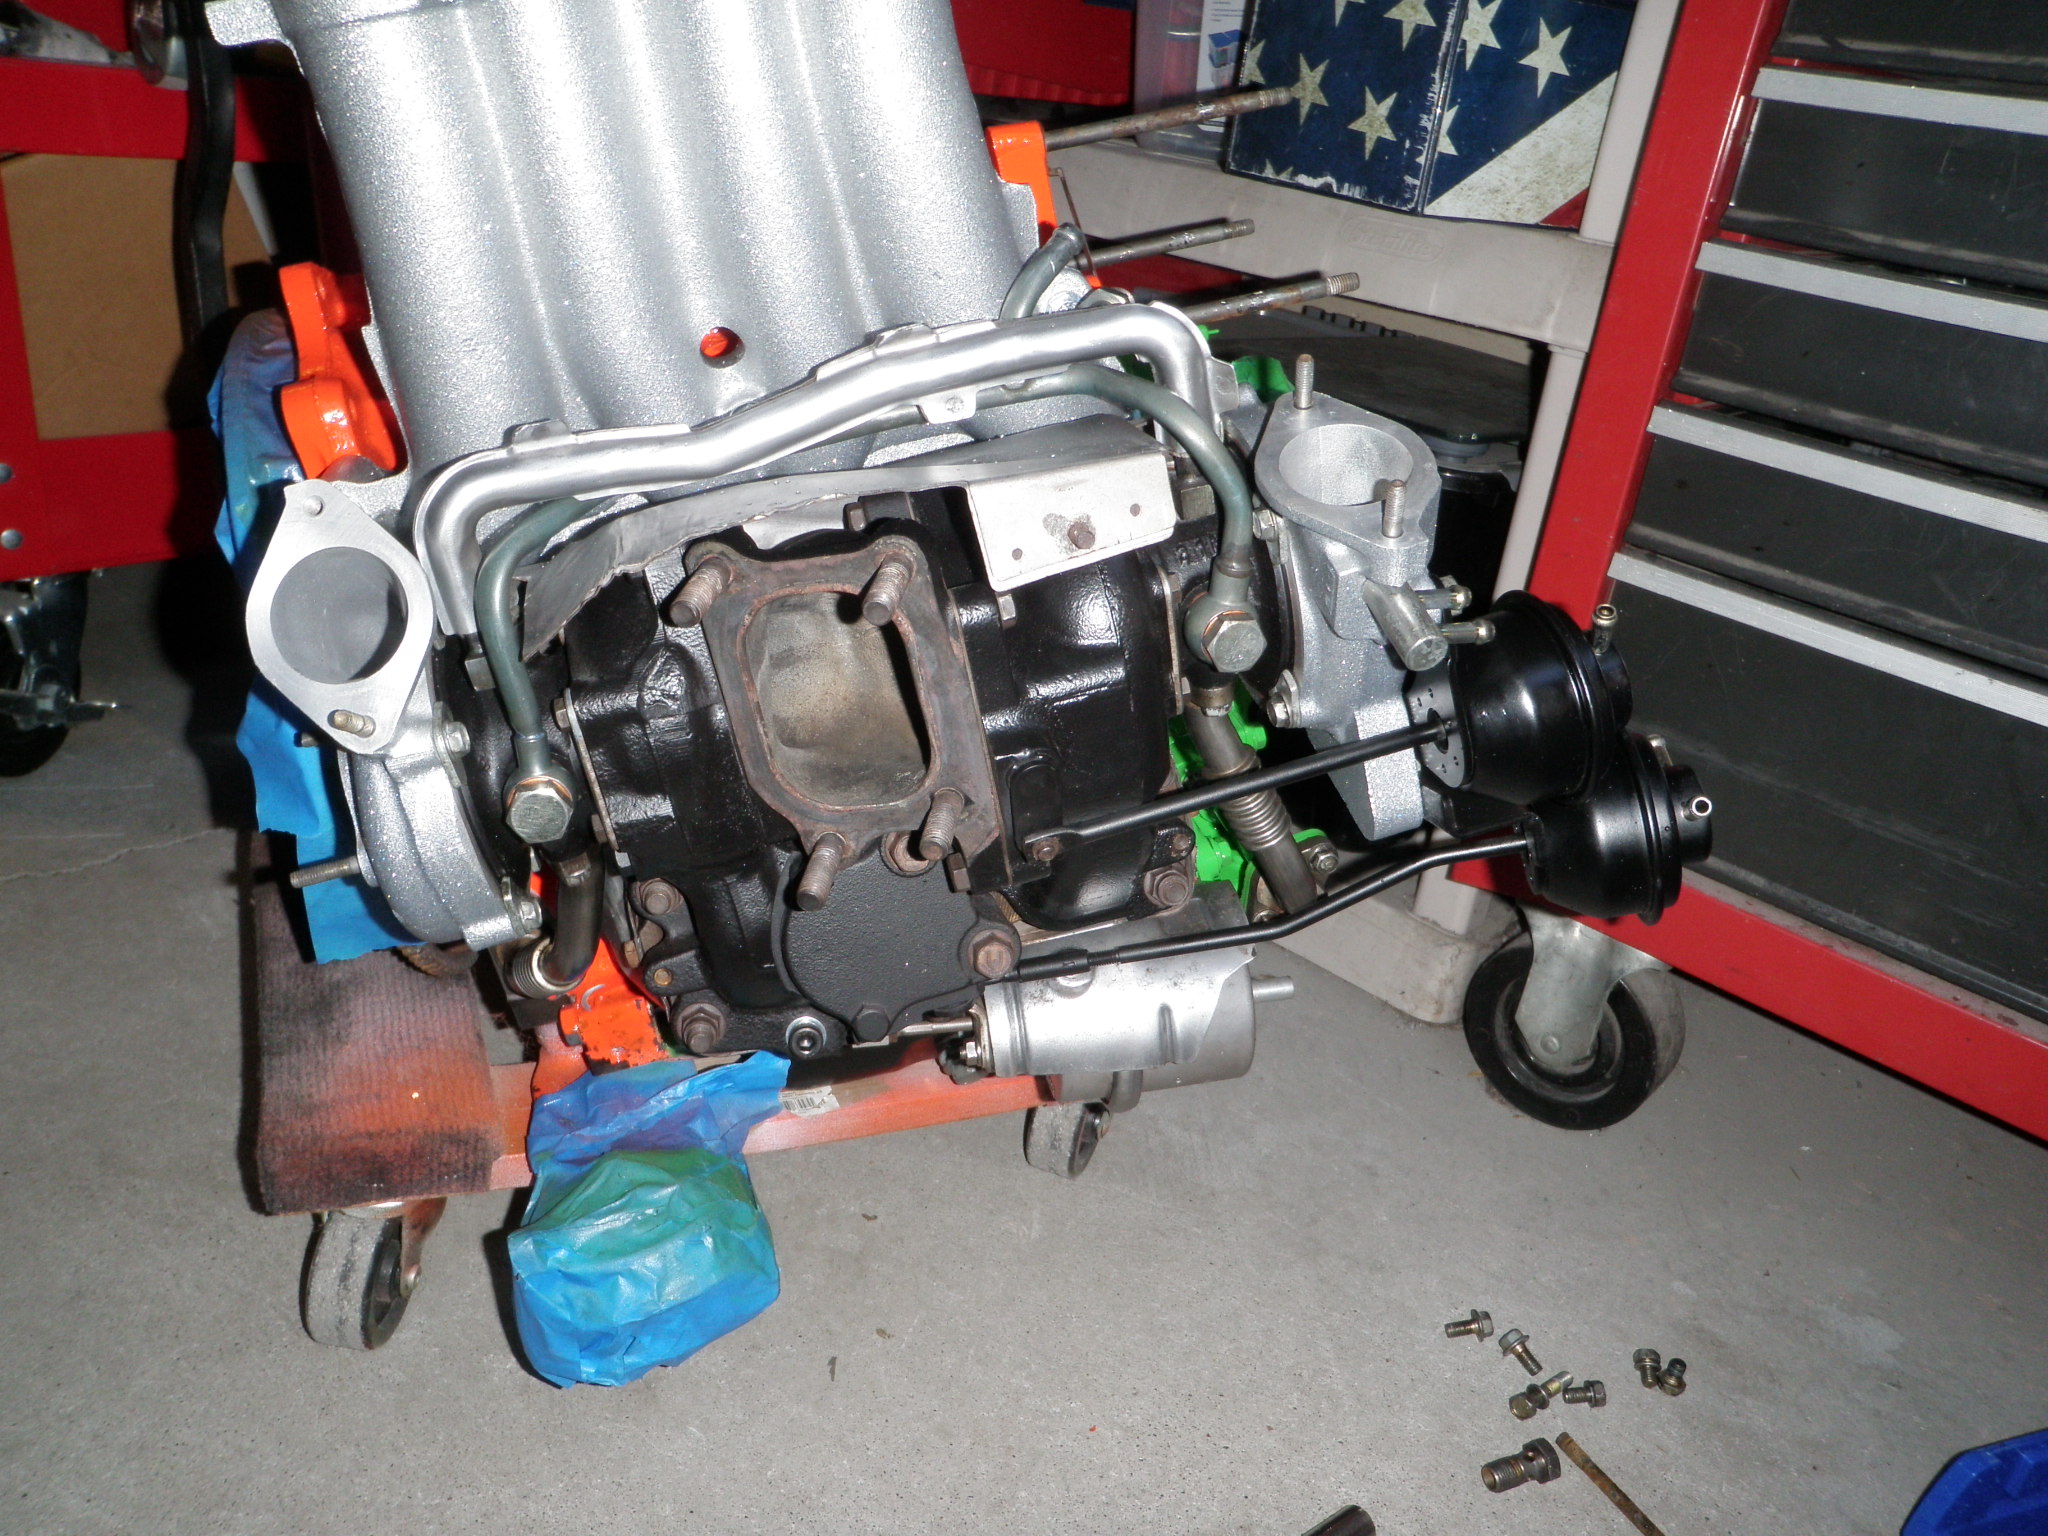
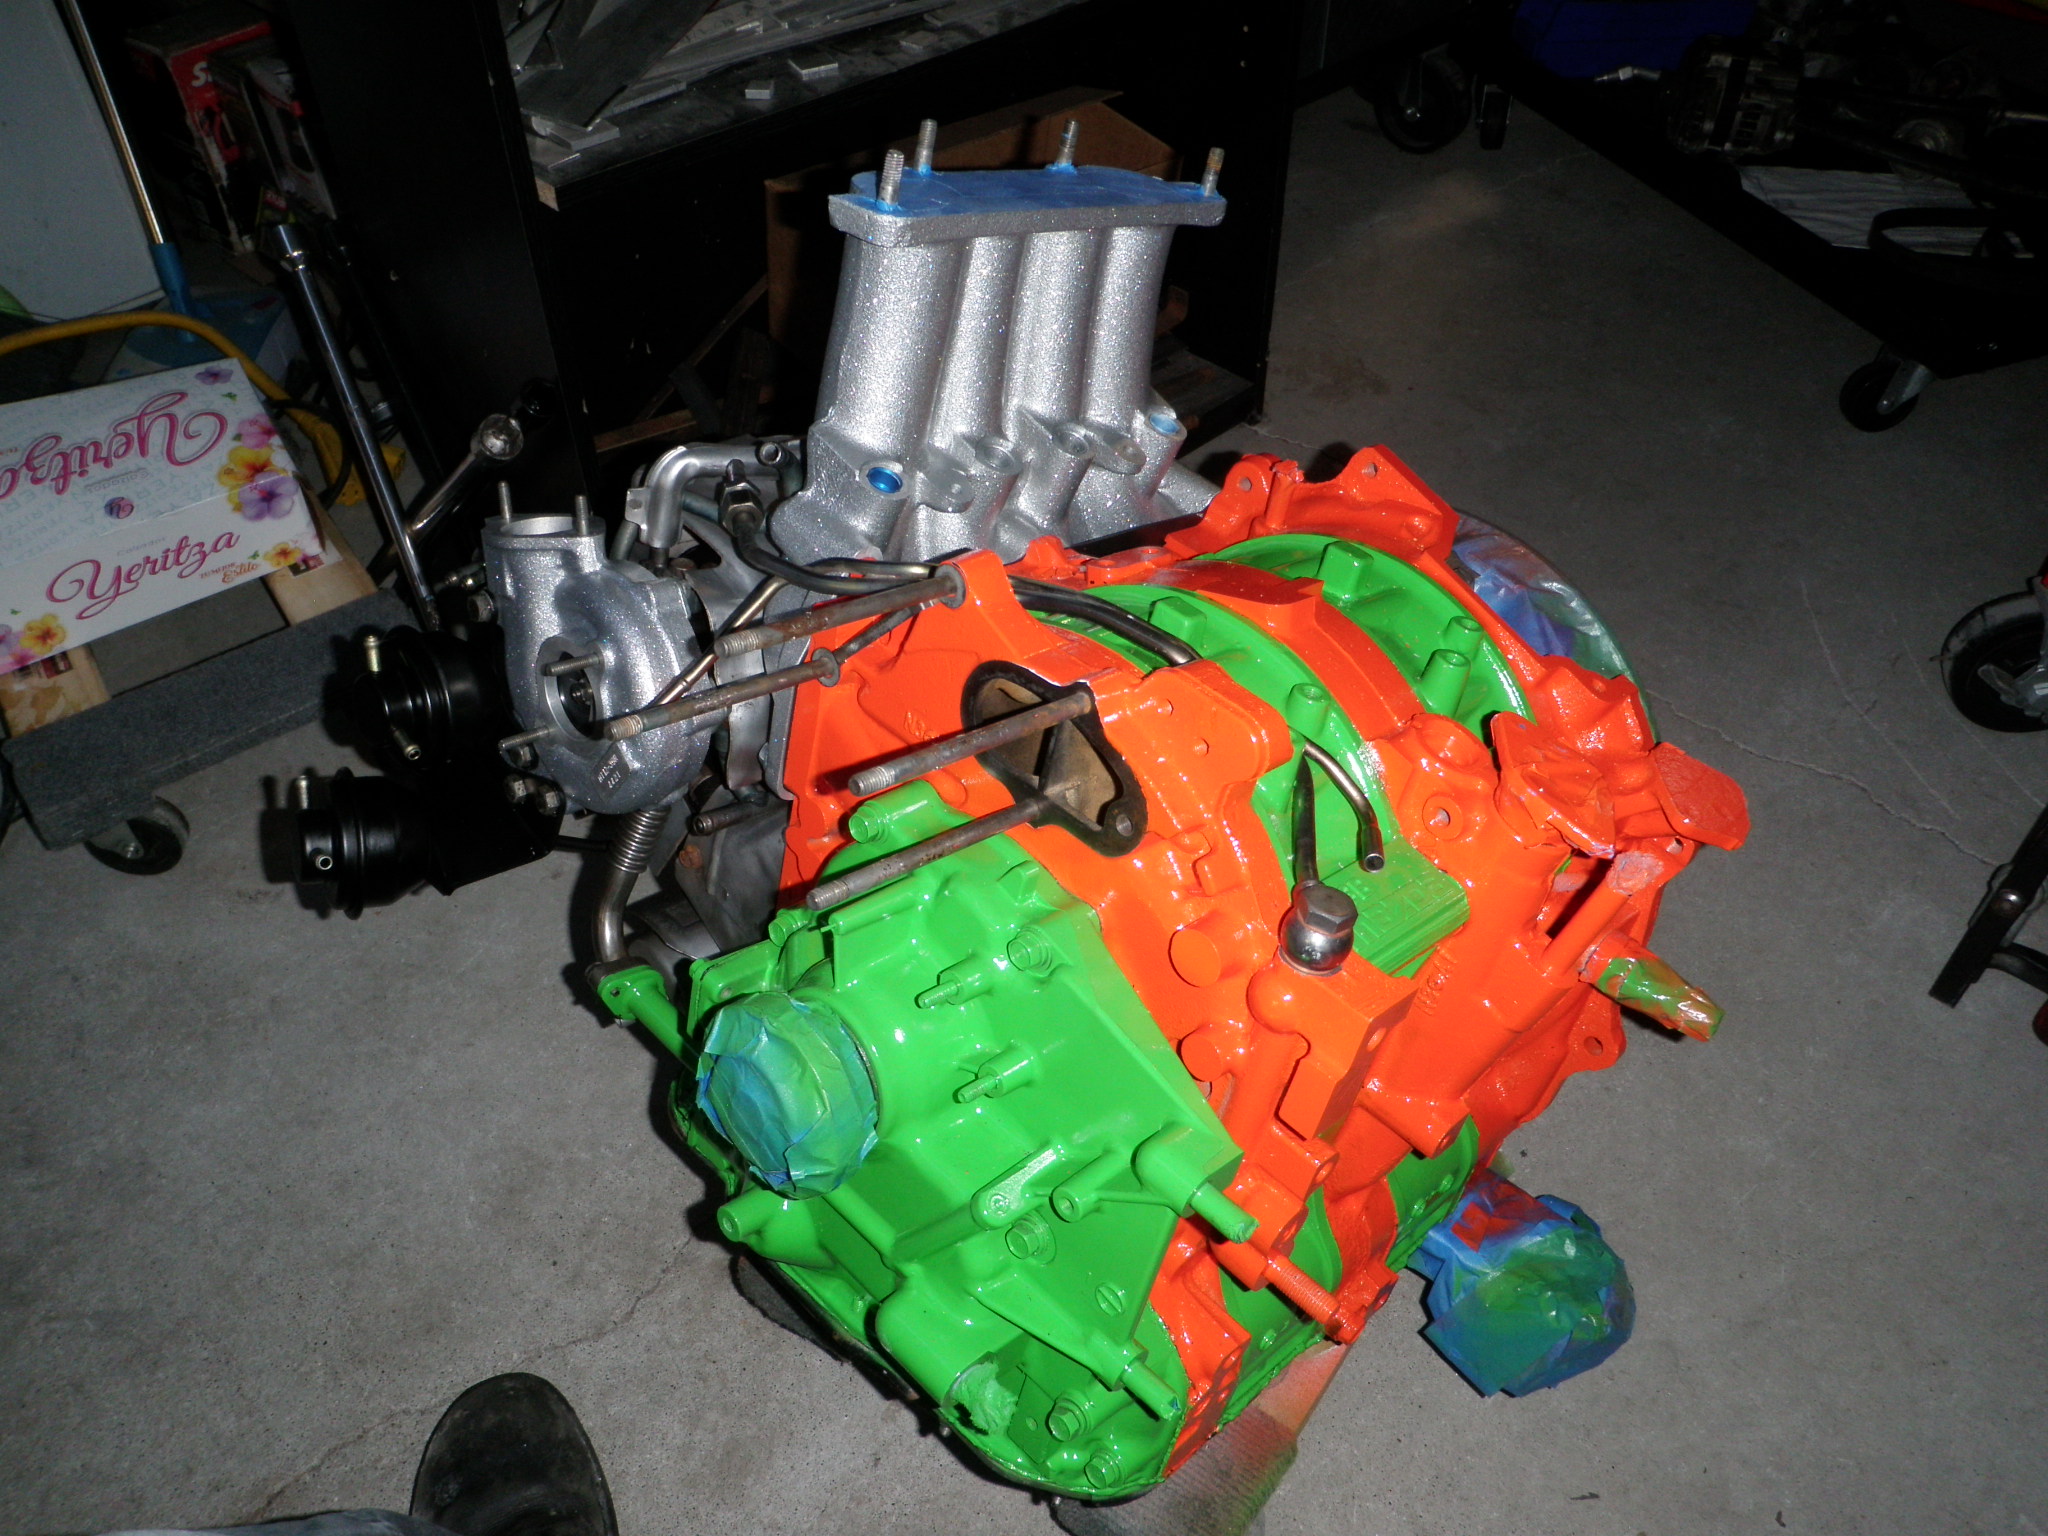
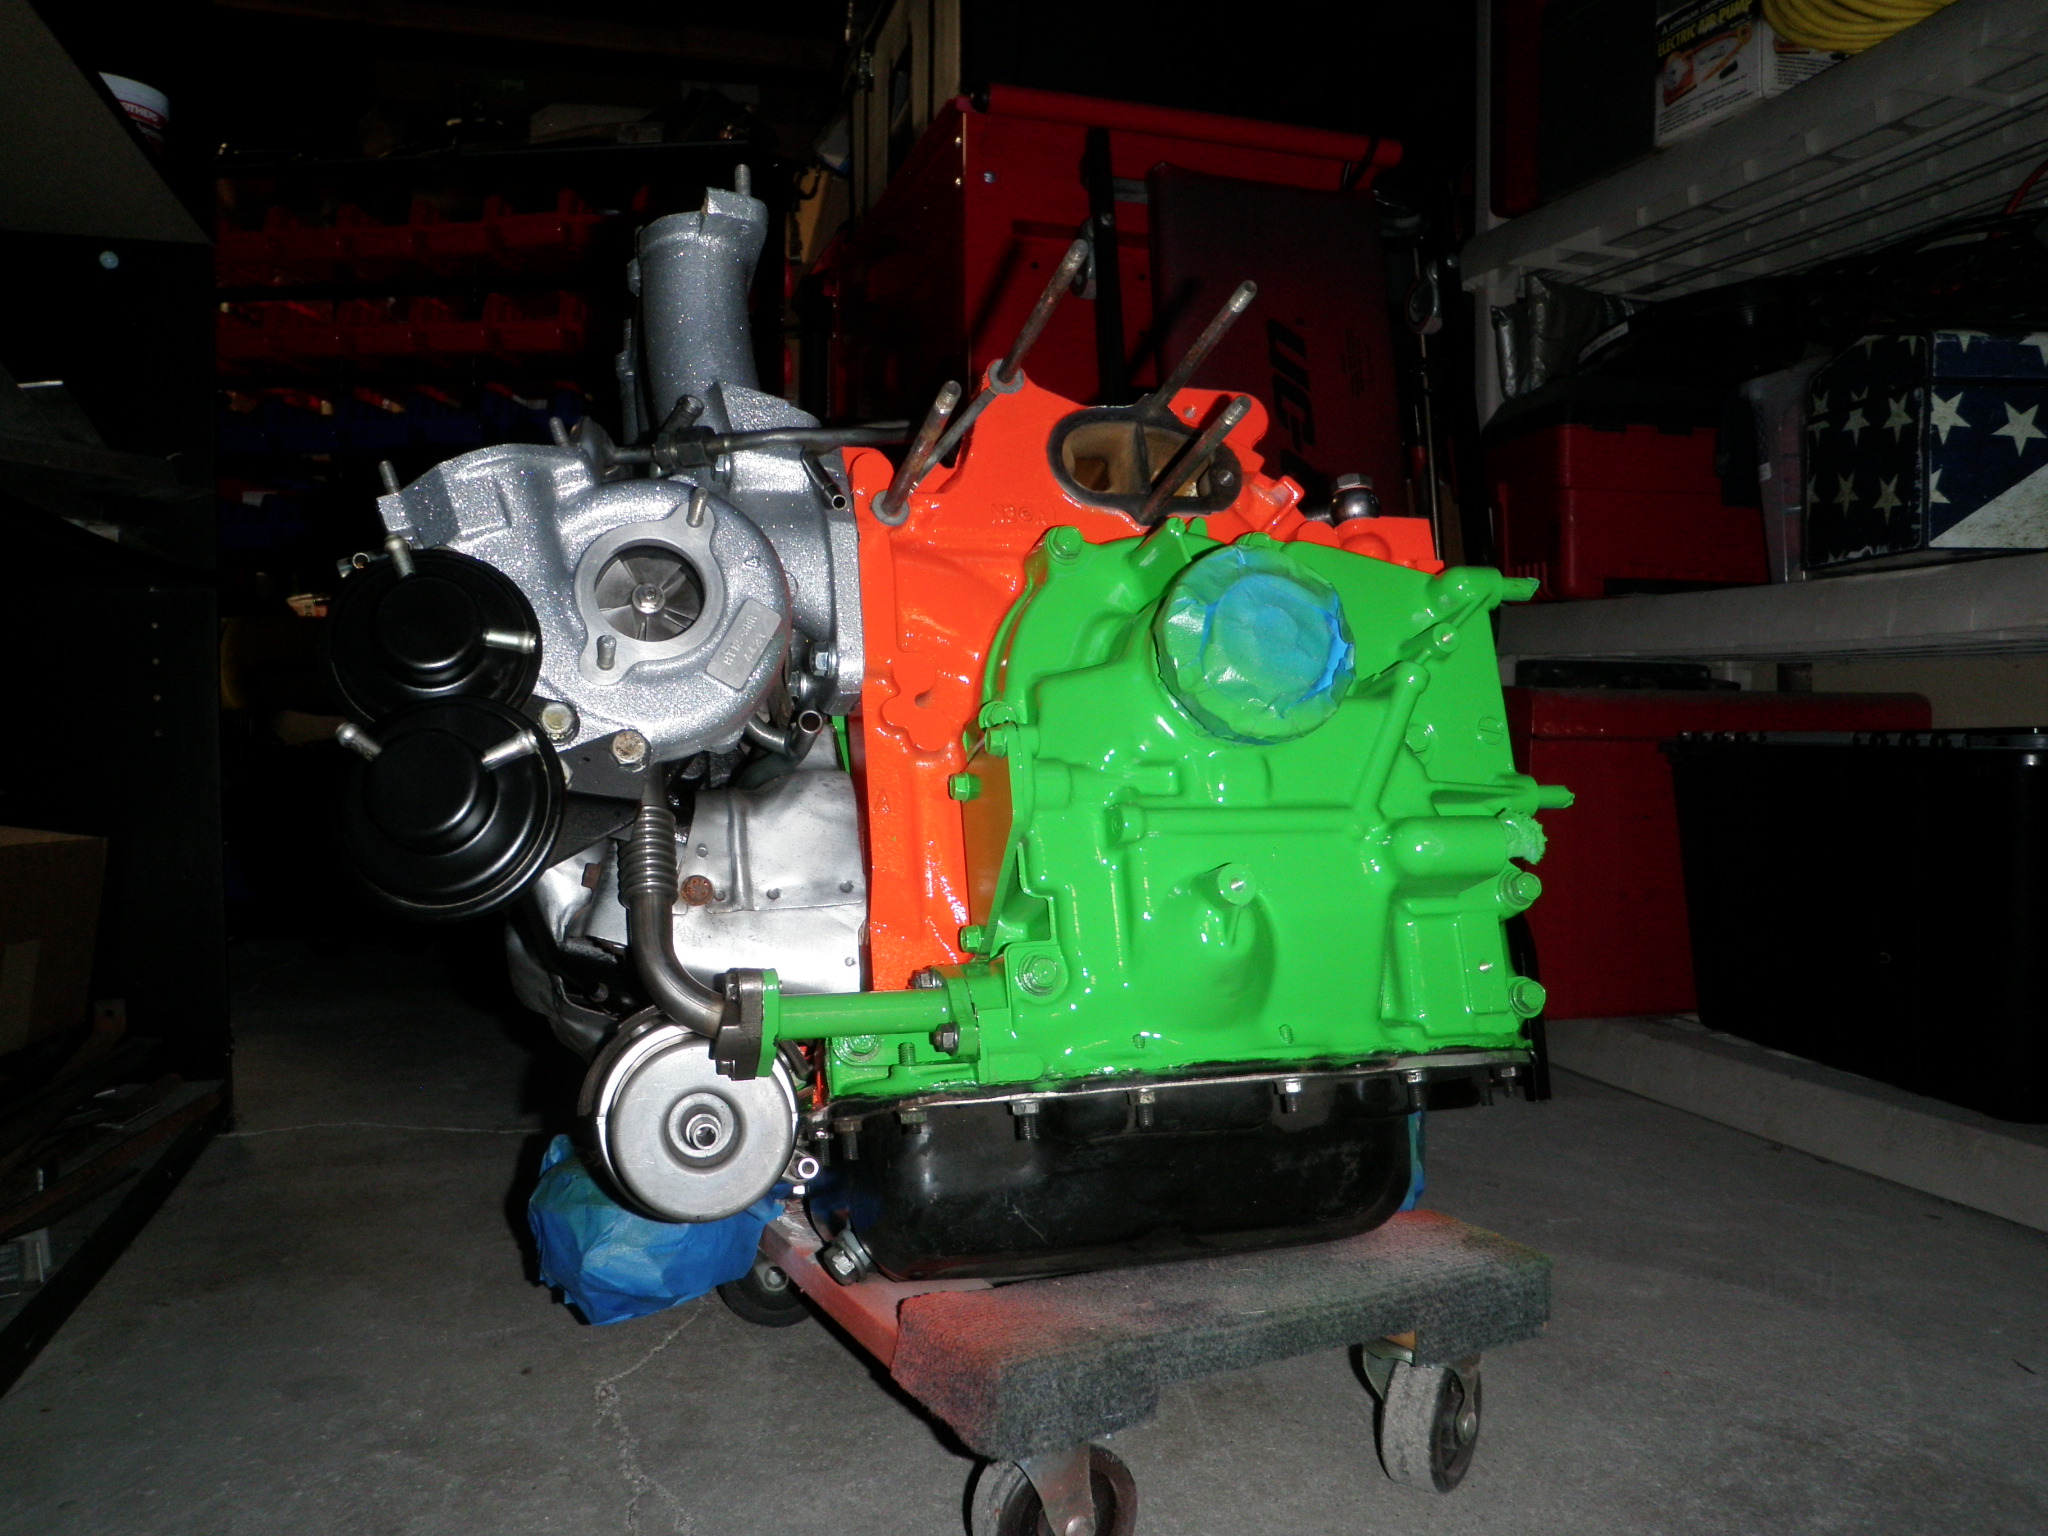
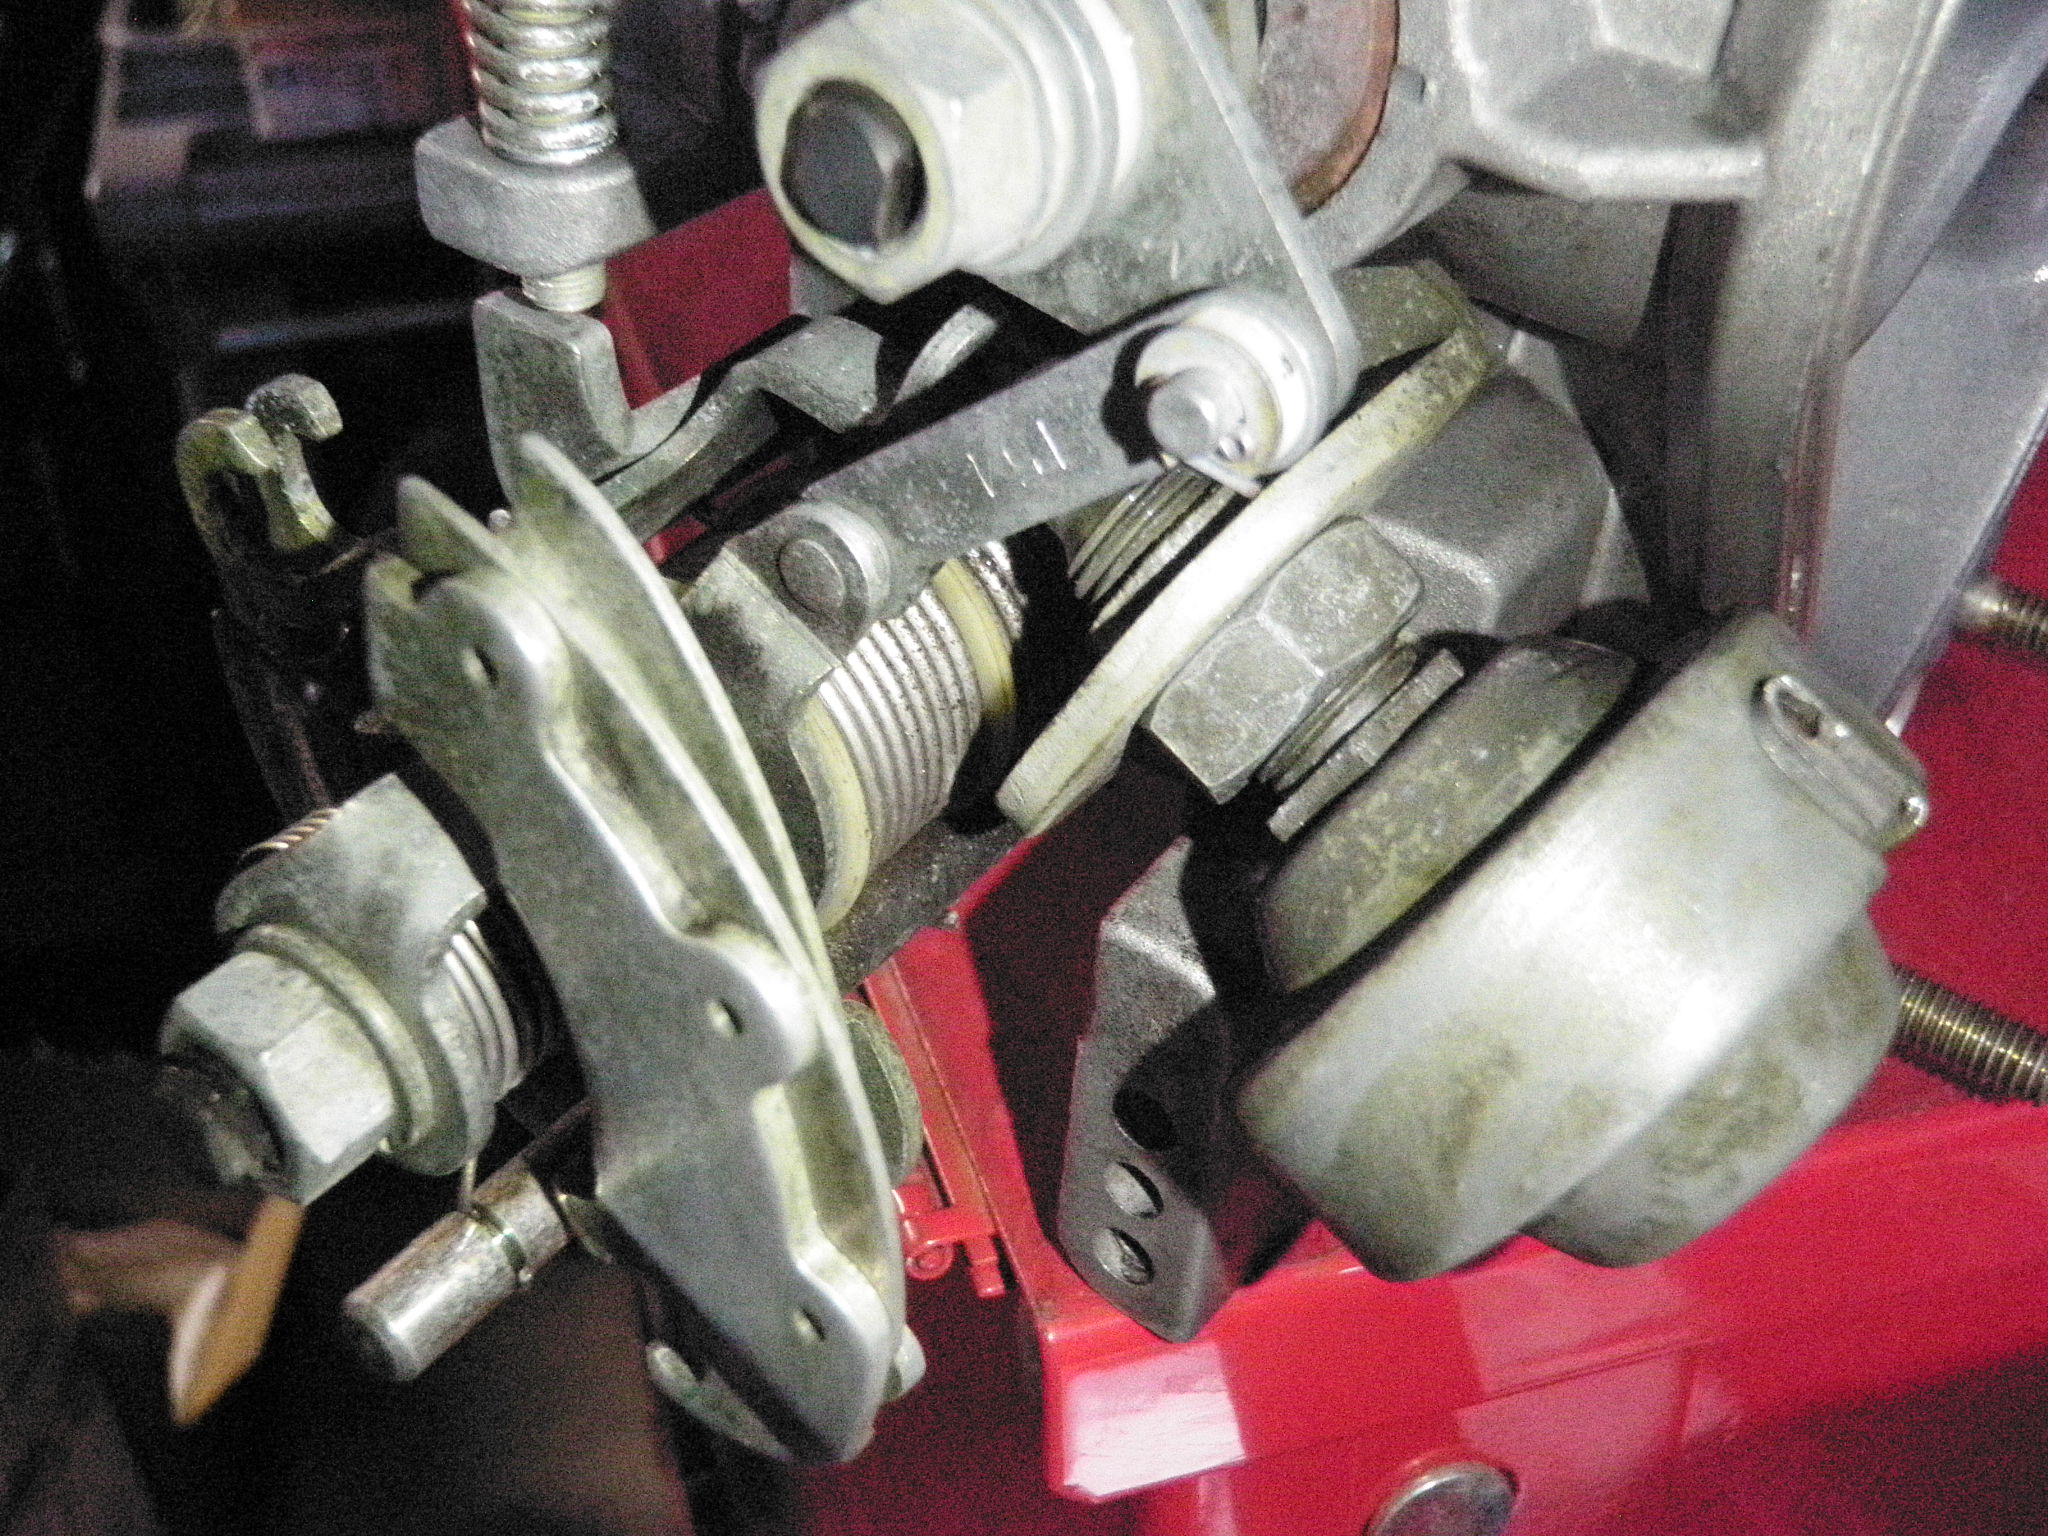
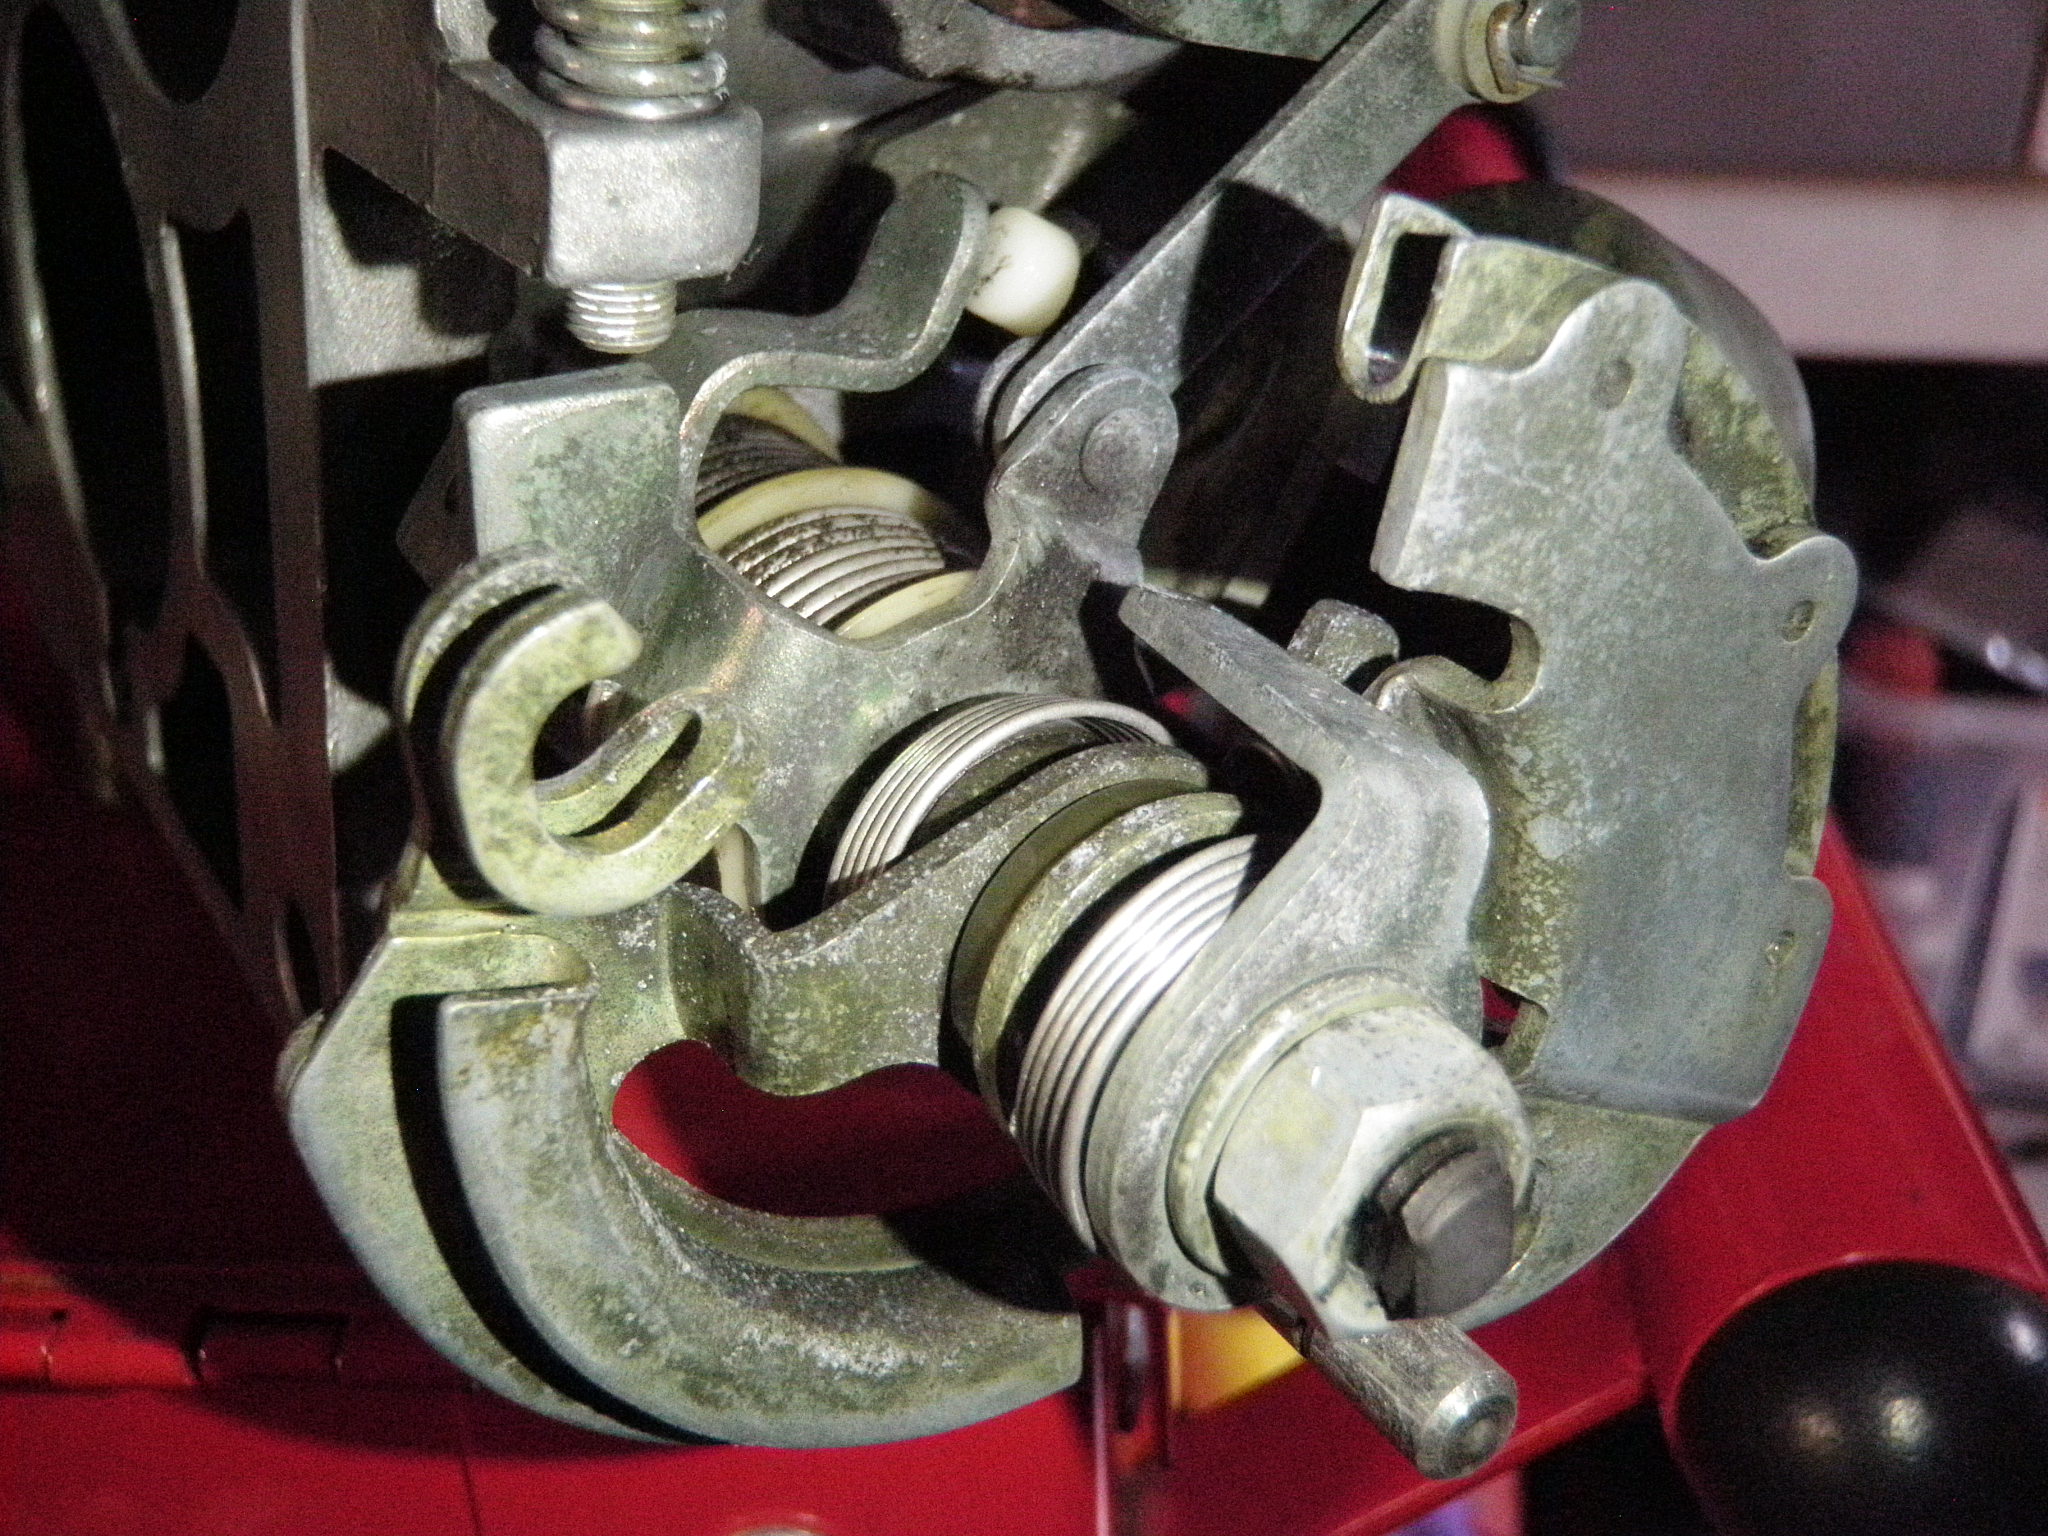
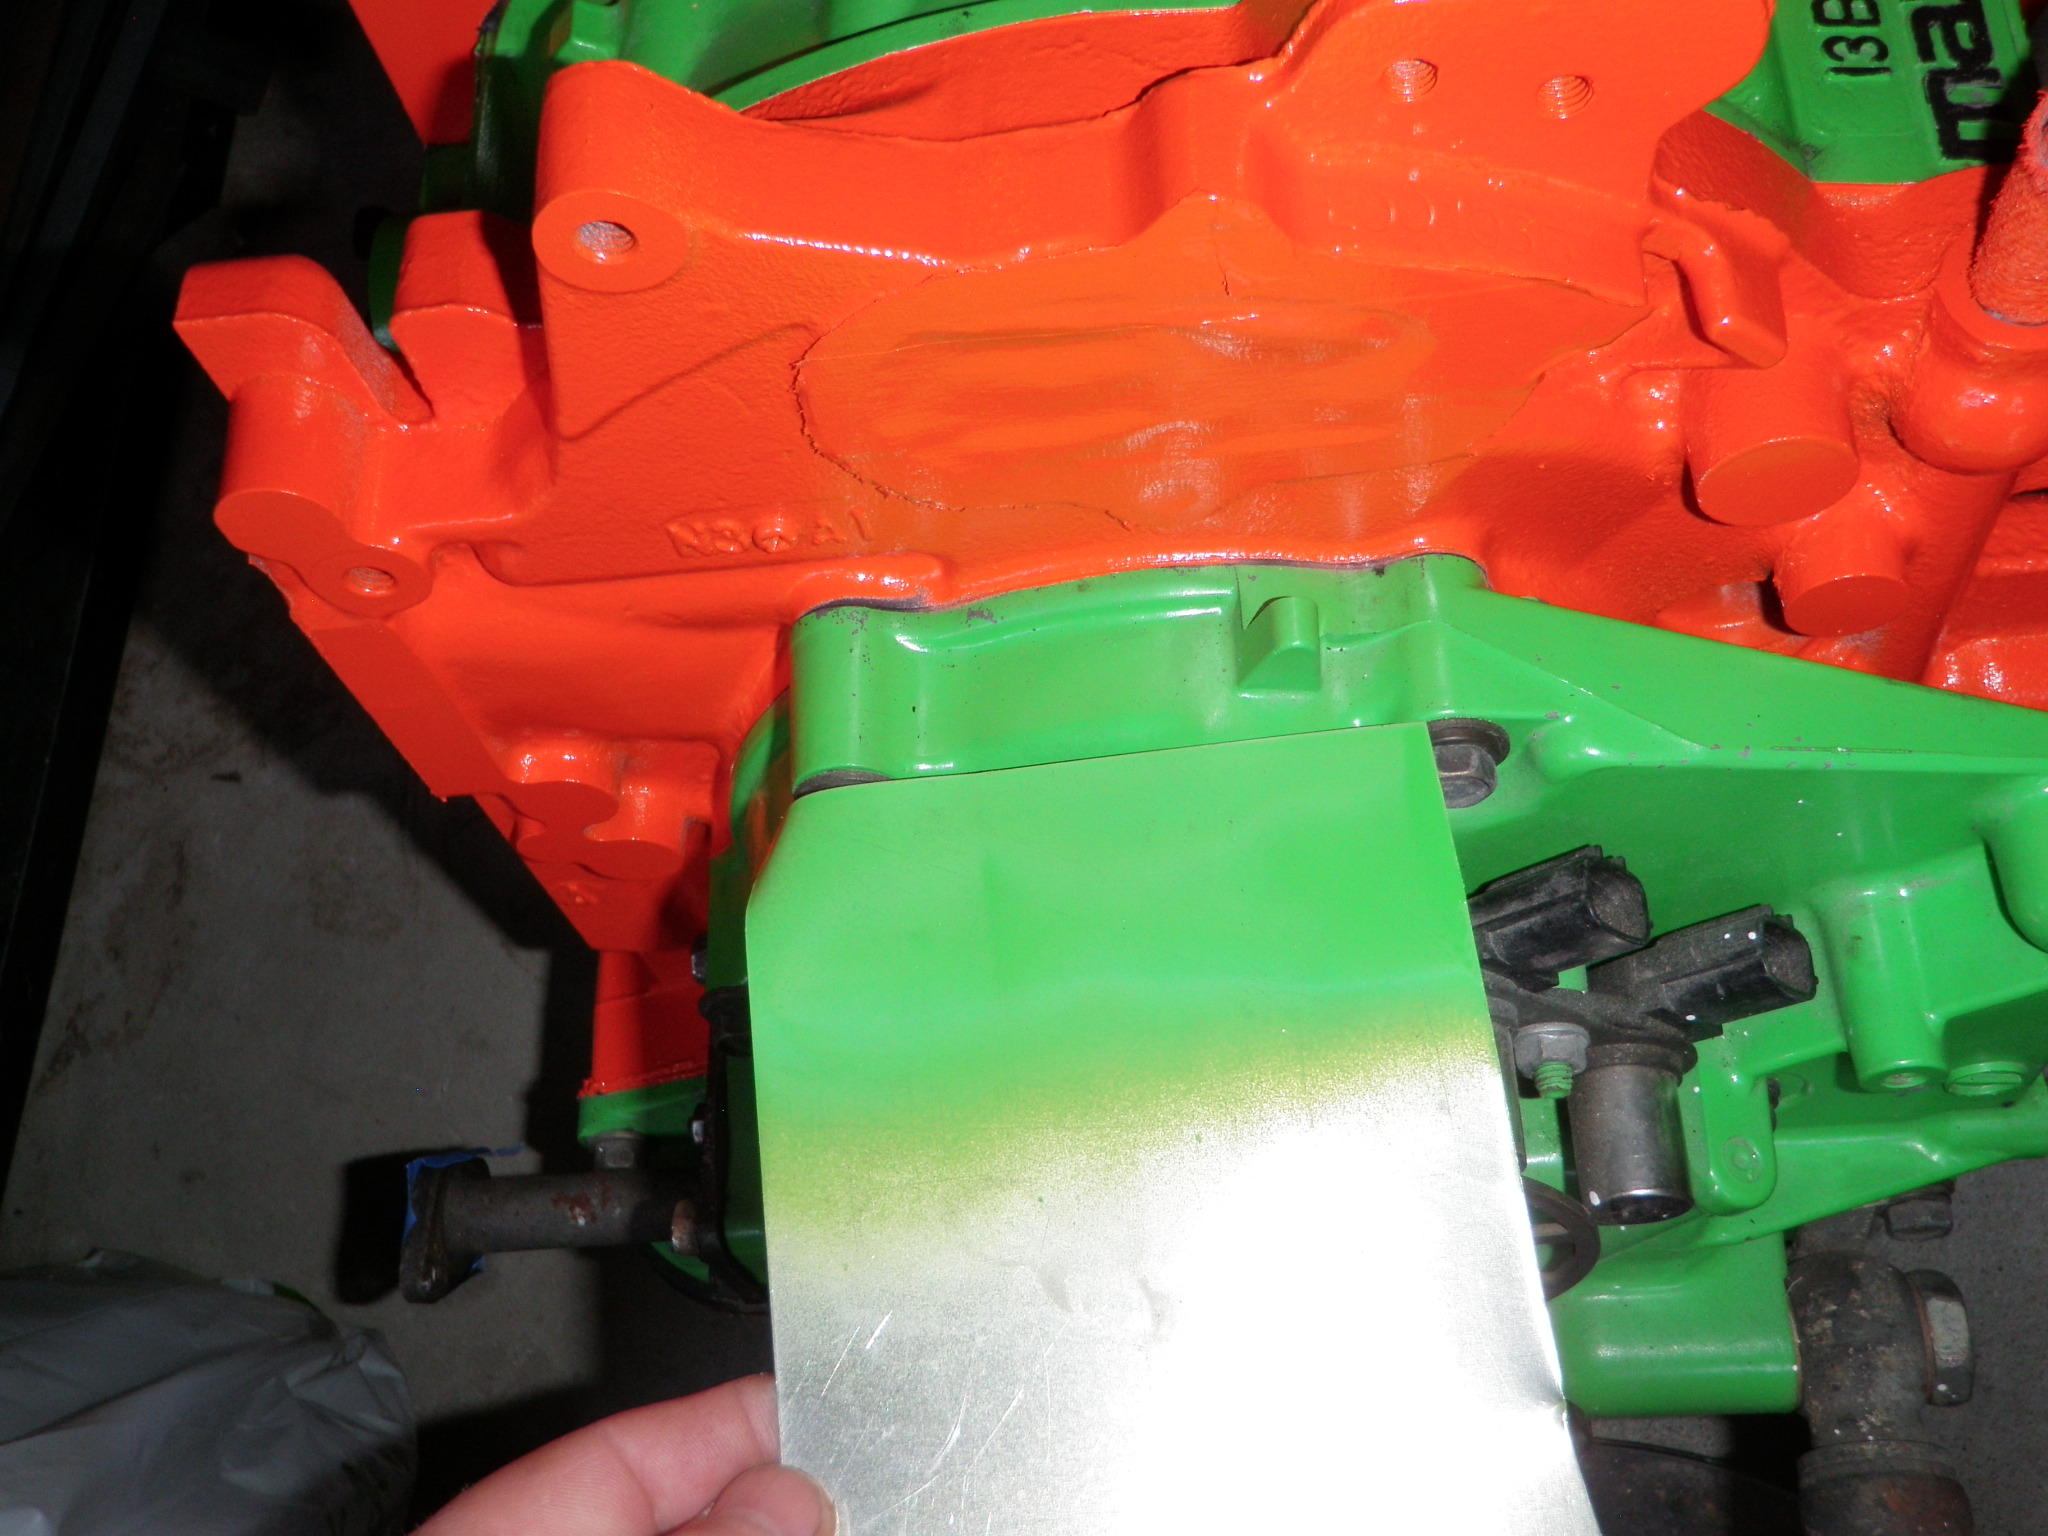
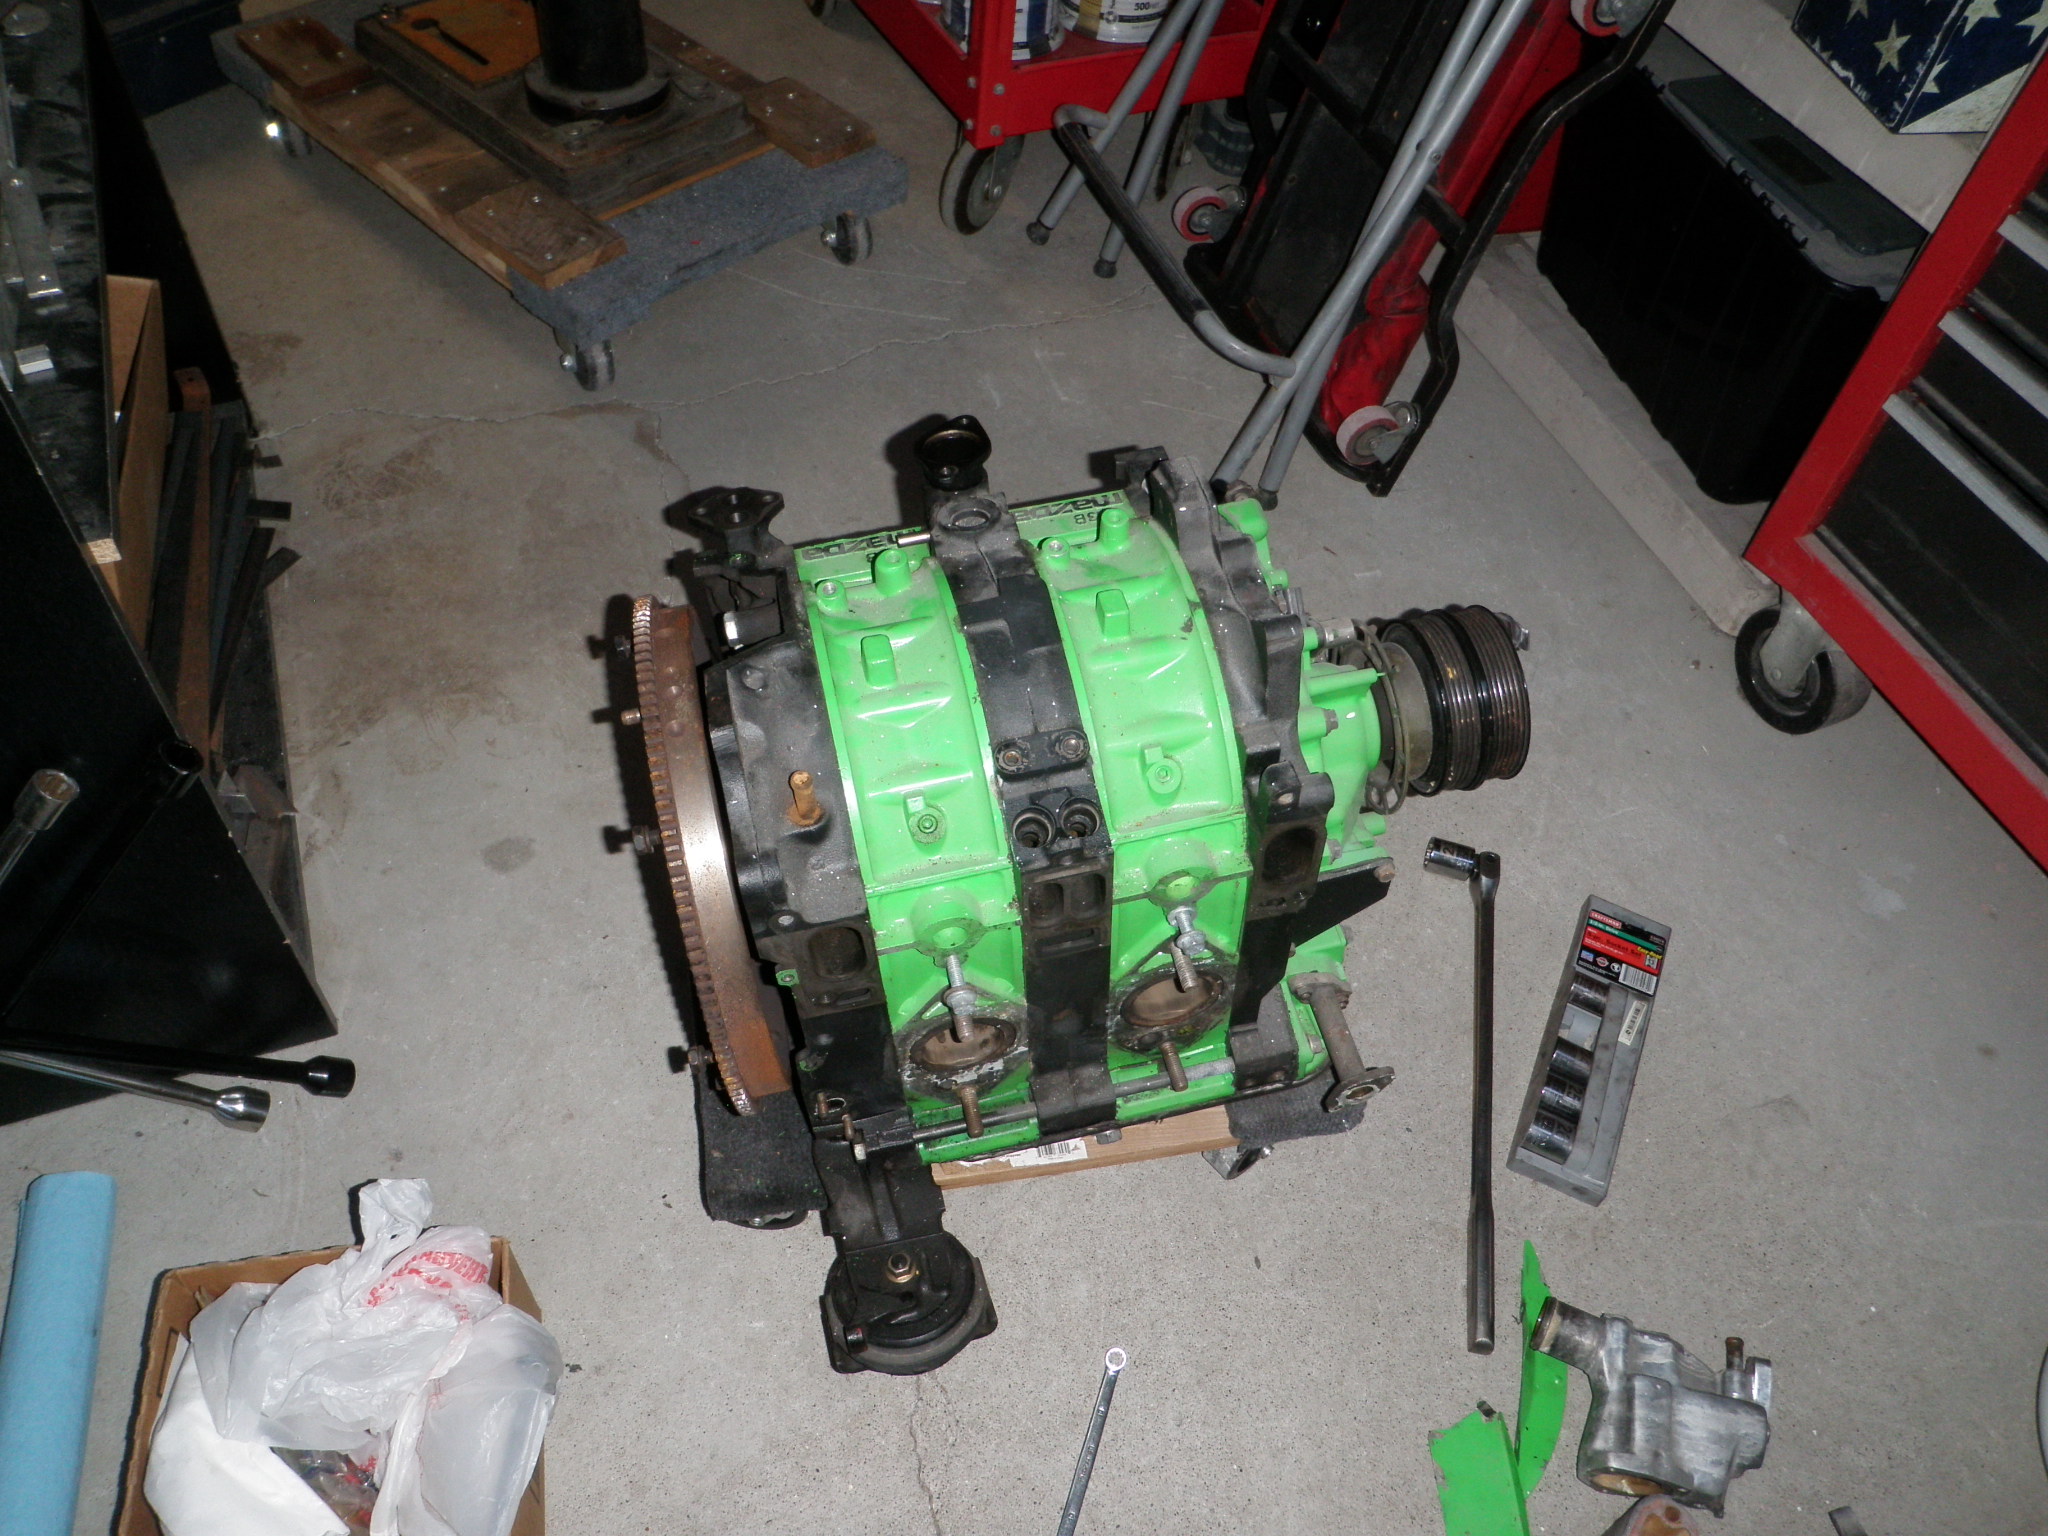
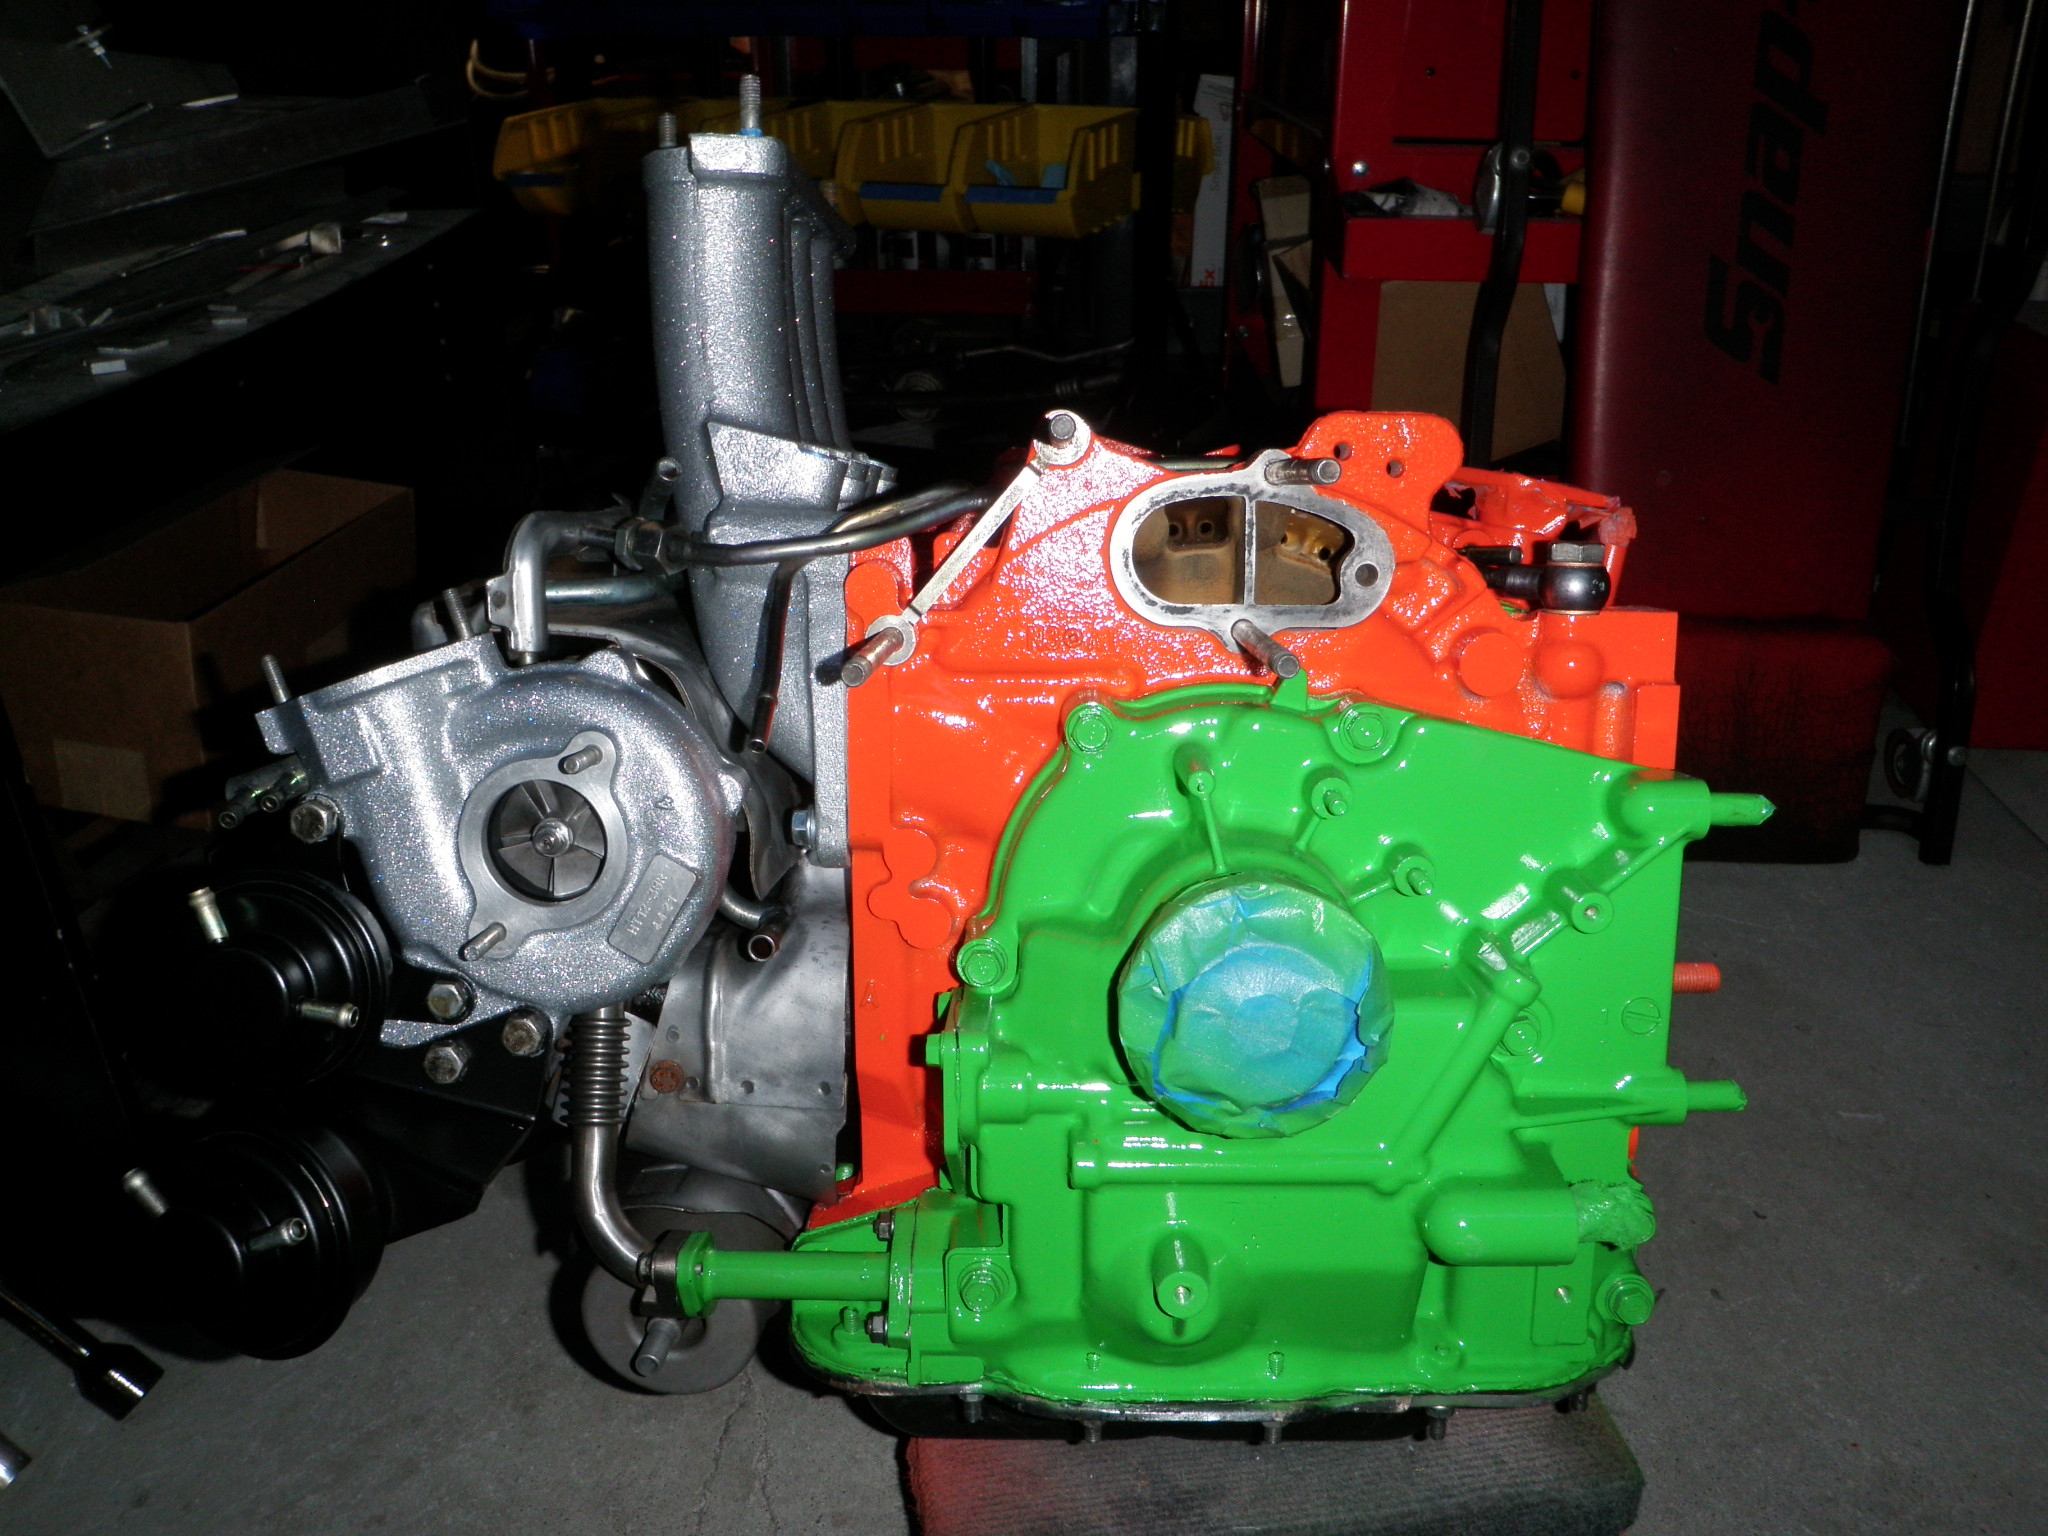
    Today I finally got the turbo side mounted for keeps. On the bottom of the lower turbo manifold I formed the little heat shield to make sure there was no rubbing on the arm. Then I bolted on the lower turbo manifold and loosely fitting the heat shield. I wanted to make sure it could wiggle while installing other parts. I also installed the front lower oil pipe at this time too. Last I bolted on the turbo control actuator.

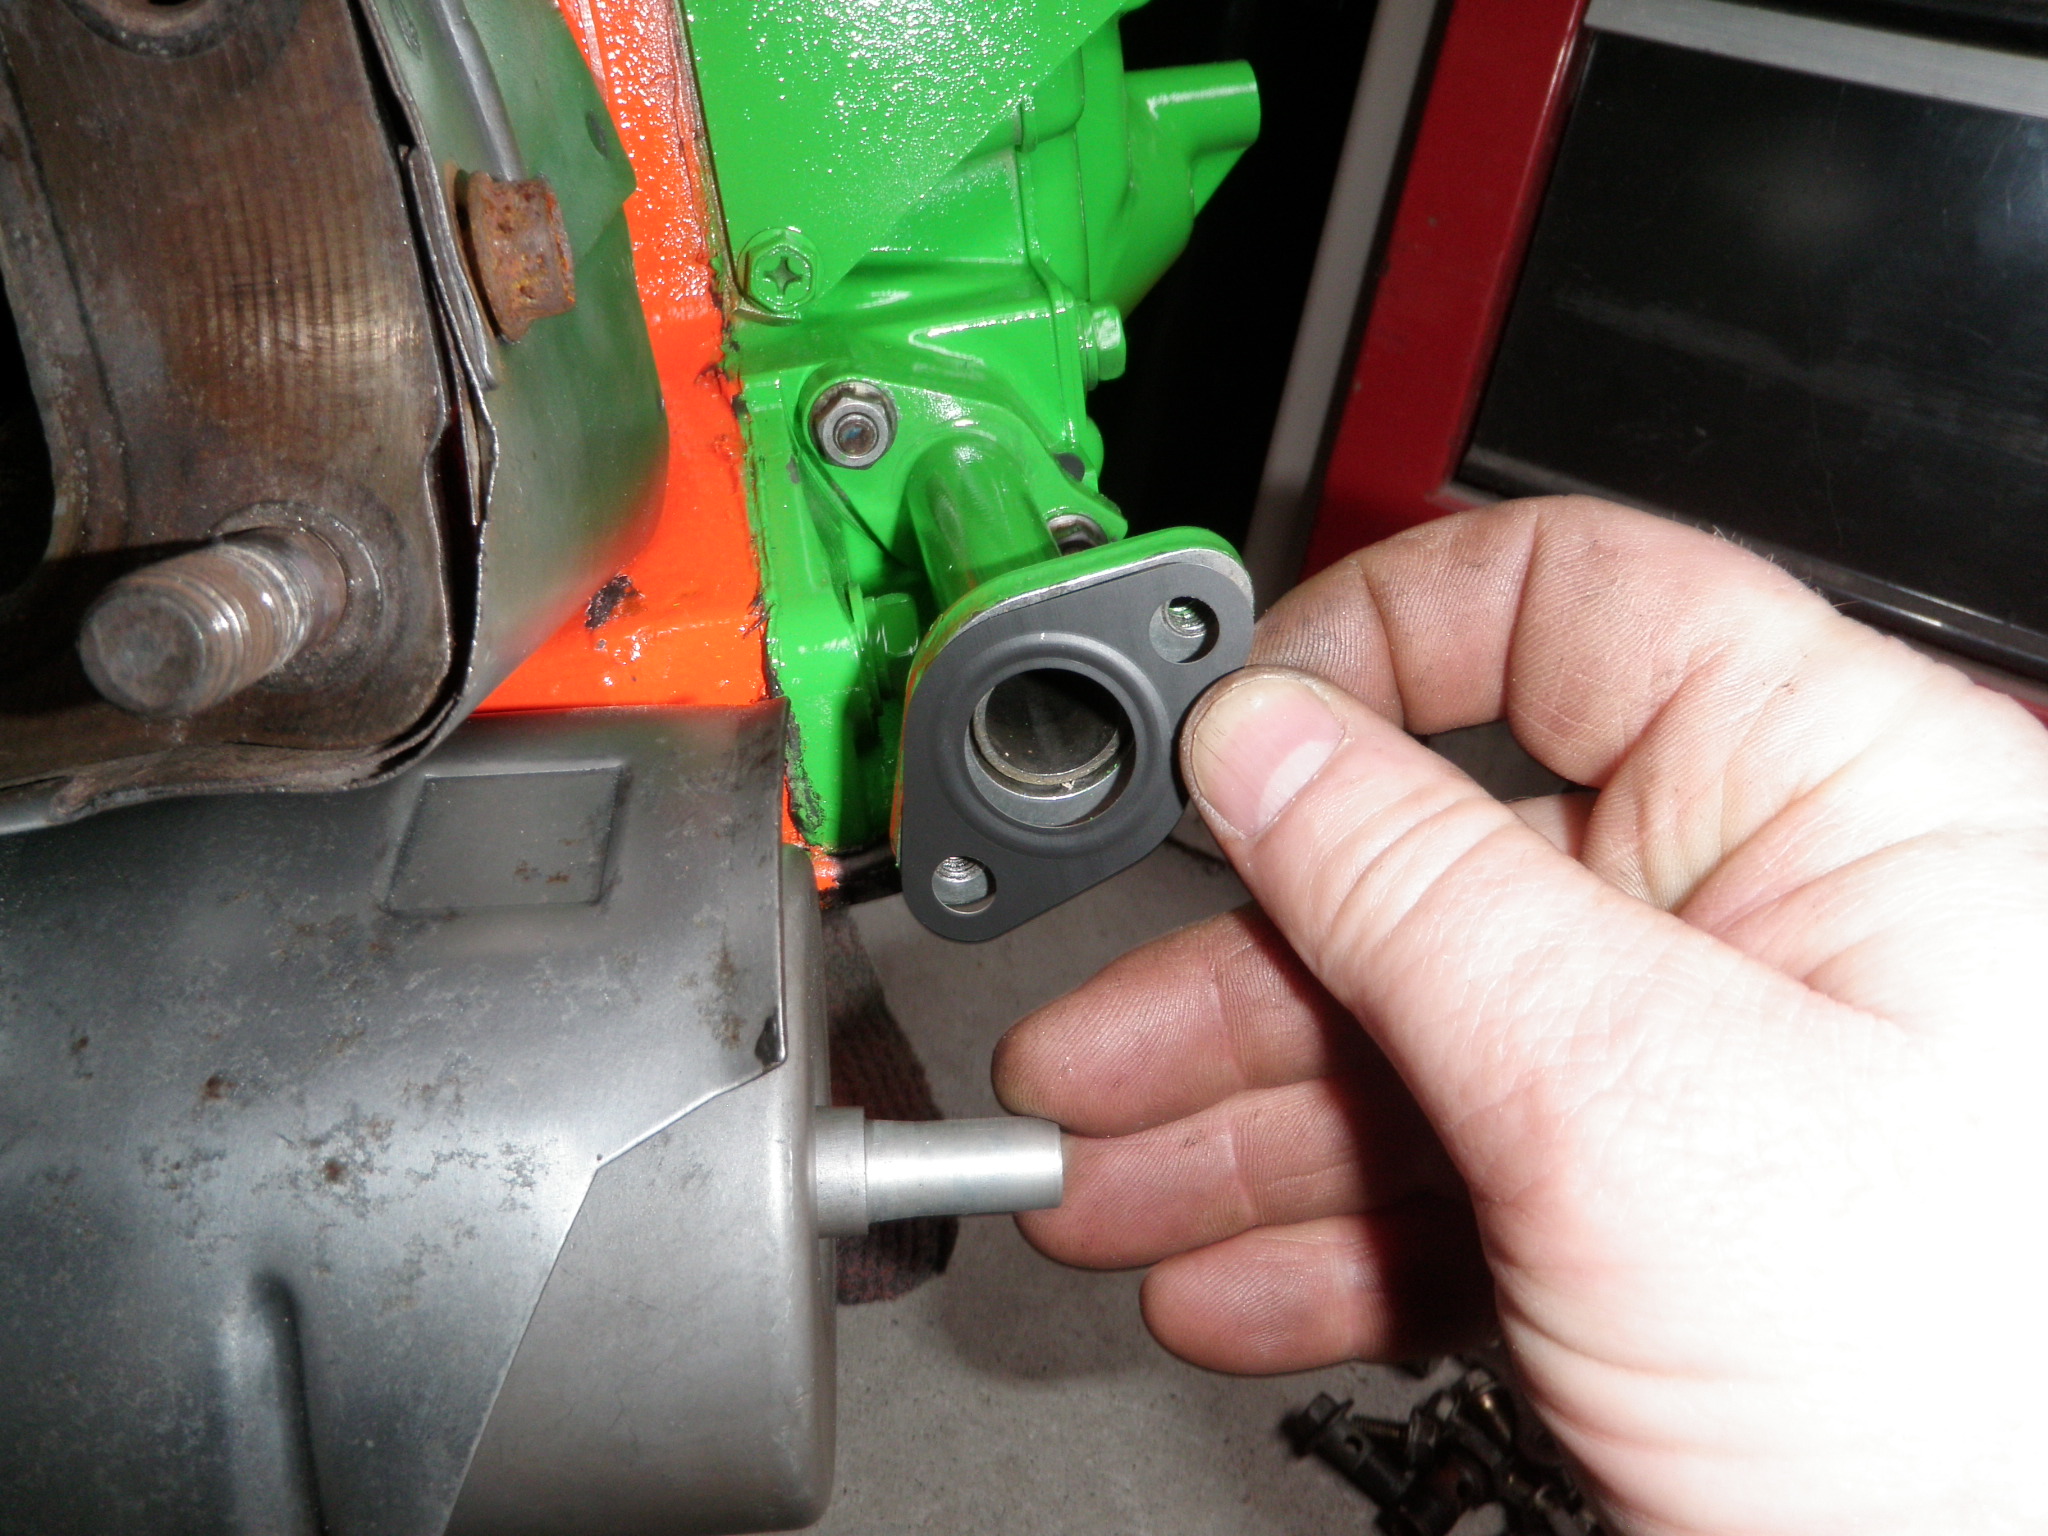
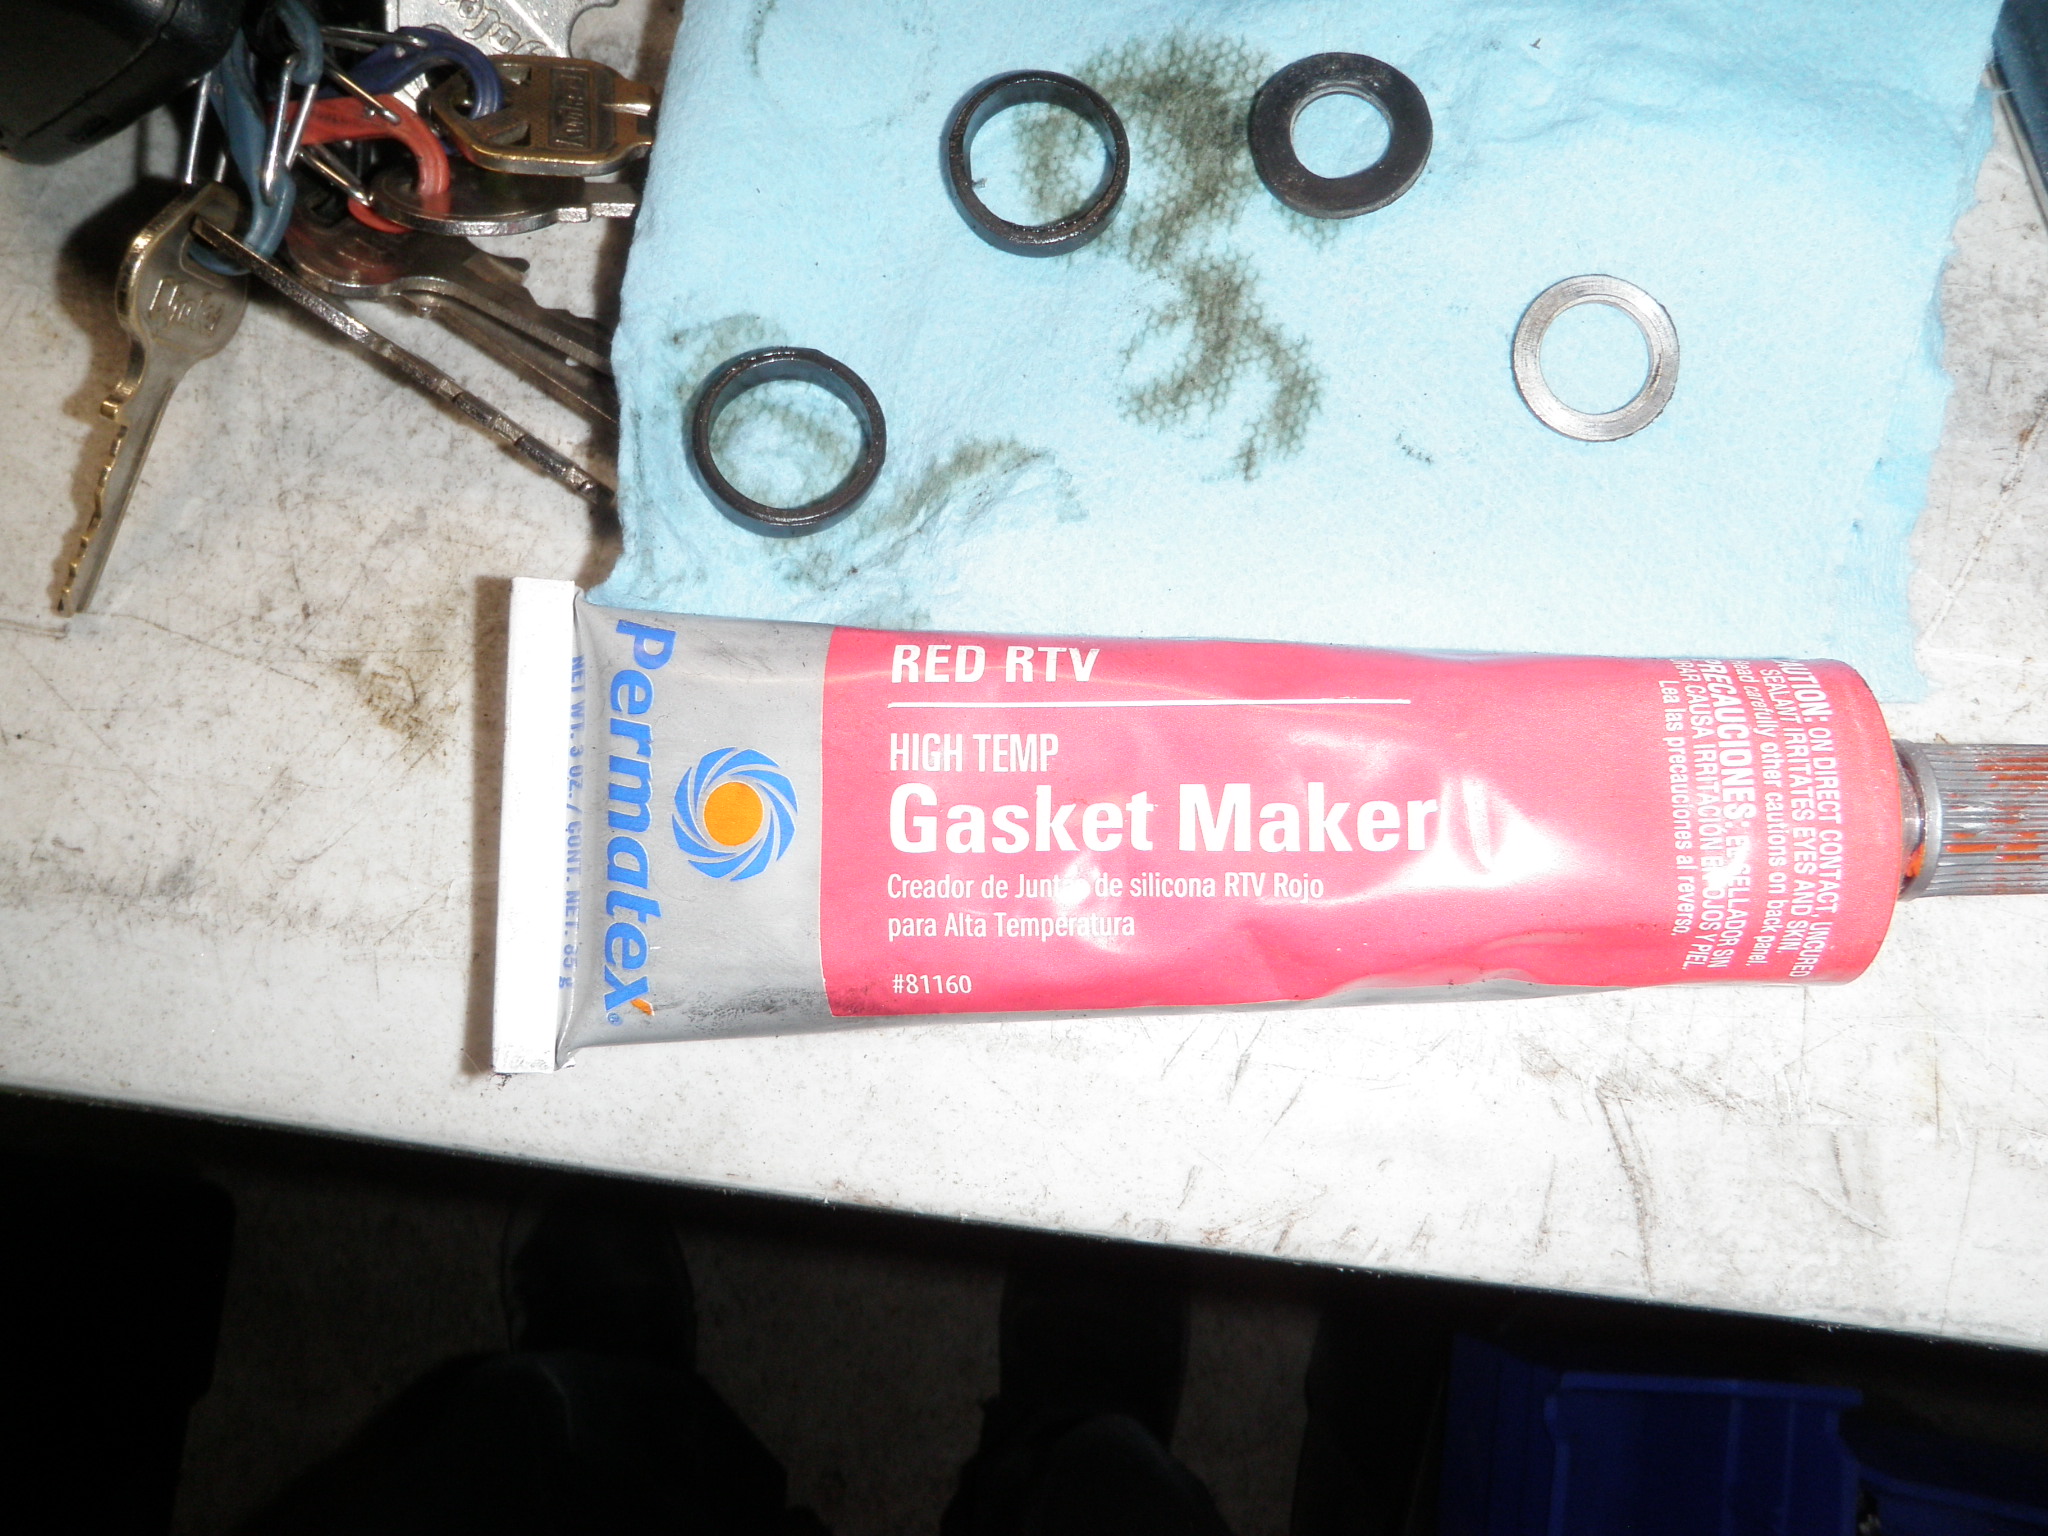
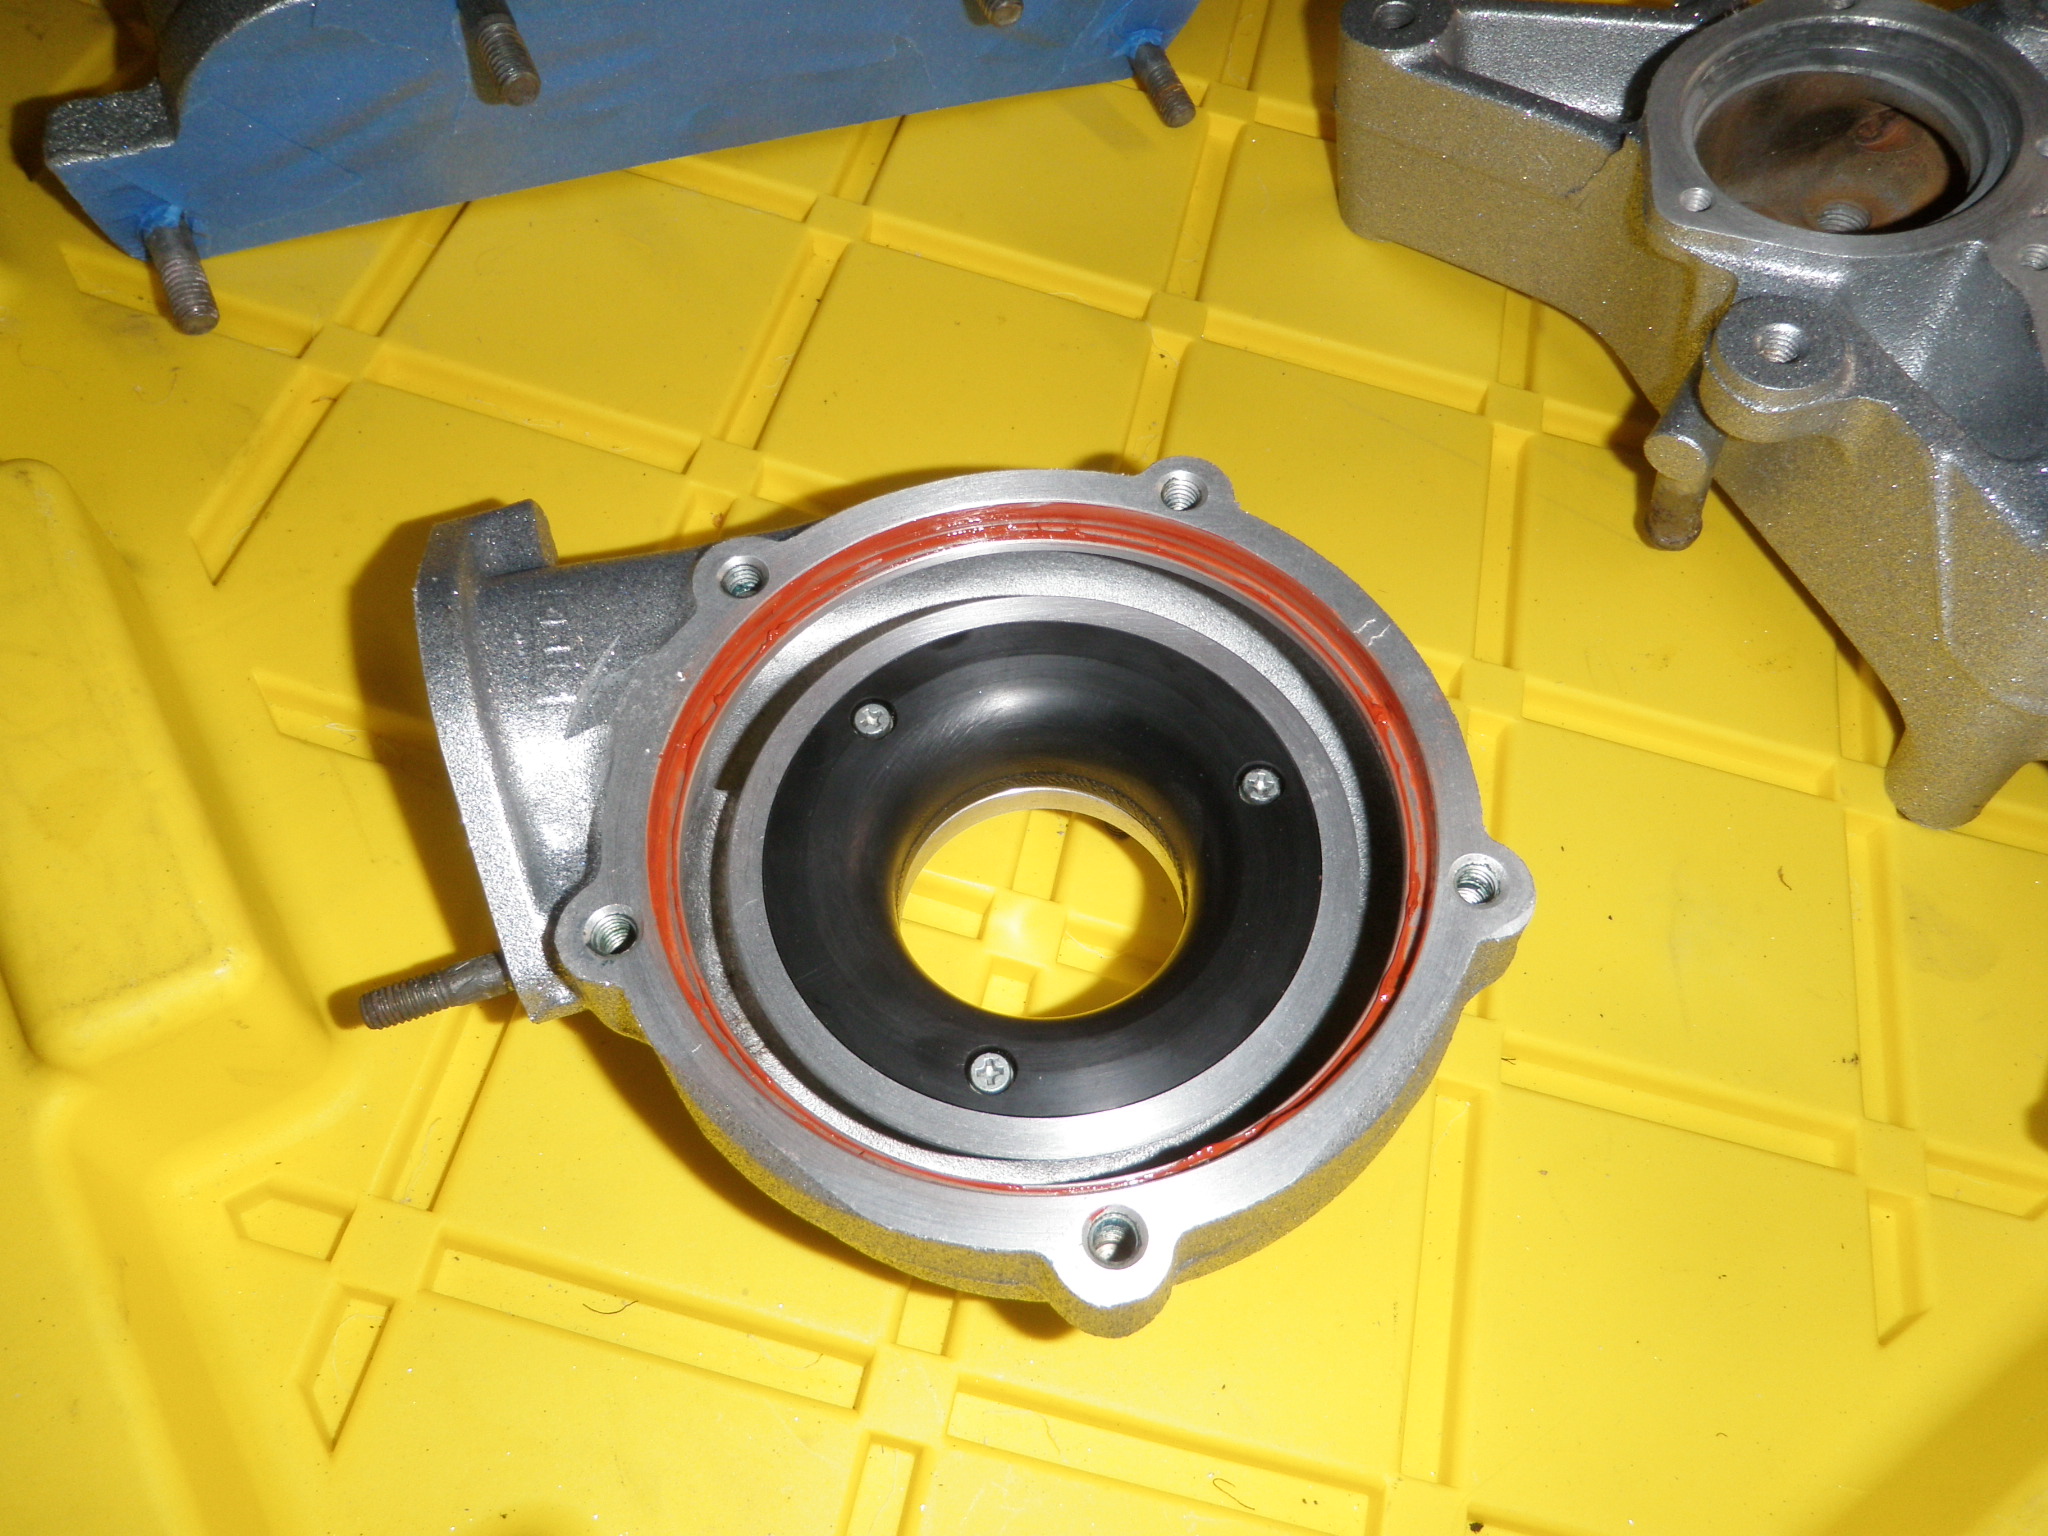
    There are 5 oil gaskets and the offset bigger one goes between the front pipe and the bottom pri turbo oil drain pipe. Before I forgot I put the front coolant shim on the long bolts. Next was to add the red gasket material on the compressor side of the turbo CHRA’s. I used a welding rod with a gob of red rtv on it to run it around the inner edge. I wiped up the extra with my finger – it worked really good.

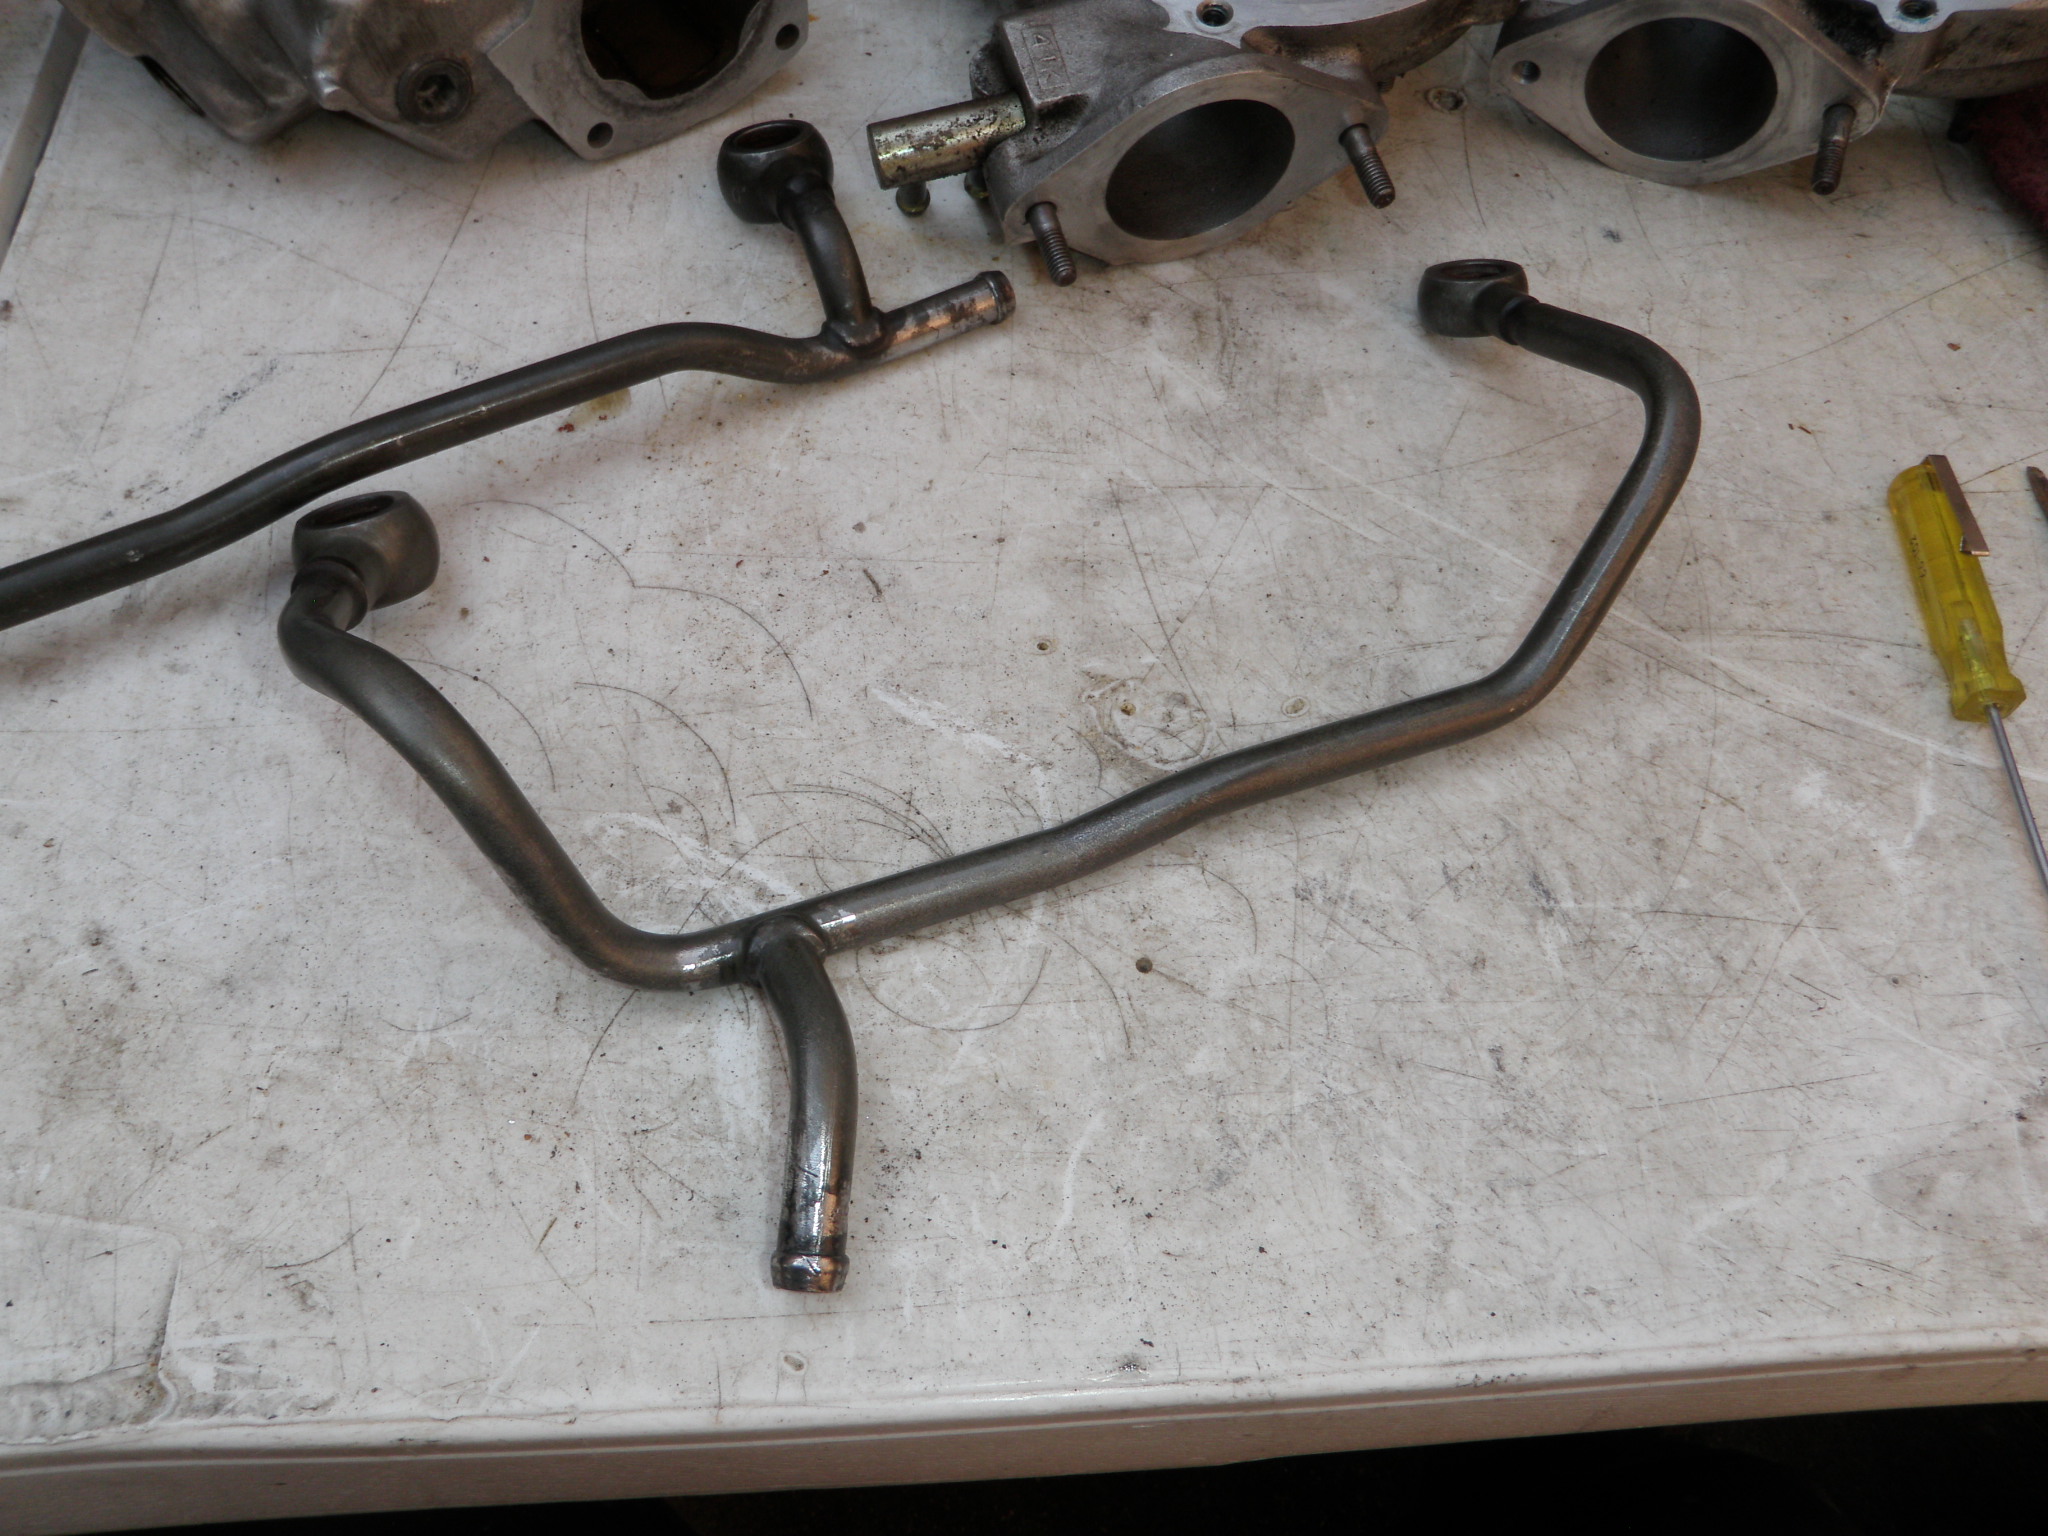
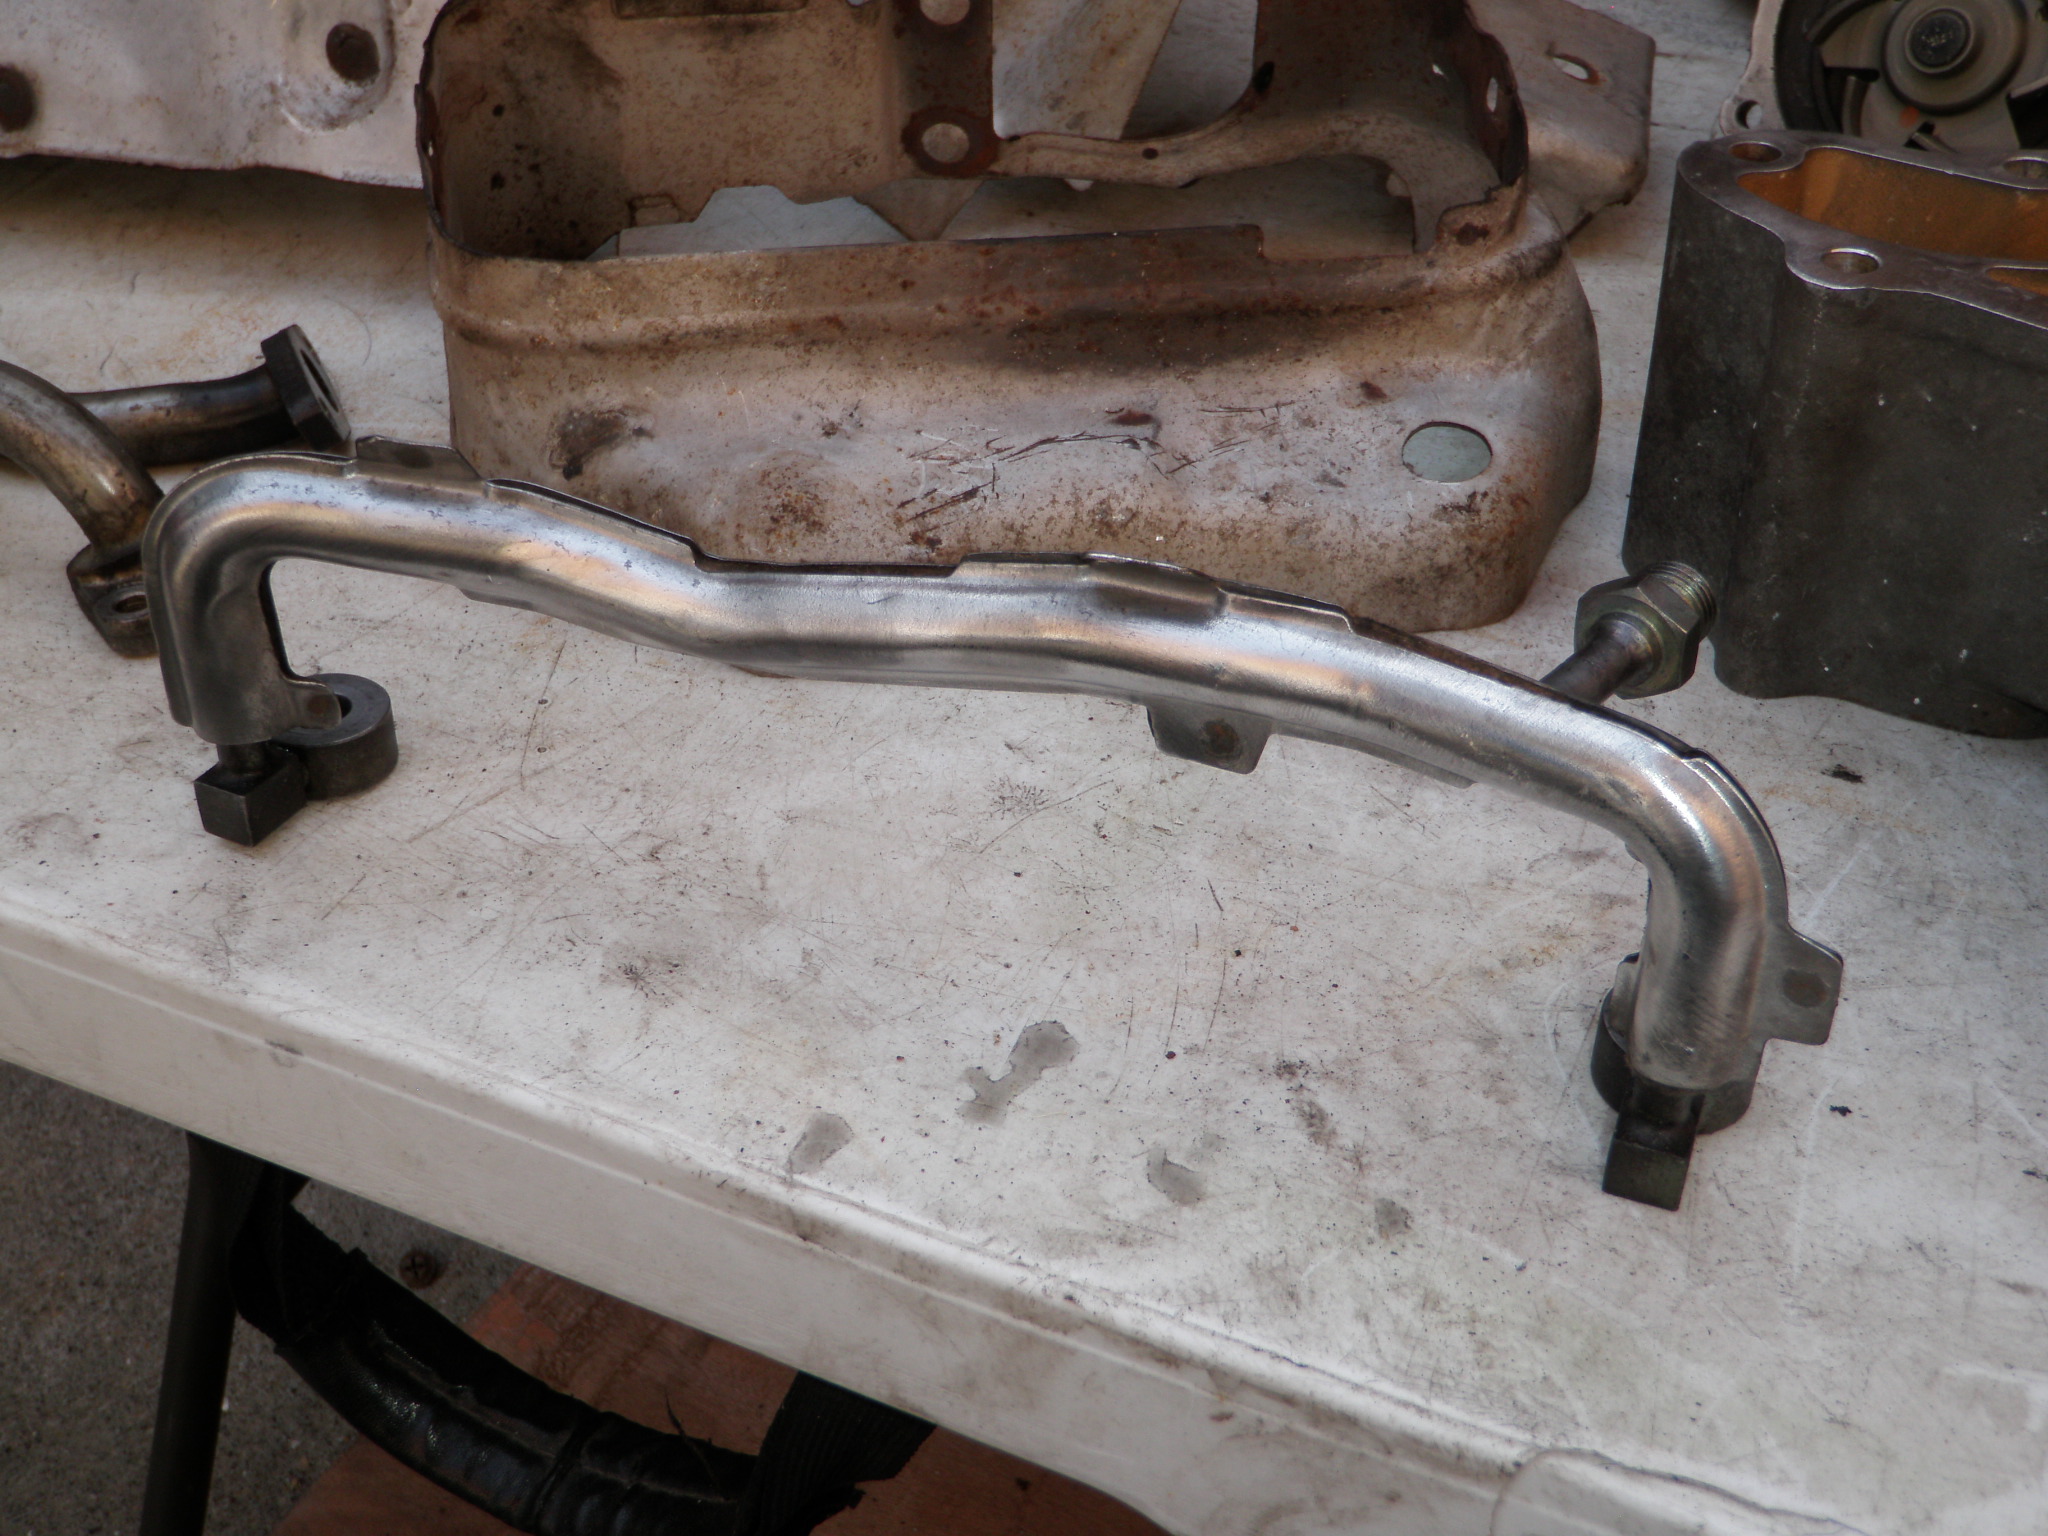
    After the turbos were together I installed the back water pipe and put the heat shield on over it. I installed the Xcessive LIM first and then the upper turbo manifold after. The lower turbo manifold shield had just enough lip going past the flange which allowed me to rest the gaskets on them. I installed the upper turbo manifold, outer water lines and the upper oil feed line. After that I installed the oil return pipes and then the waste gate and turbo pre-spool actuators. Lastly I installed the outer turbo heat shield.

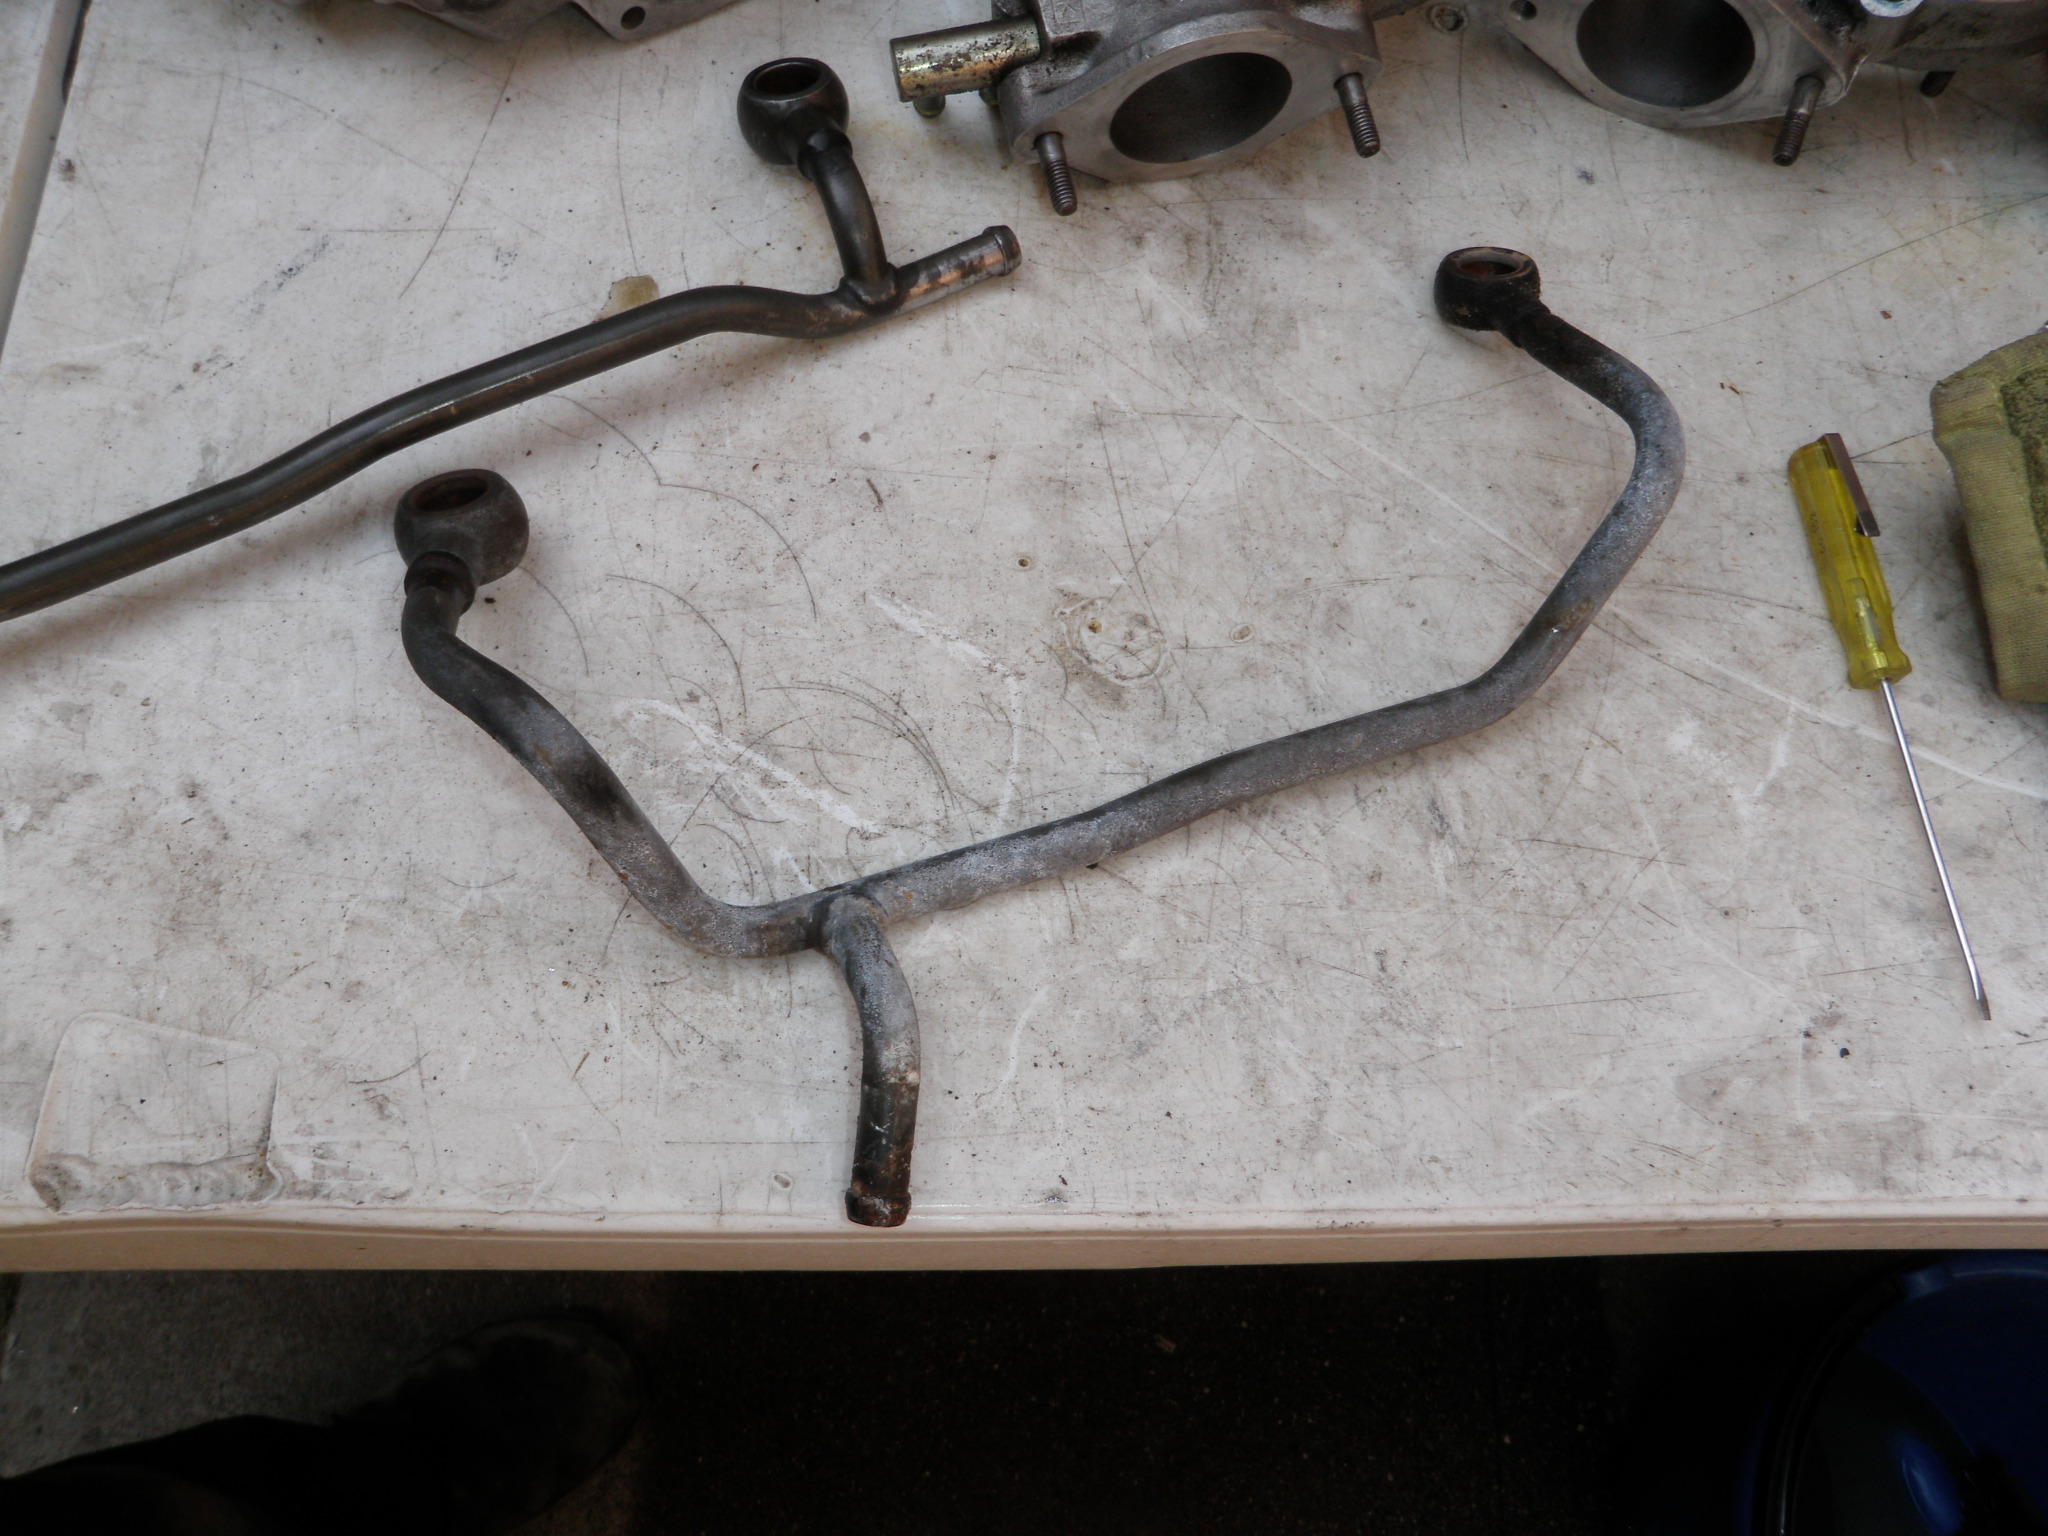
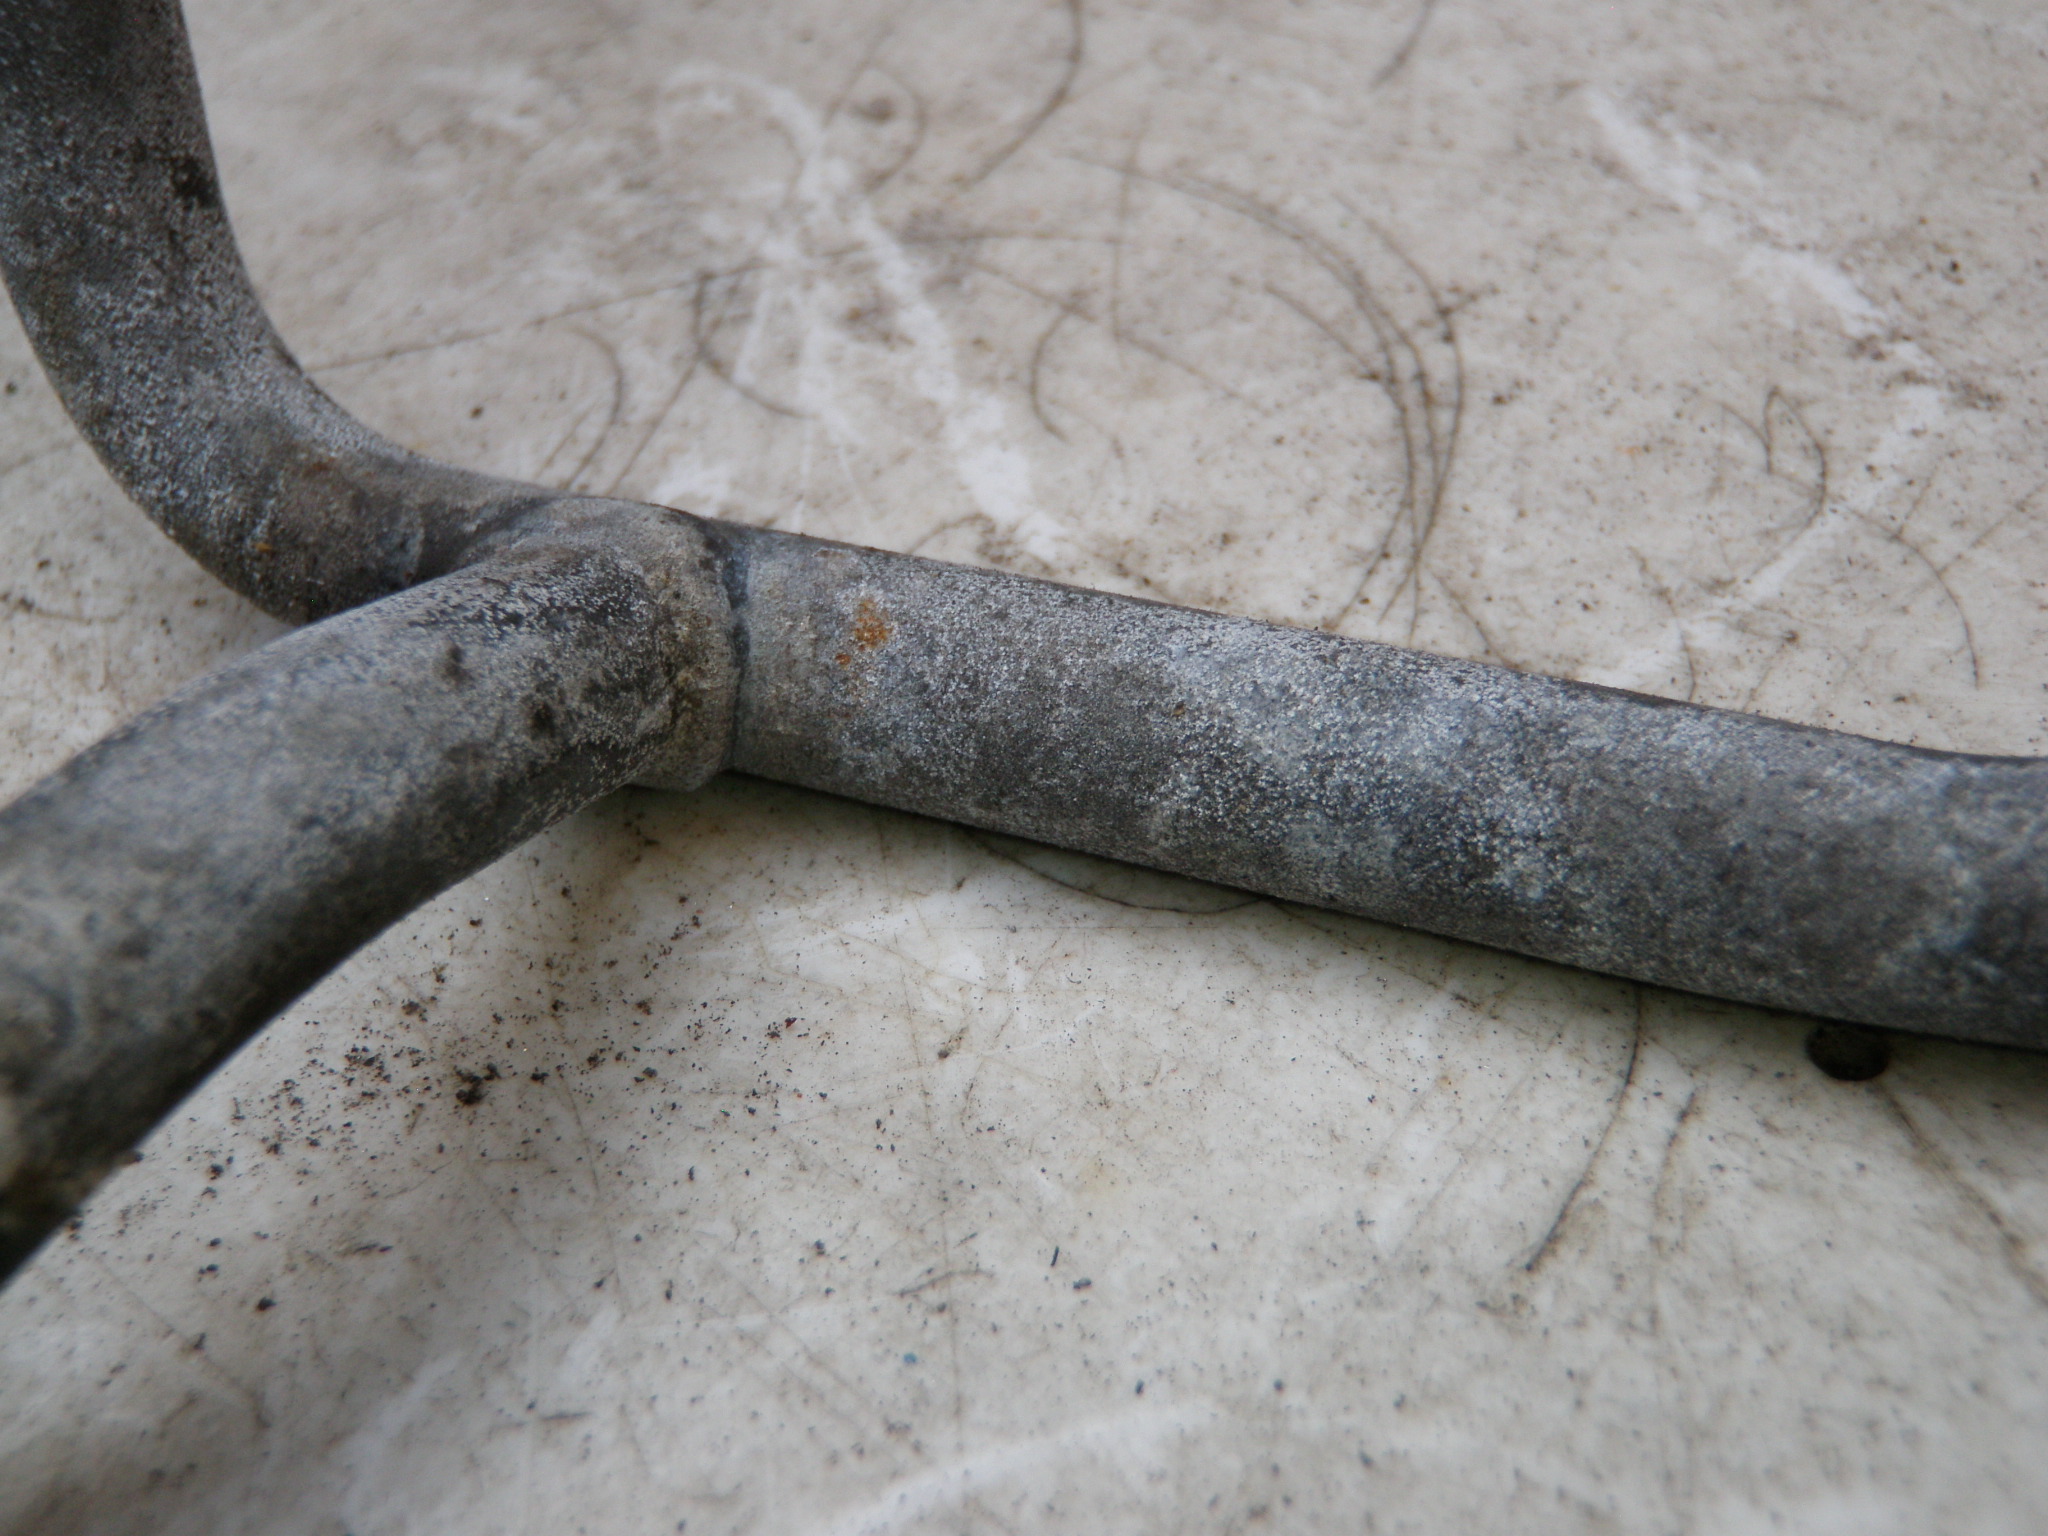
    The last thing for tonight was installing the oil cross feed pipe for the turbos. I used a razor blade to remove the paint from the gasket mating surface. I attached the turbo side first and then laid the cross feed pipe down on the engine and connected the other side.

    I wish it was brighter for the pictures but overall I happy with how its turning out.

    Its cold and raining – I’m done for tonight.
  • Rotary Extreme RX7 Build Day 15 BOUSOZOKU

    Rotary Extreme RX7 Build Day 15 BOUSOZOKU

    Day 15

    so – in my quest to be BOUSOZOKU

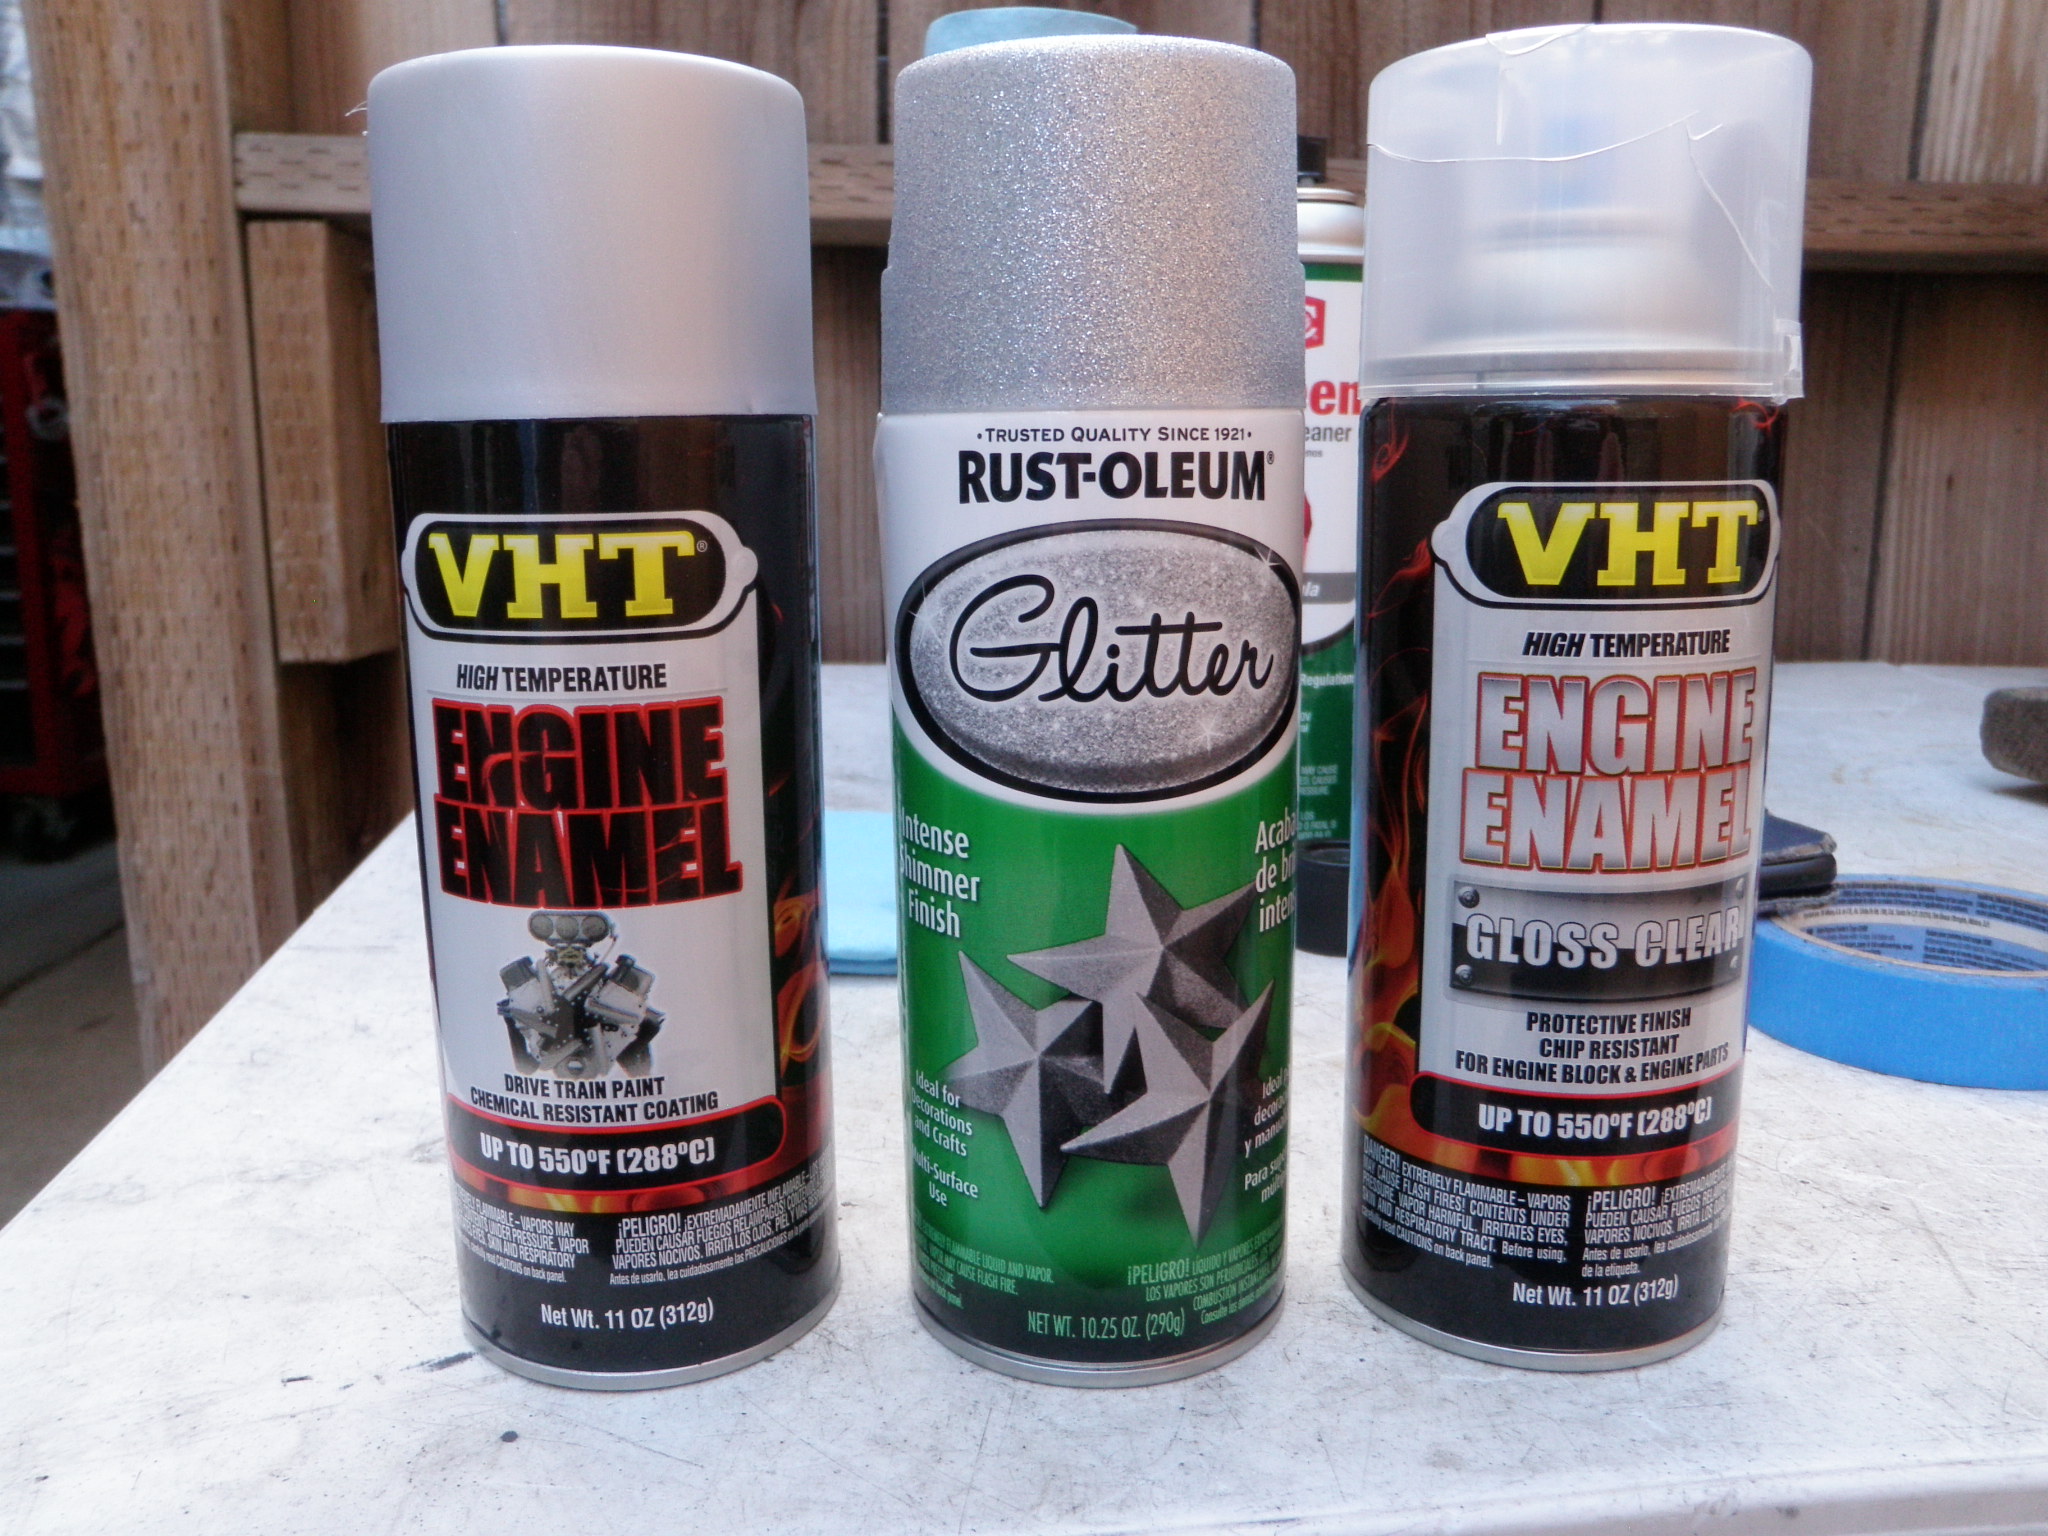
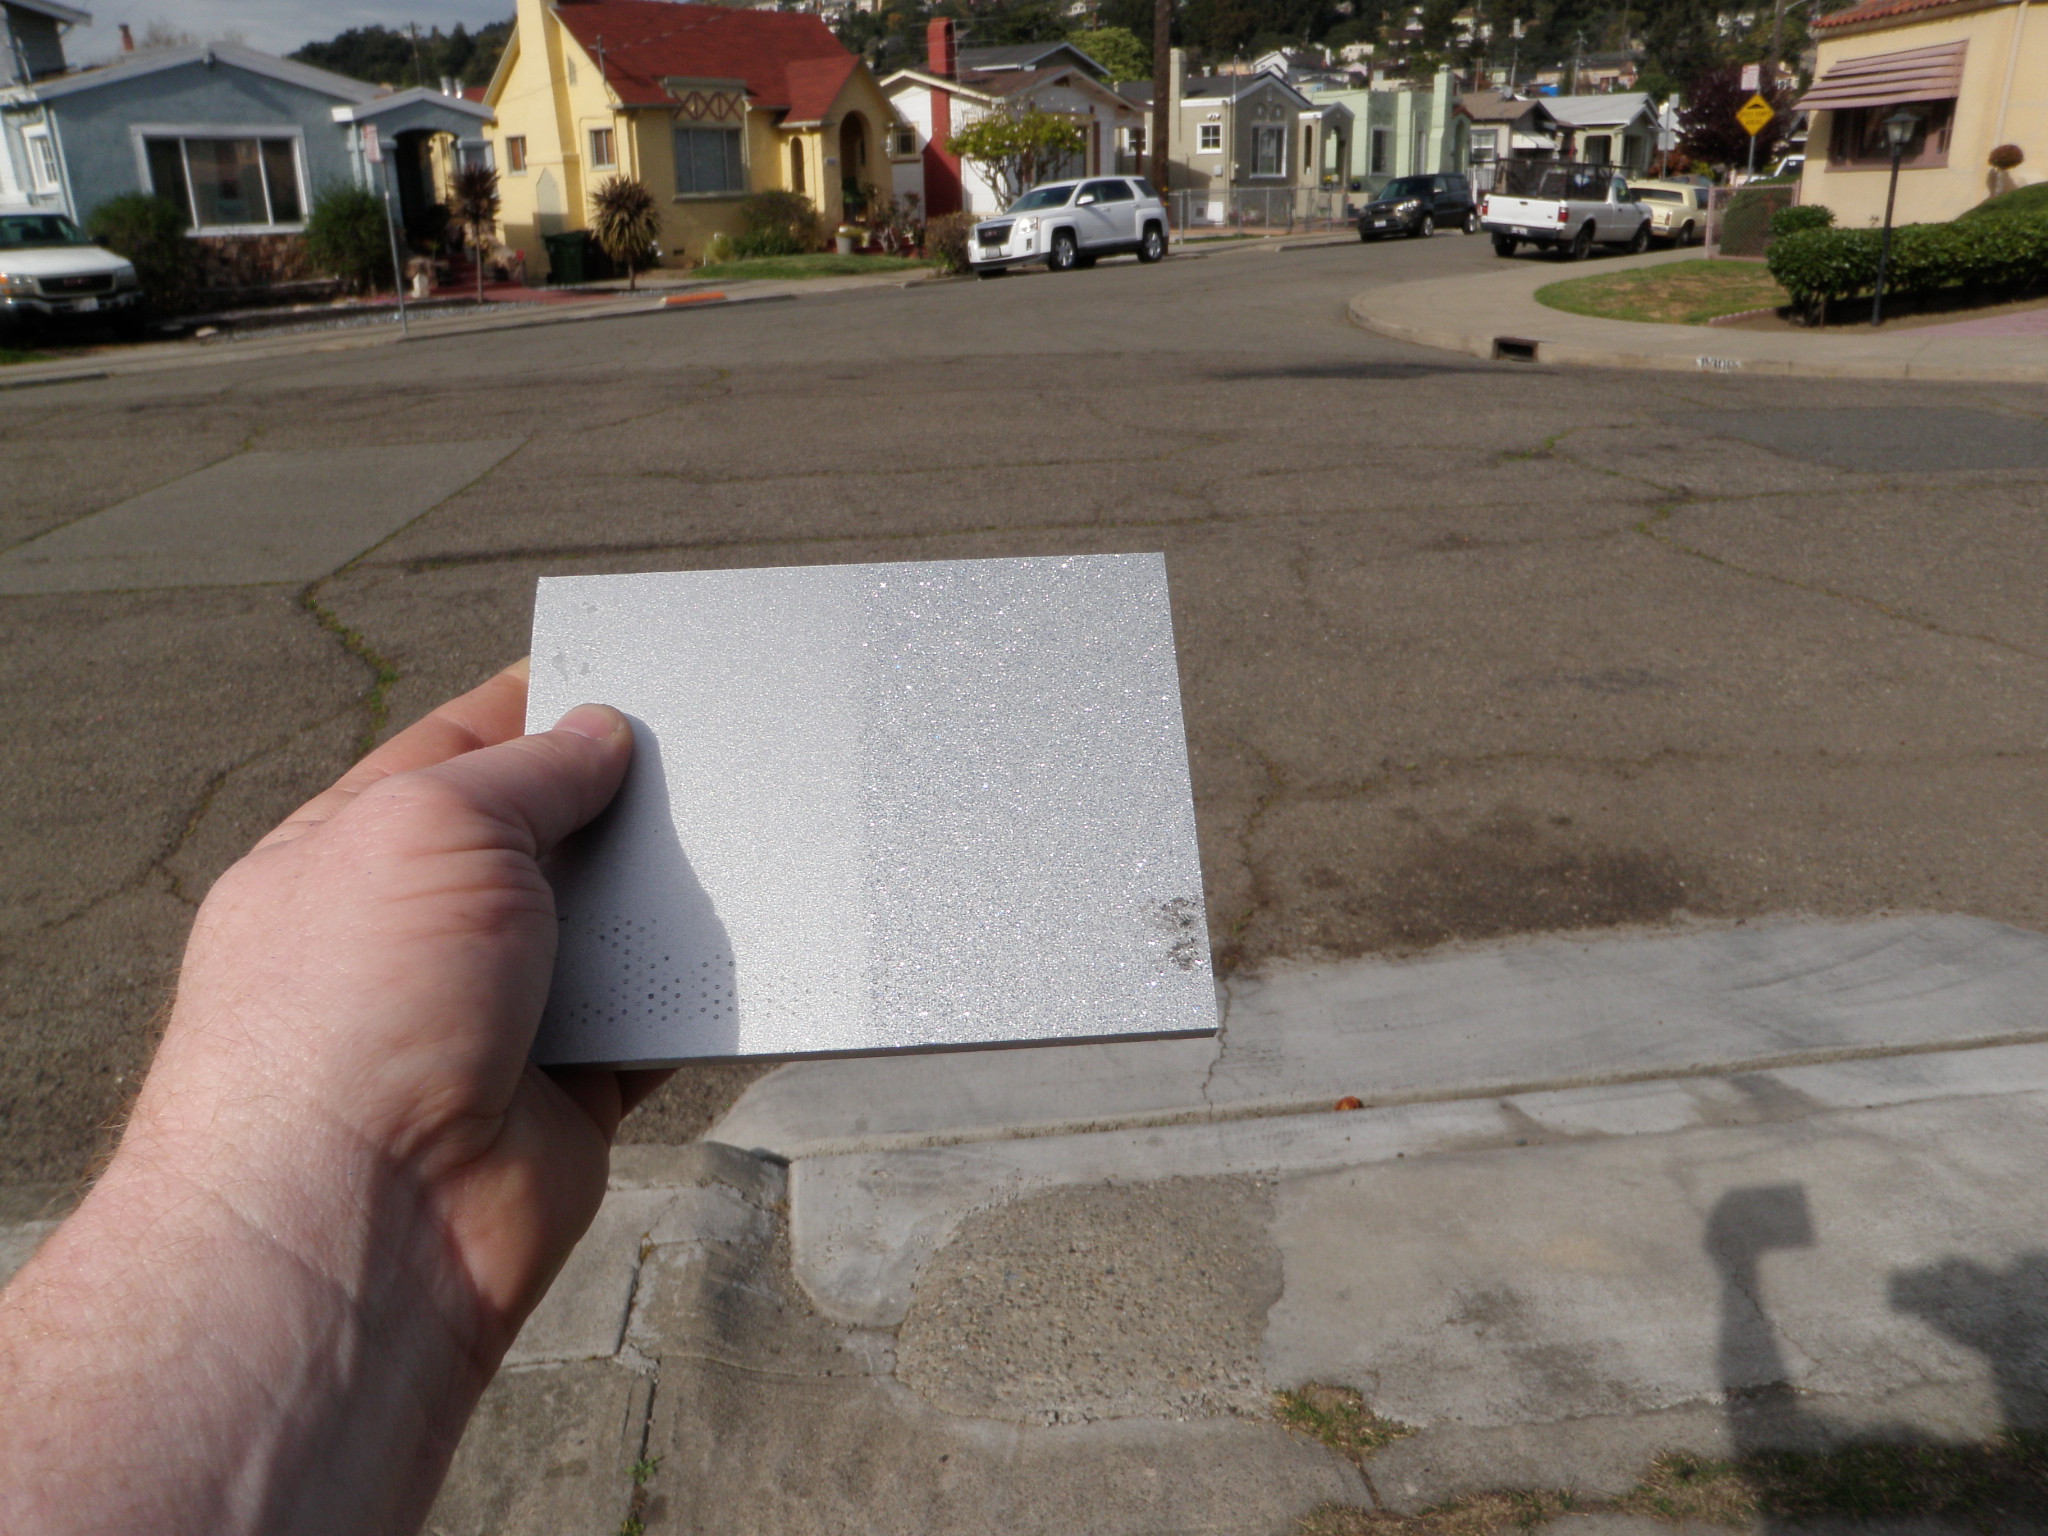
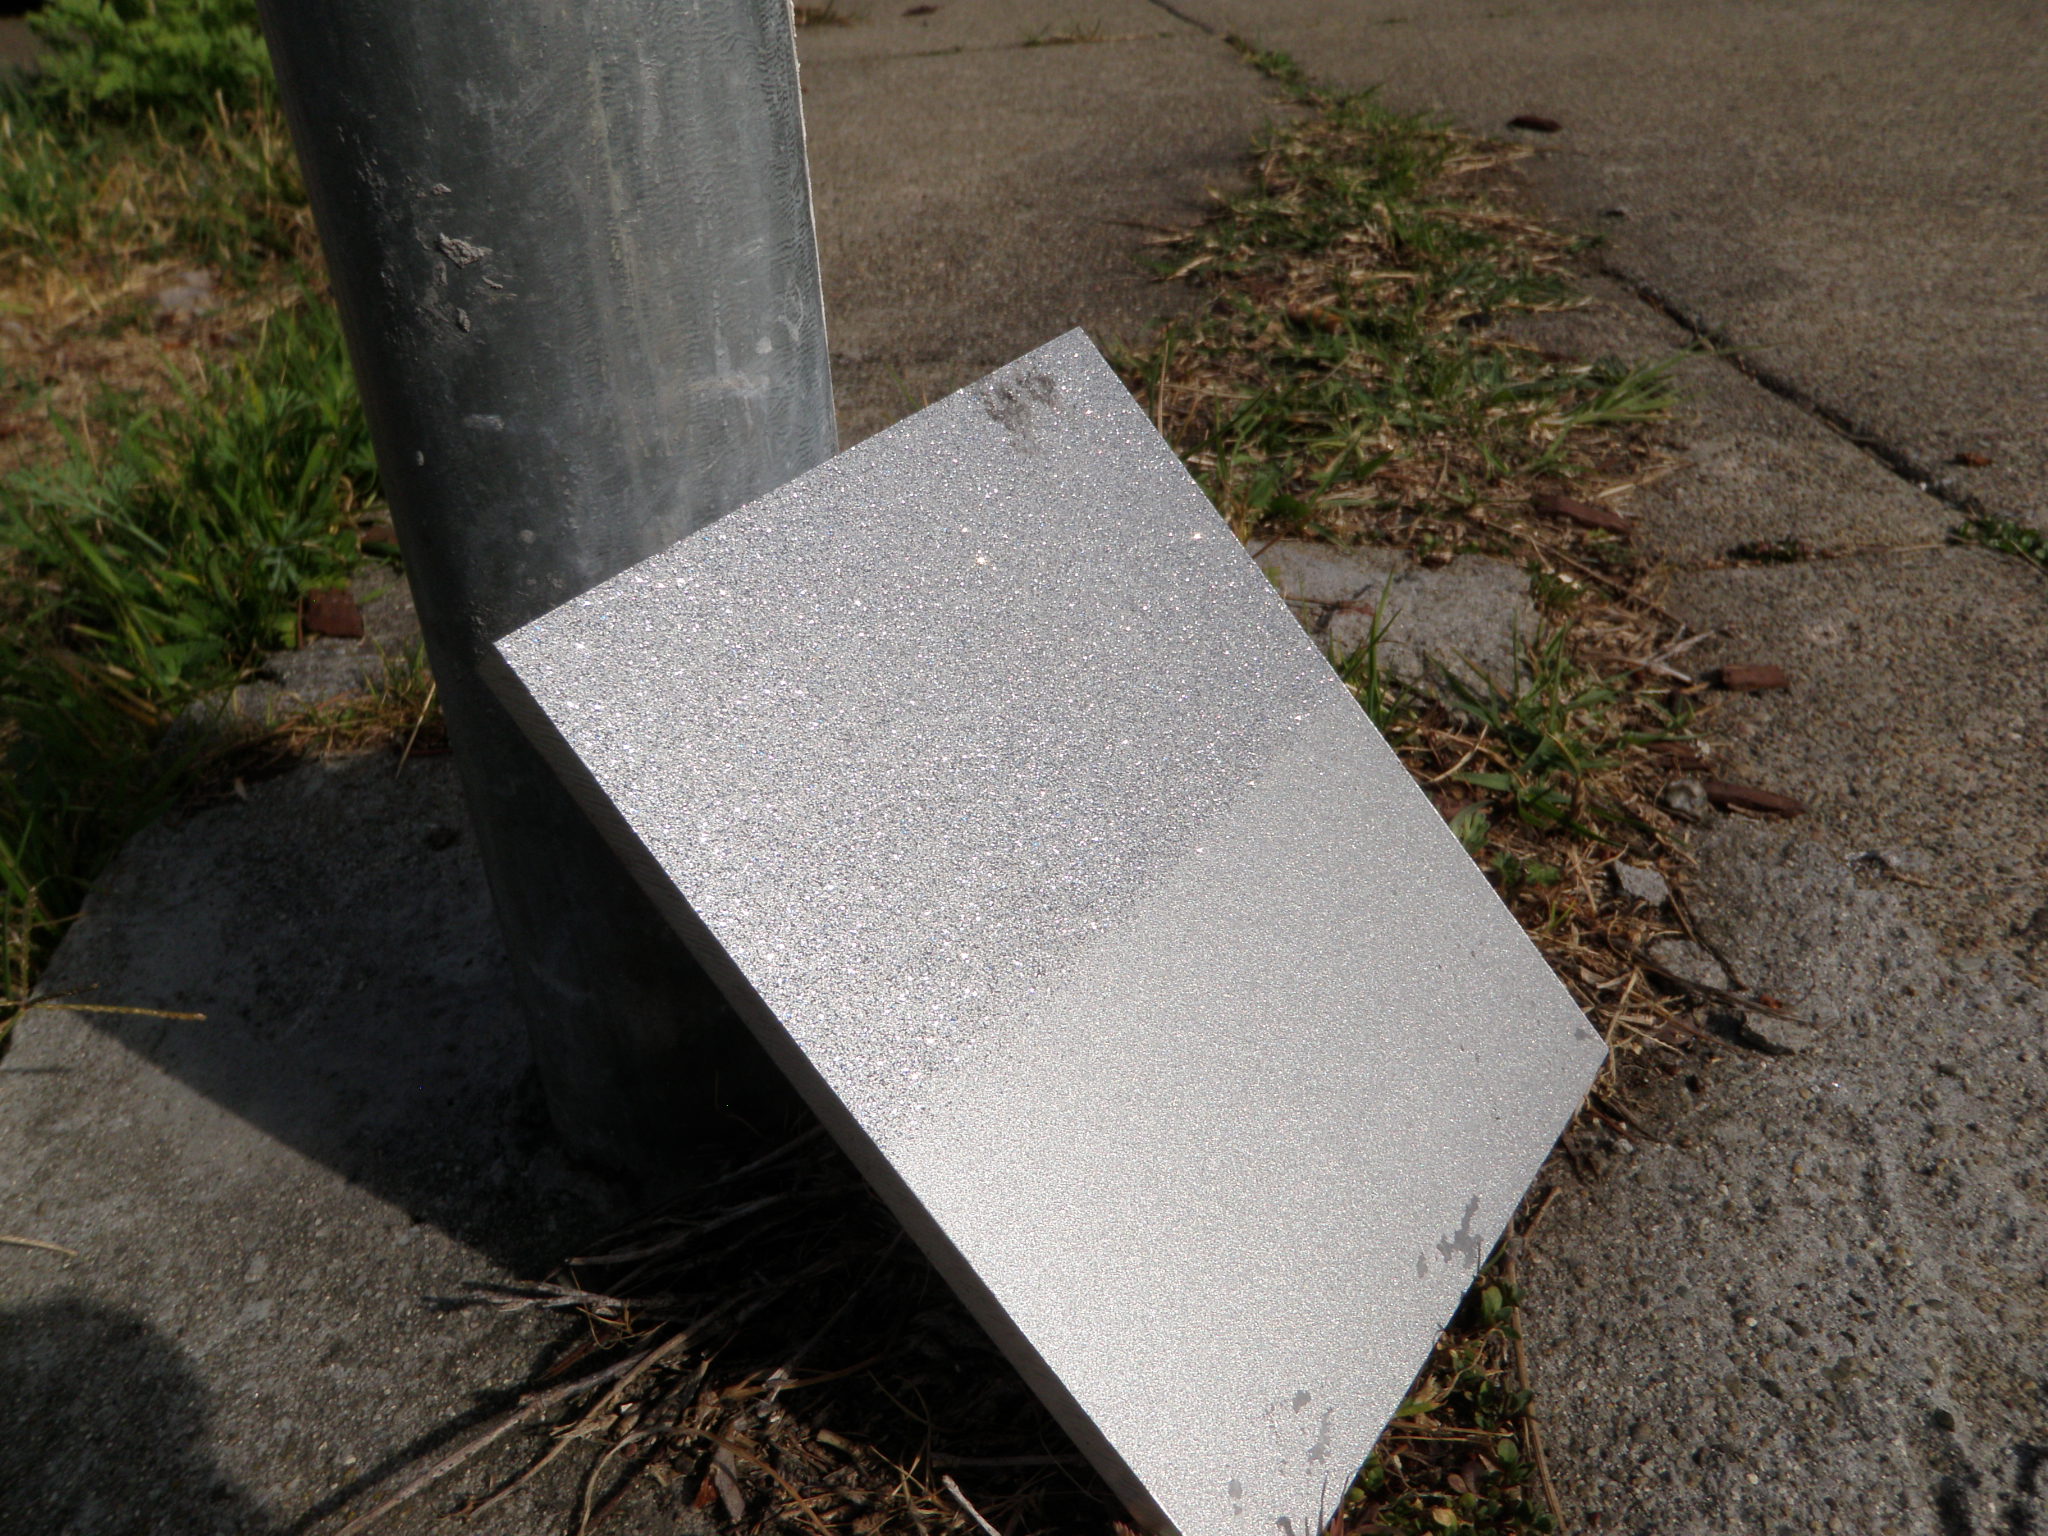
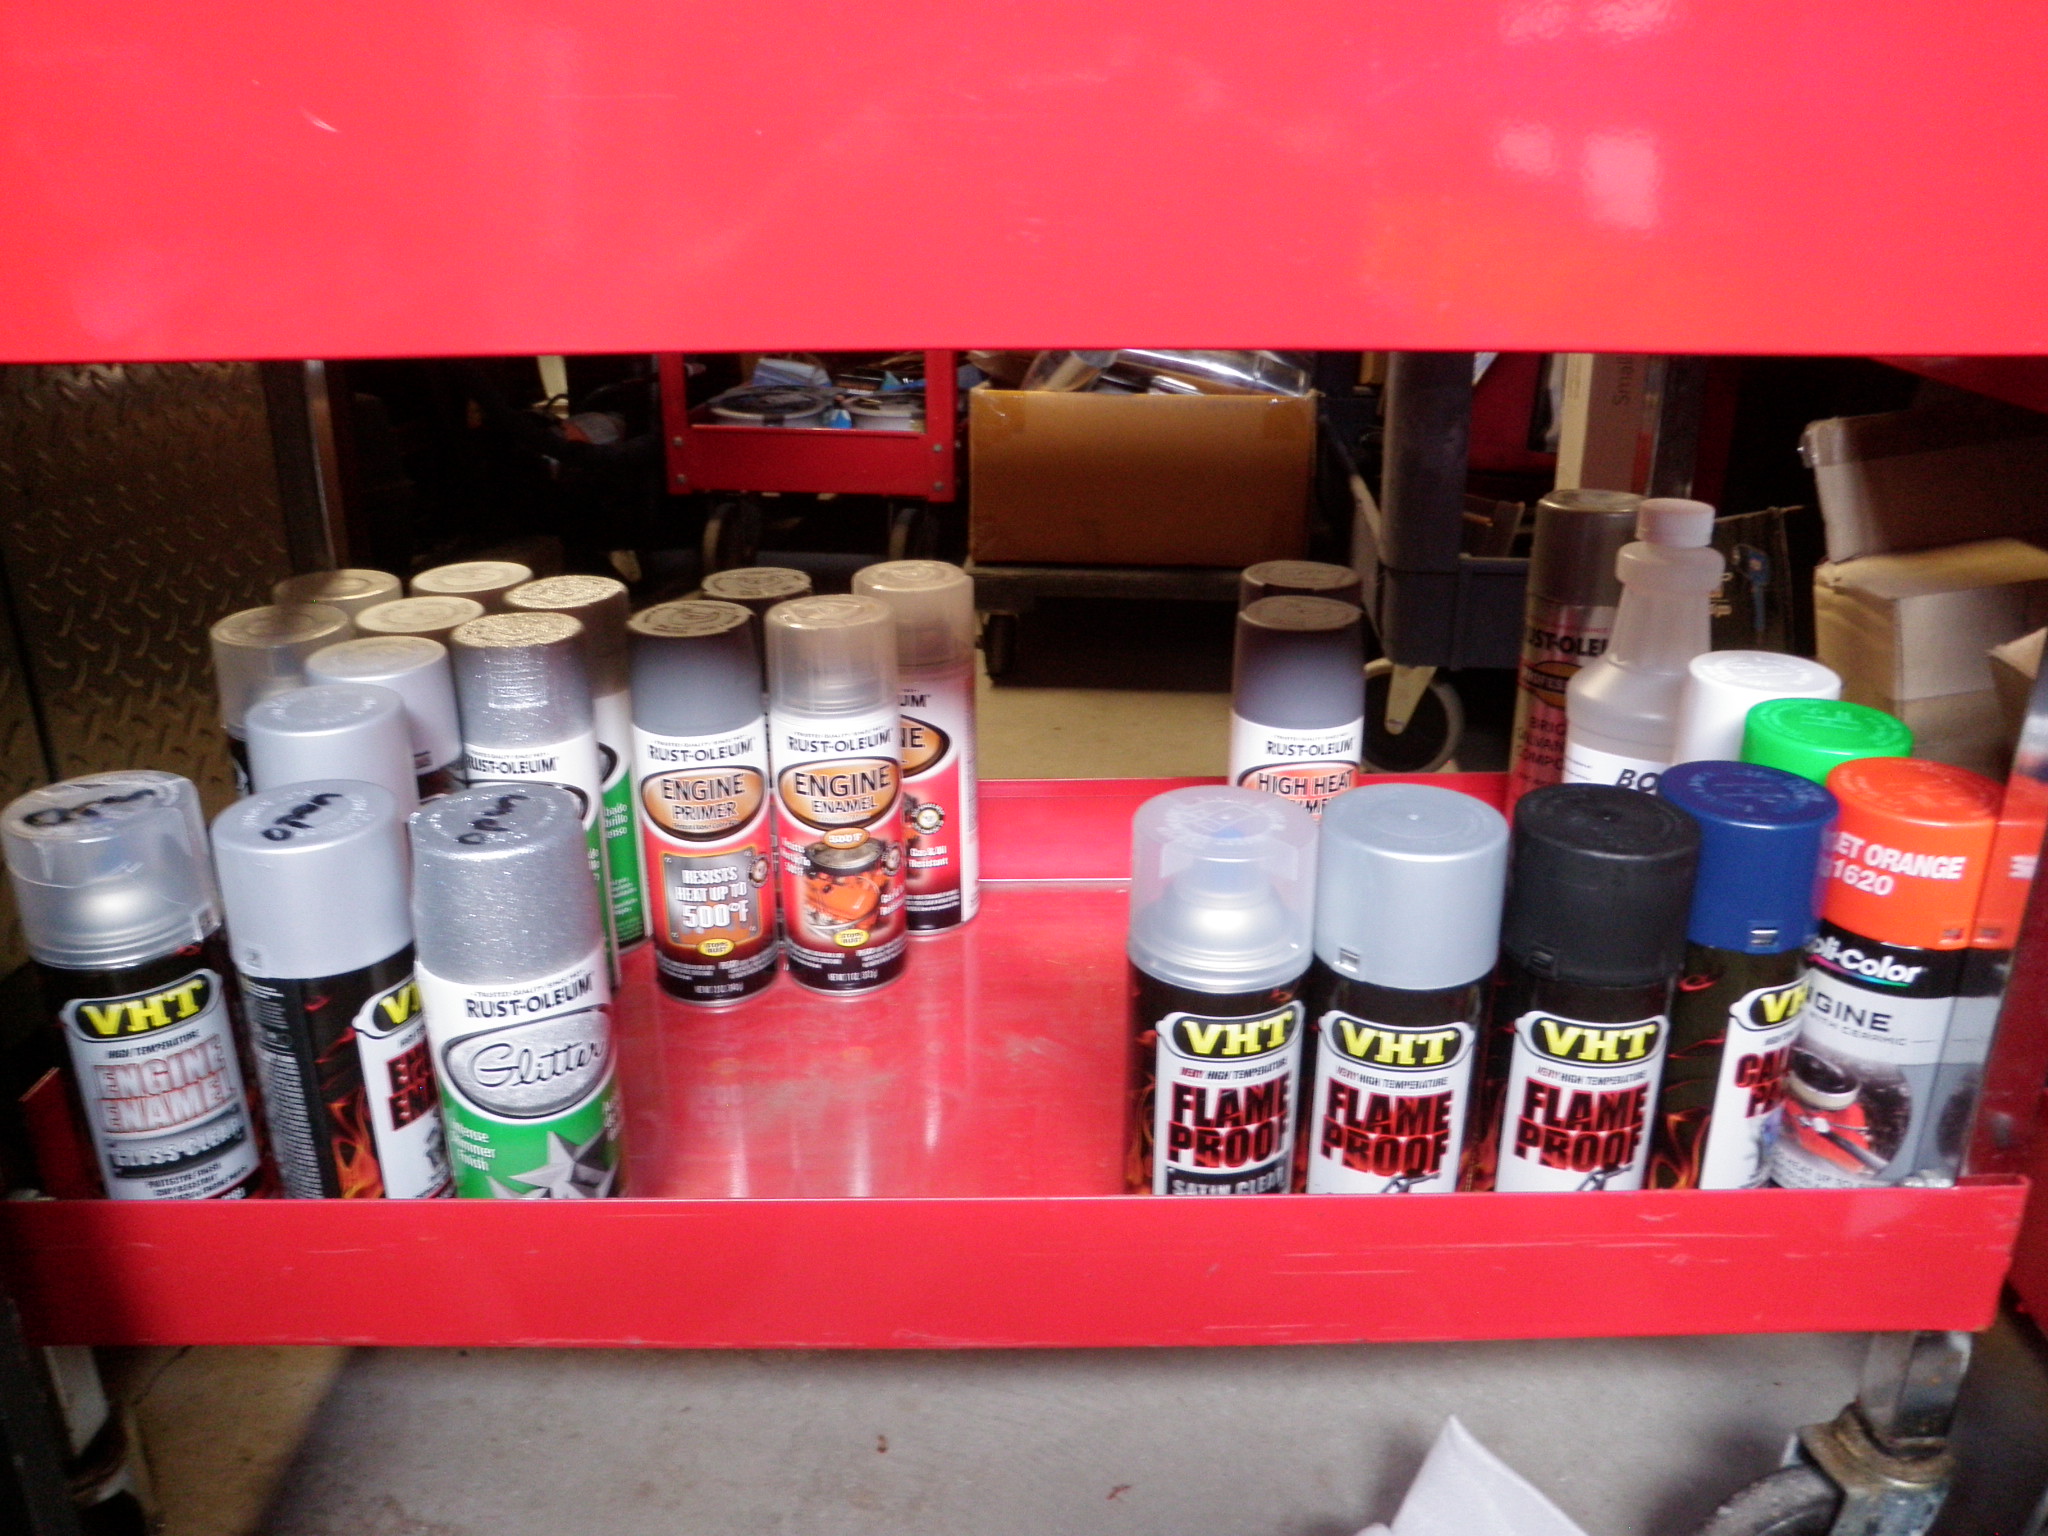
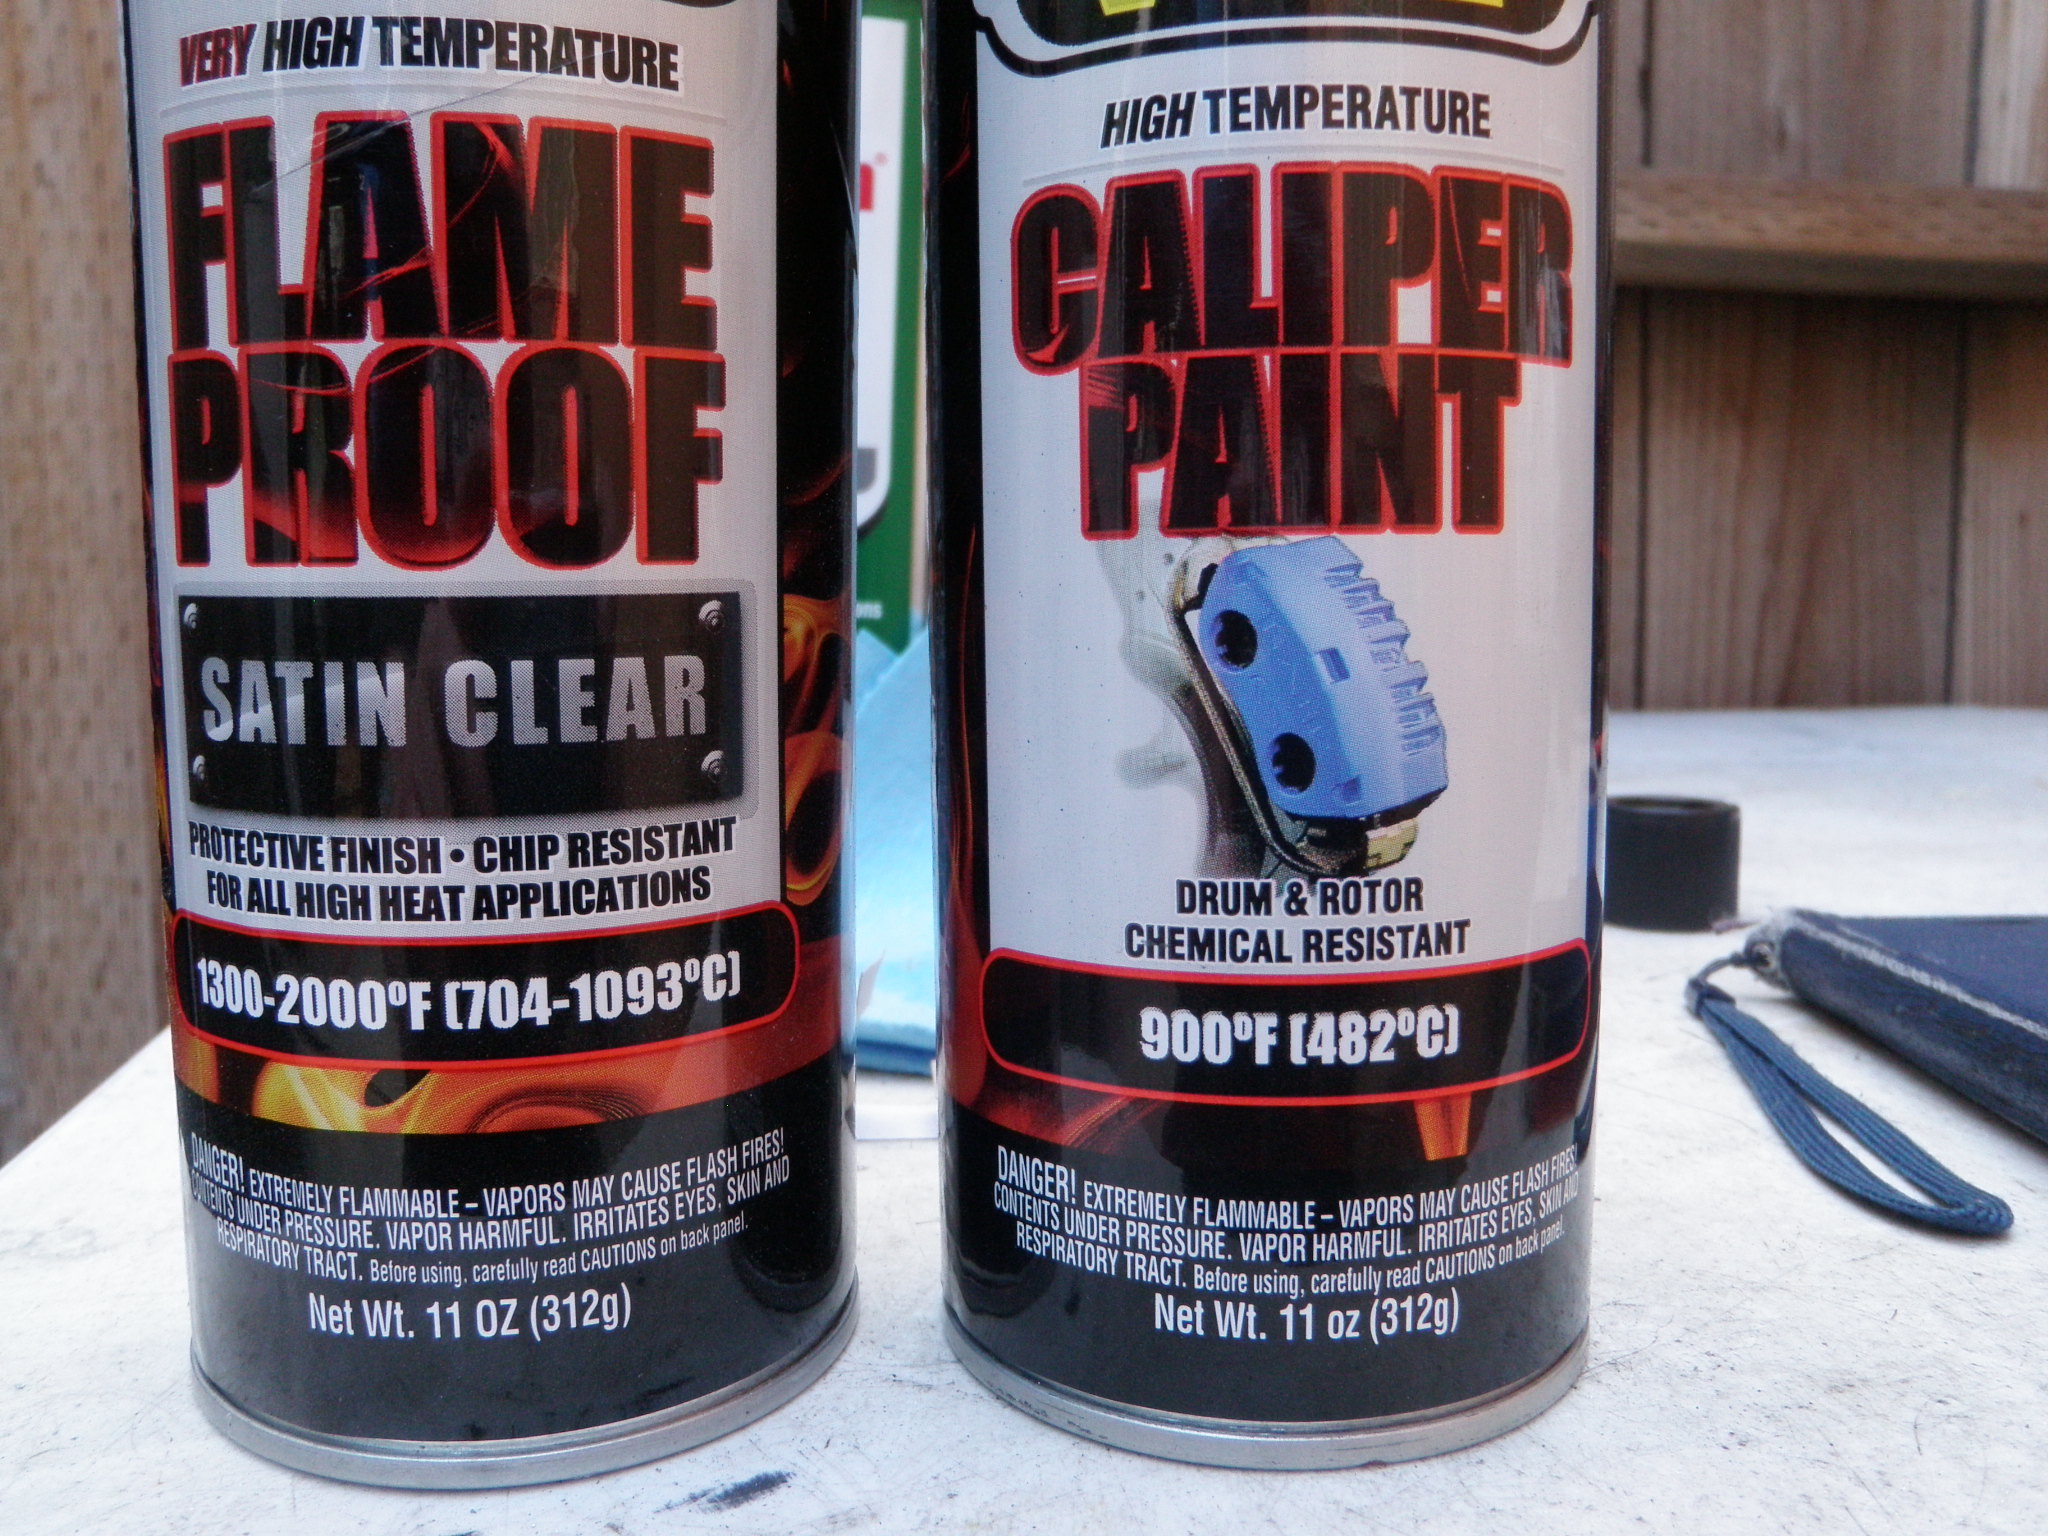
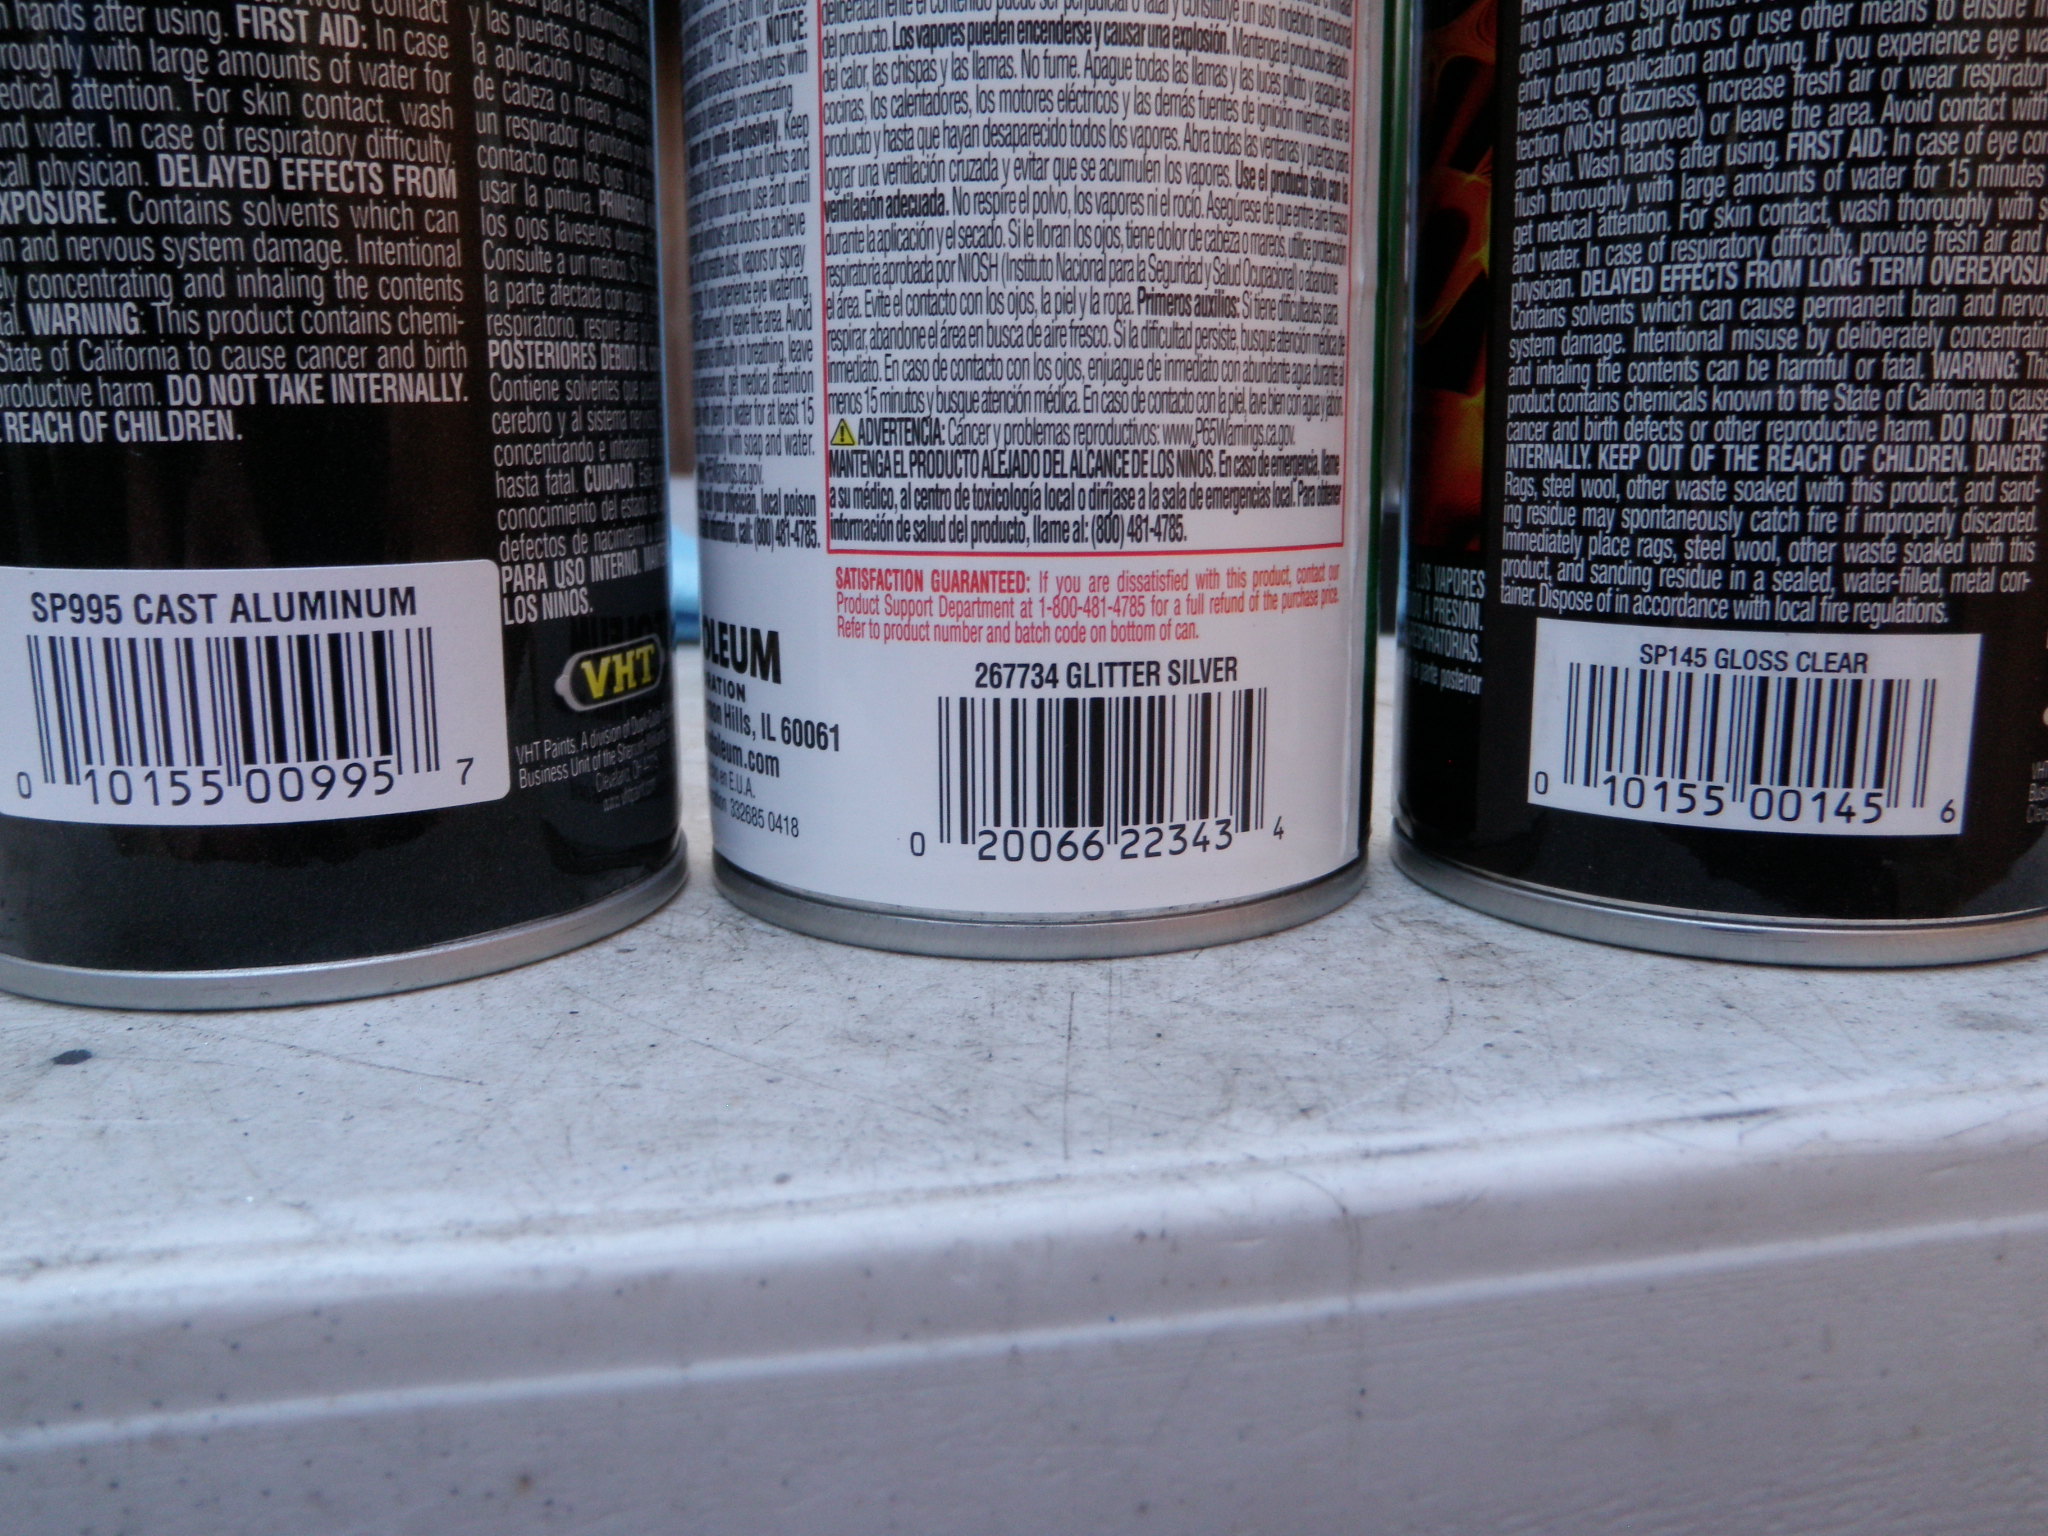
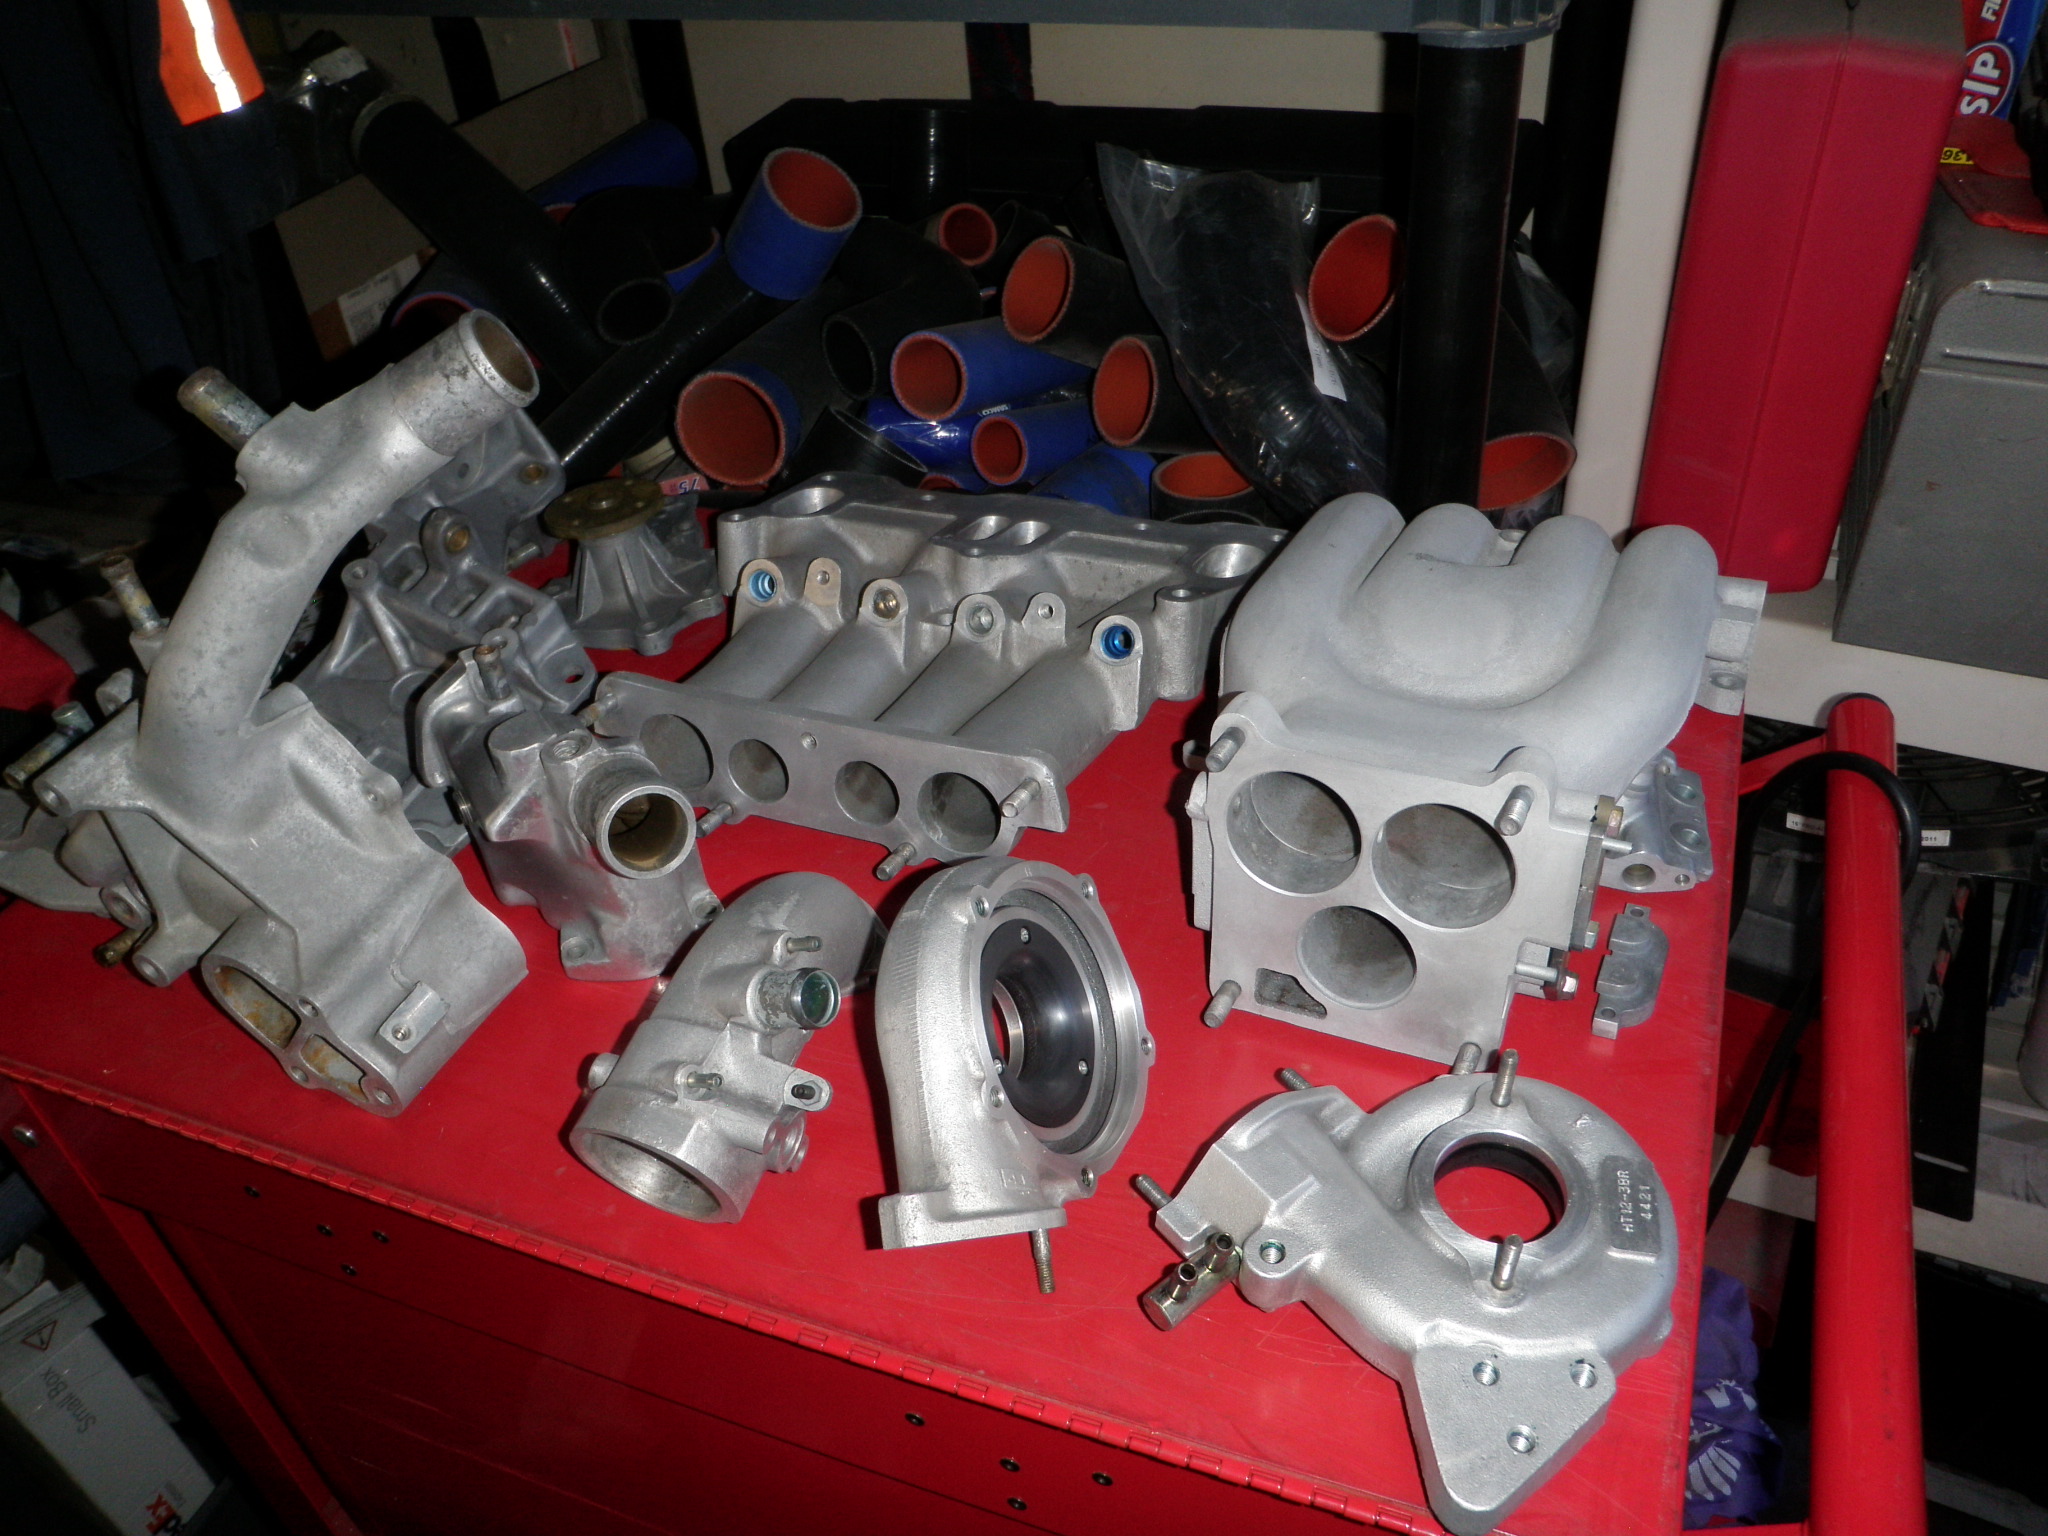
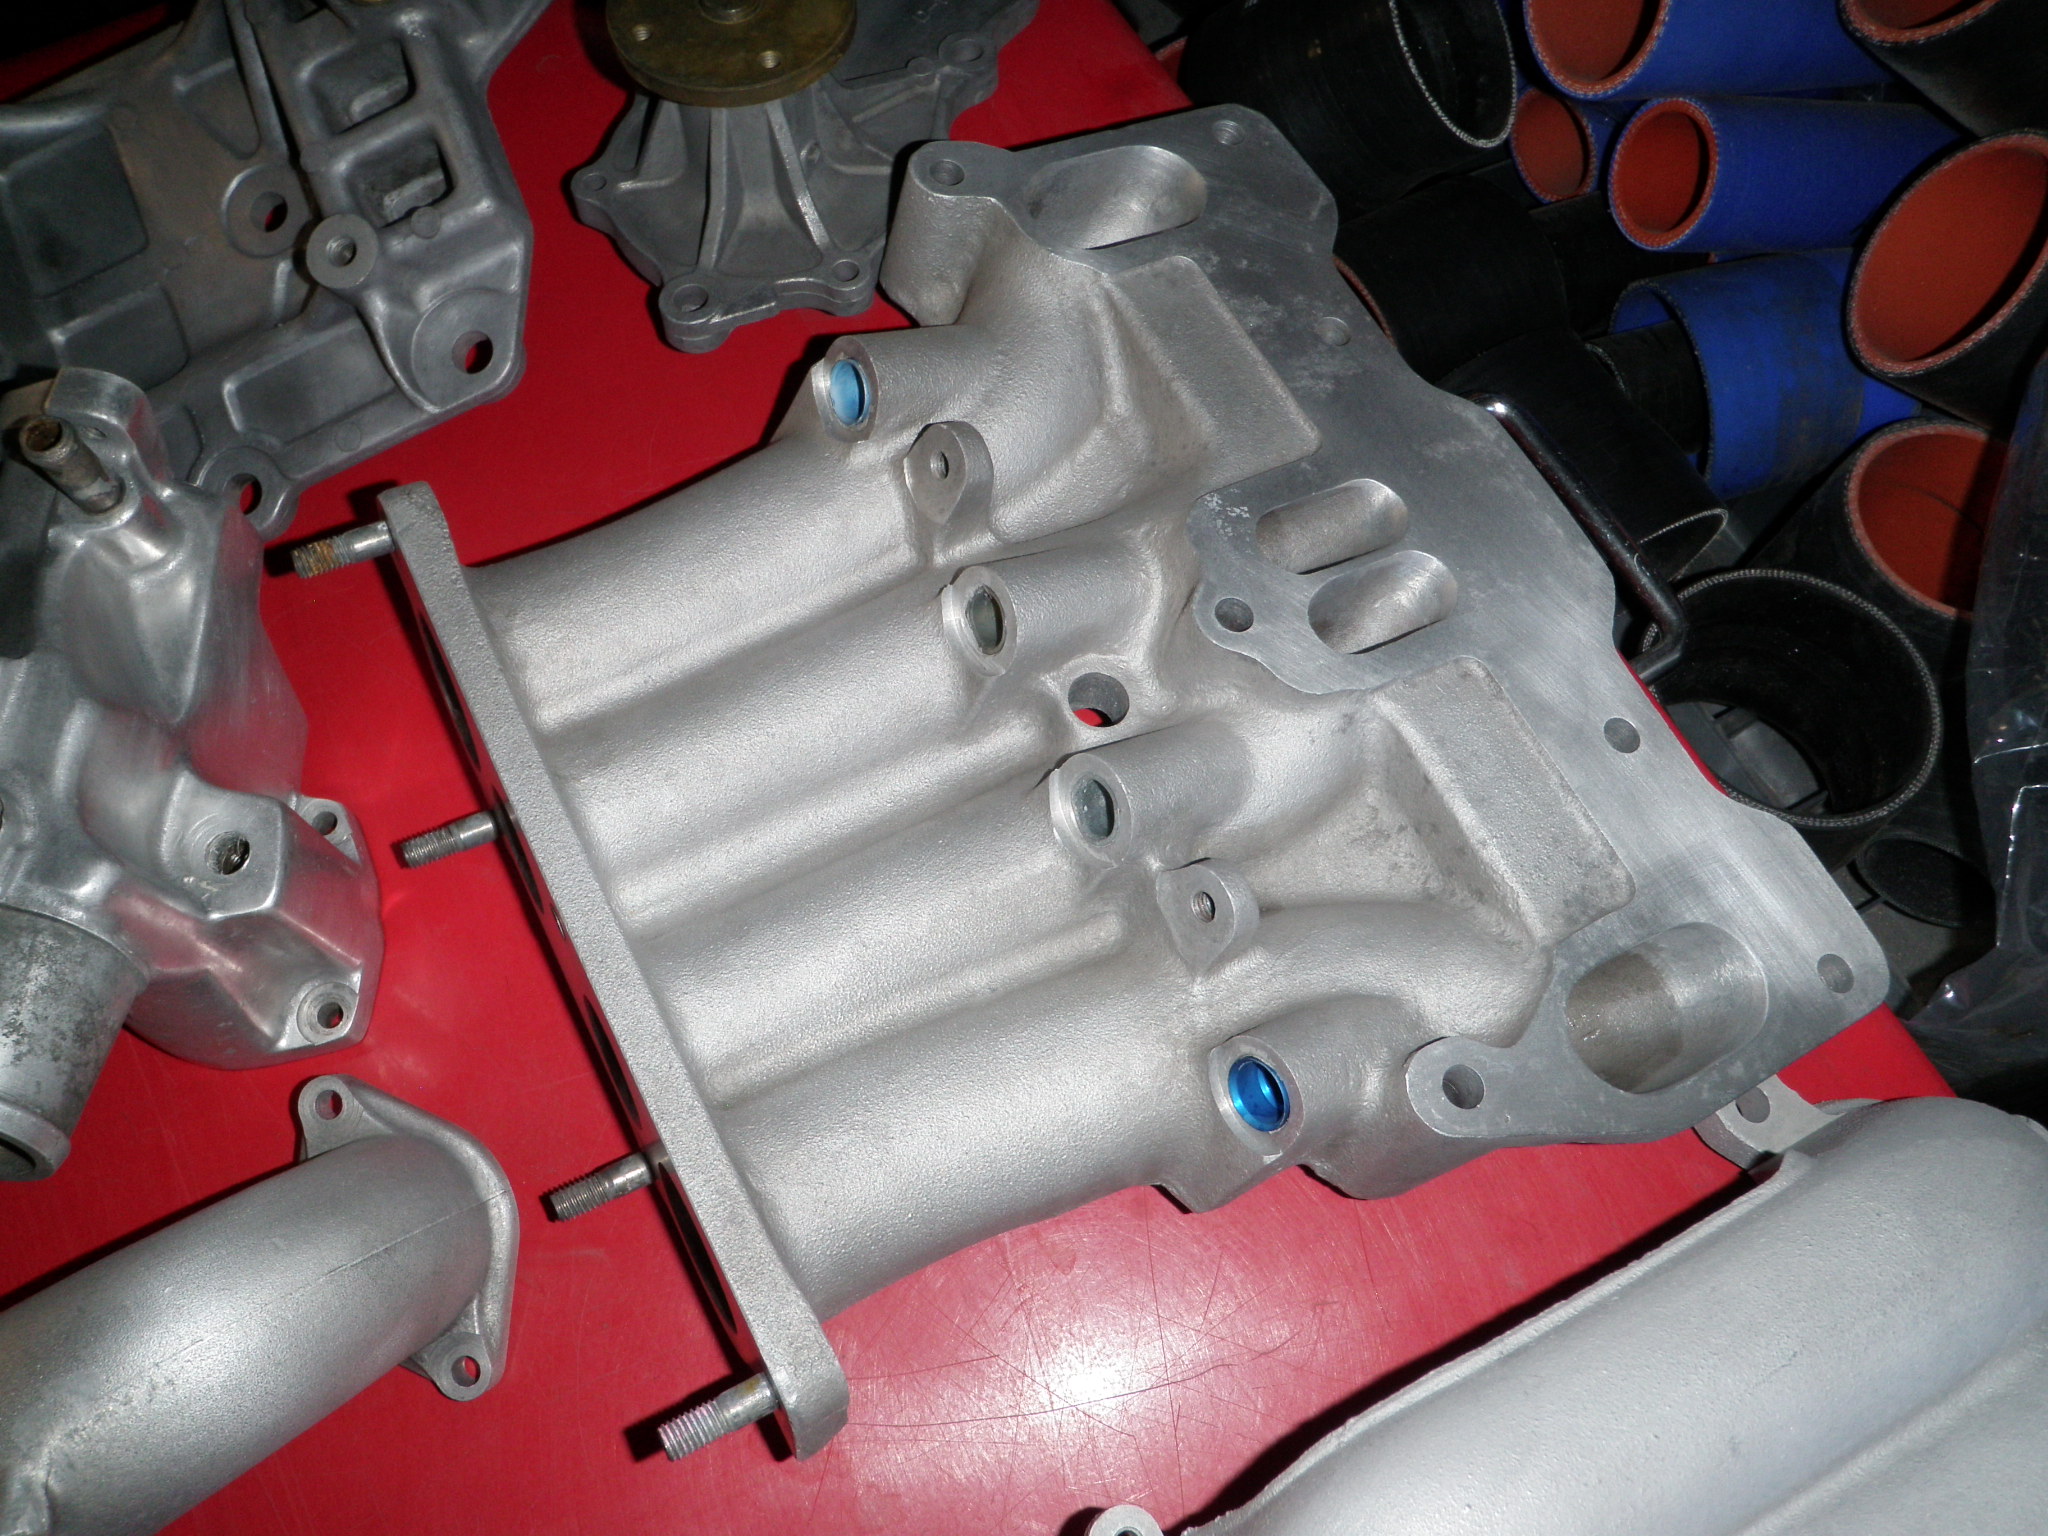
    Im going to paint all the aluminum parts with a glitter look. VHT cast aluminum, coated with glitter then sealed with VHT gloss coat – I heated the face of the test piece with a 900F heat gun and it held up fine.

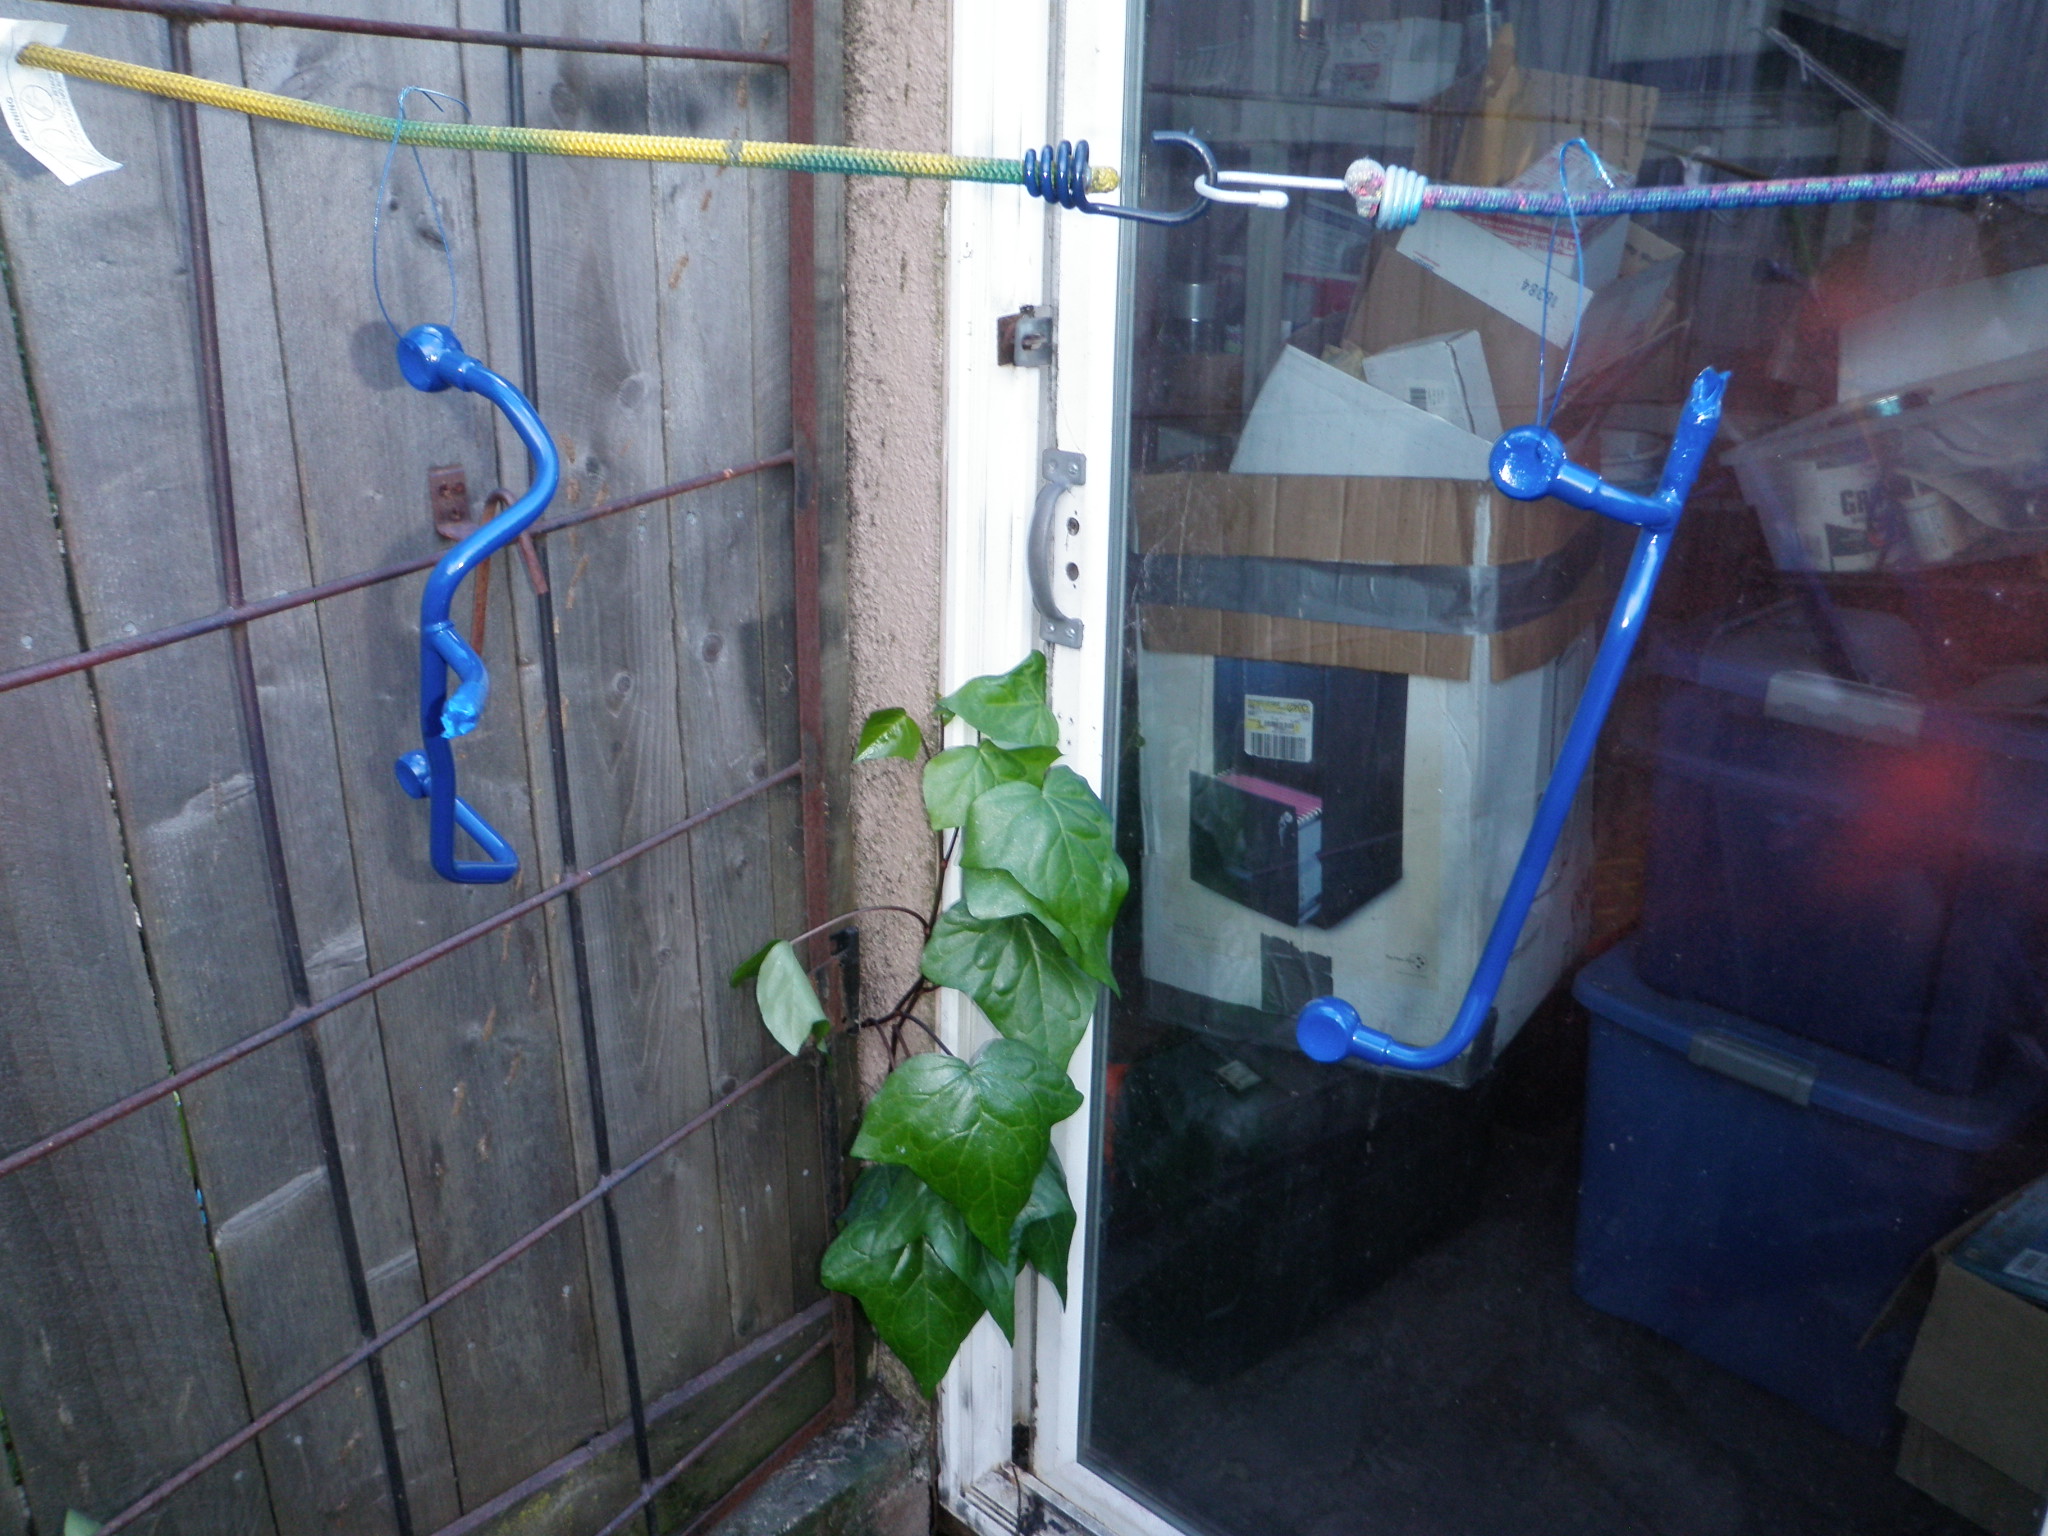
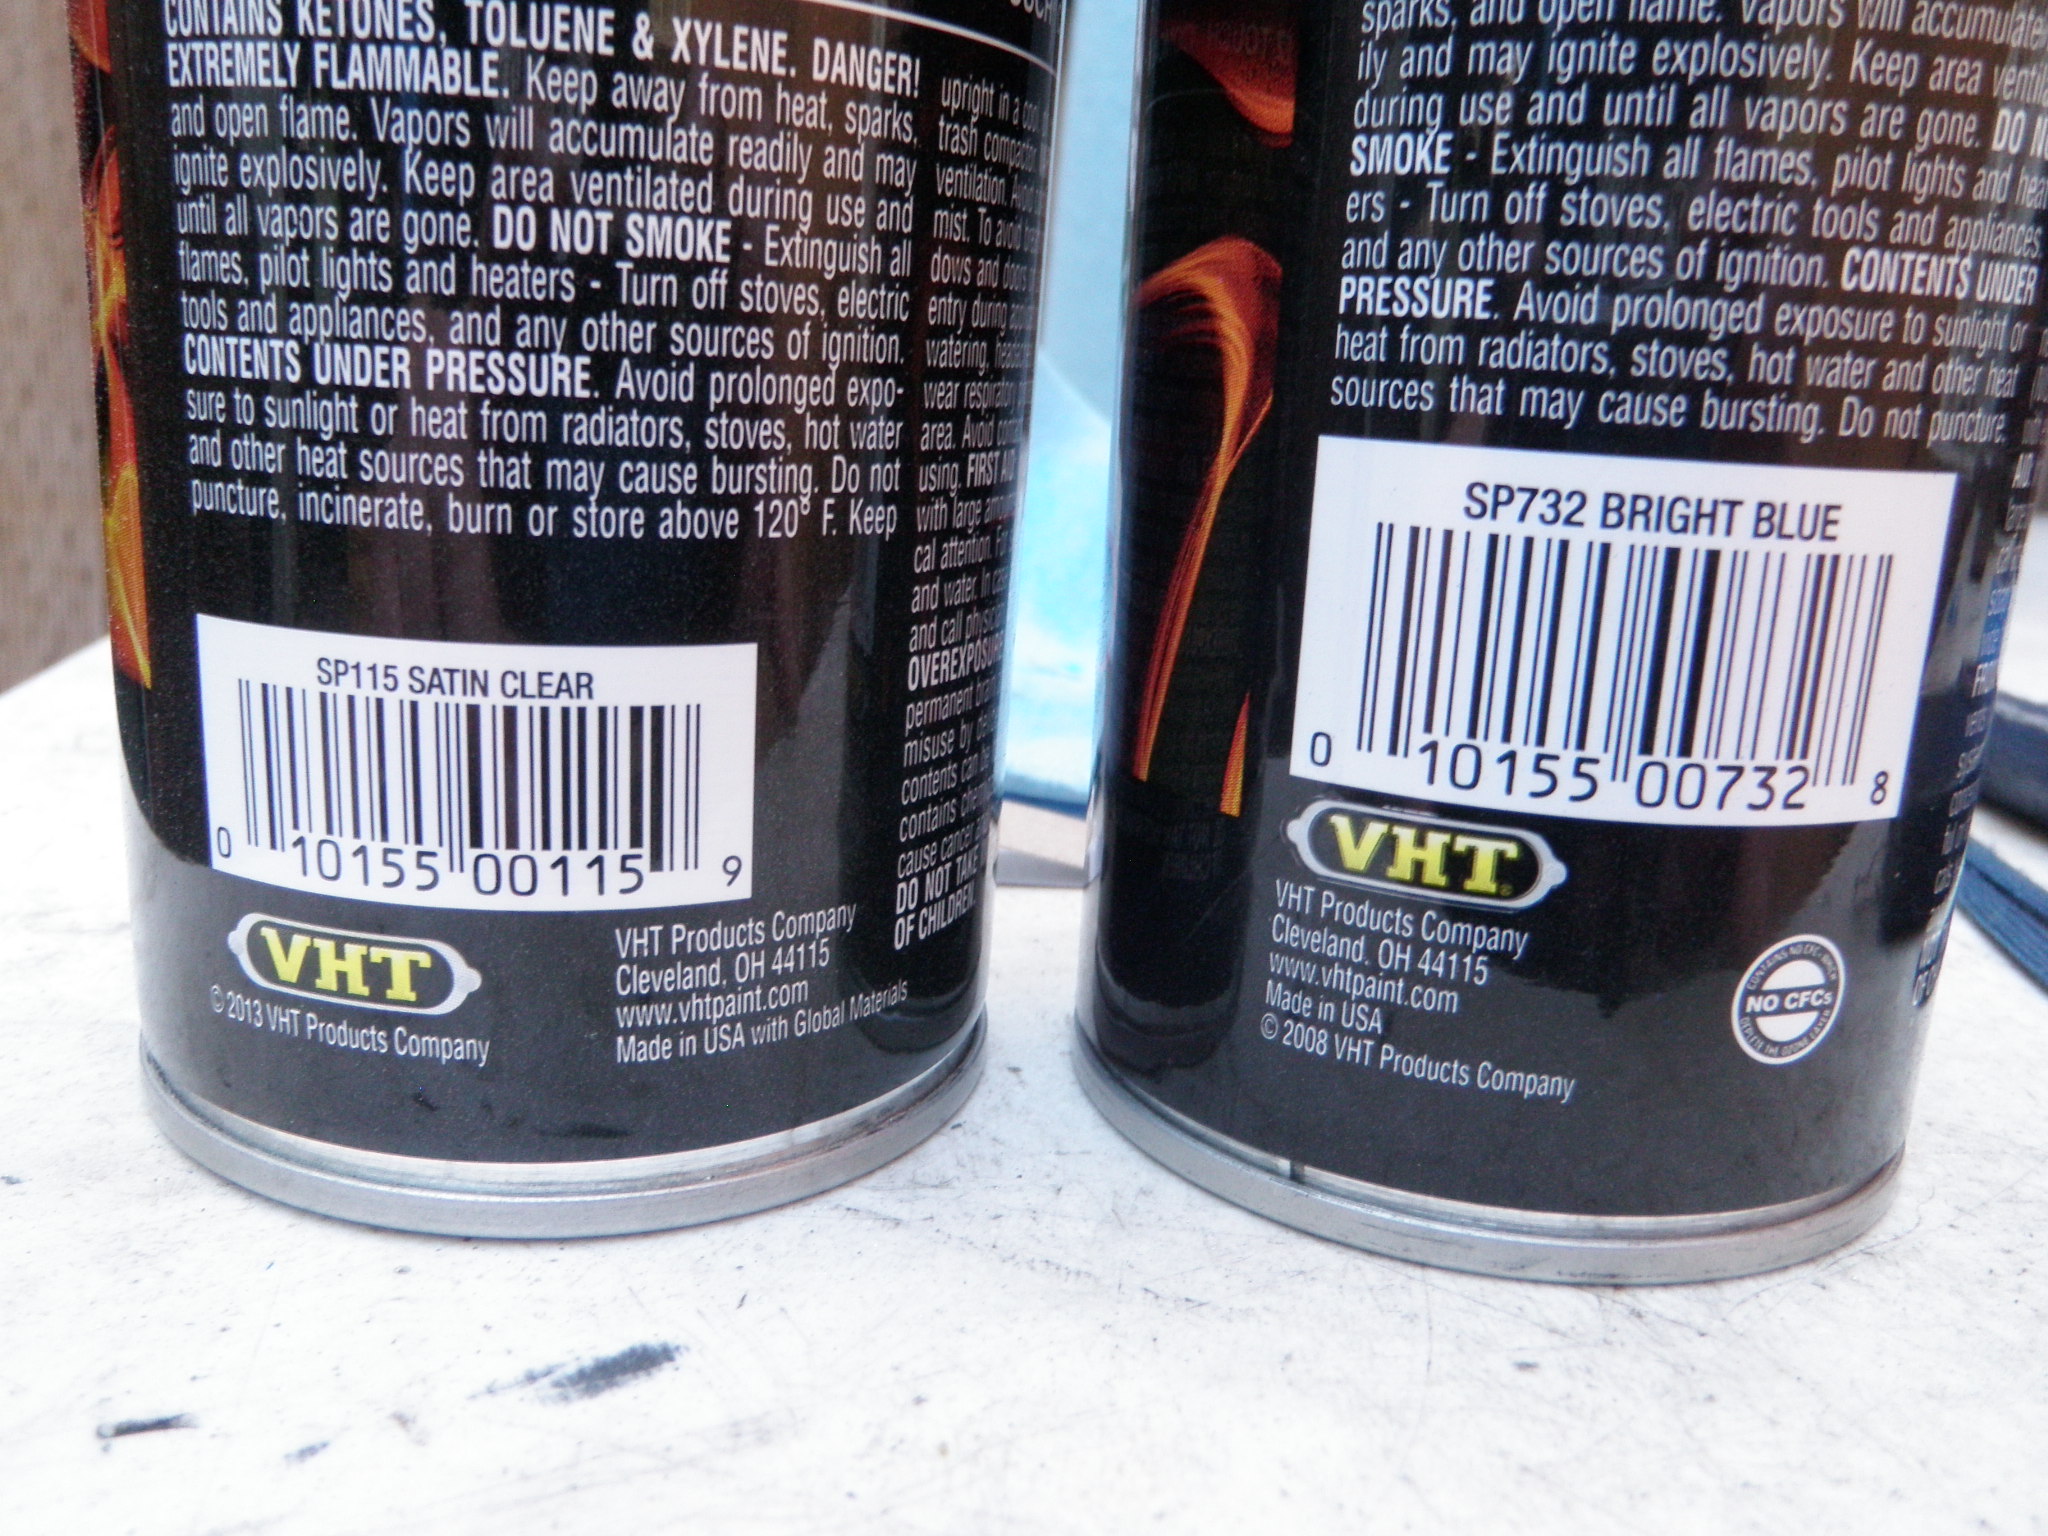
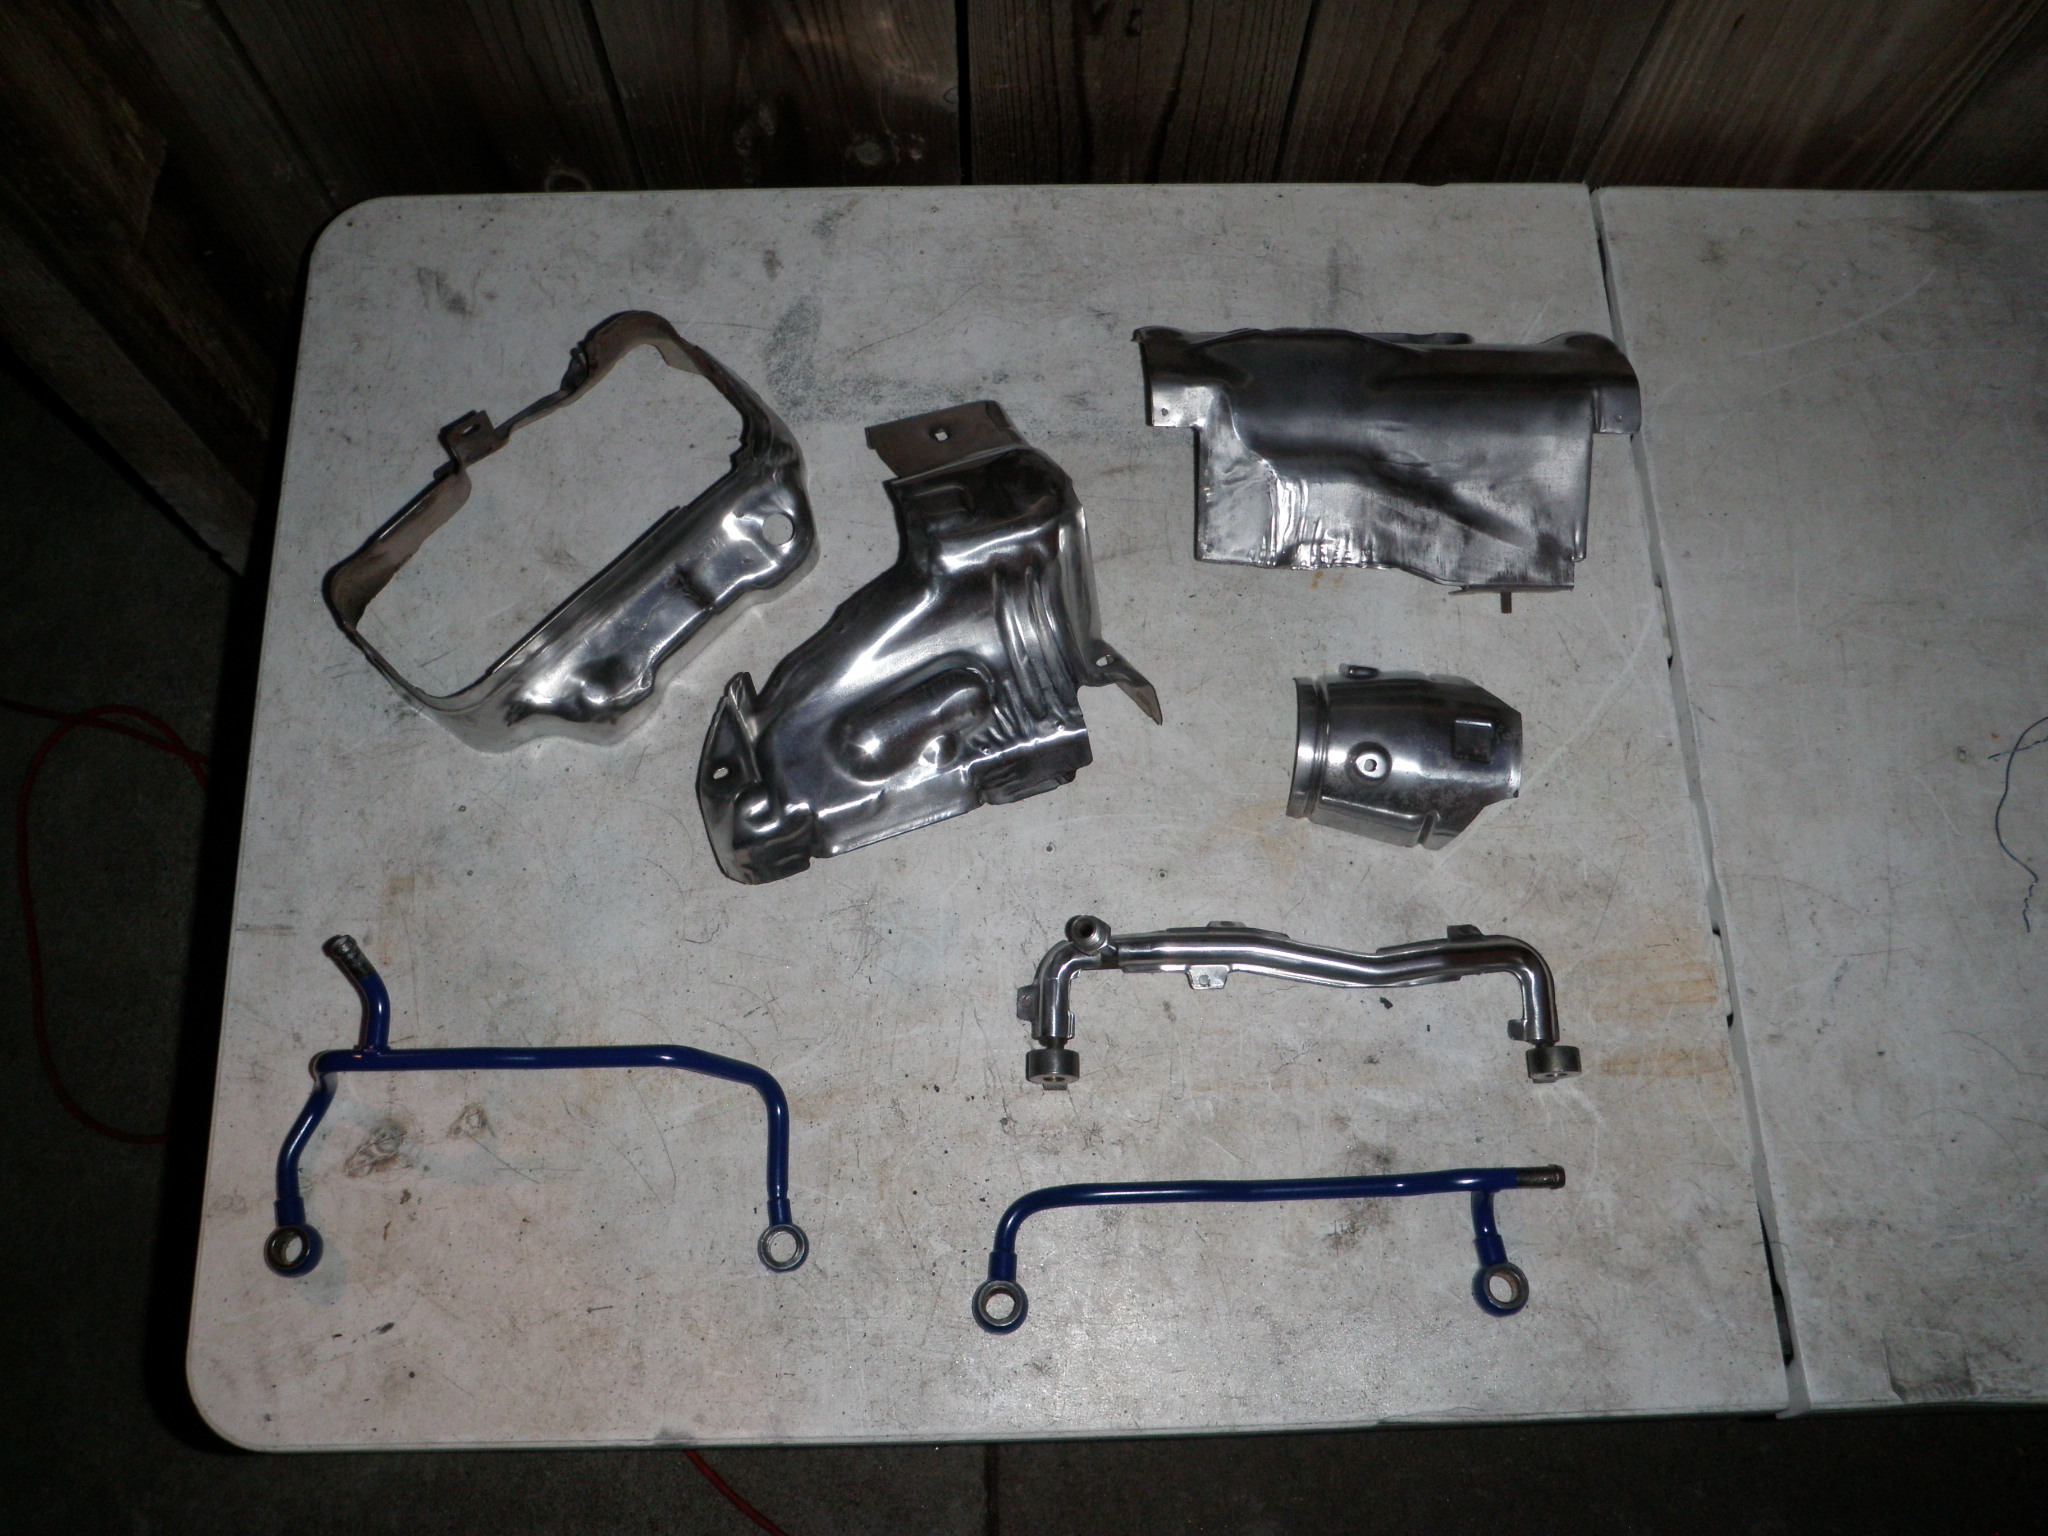
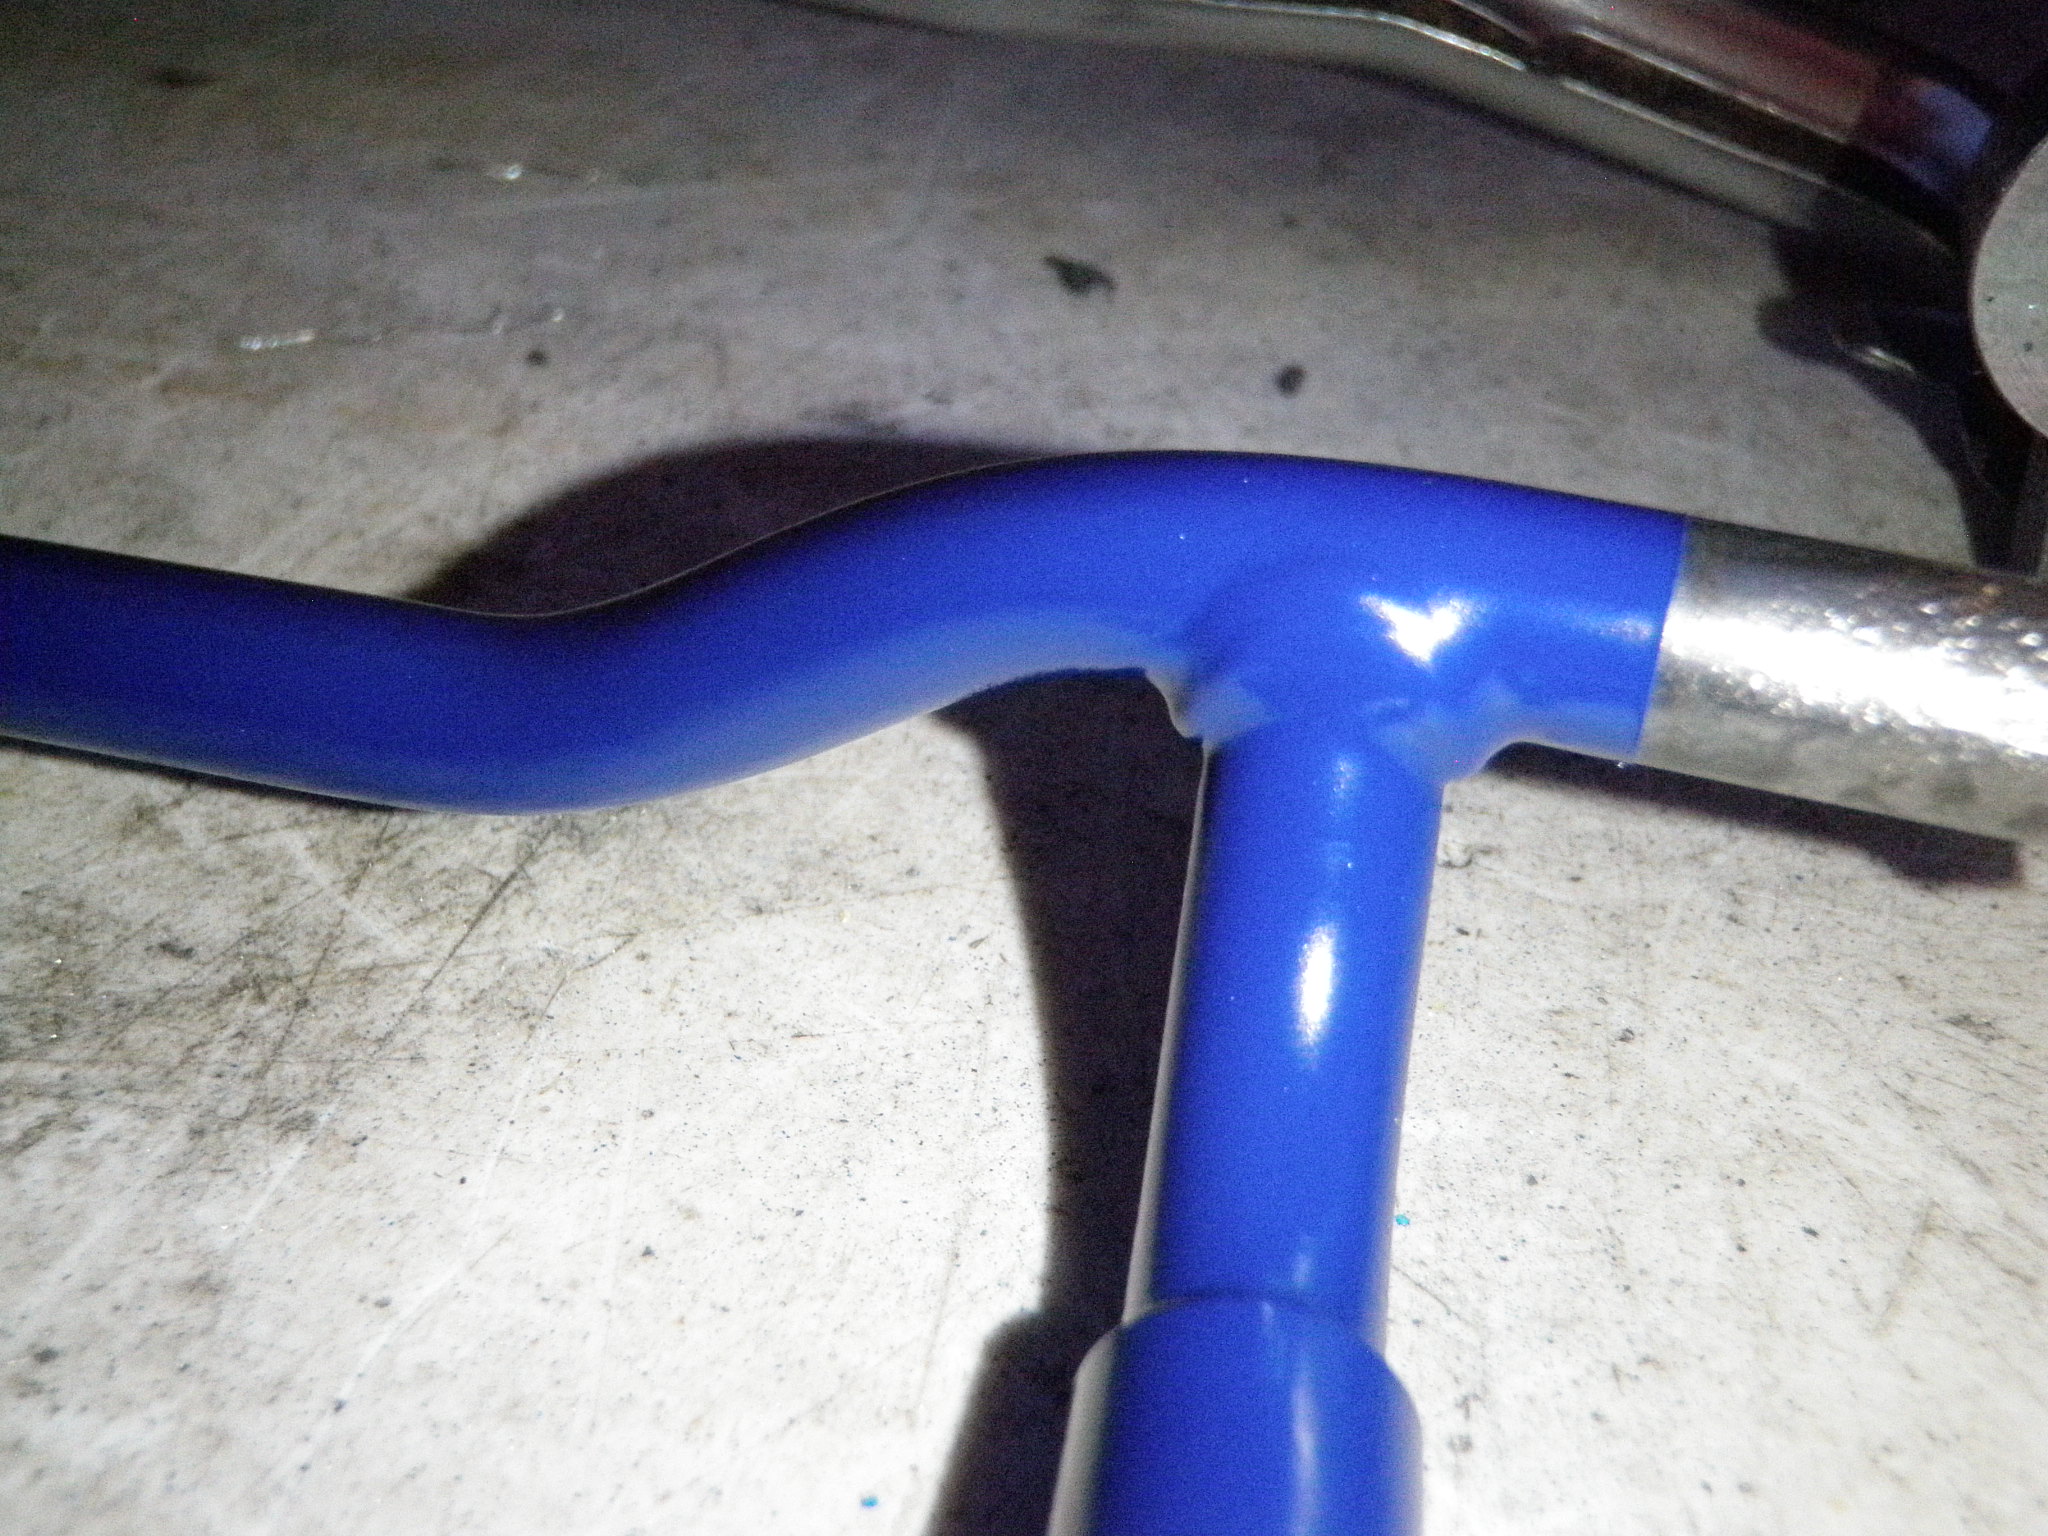
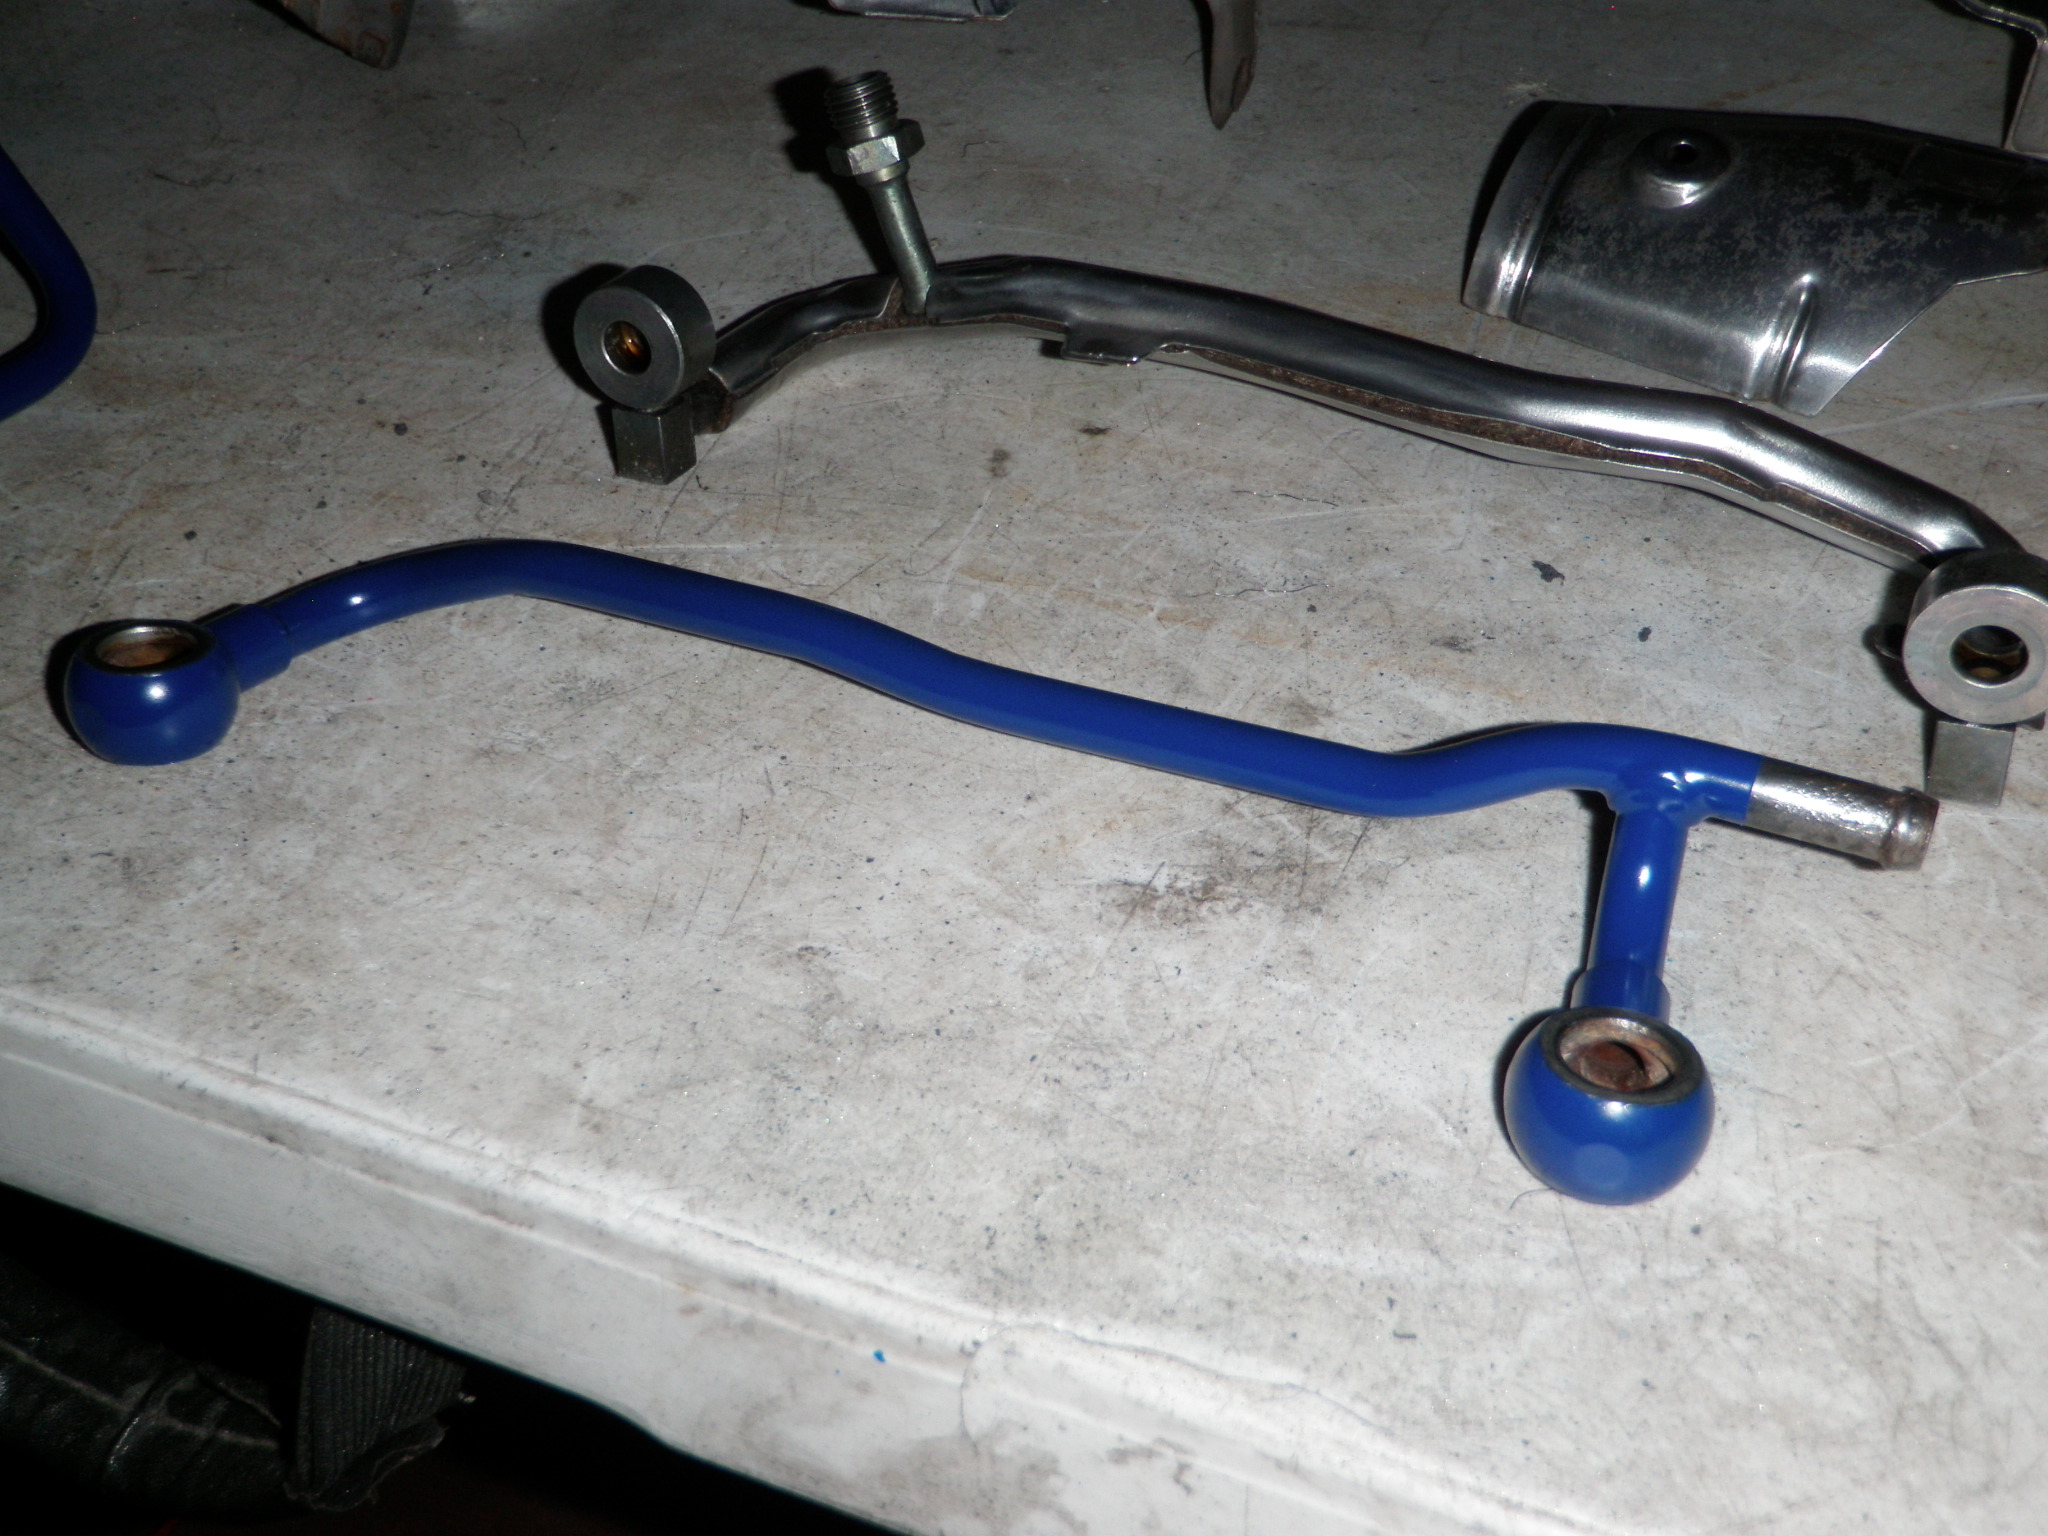
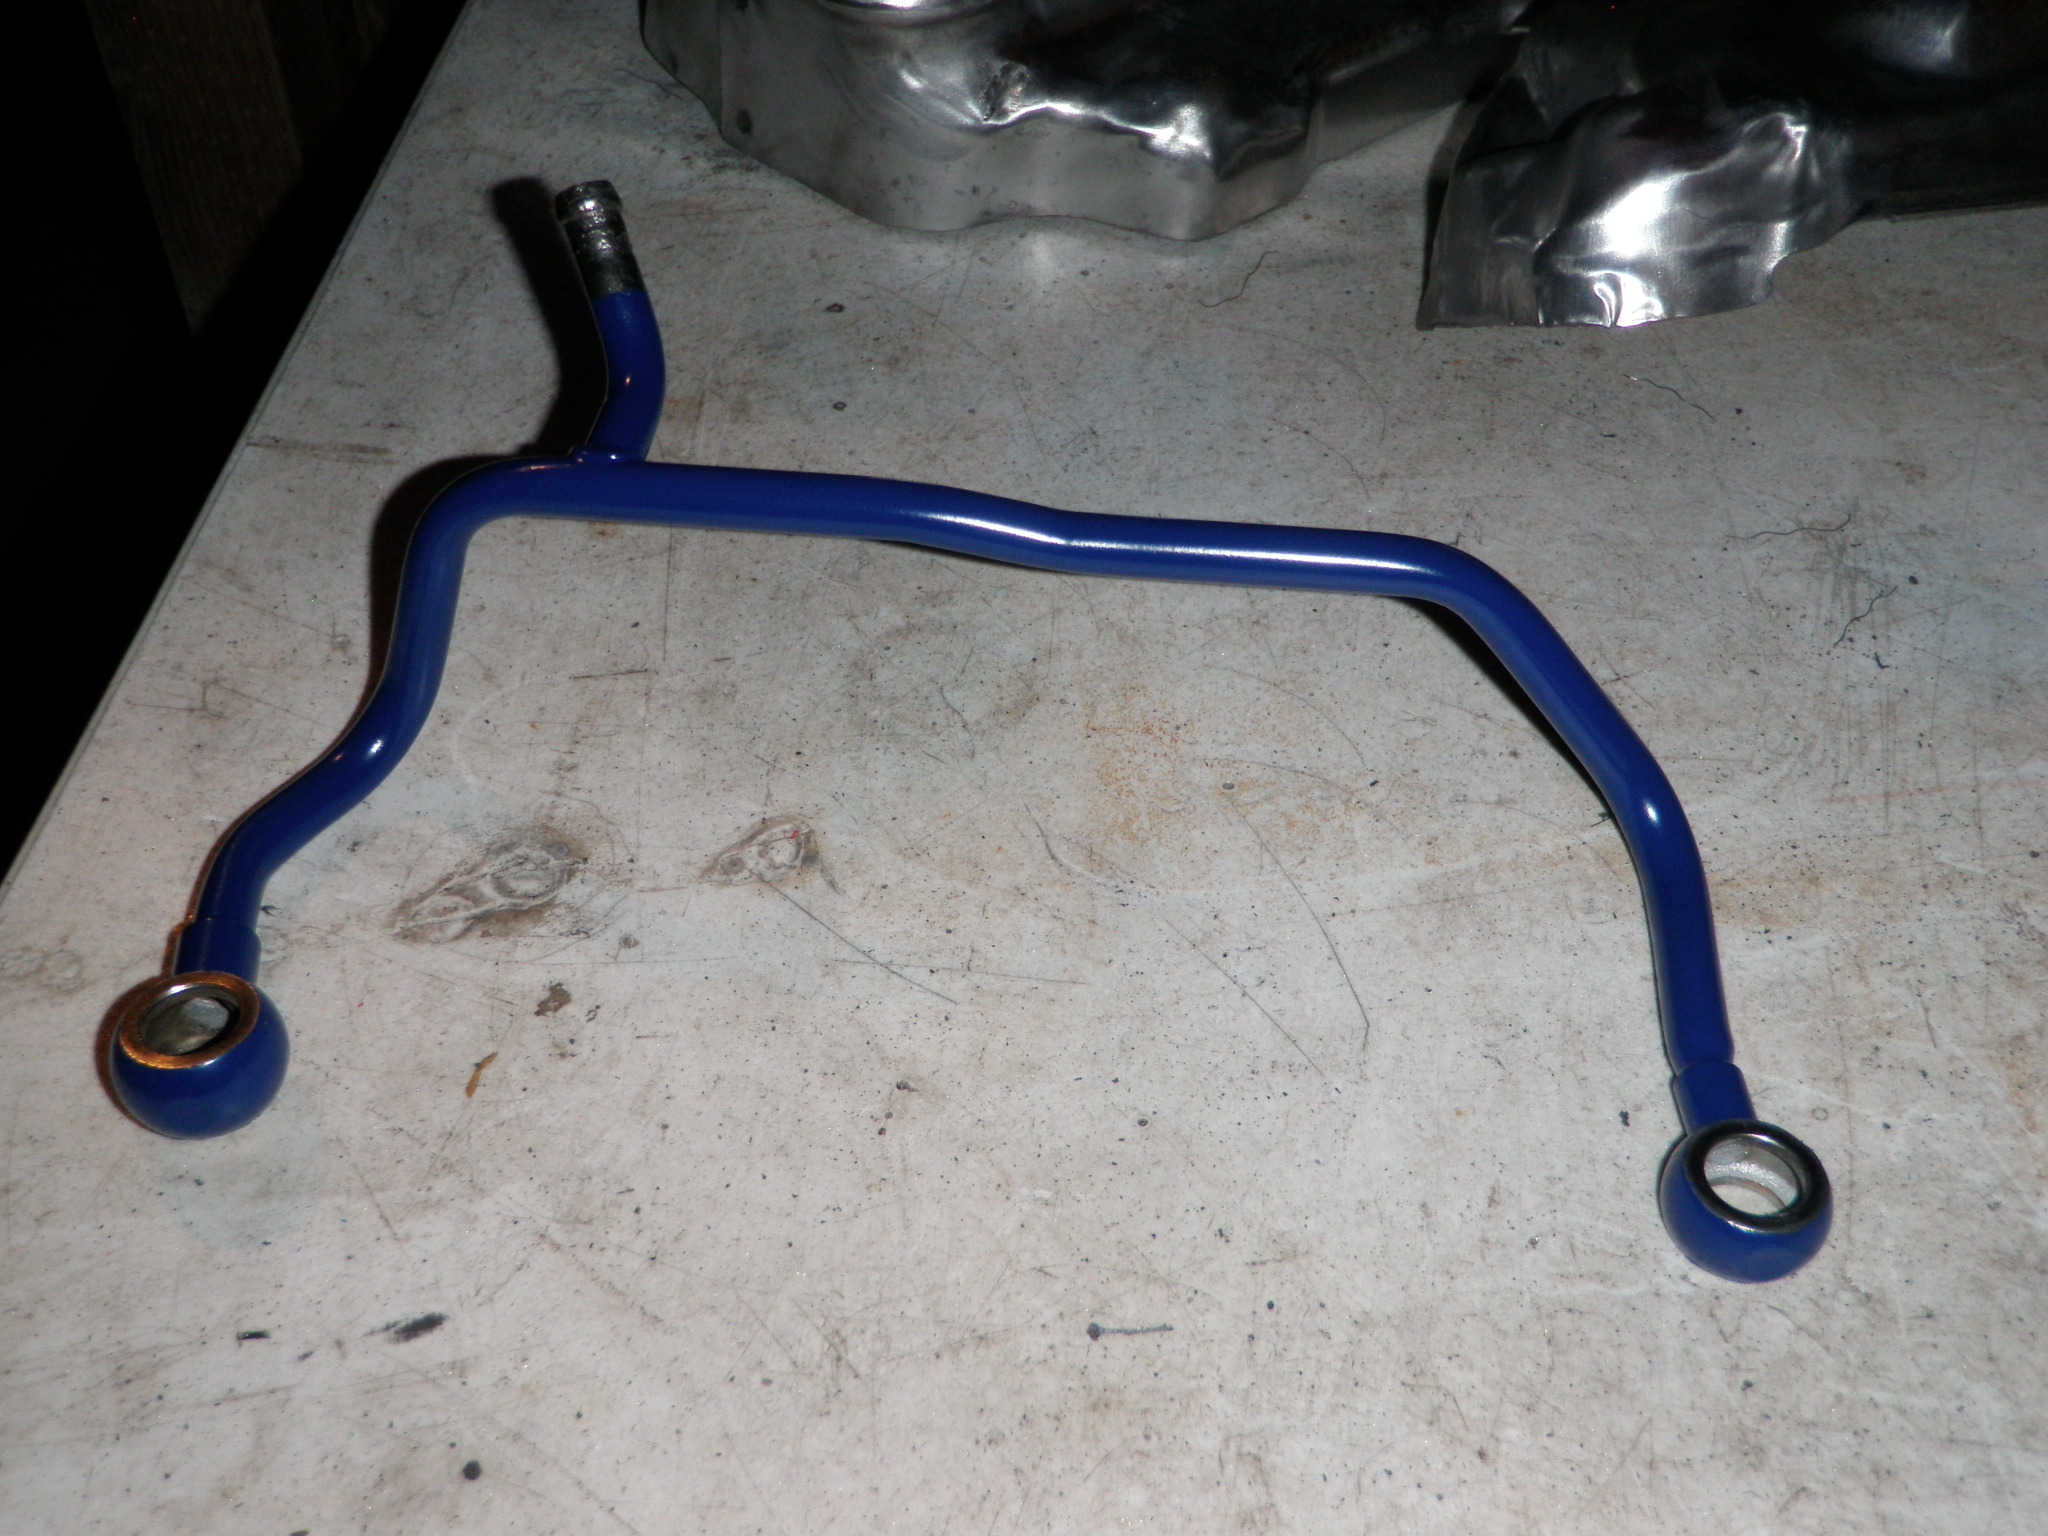
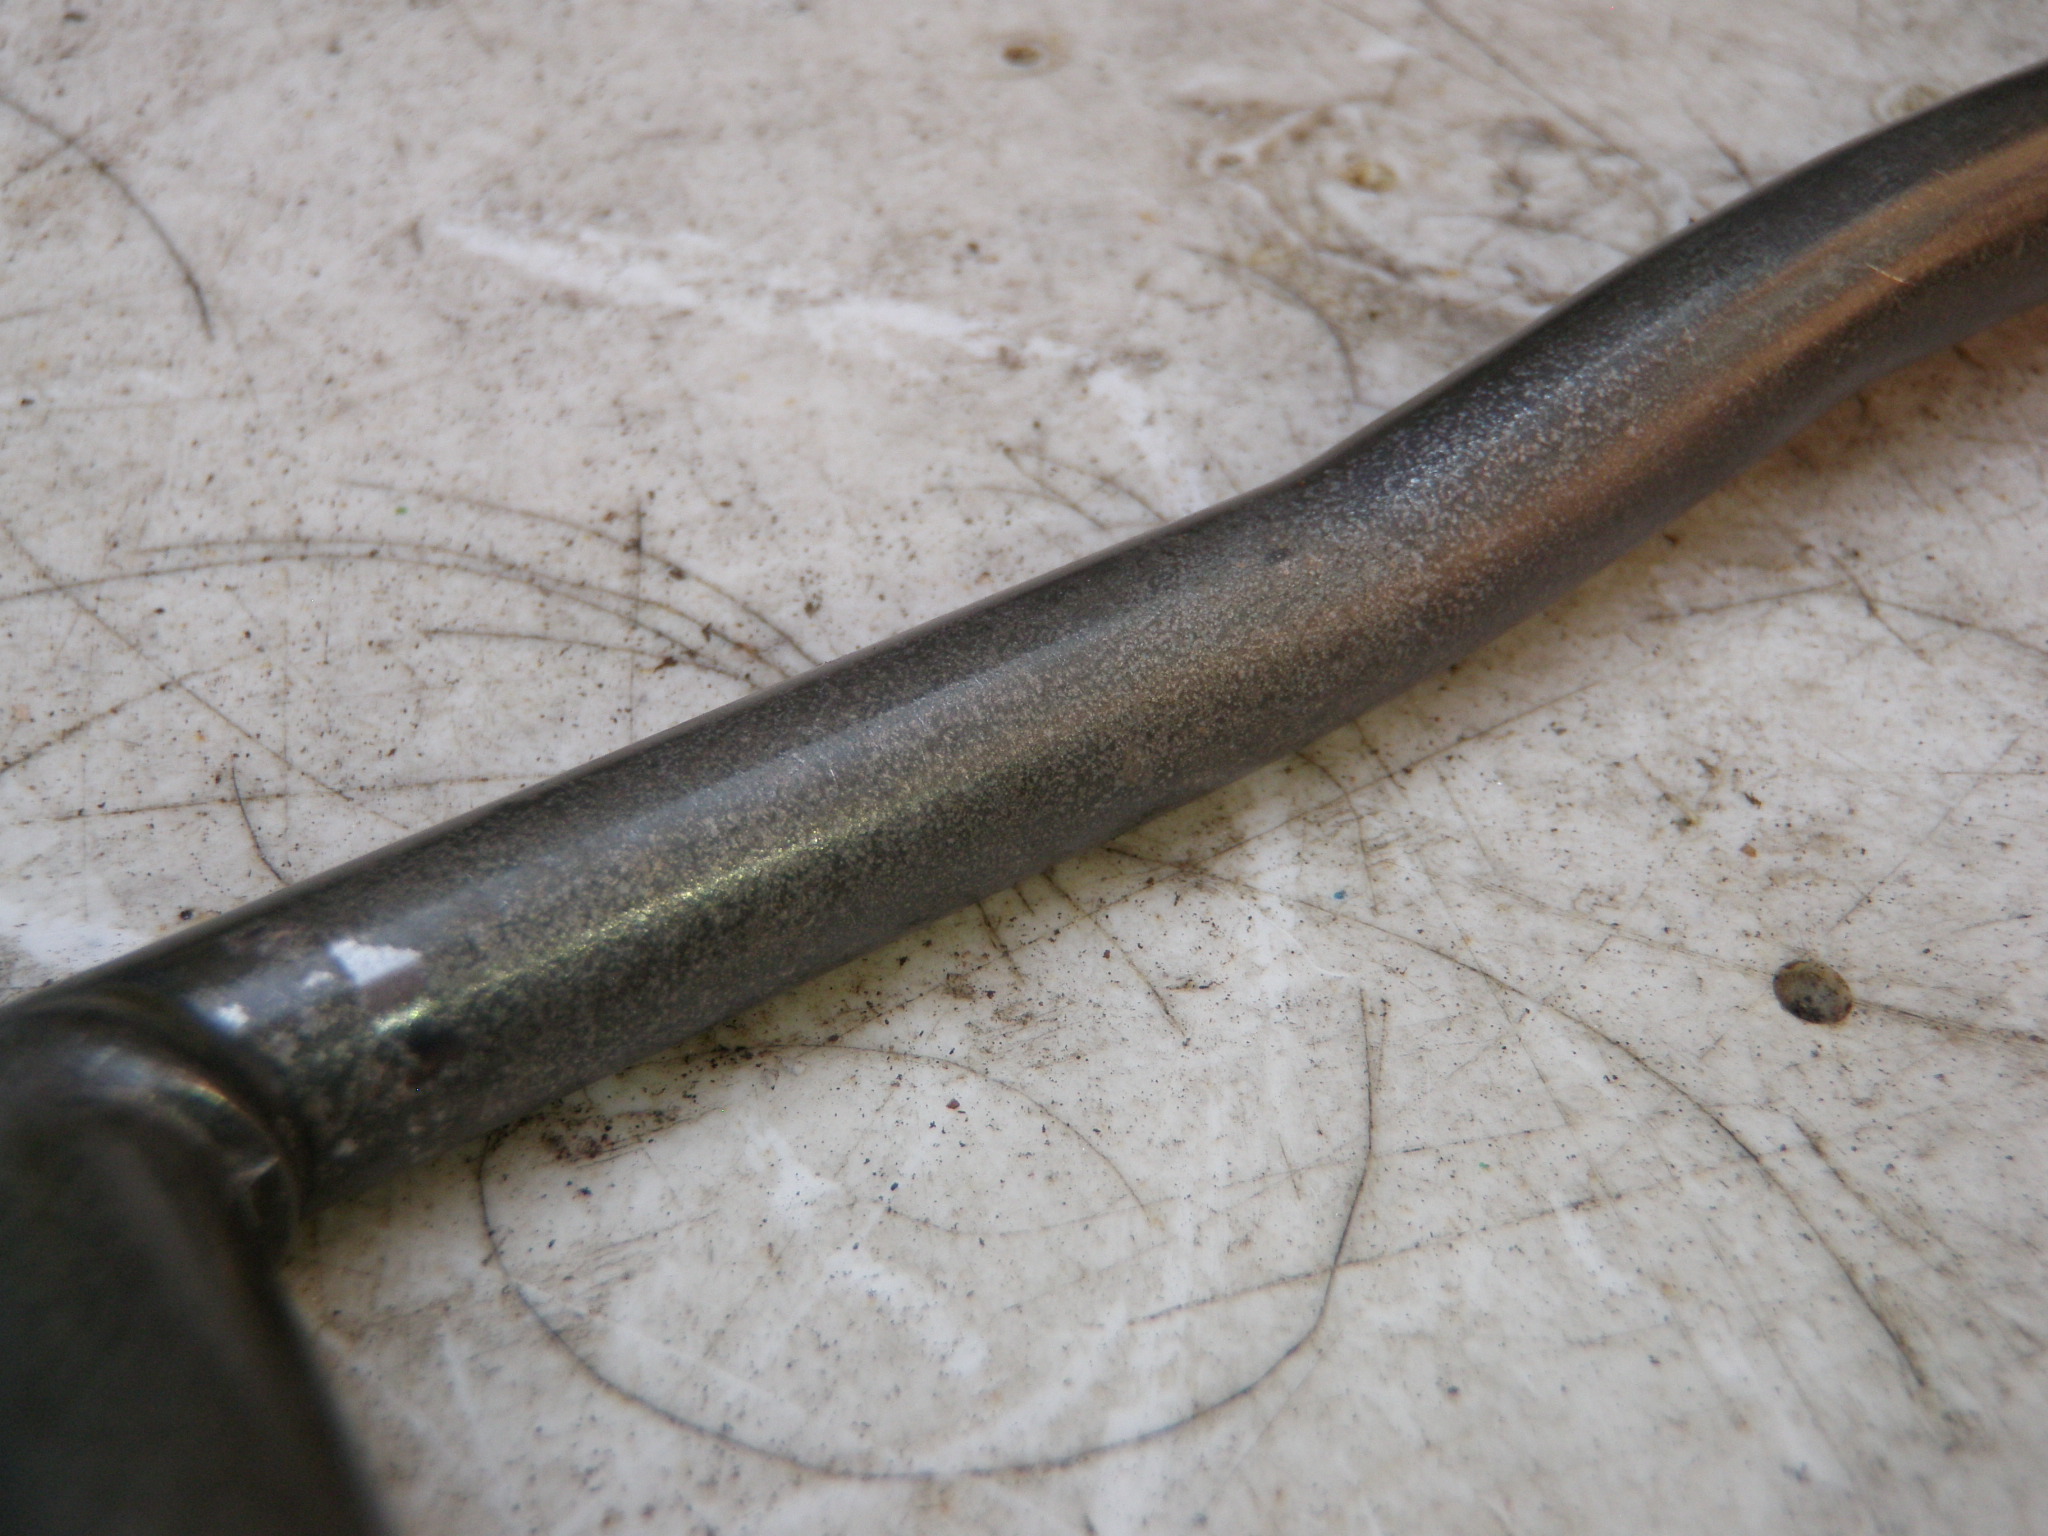
    I painted the Turbo water pipe line a nice blue color with a satin clear finish.

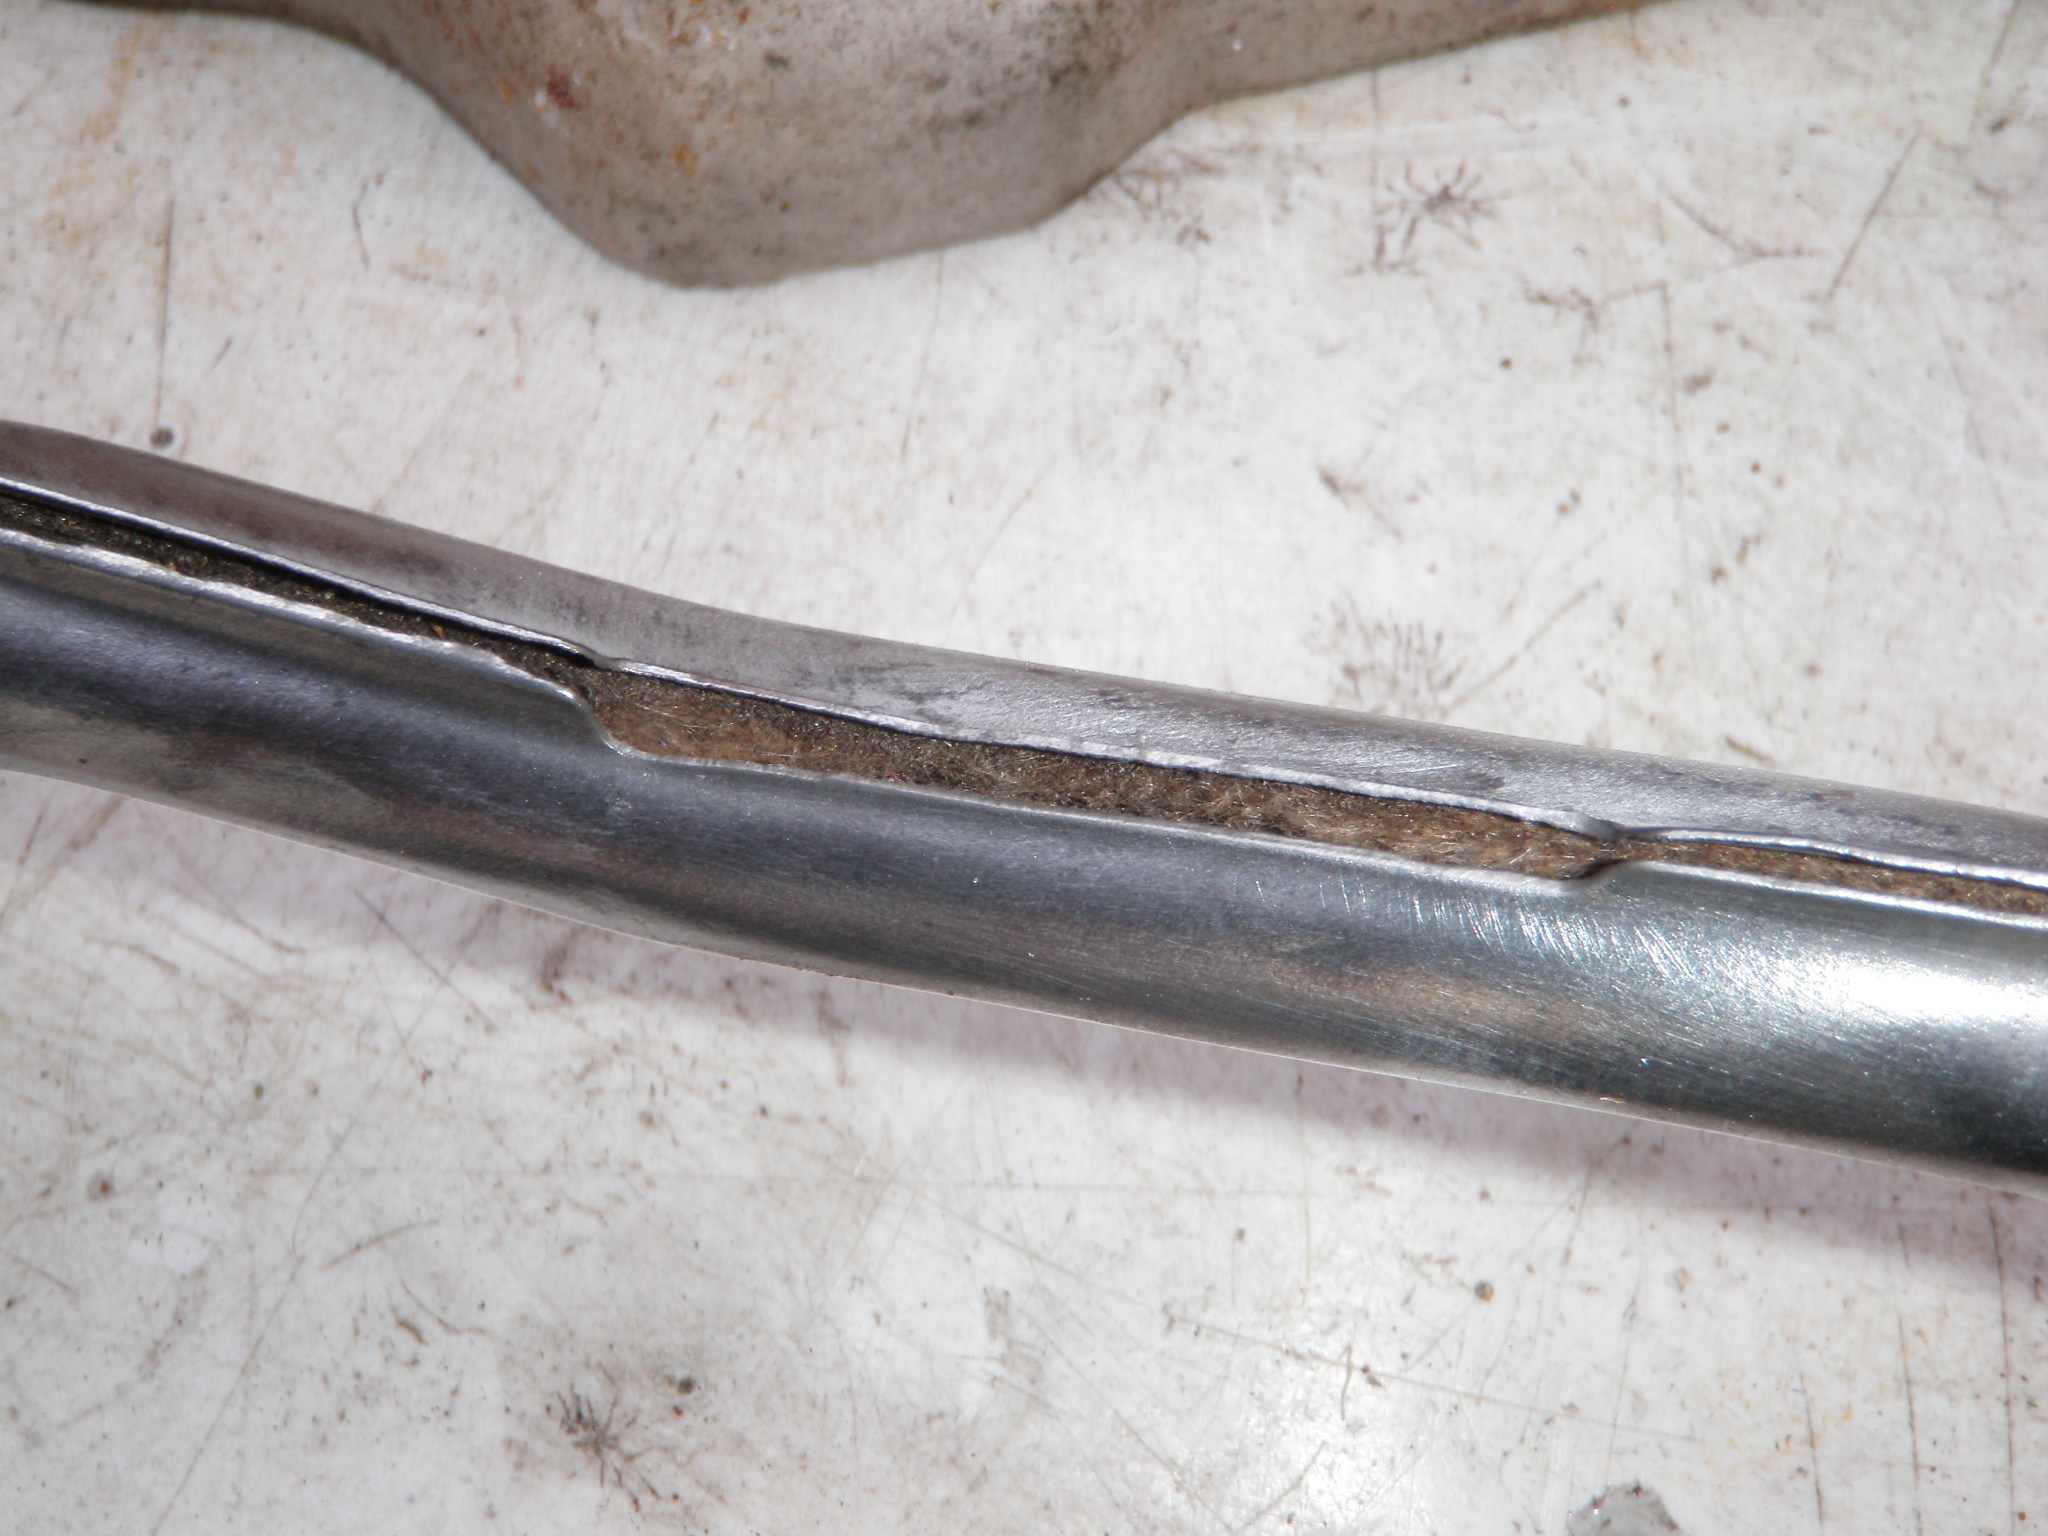
    I also polished the turbo heat shield just a little bit.
    PARTS –

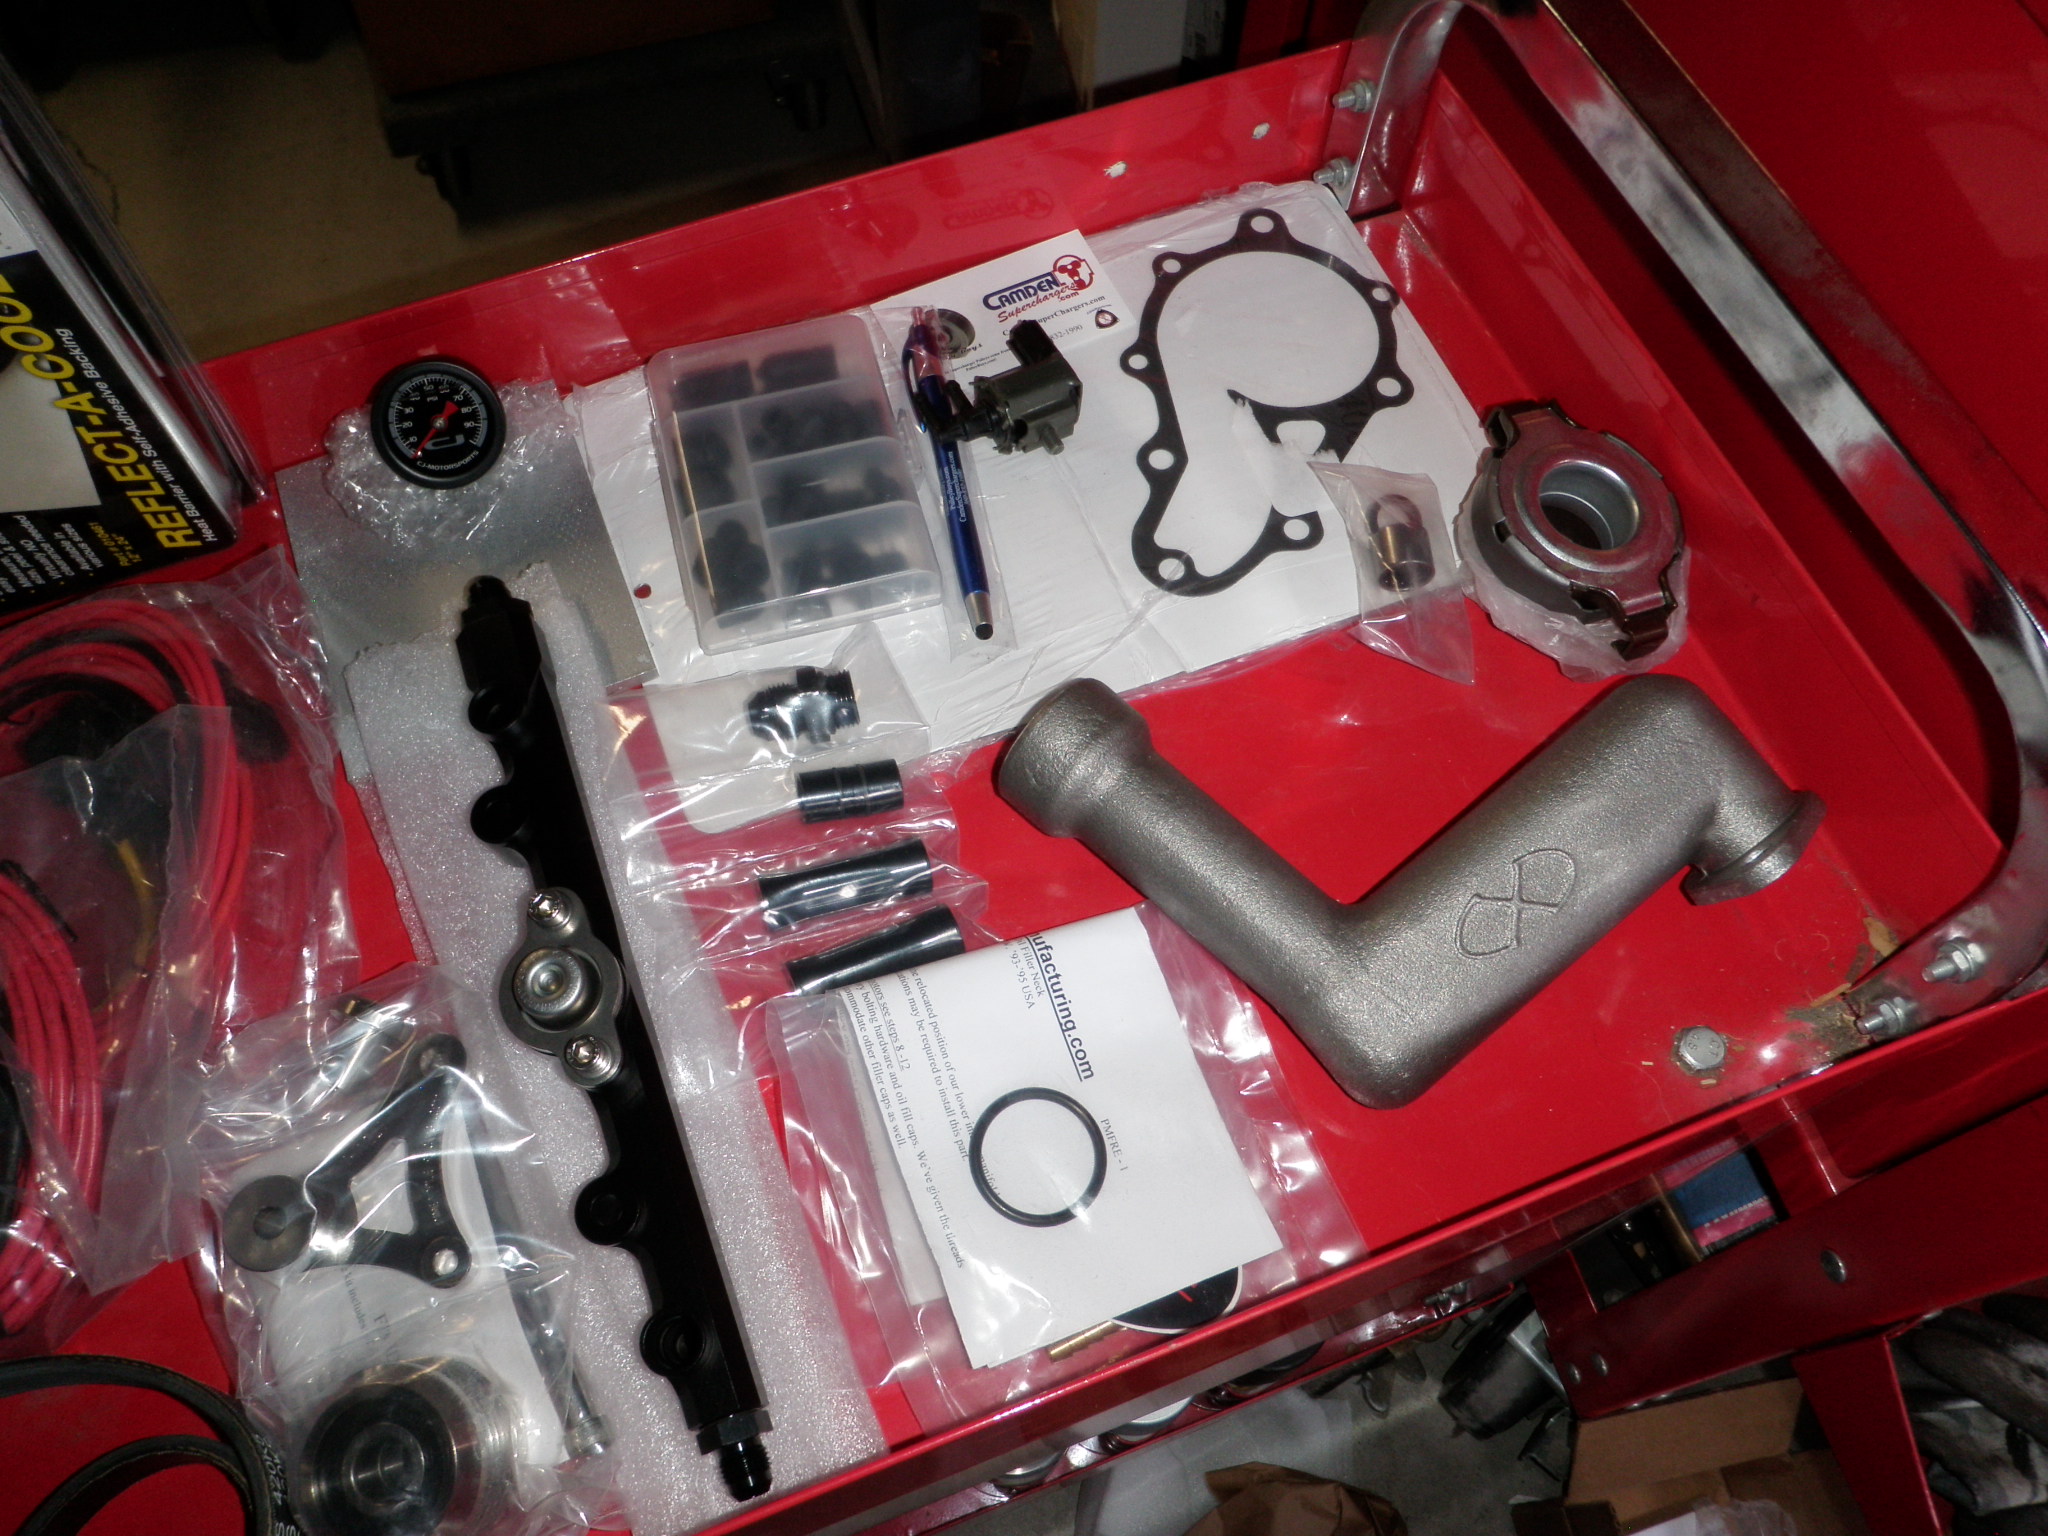
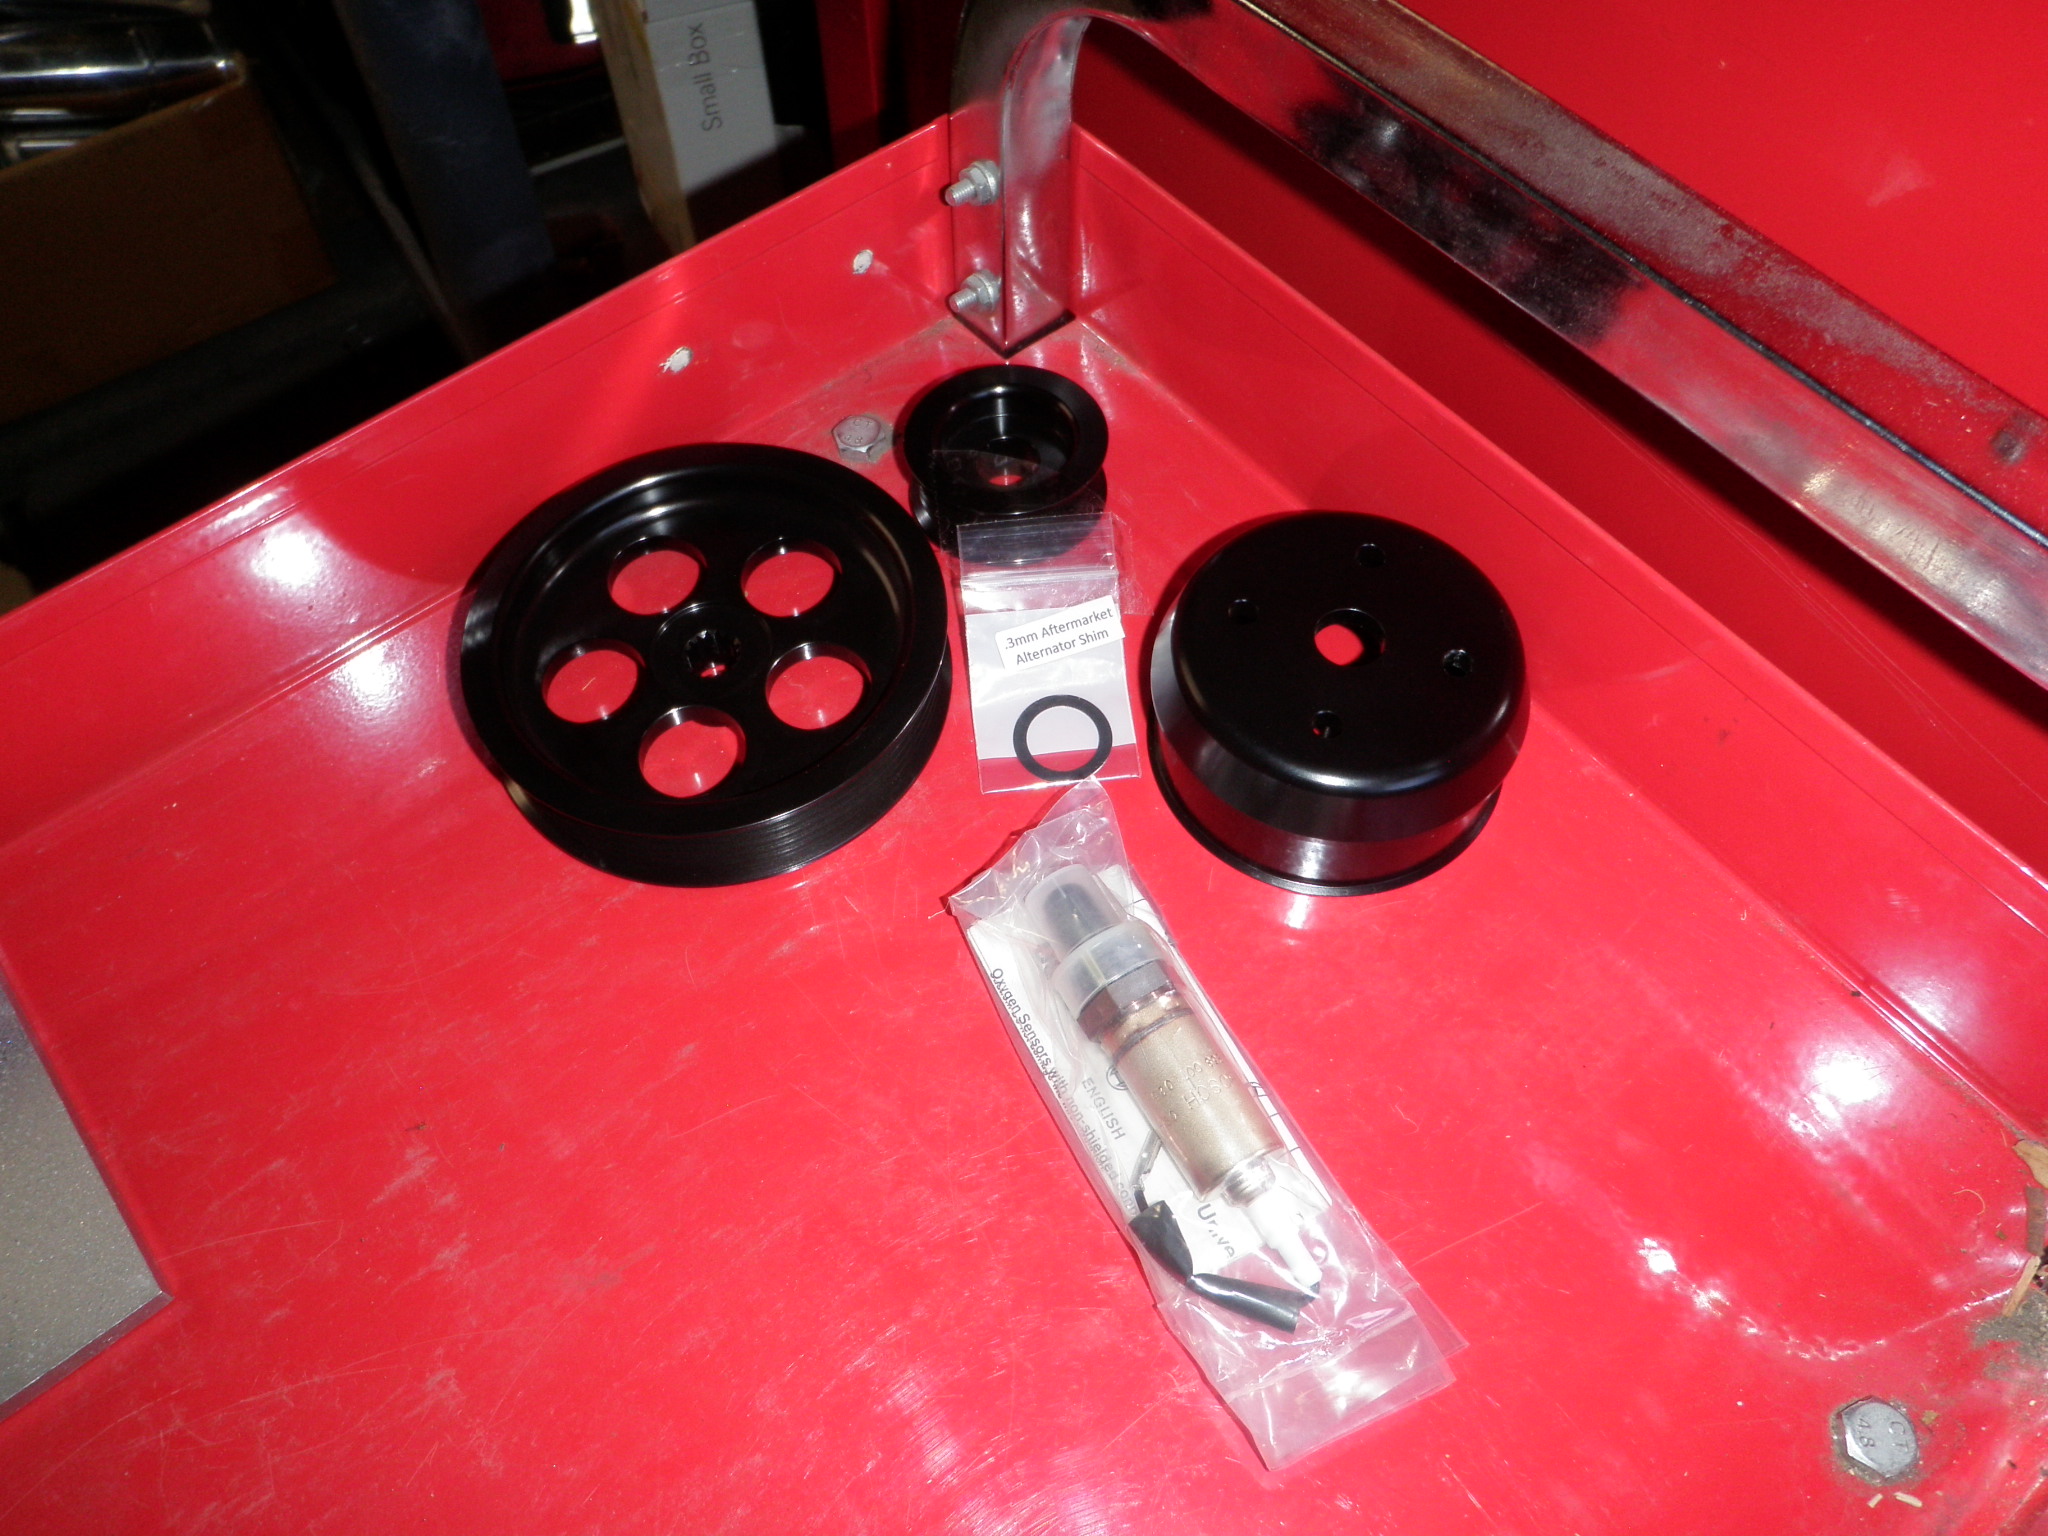
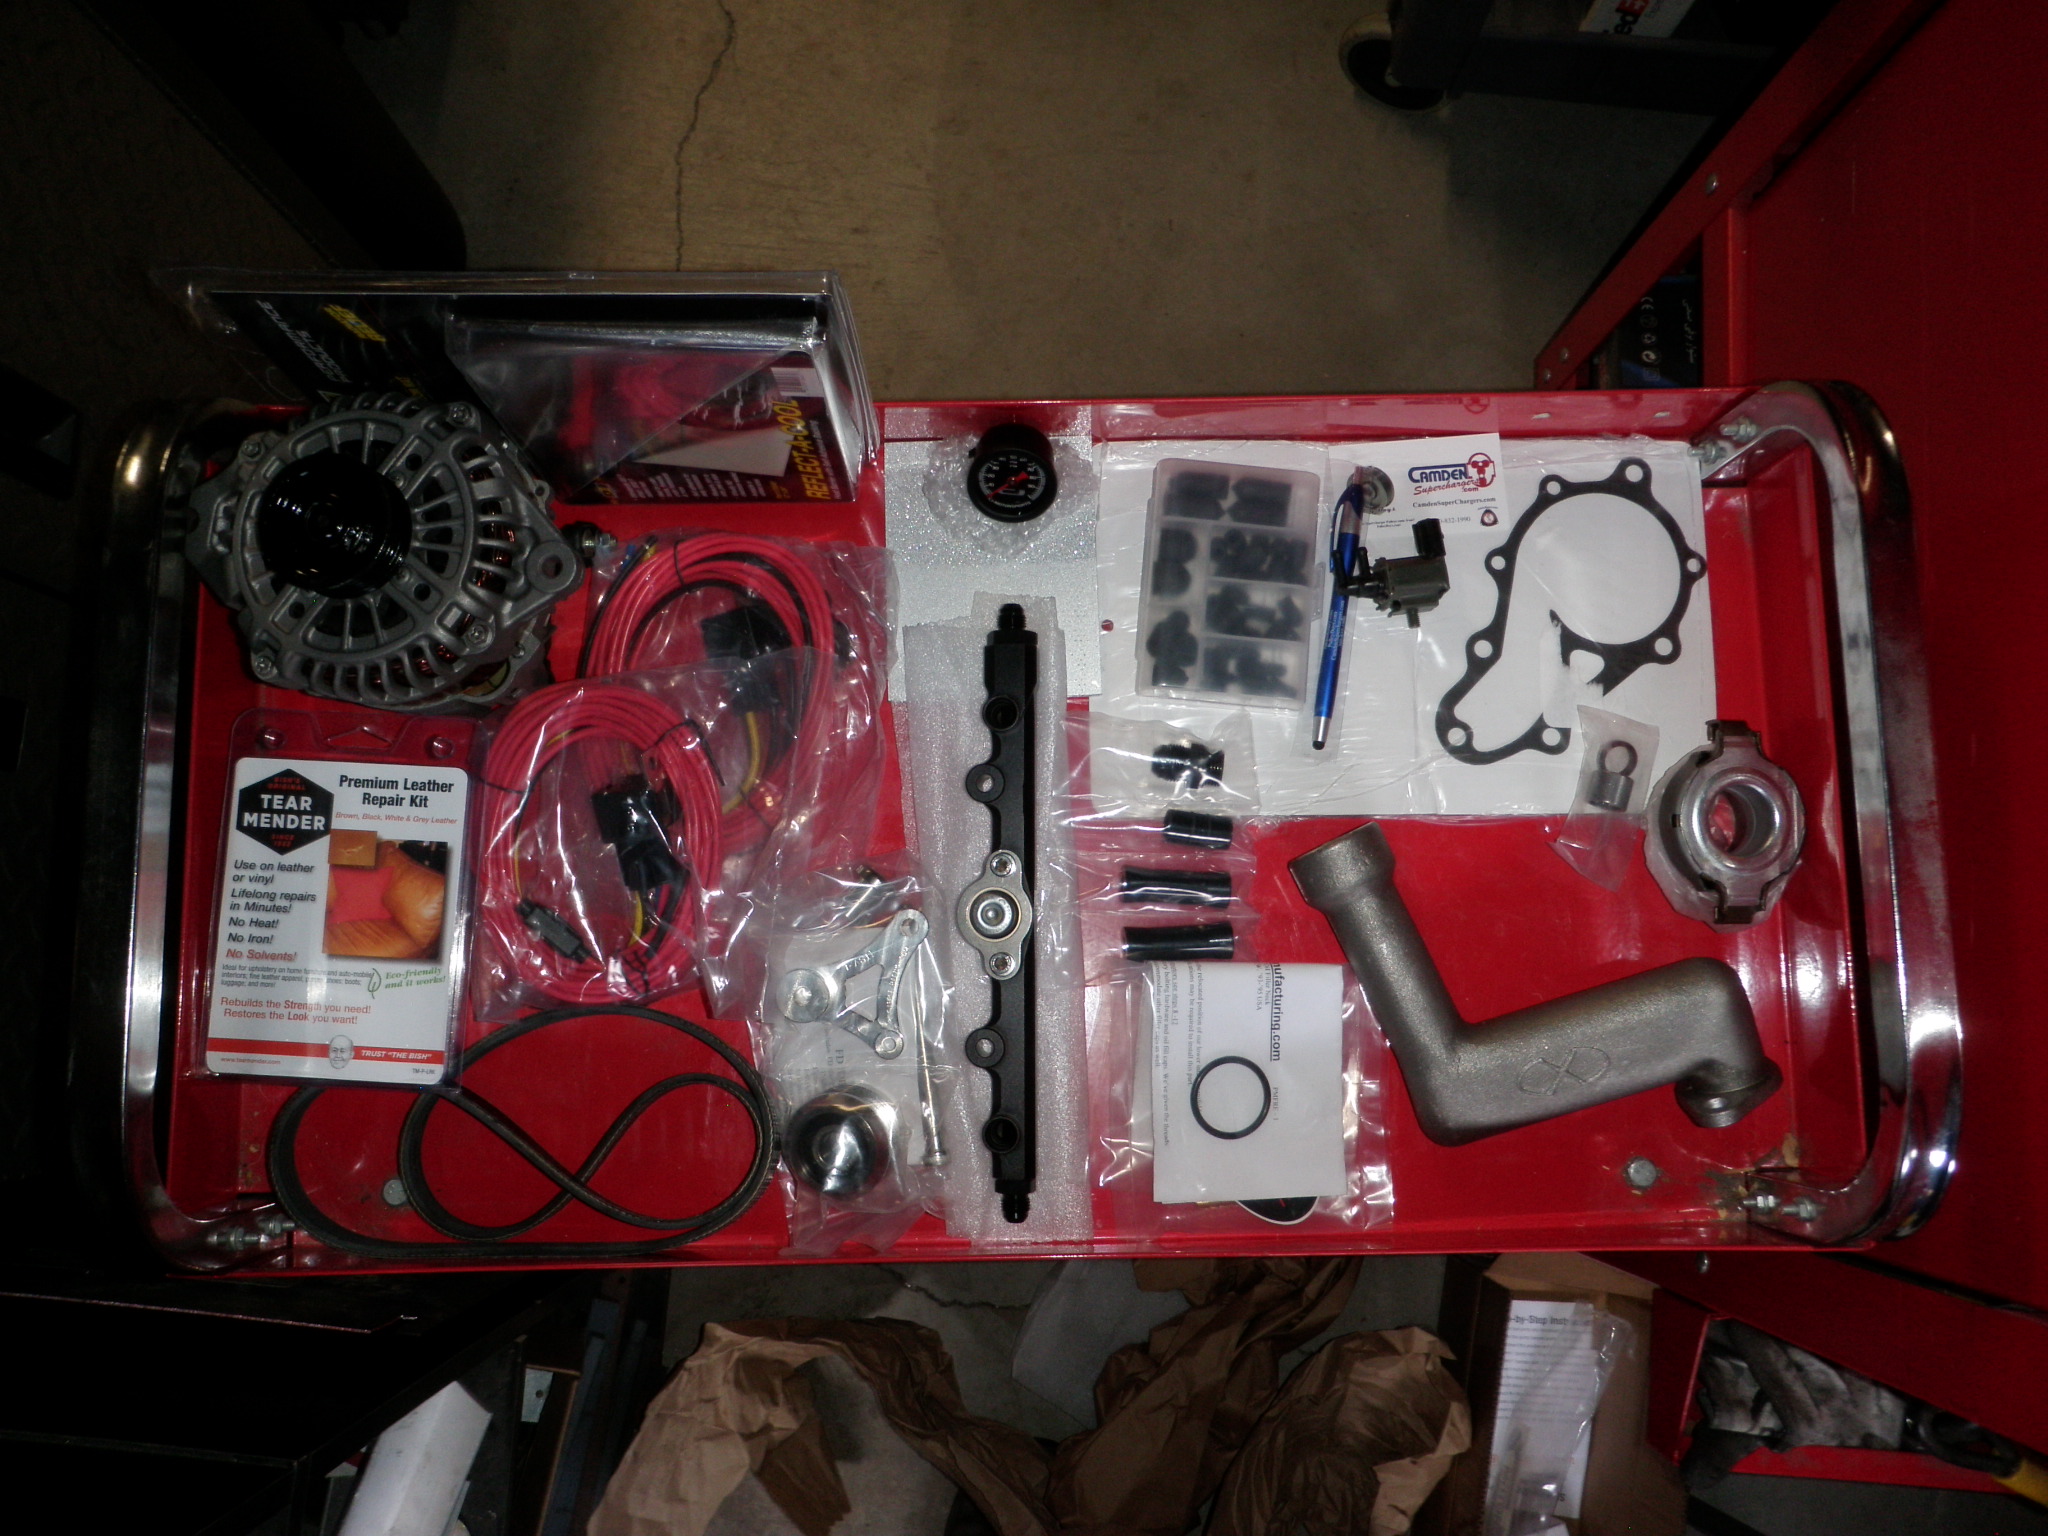
    I got some parts in with the money I made from my garage sale.
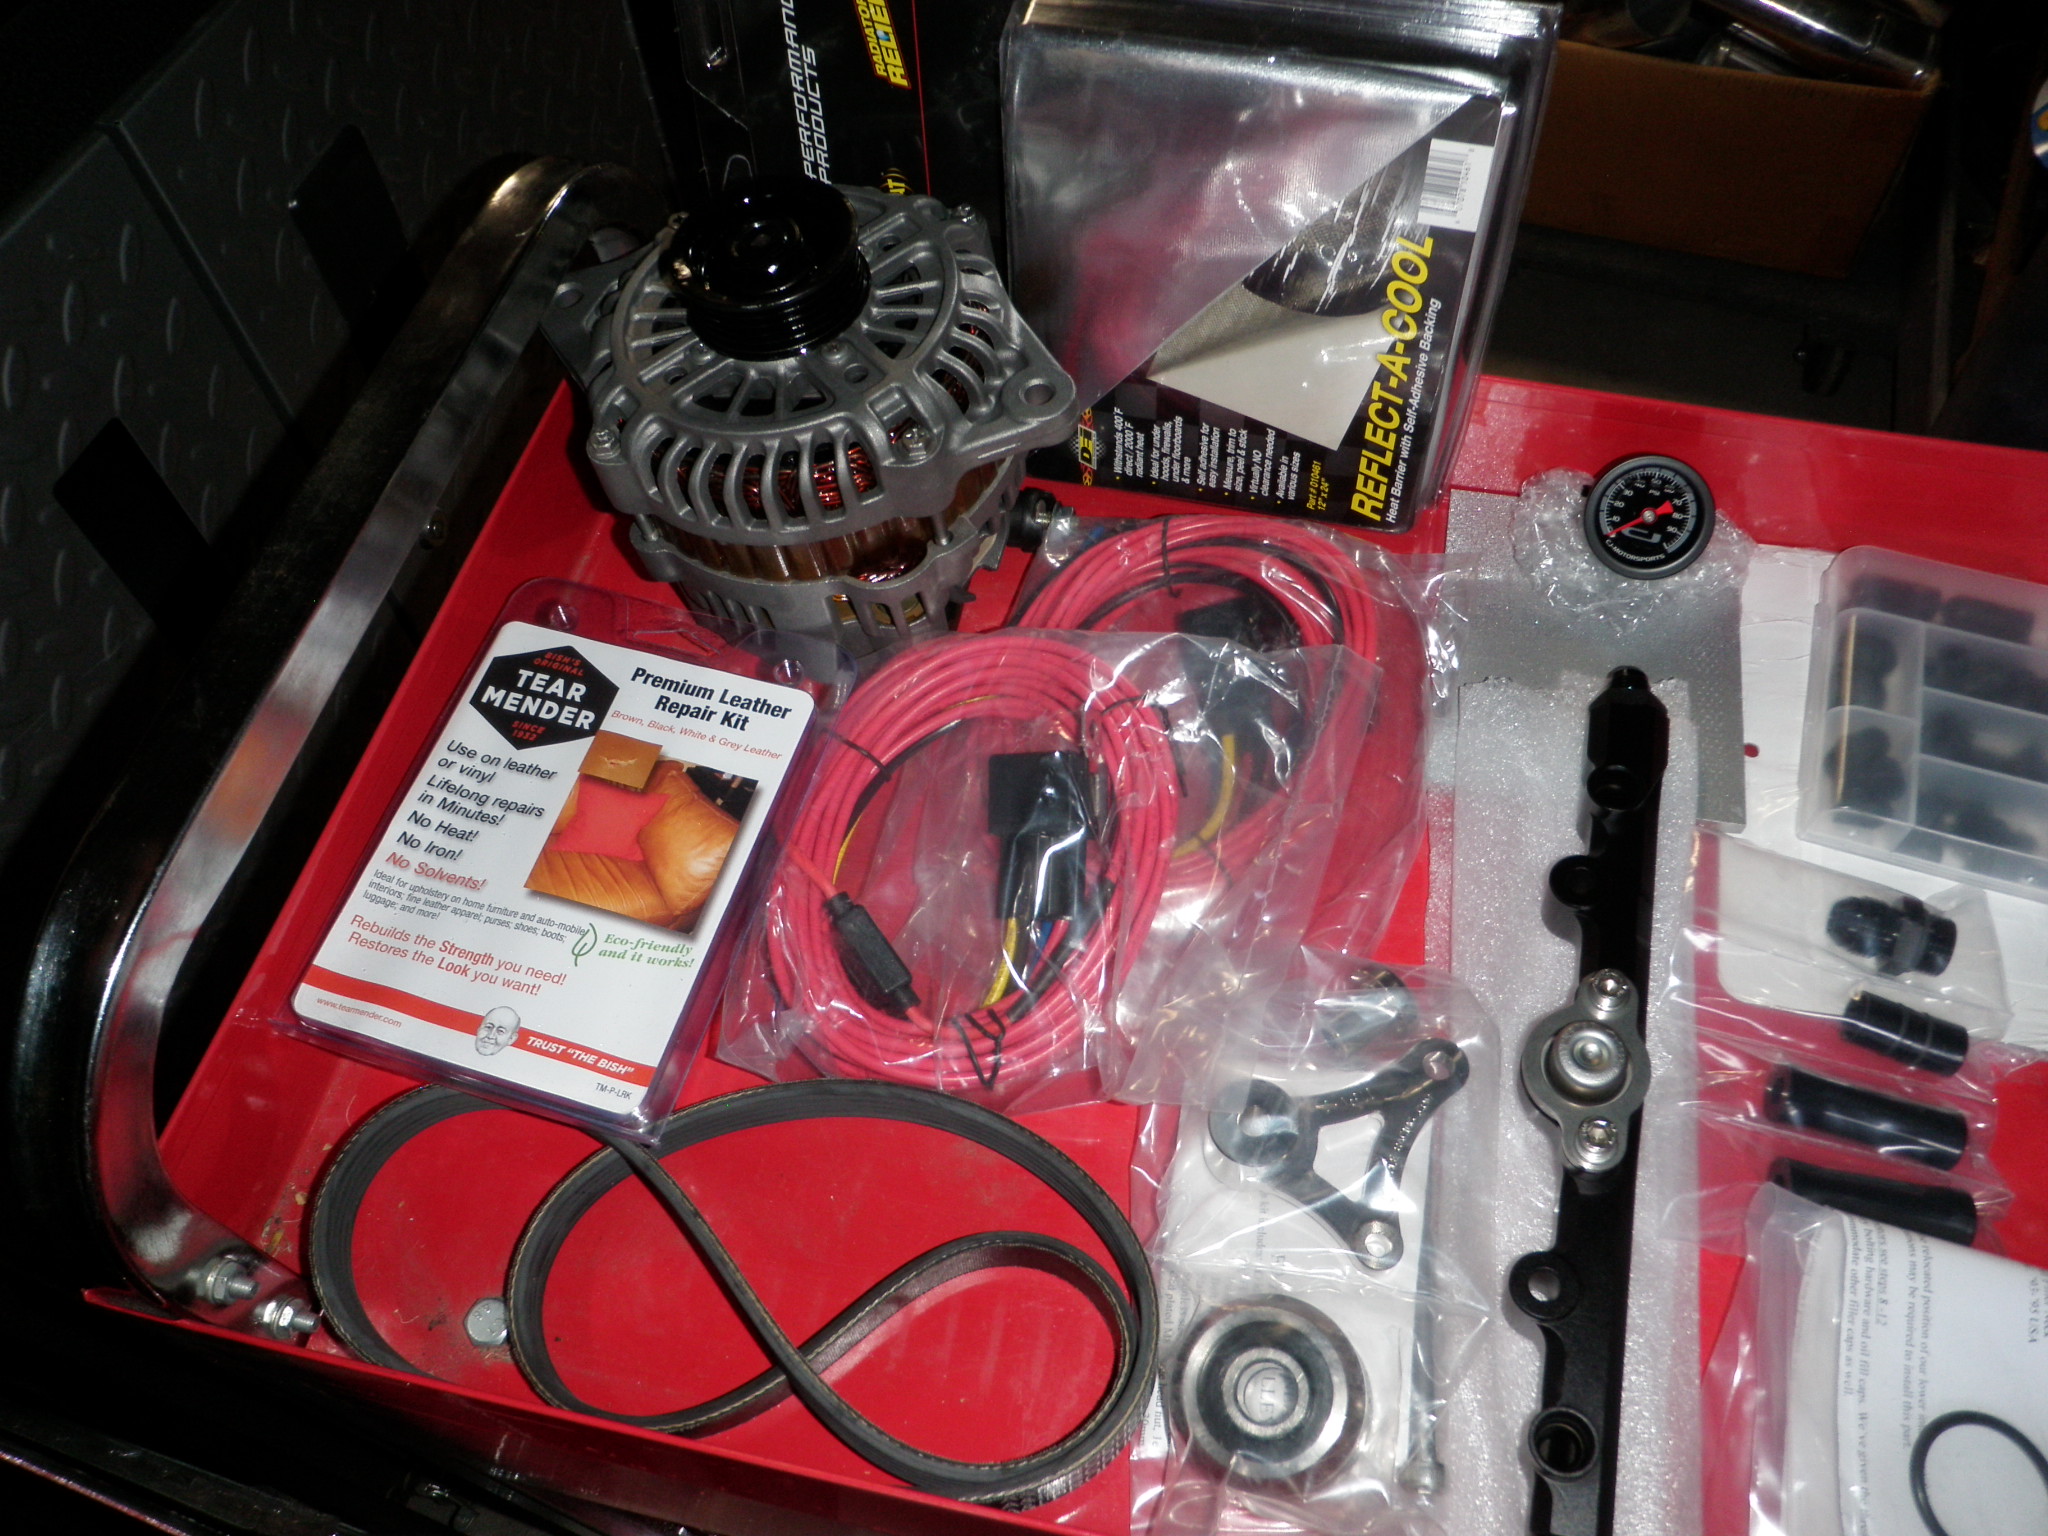
    I have a small tear in the drivers seat – gonna try to repair it with a leather repair kit , if it doesn’t work its ok because- Im putting black wool seat cover over my seats anyways.

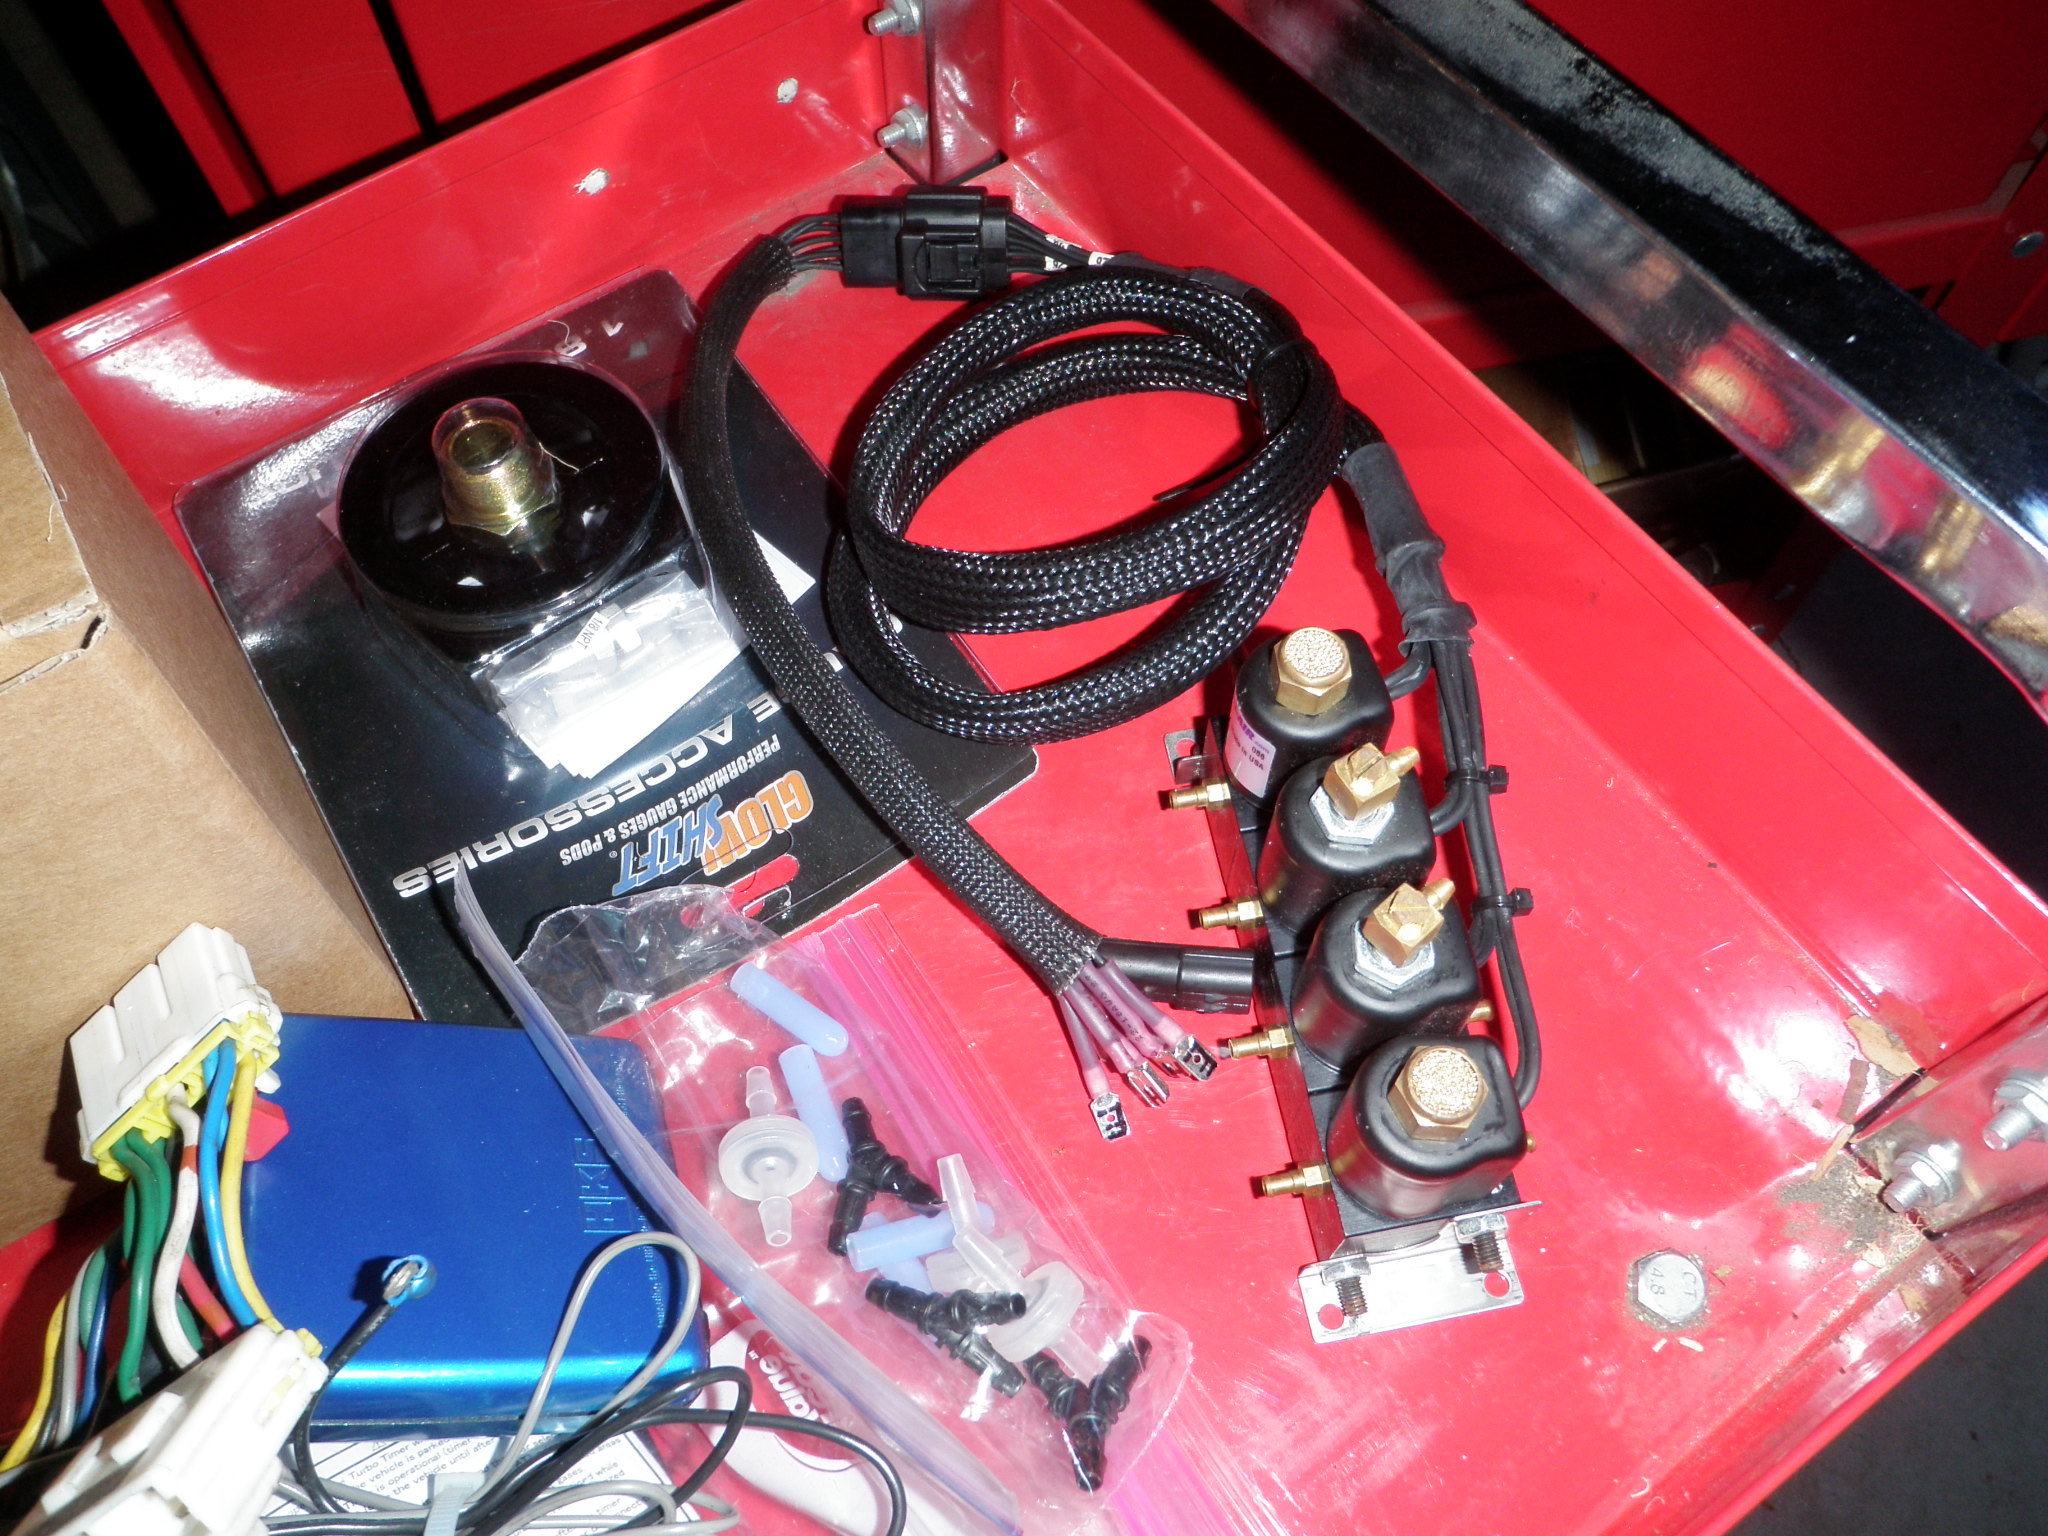
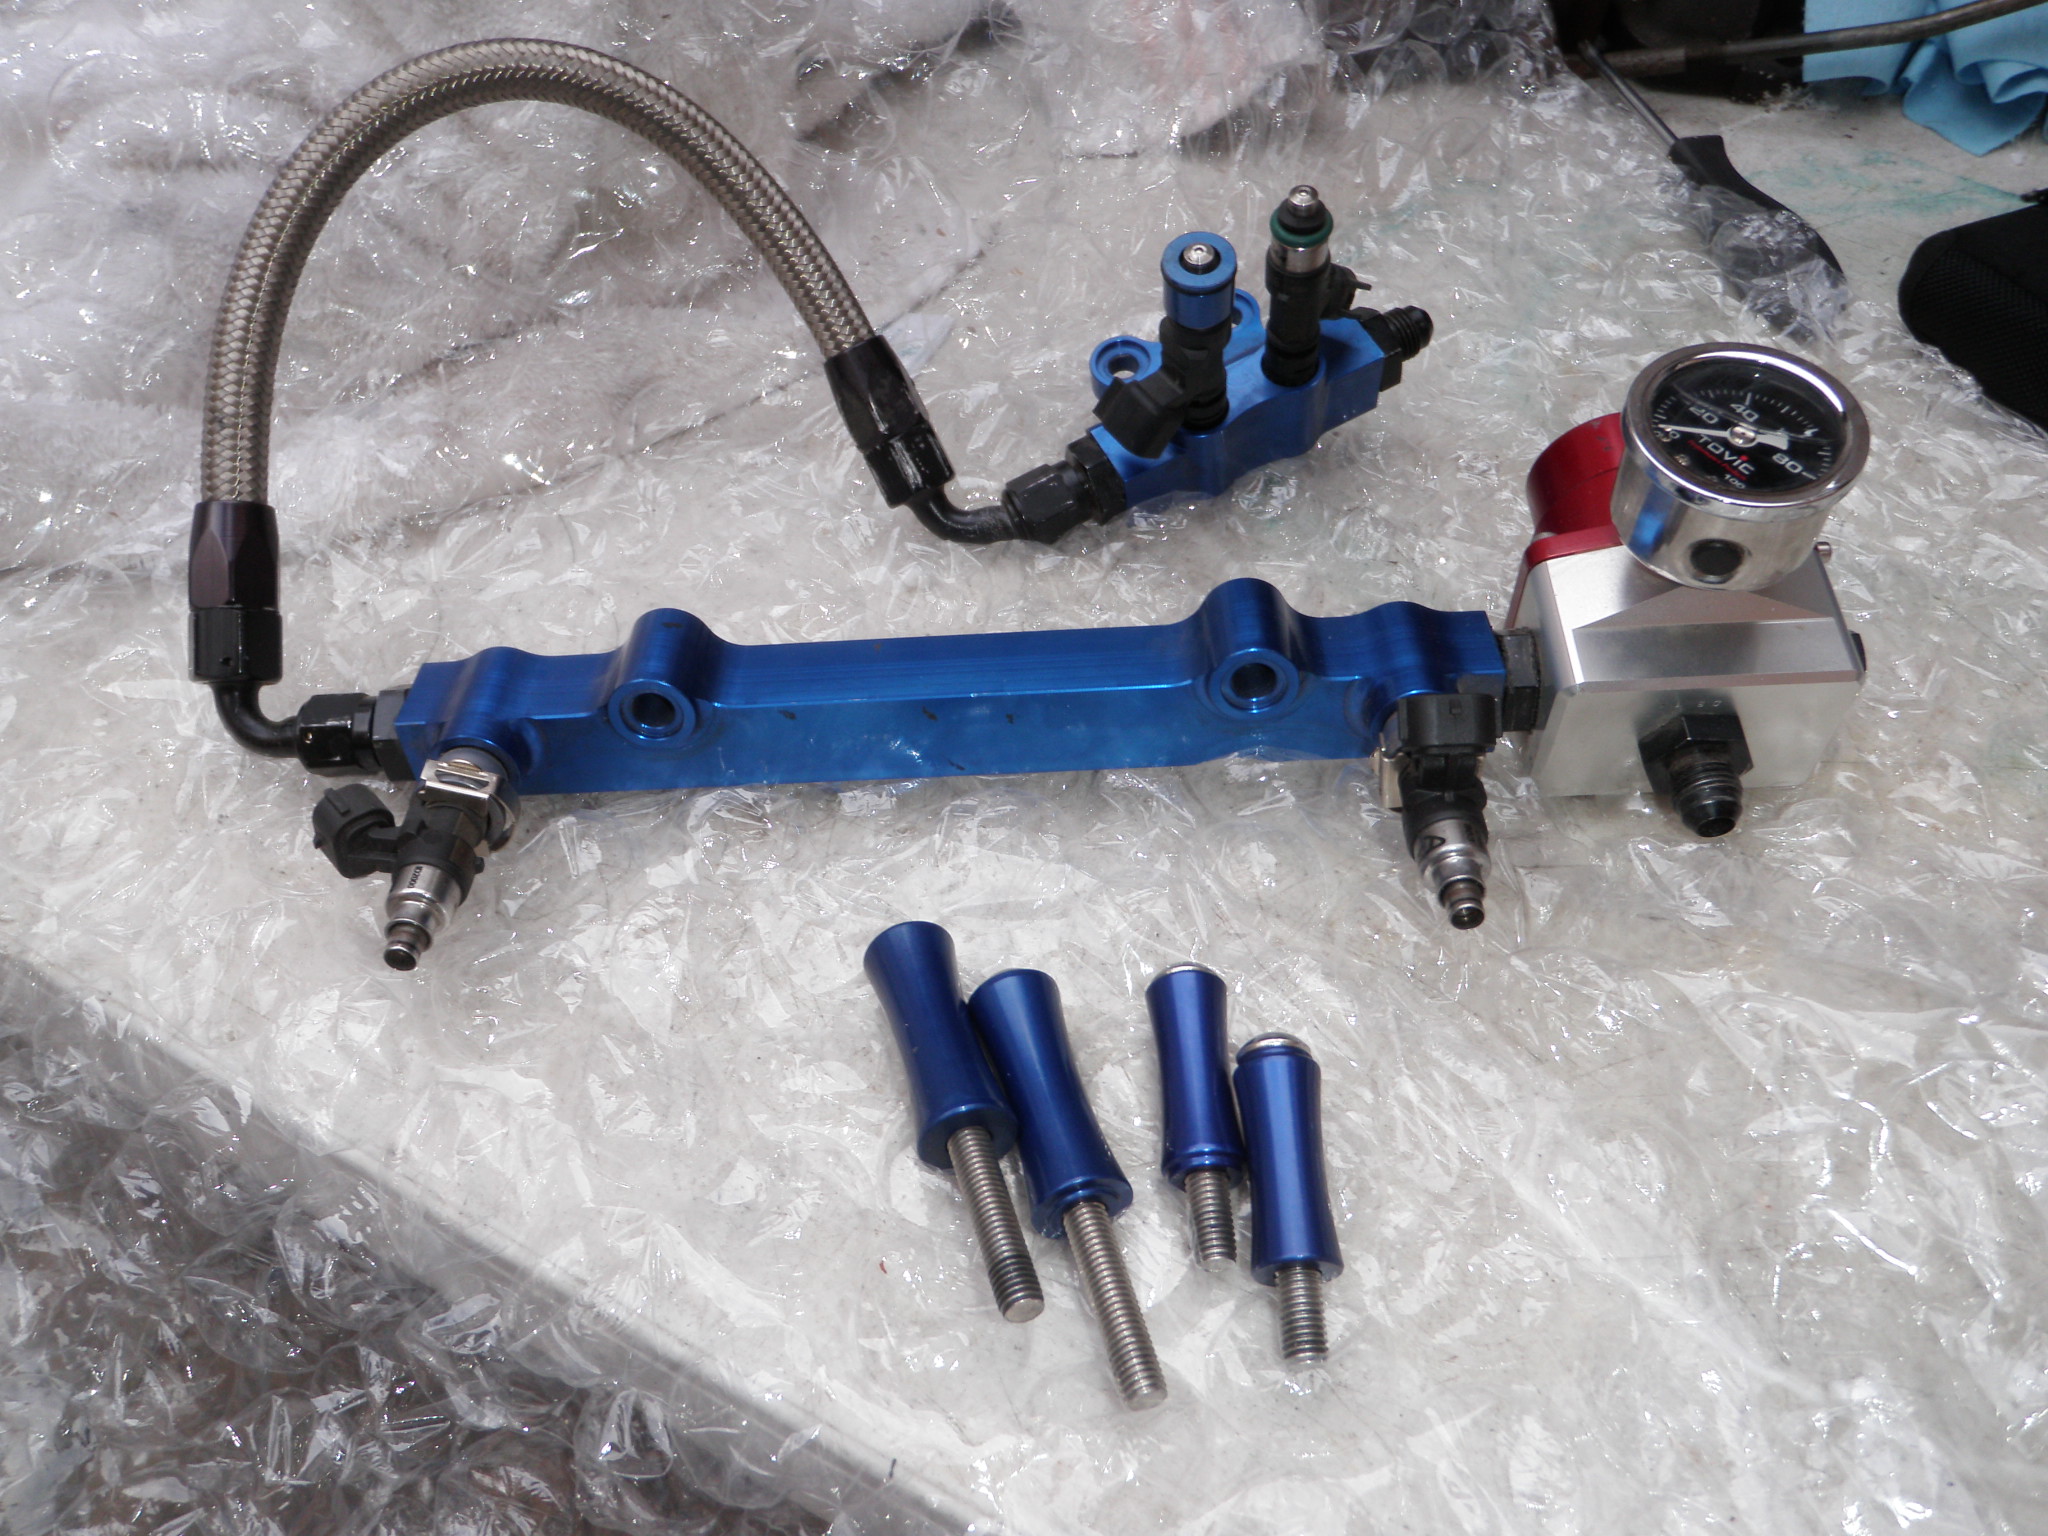
    150amp alternator, Banzai Racing black pulley kit, ( black so all the pulleys match – keeping the factory main pulley). Pineapple Racing normal Idler pulley, CJ Motorsports secondary fuel rail kit with FPD and Fuel Pressure Gauge, CJ Motorsports relay harness kit for the fuel pump and ign coil power mod. Rubber caps for open van lines, Xcessive oil filler neck for the Xcessive LIM I have, new throw out bearing and pilot bearing, new shifter bushing, water pump gasket, Rotary Performance O2 sensor, oil pedestal adapter for oil temp and pressure gauges and last but not least that awesome solenoid upgrade kit from Eric…woot woot !!!!!!!!!

  • Rotary Extreme RX7 Build Day 13 Aluminum

    Rotary Extreme RX7 Build Day 13 Aluminum

    Day 13 – Greeaaattt Succeessssss !!!!!!

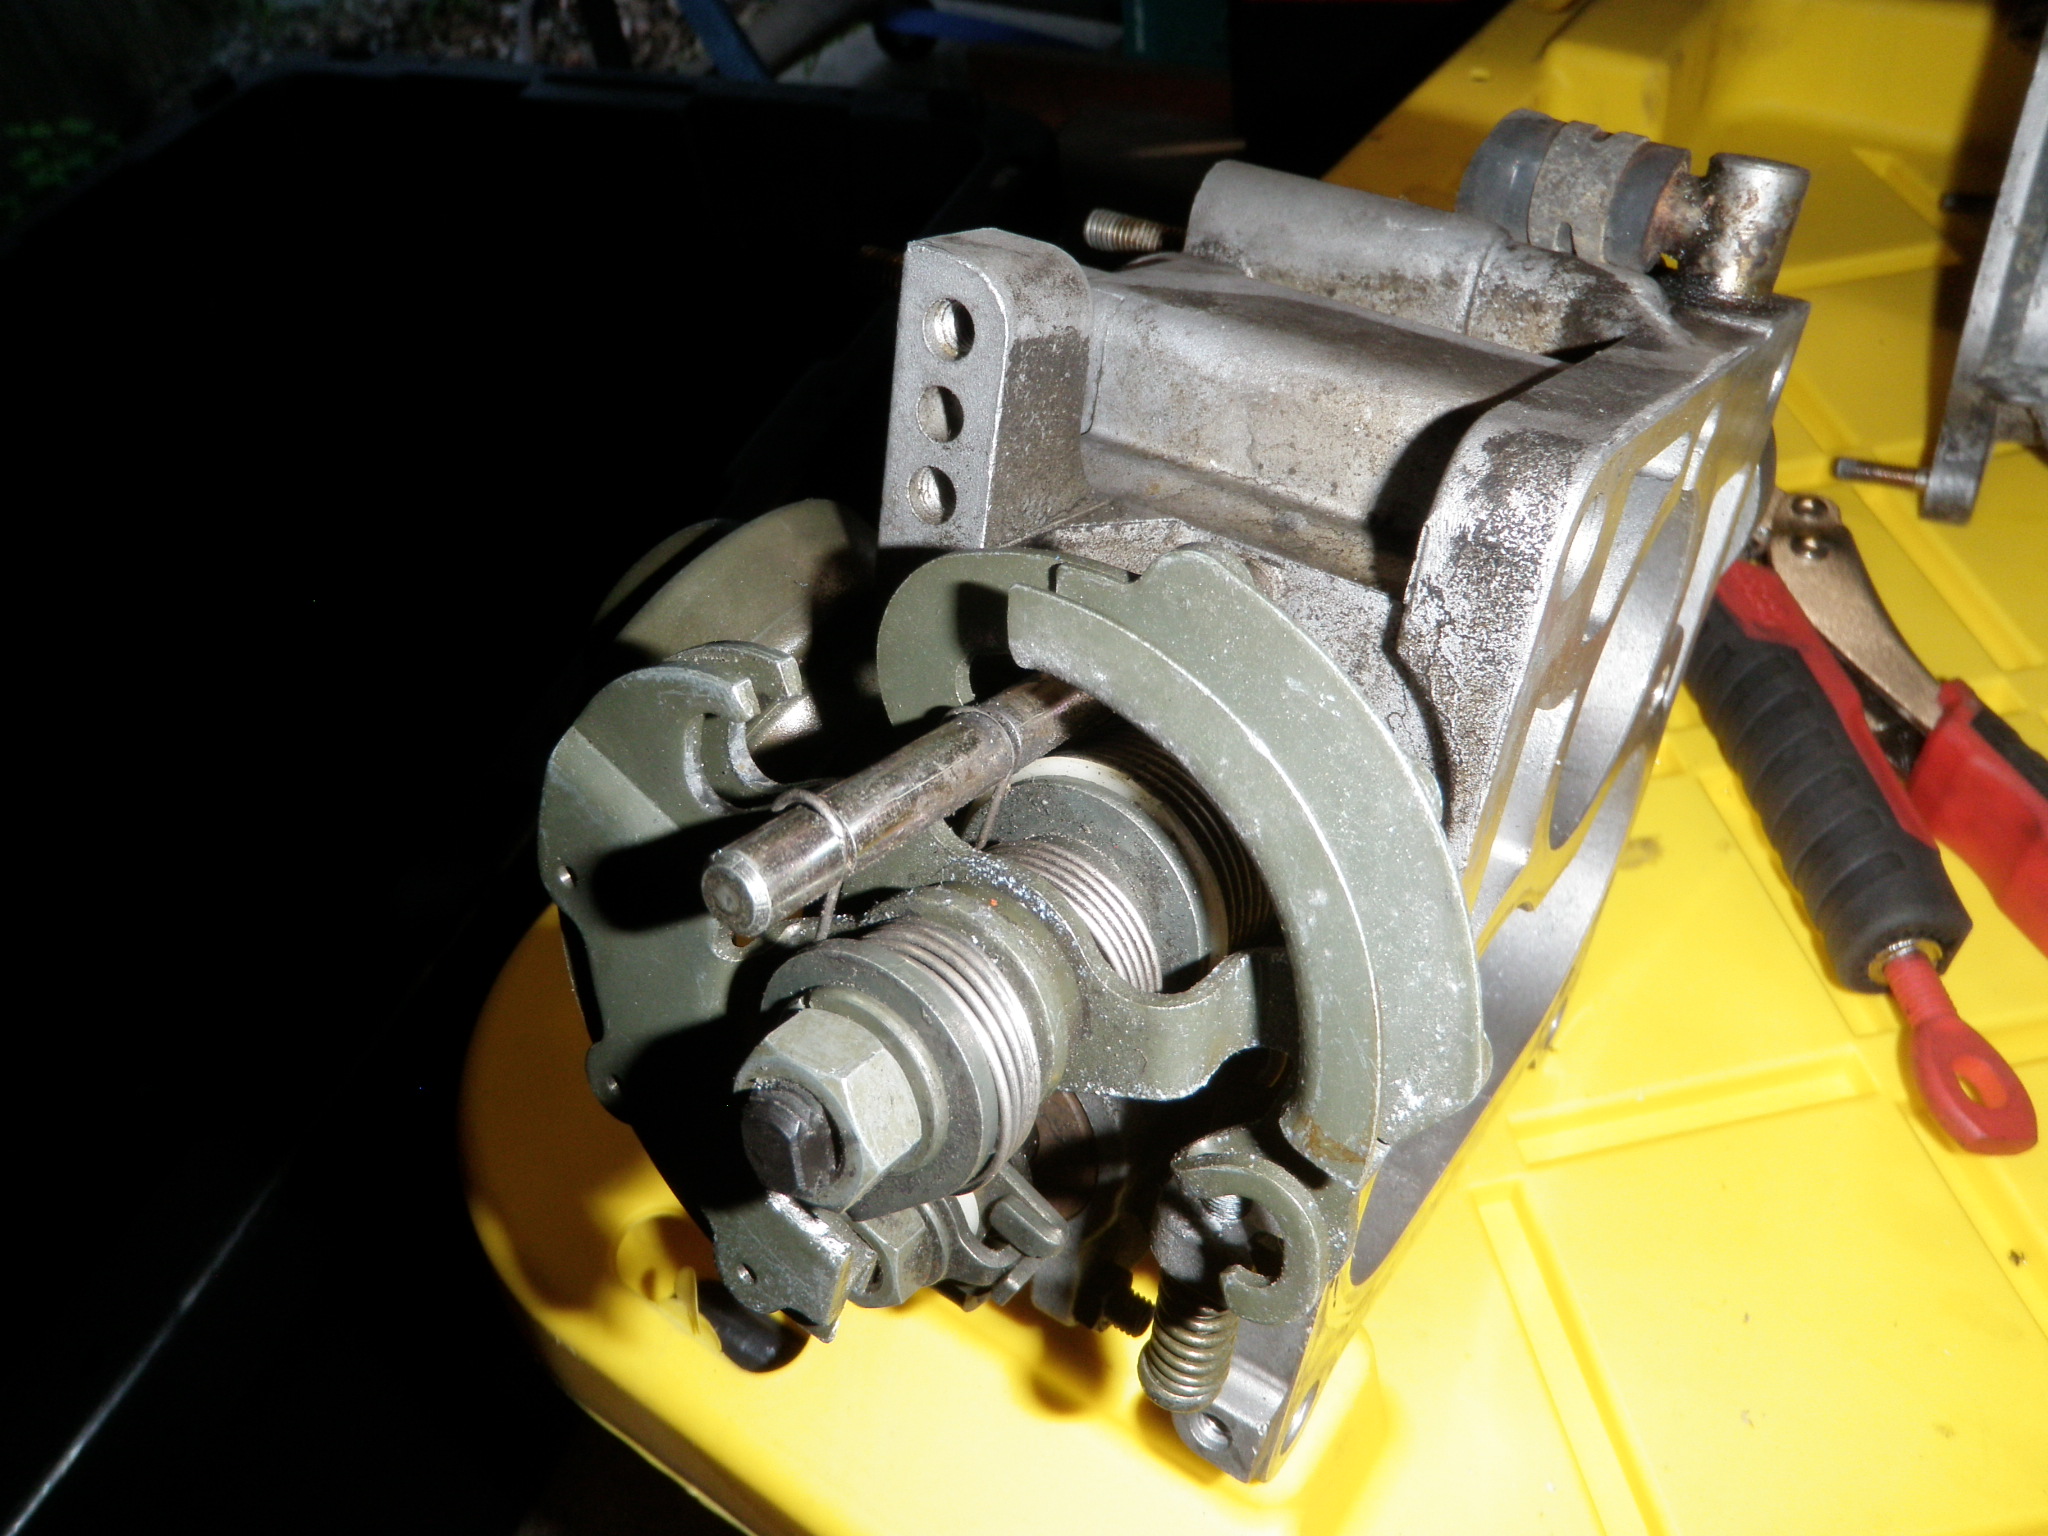
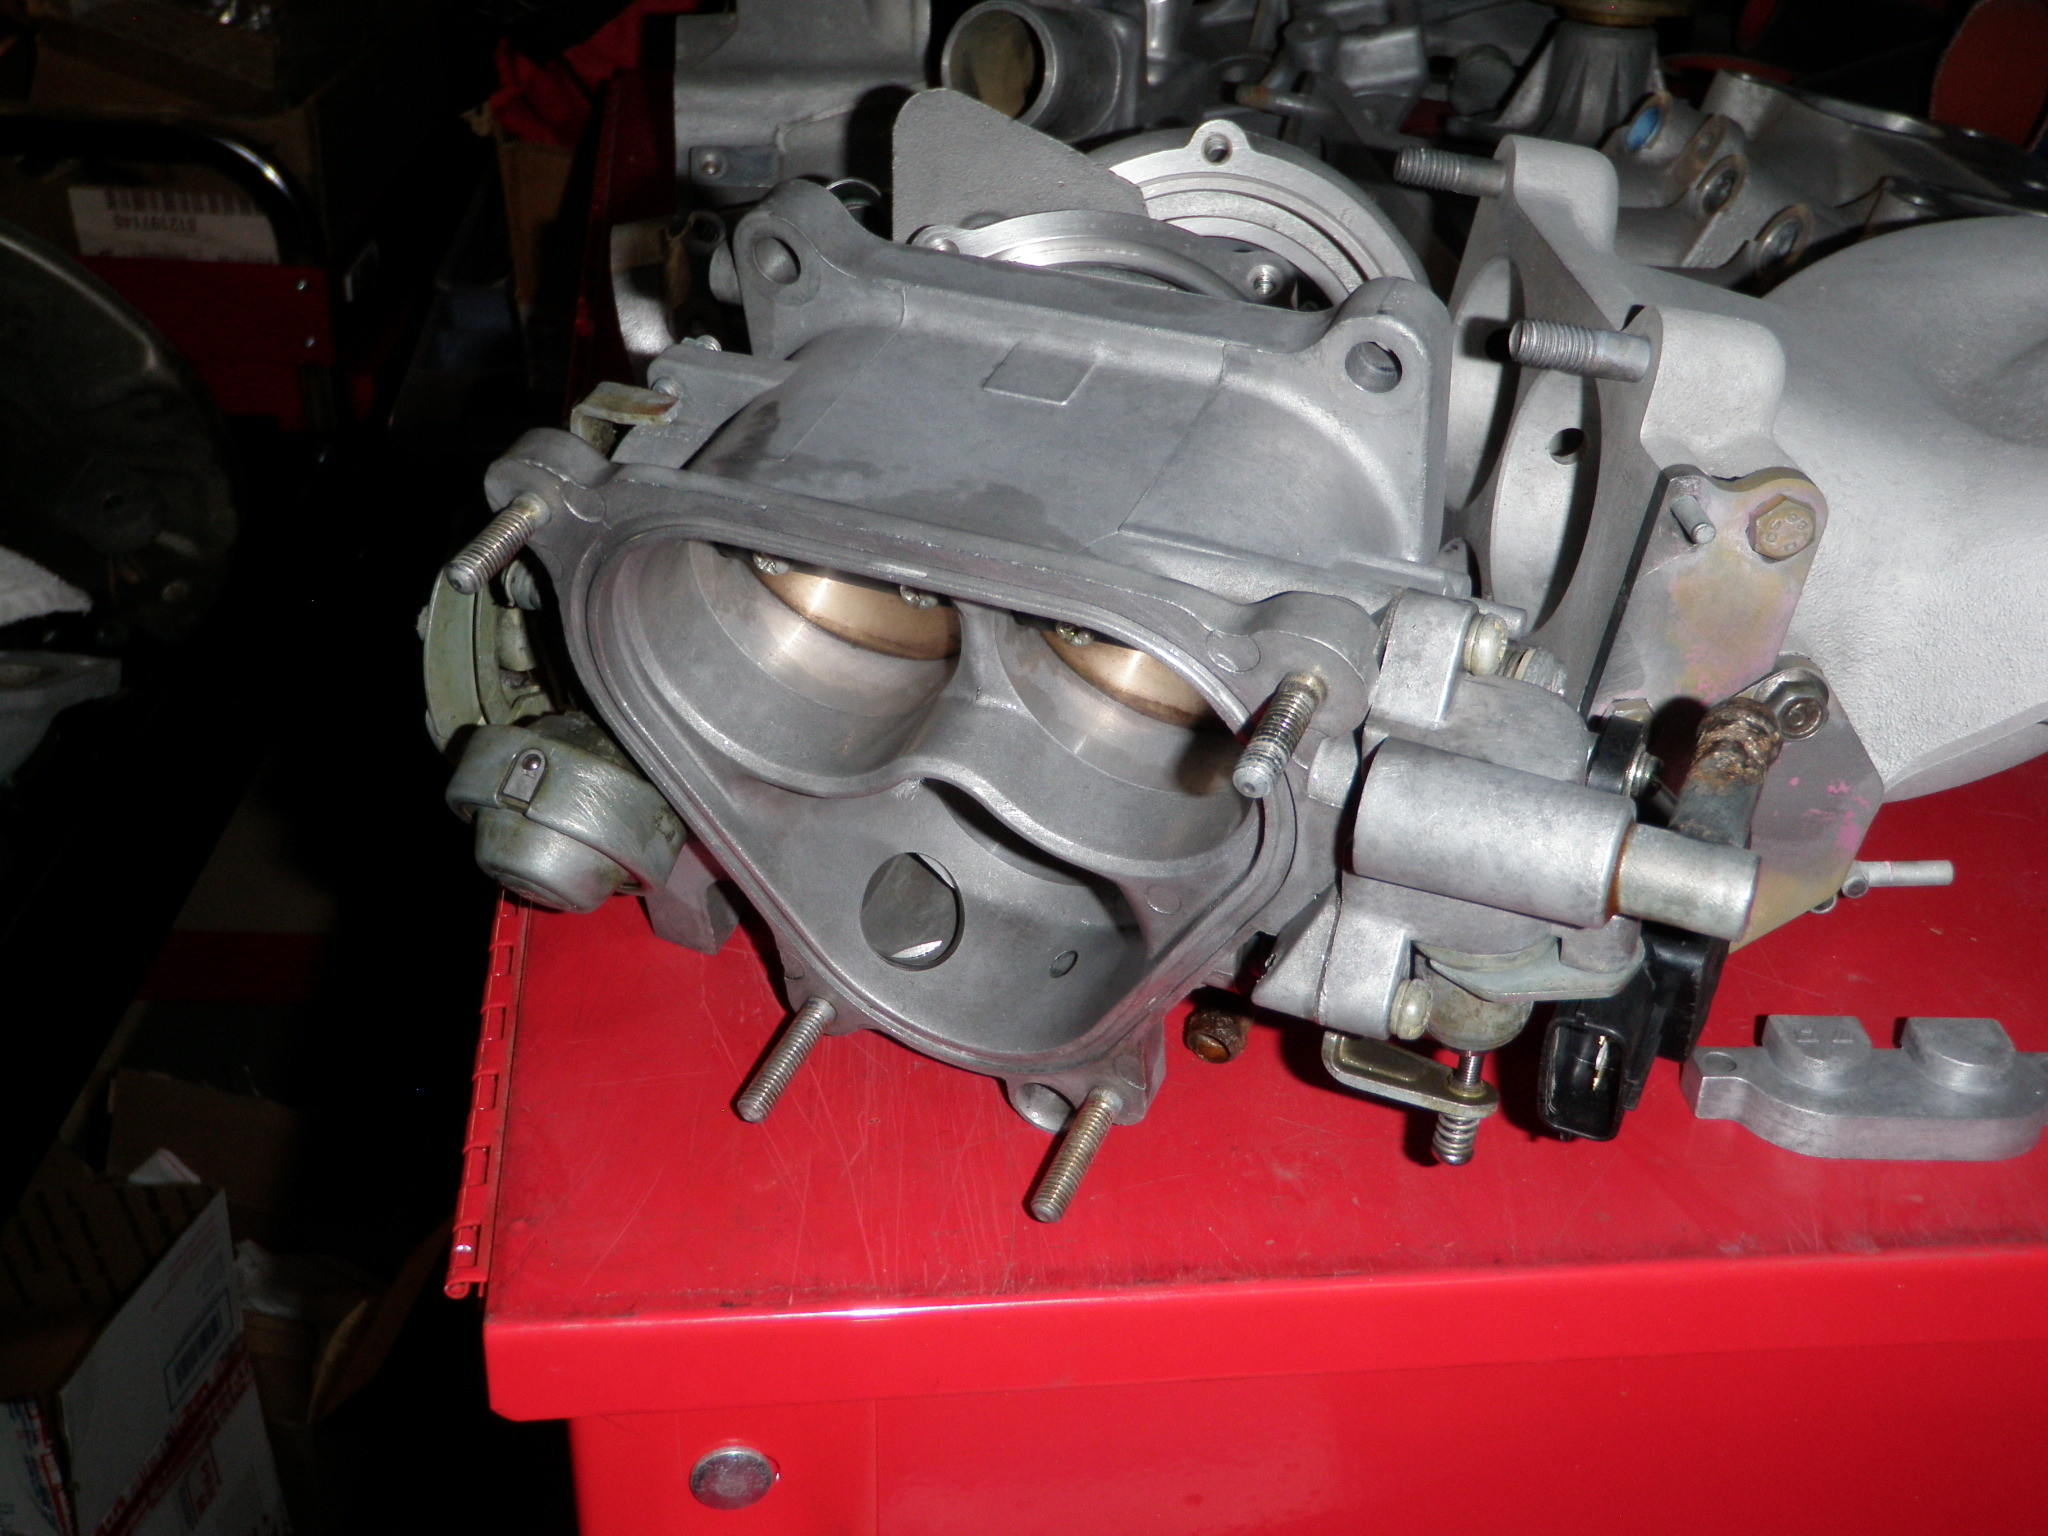
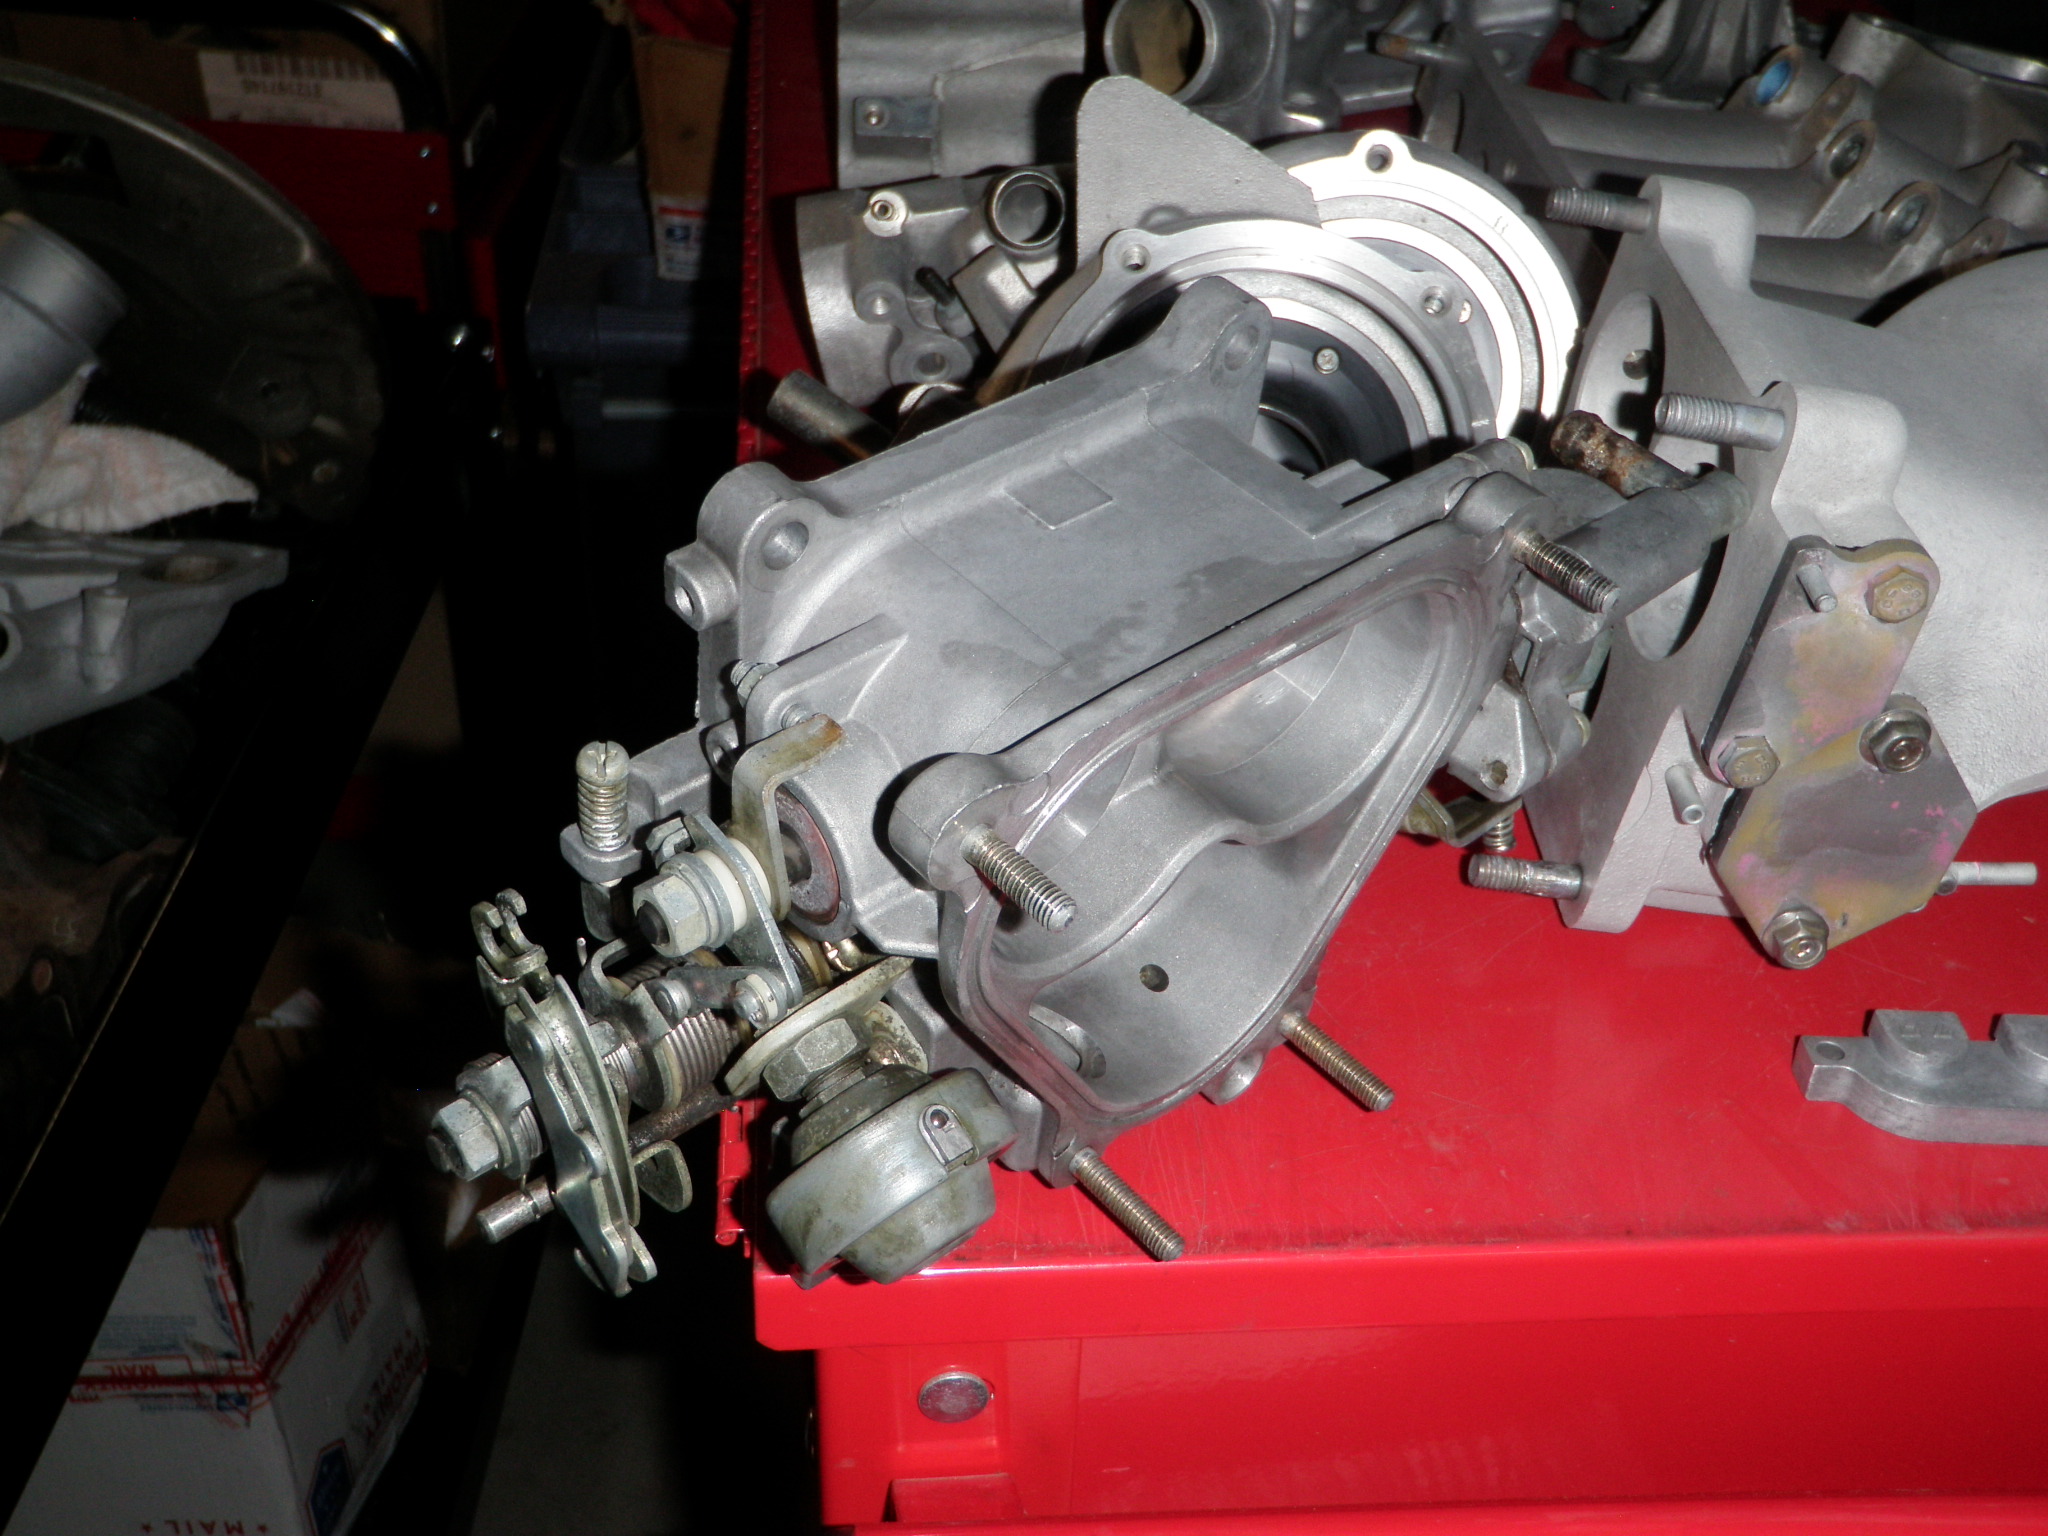
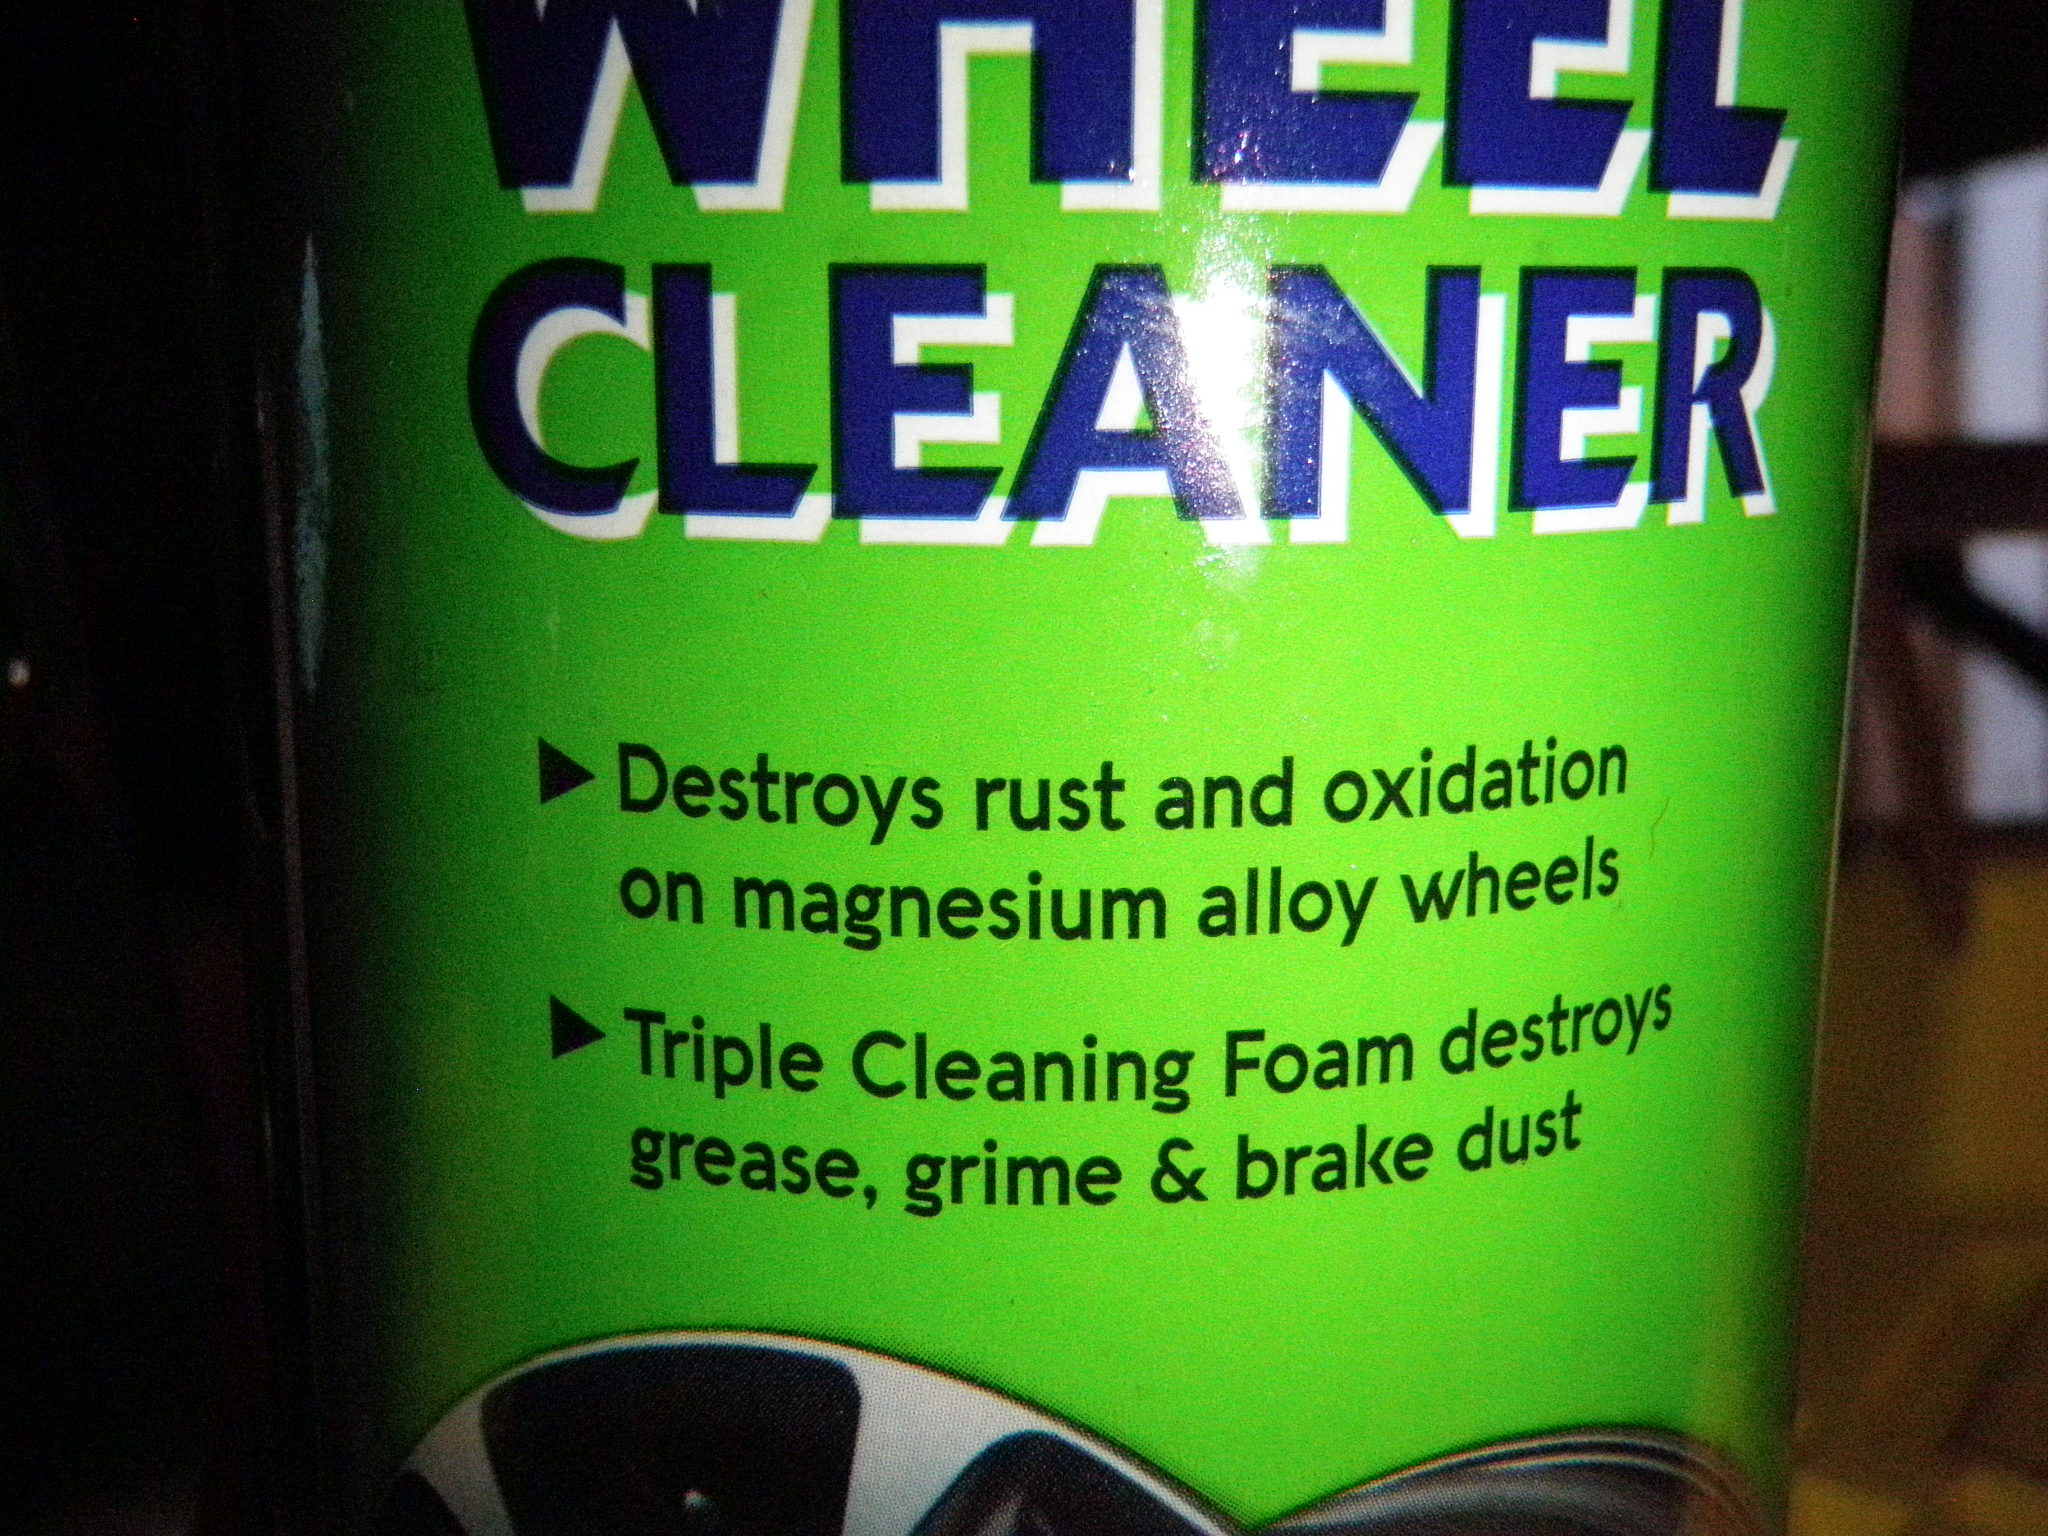
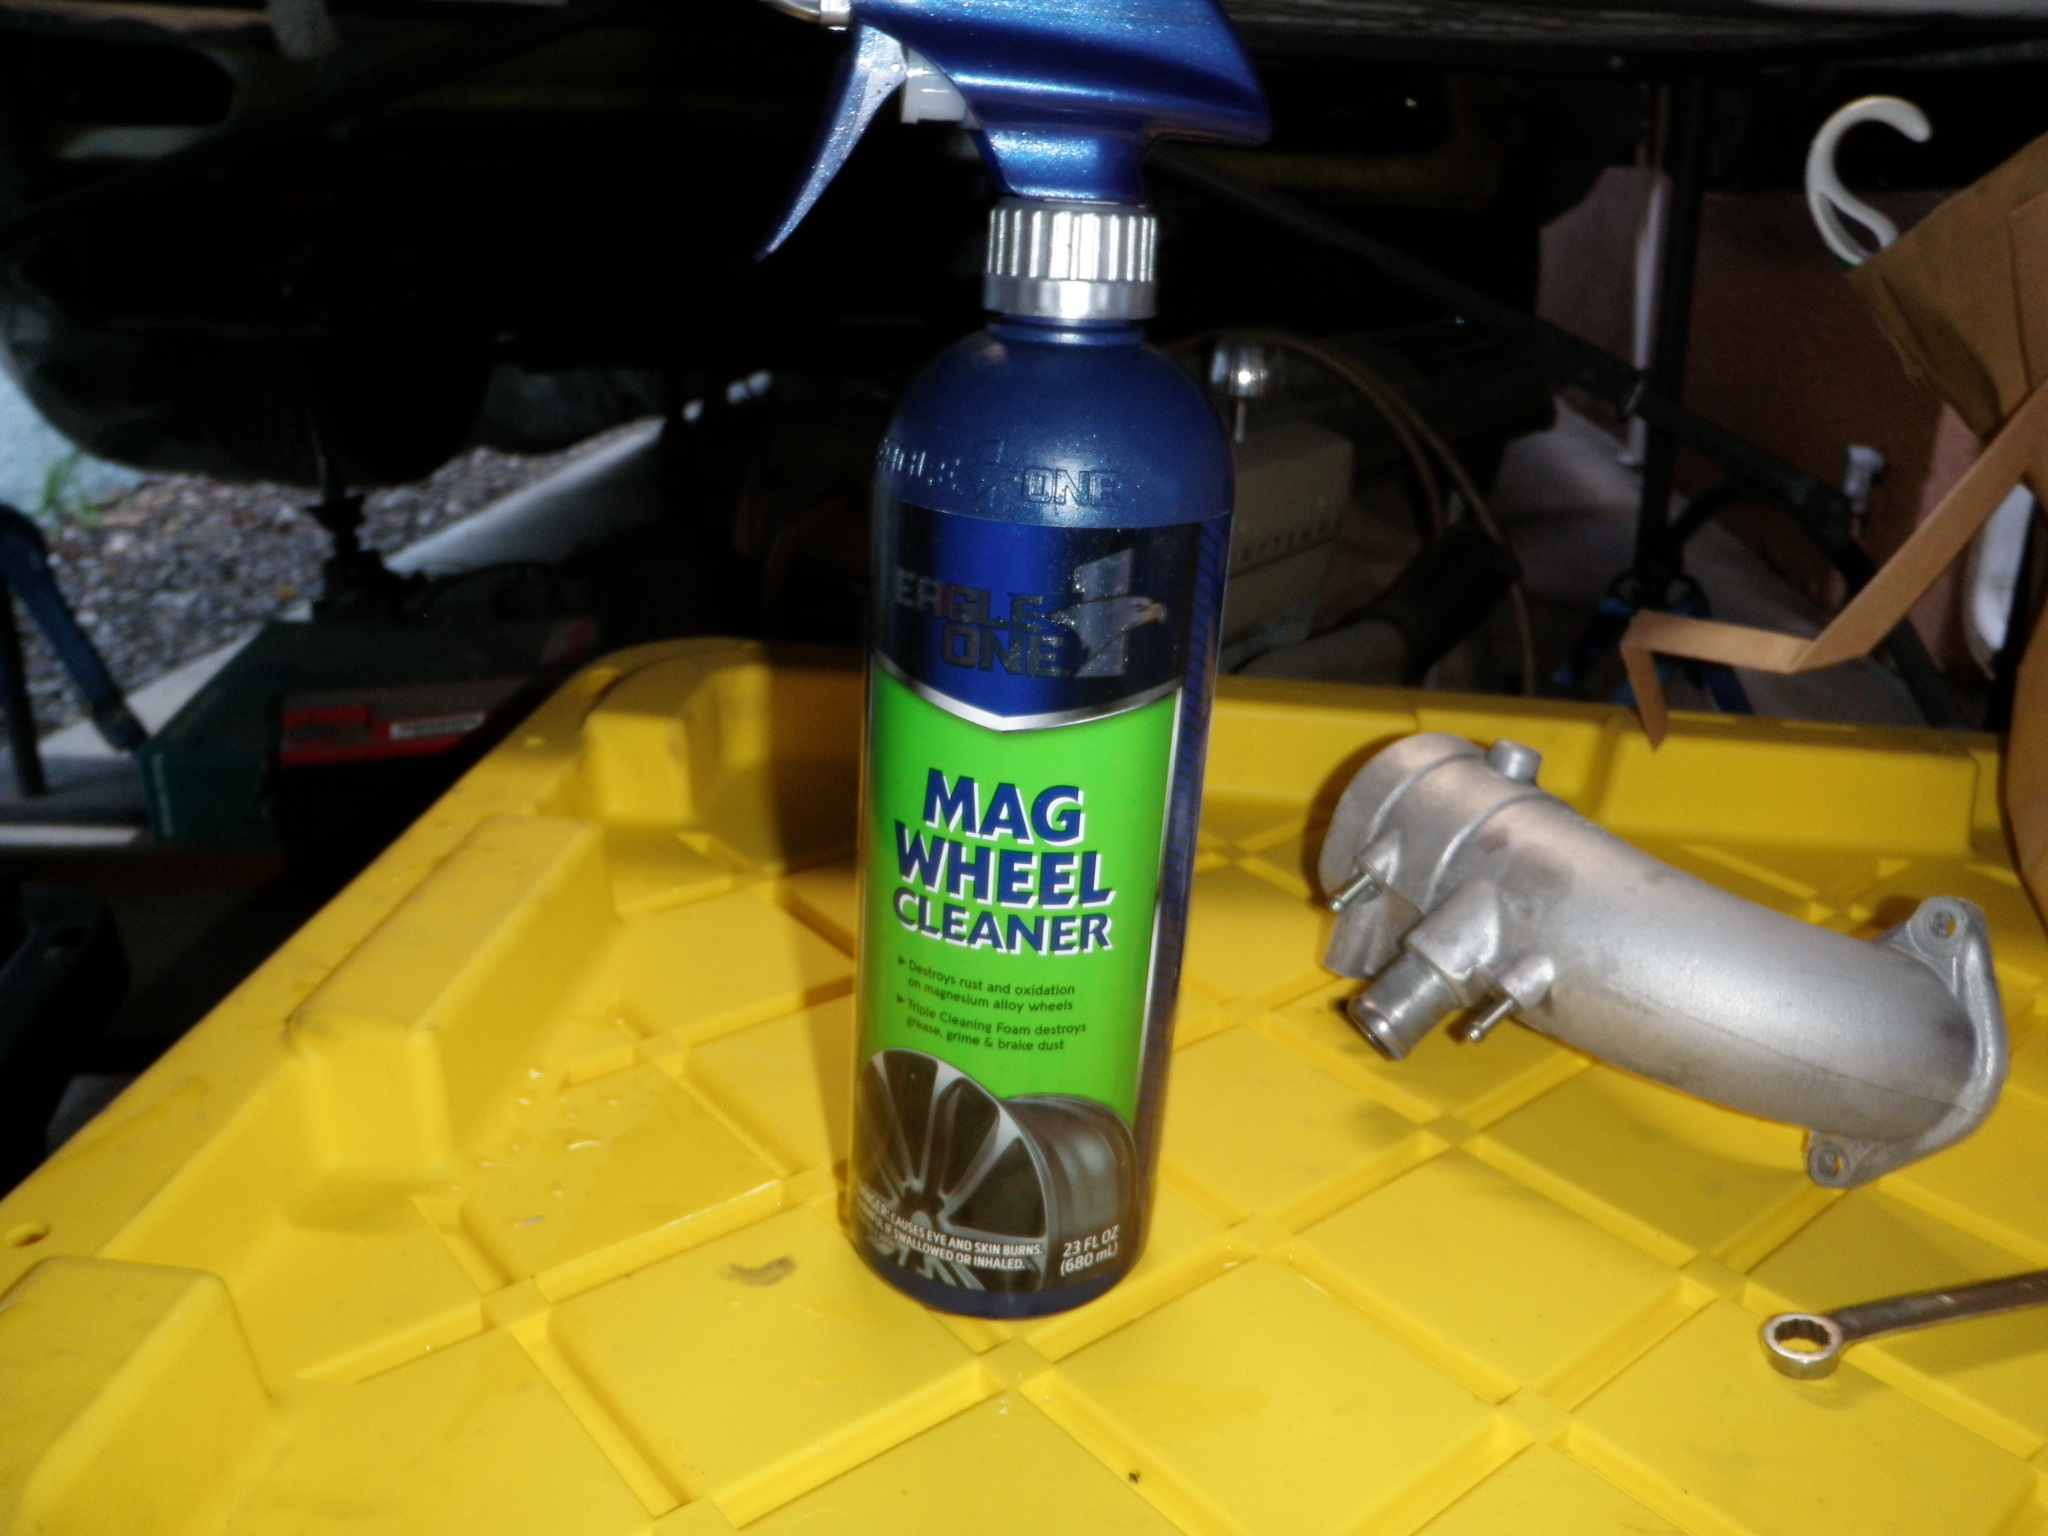
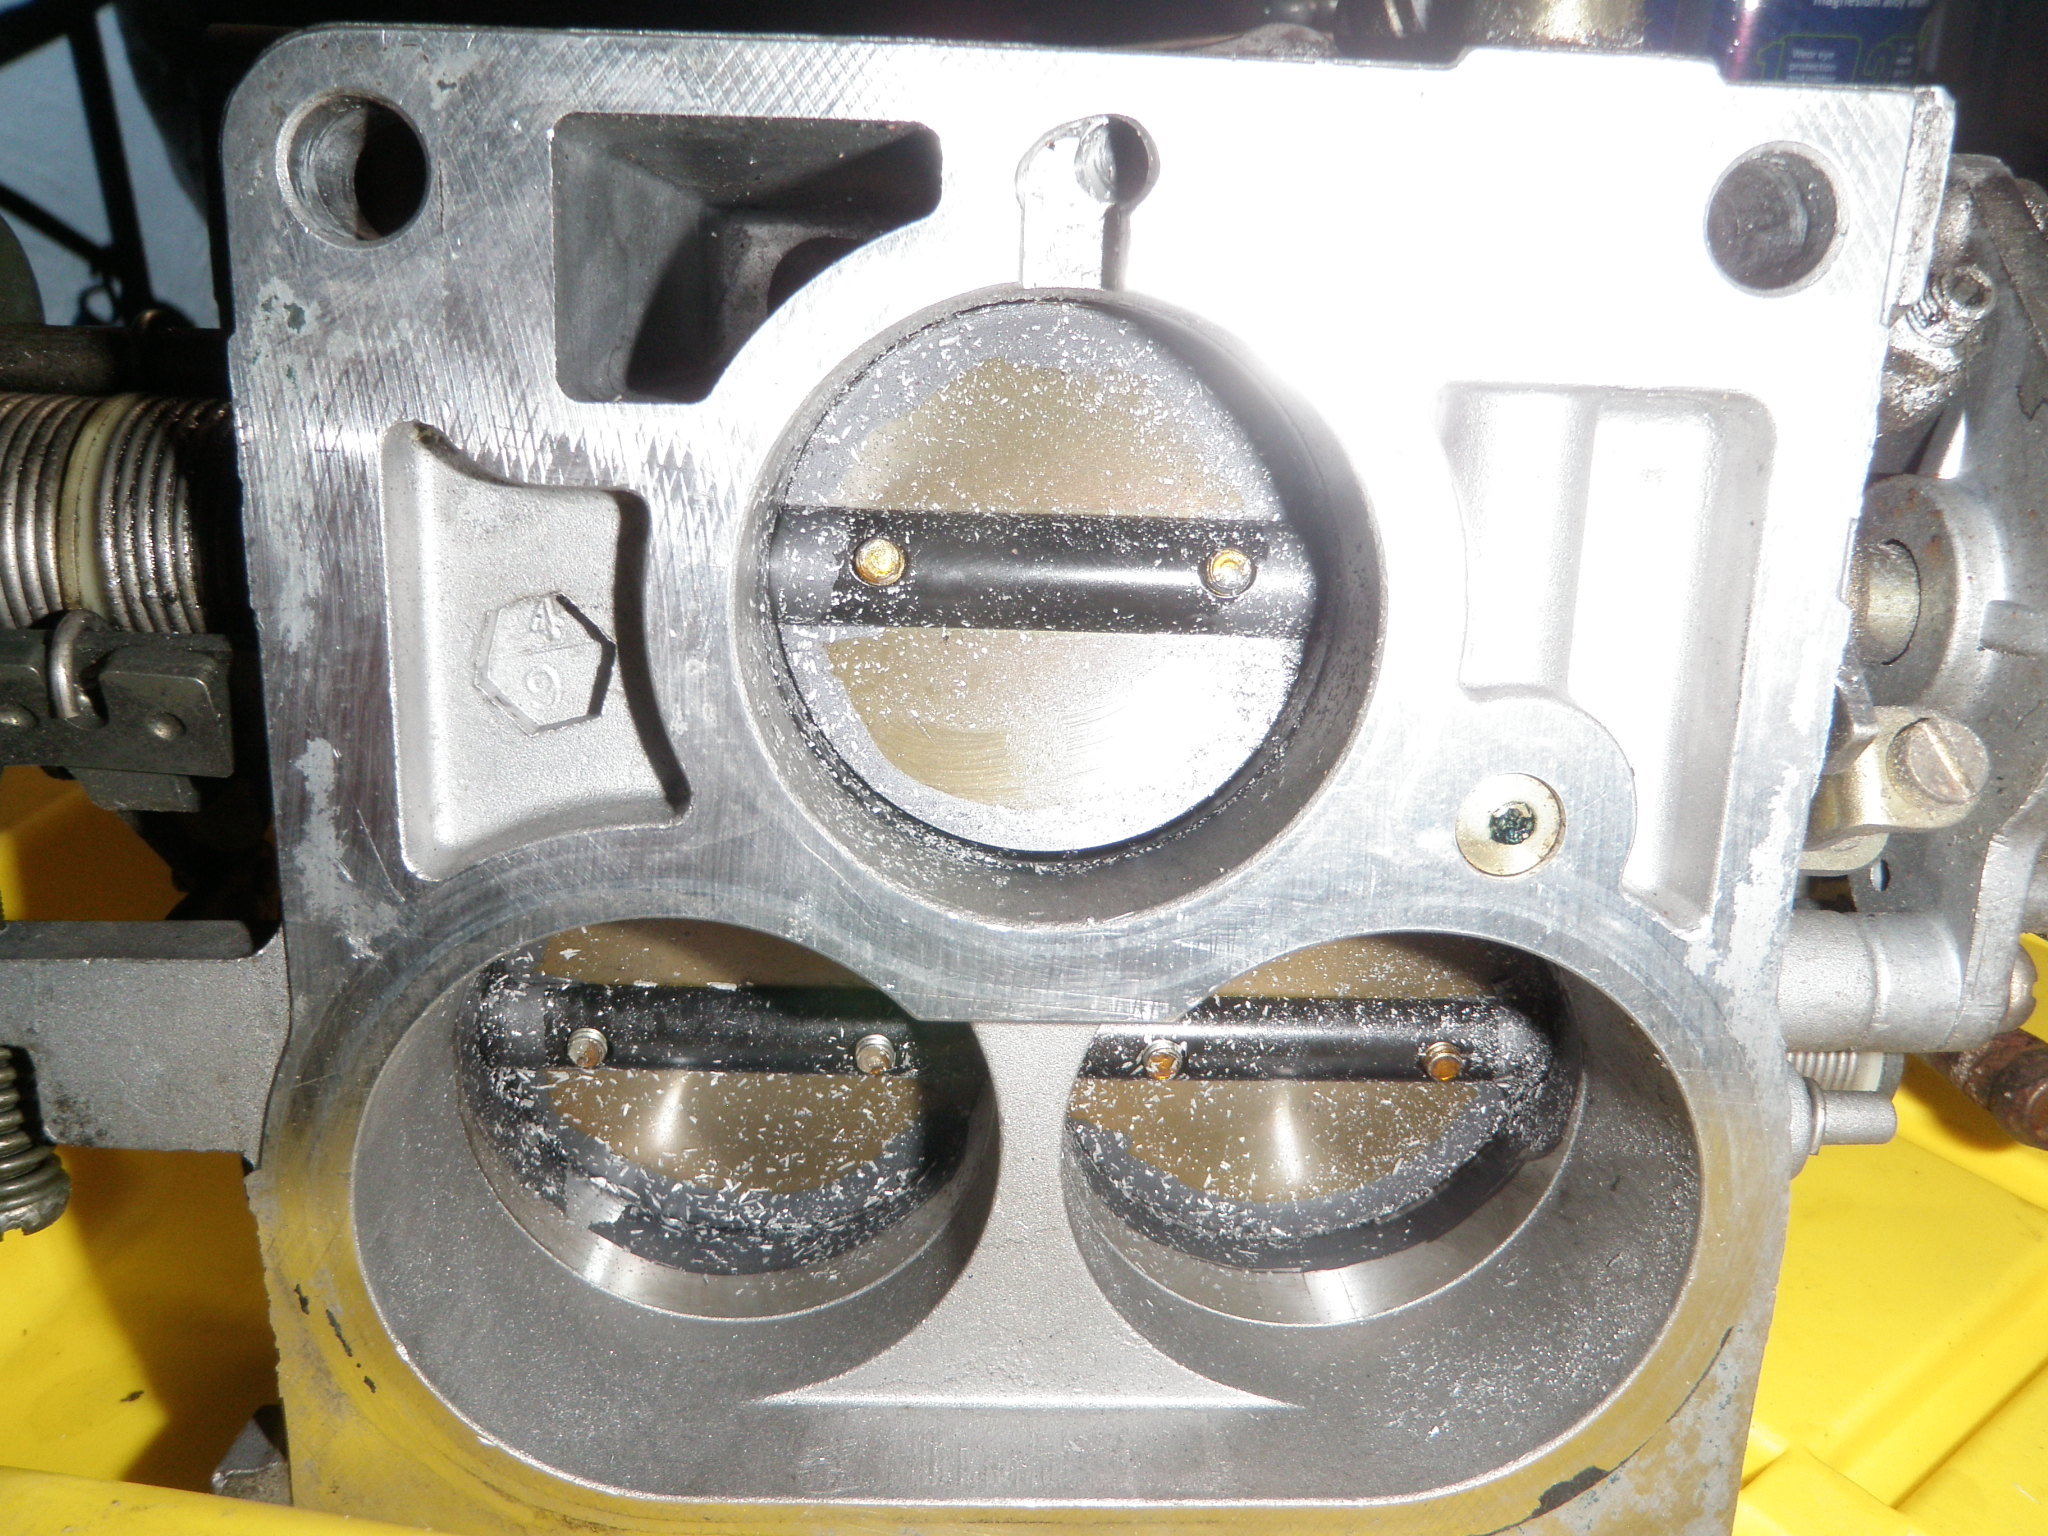
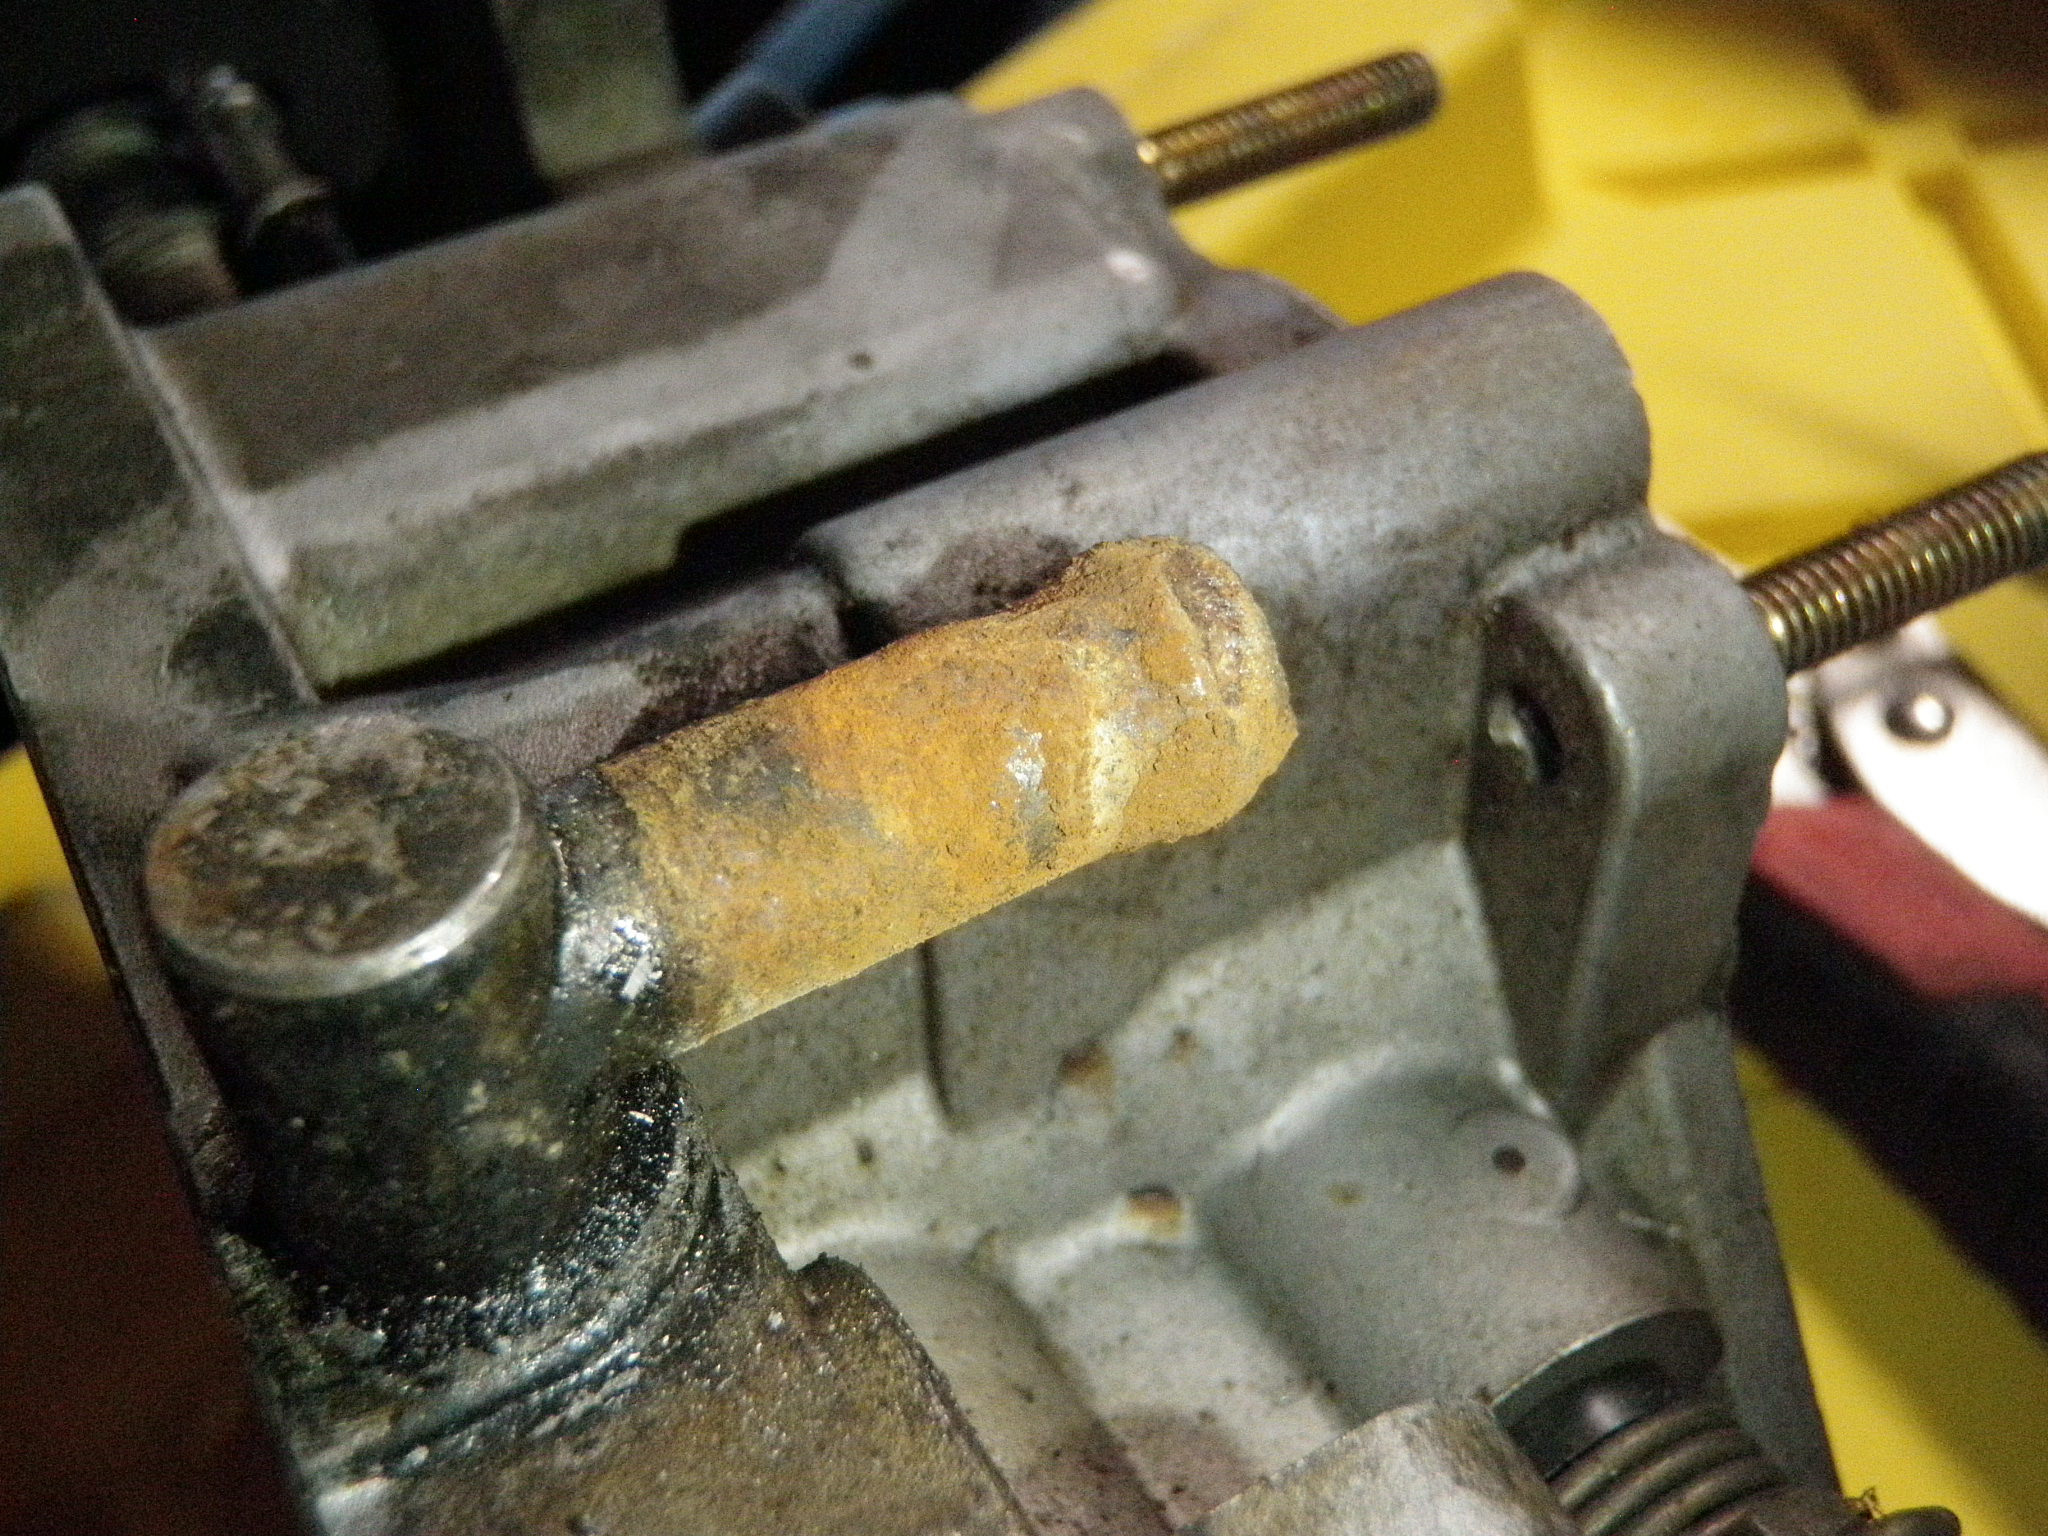
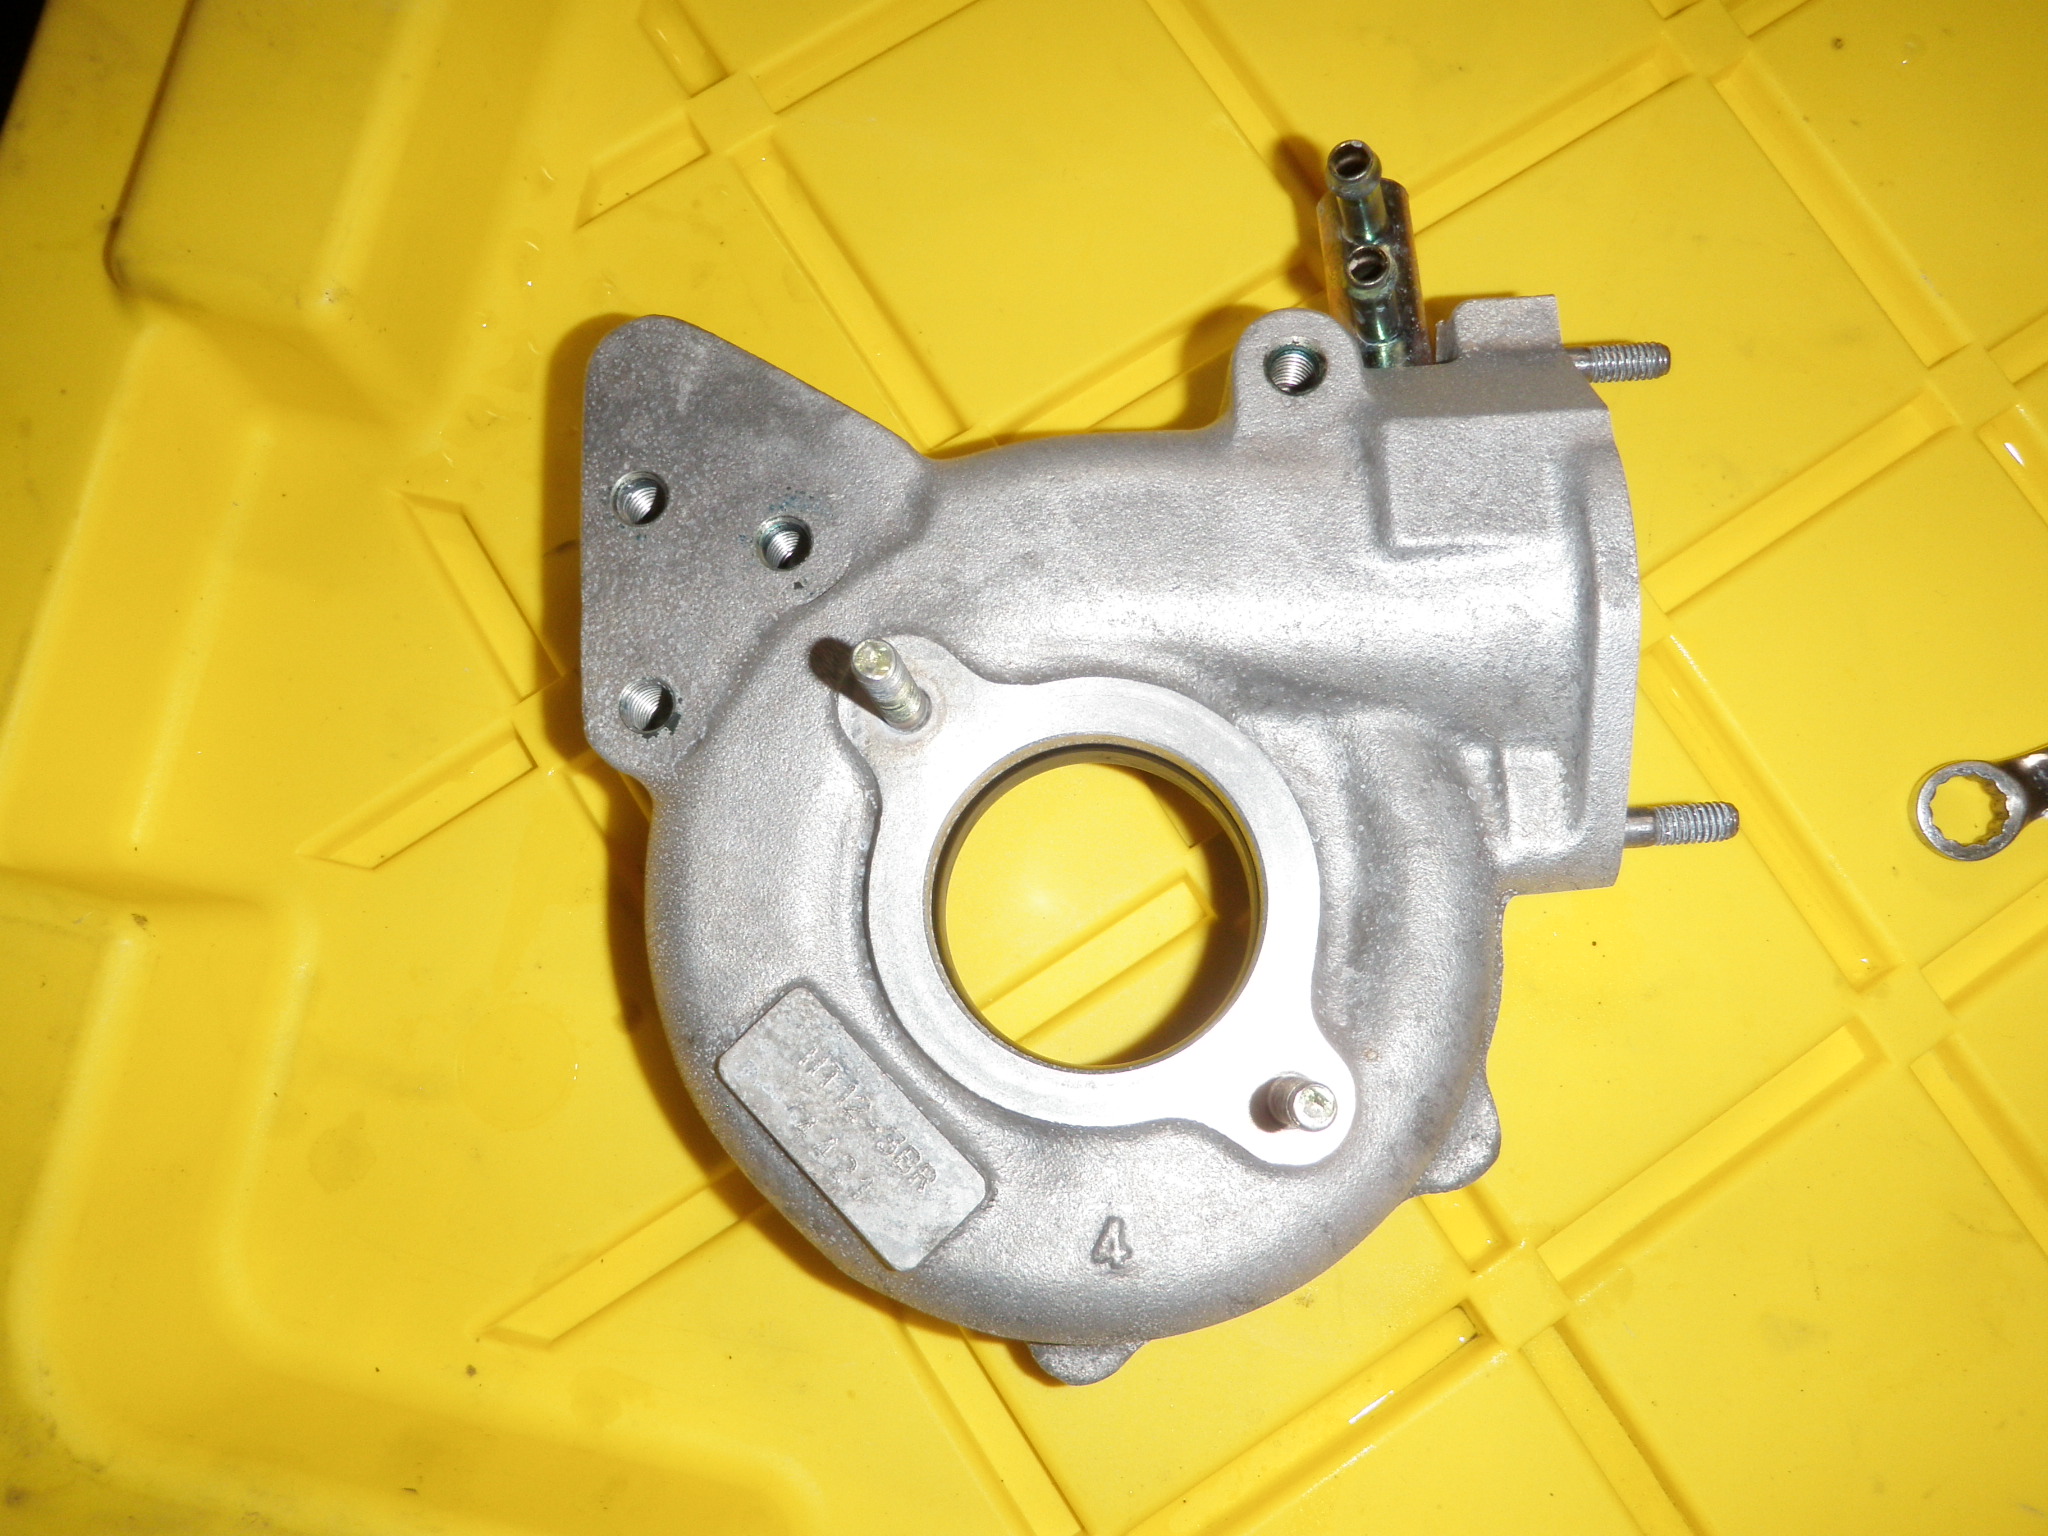
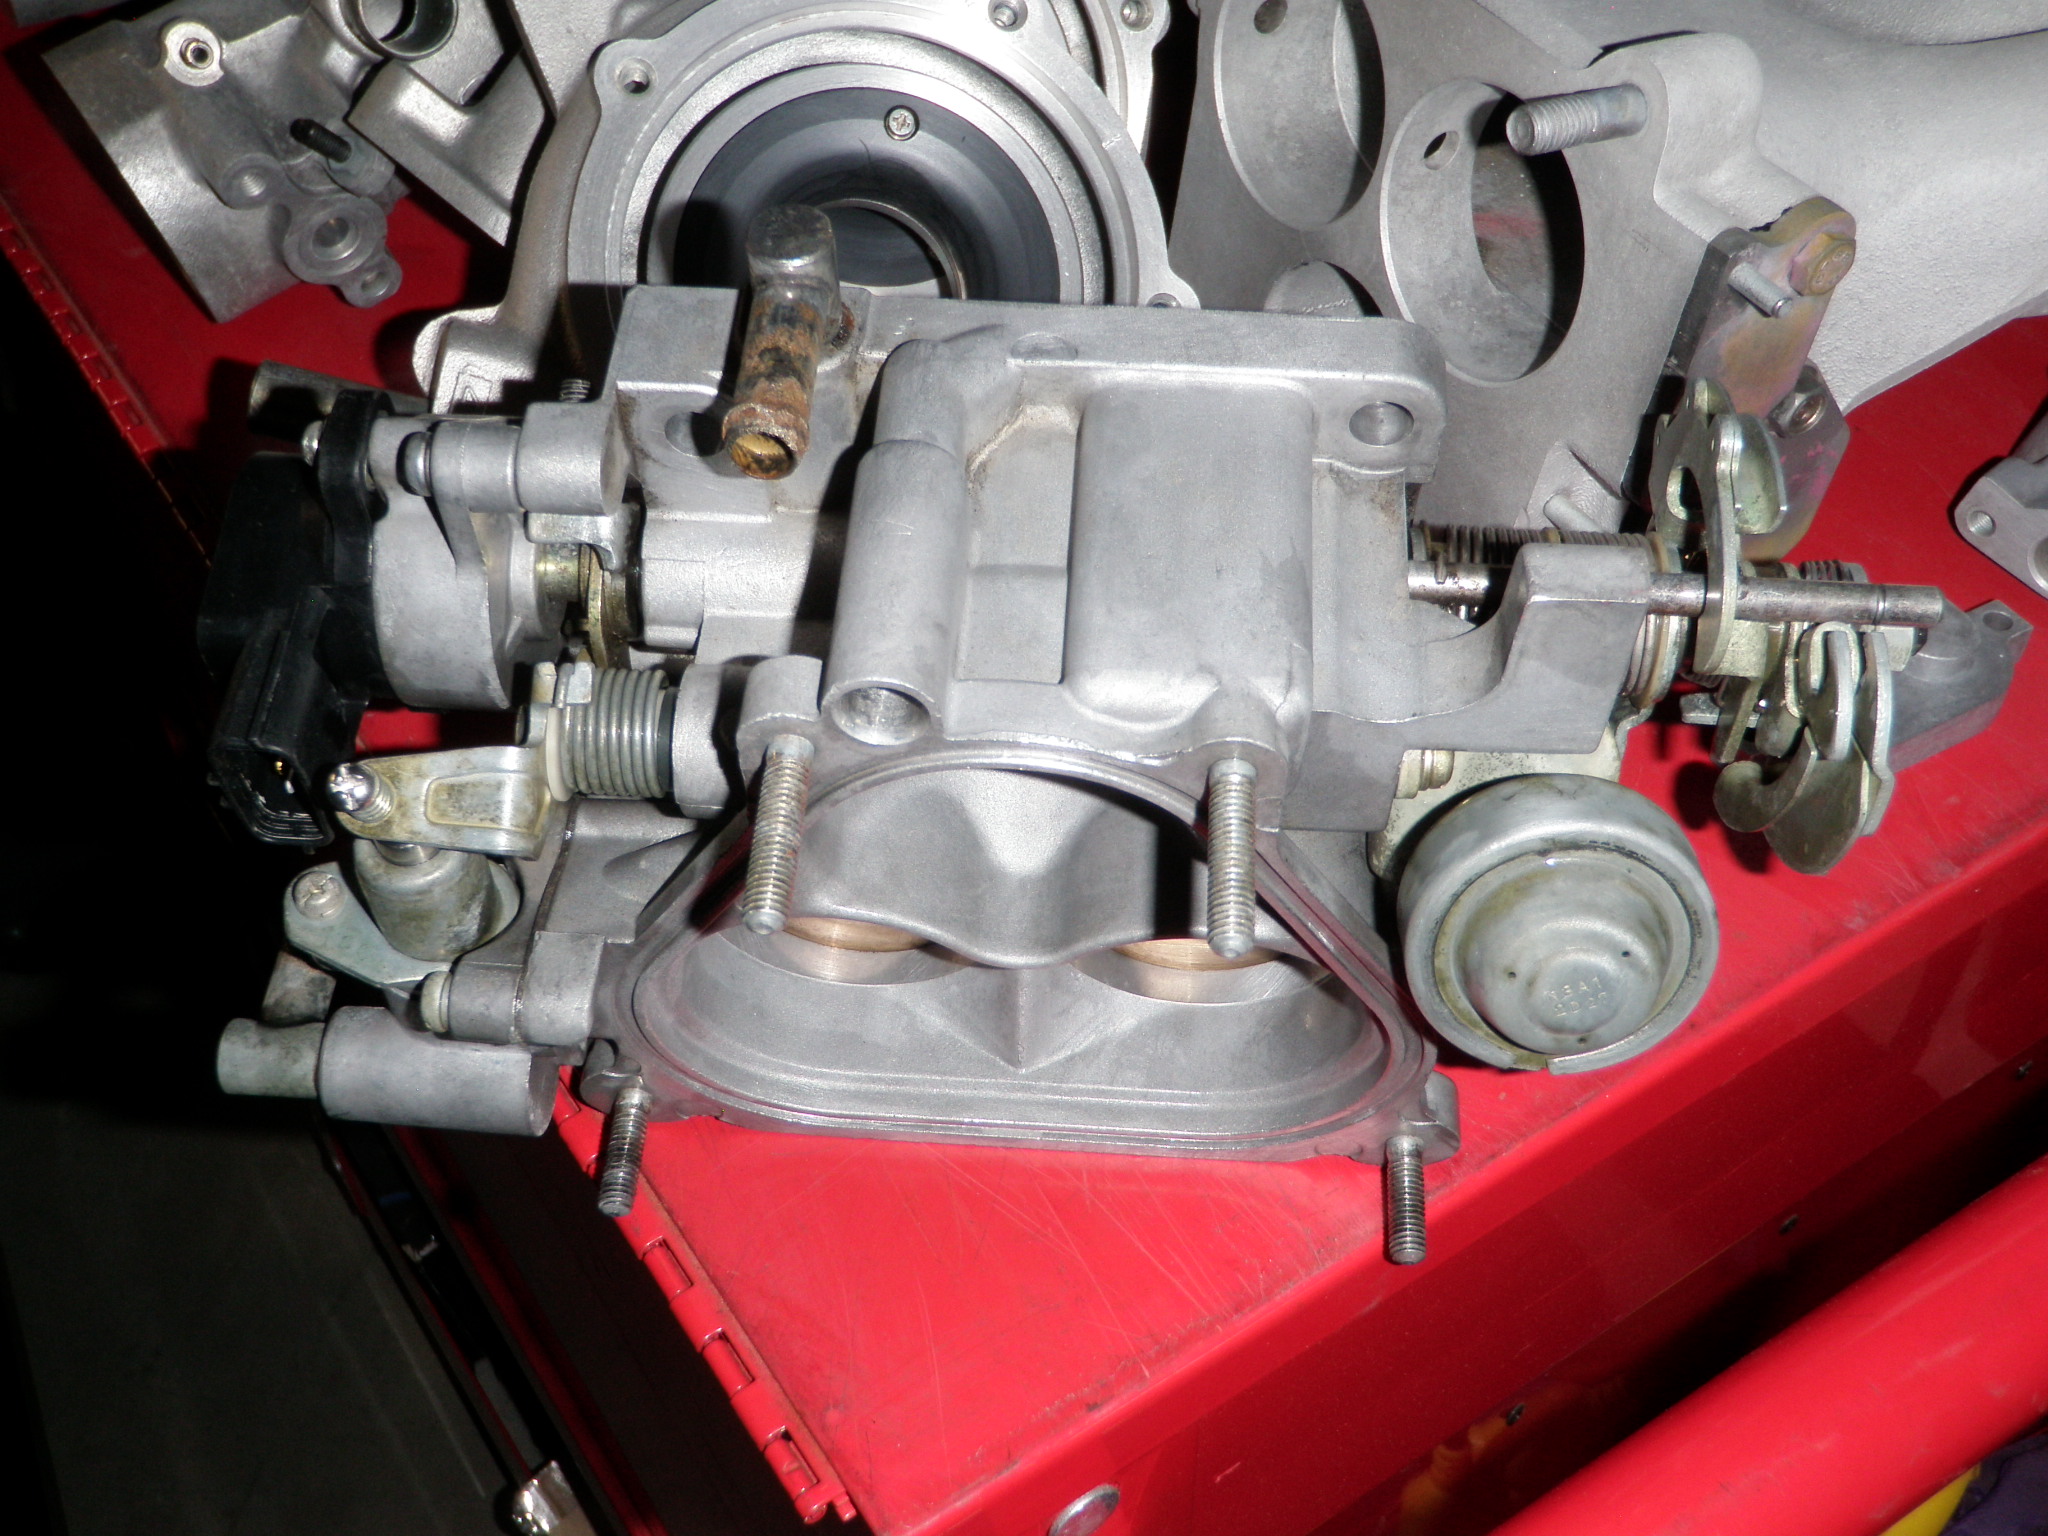
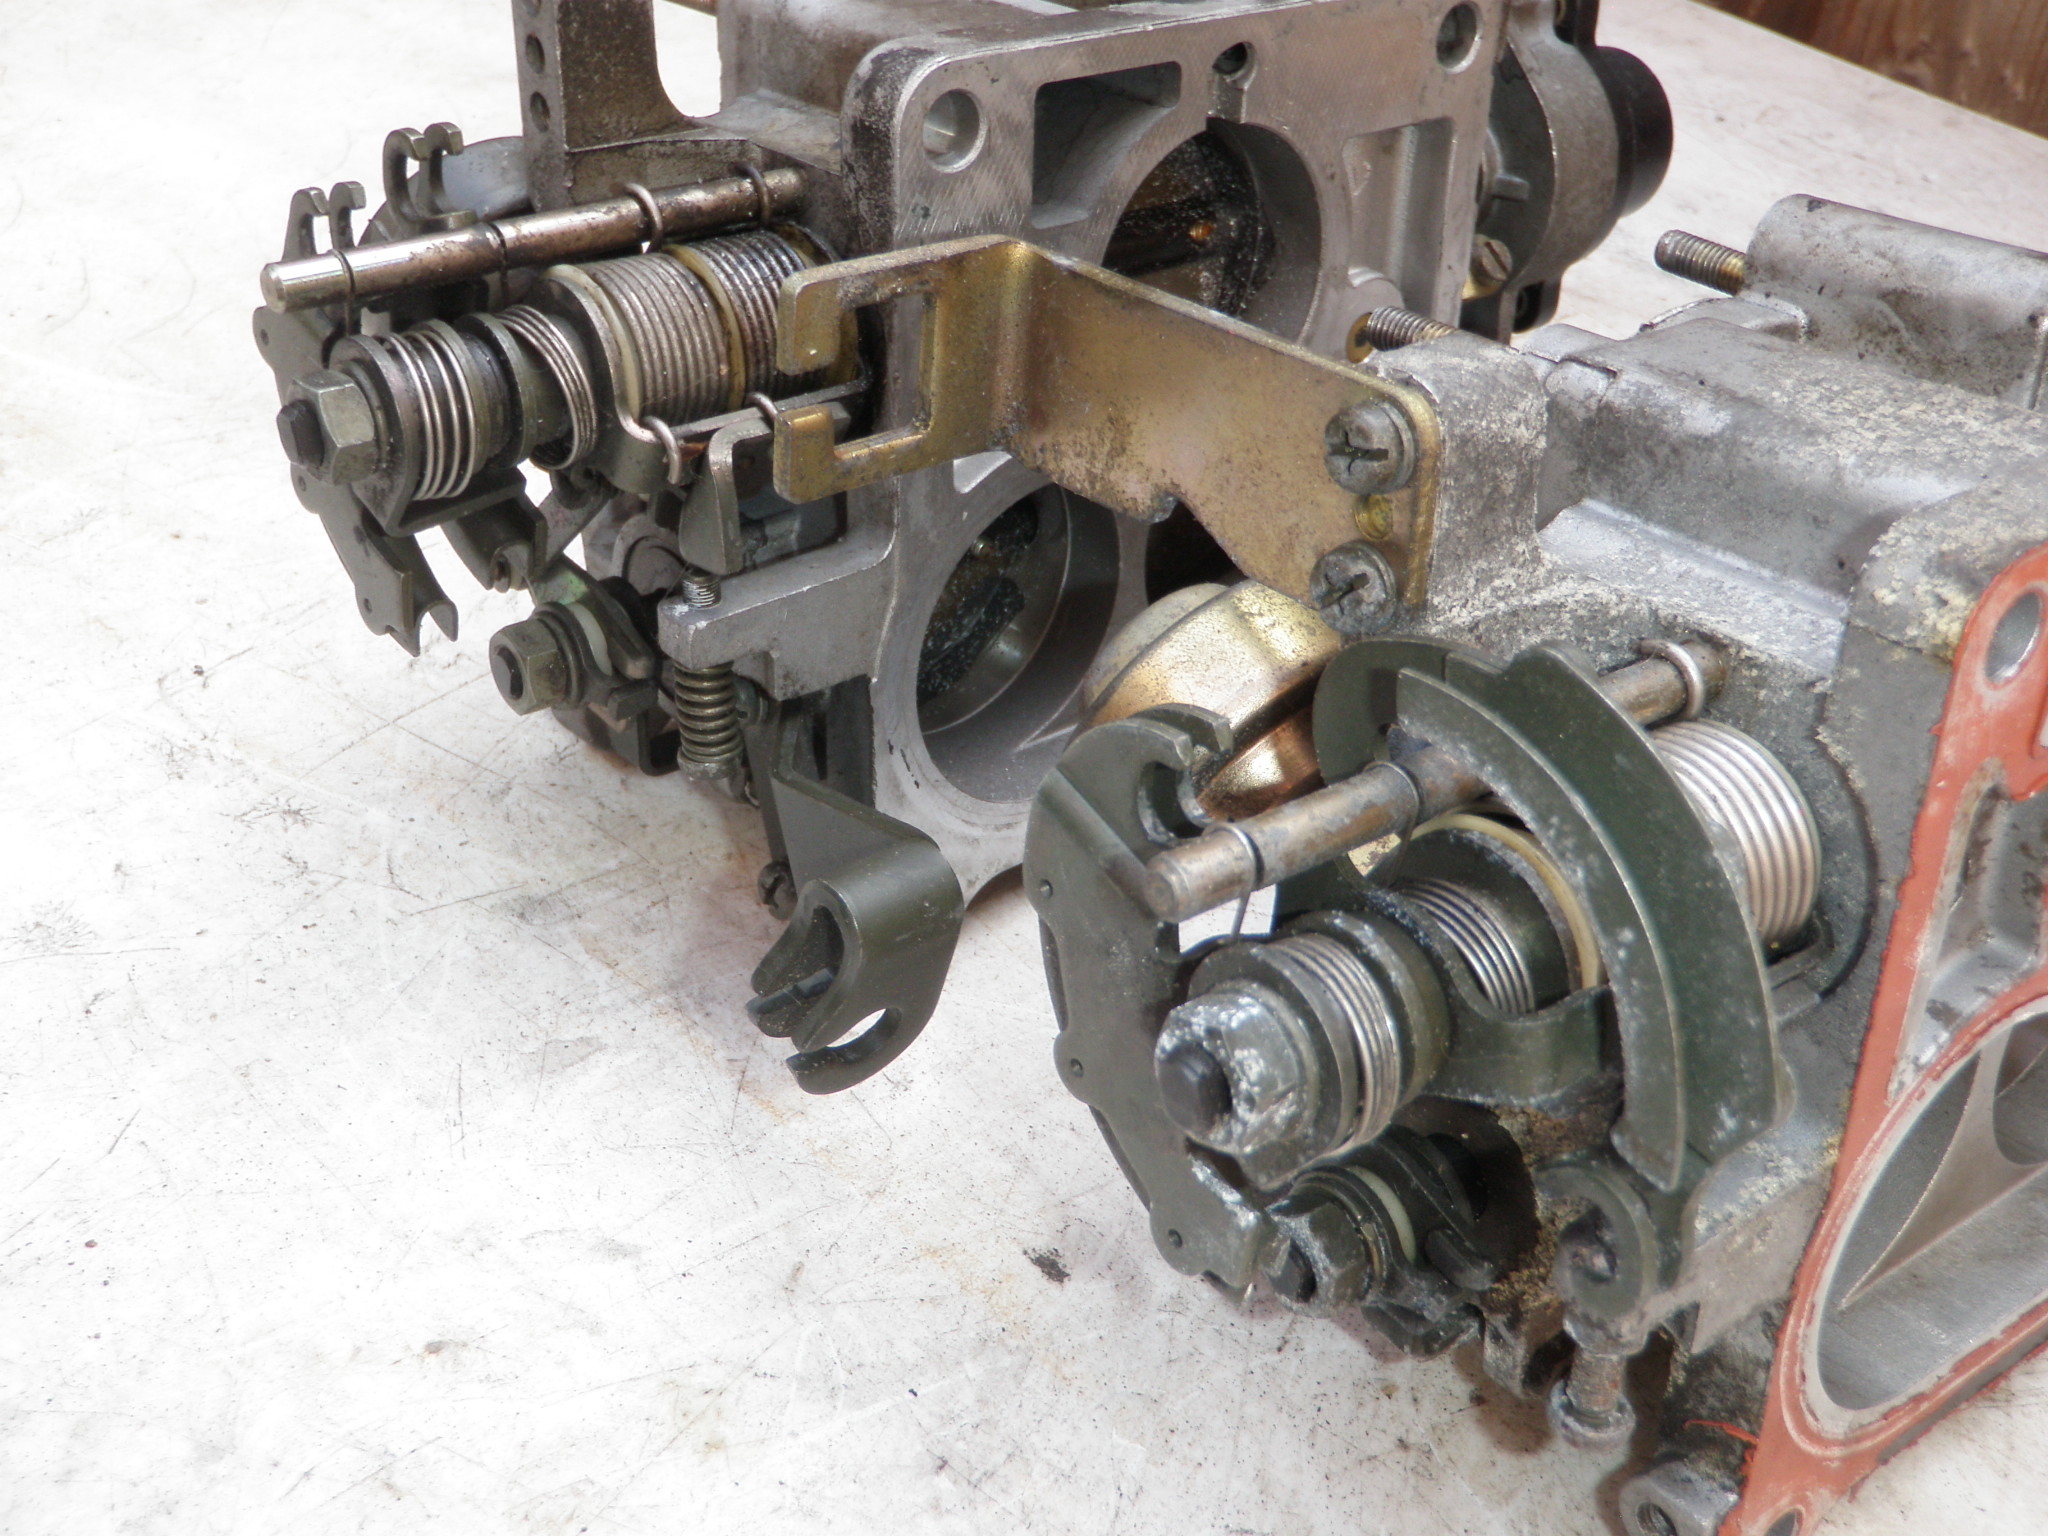
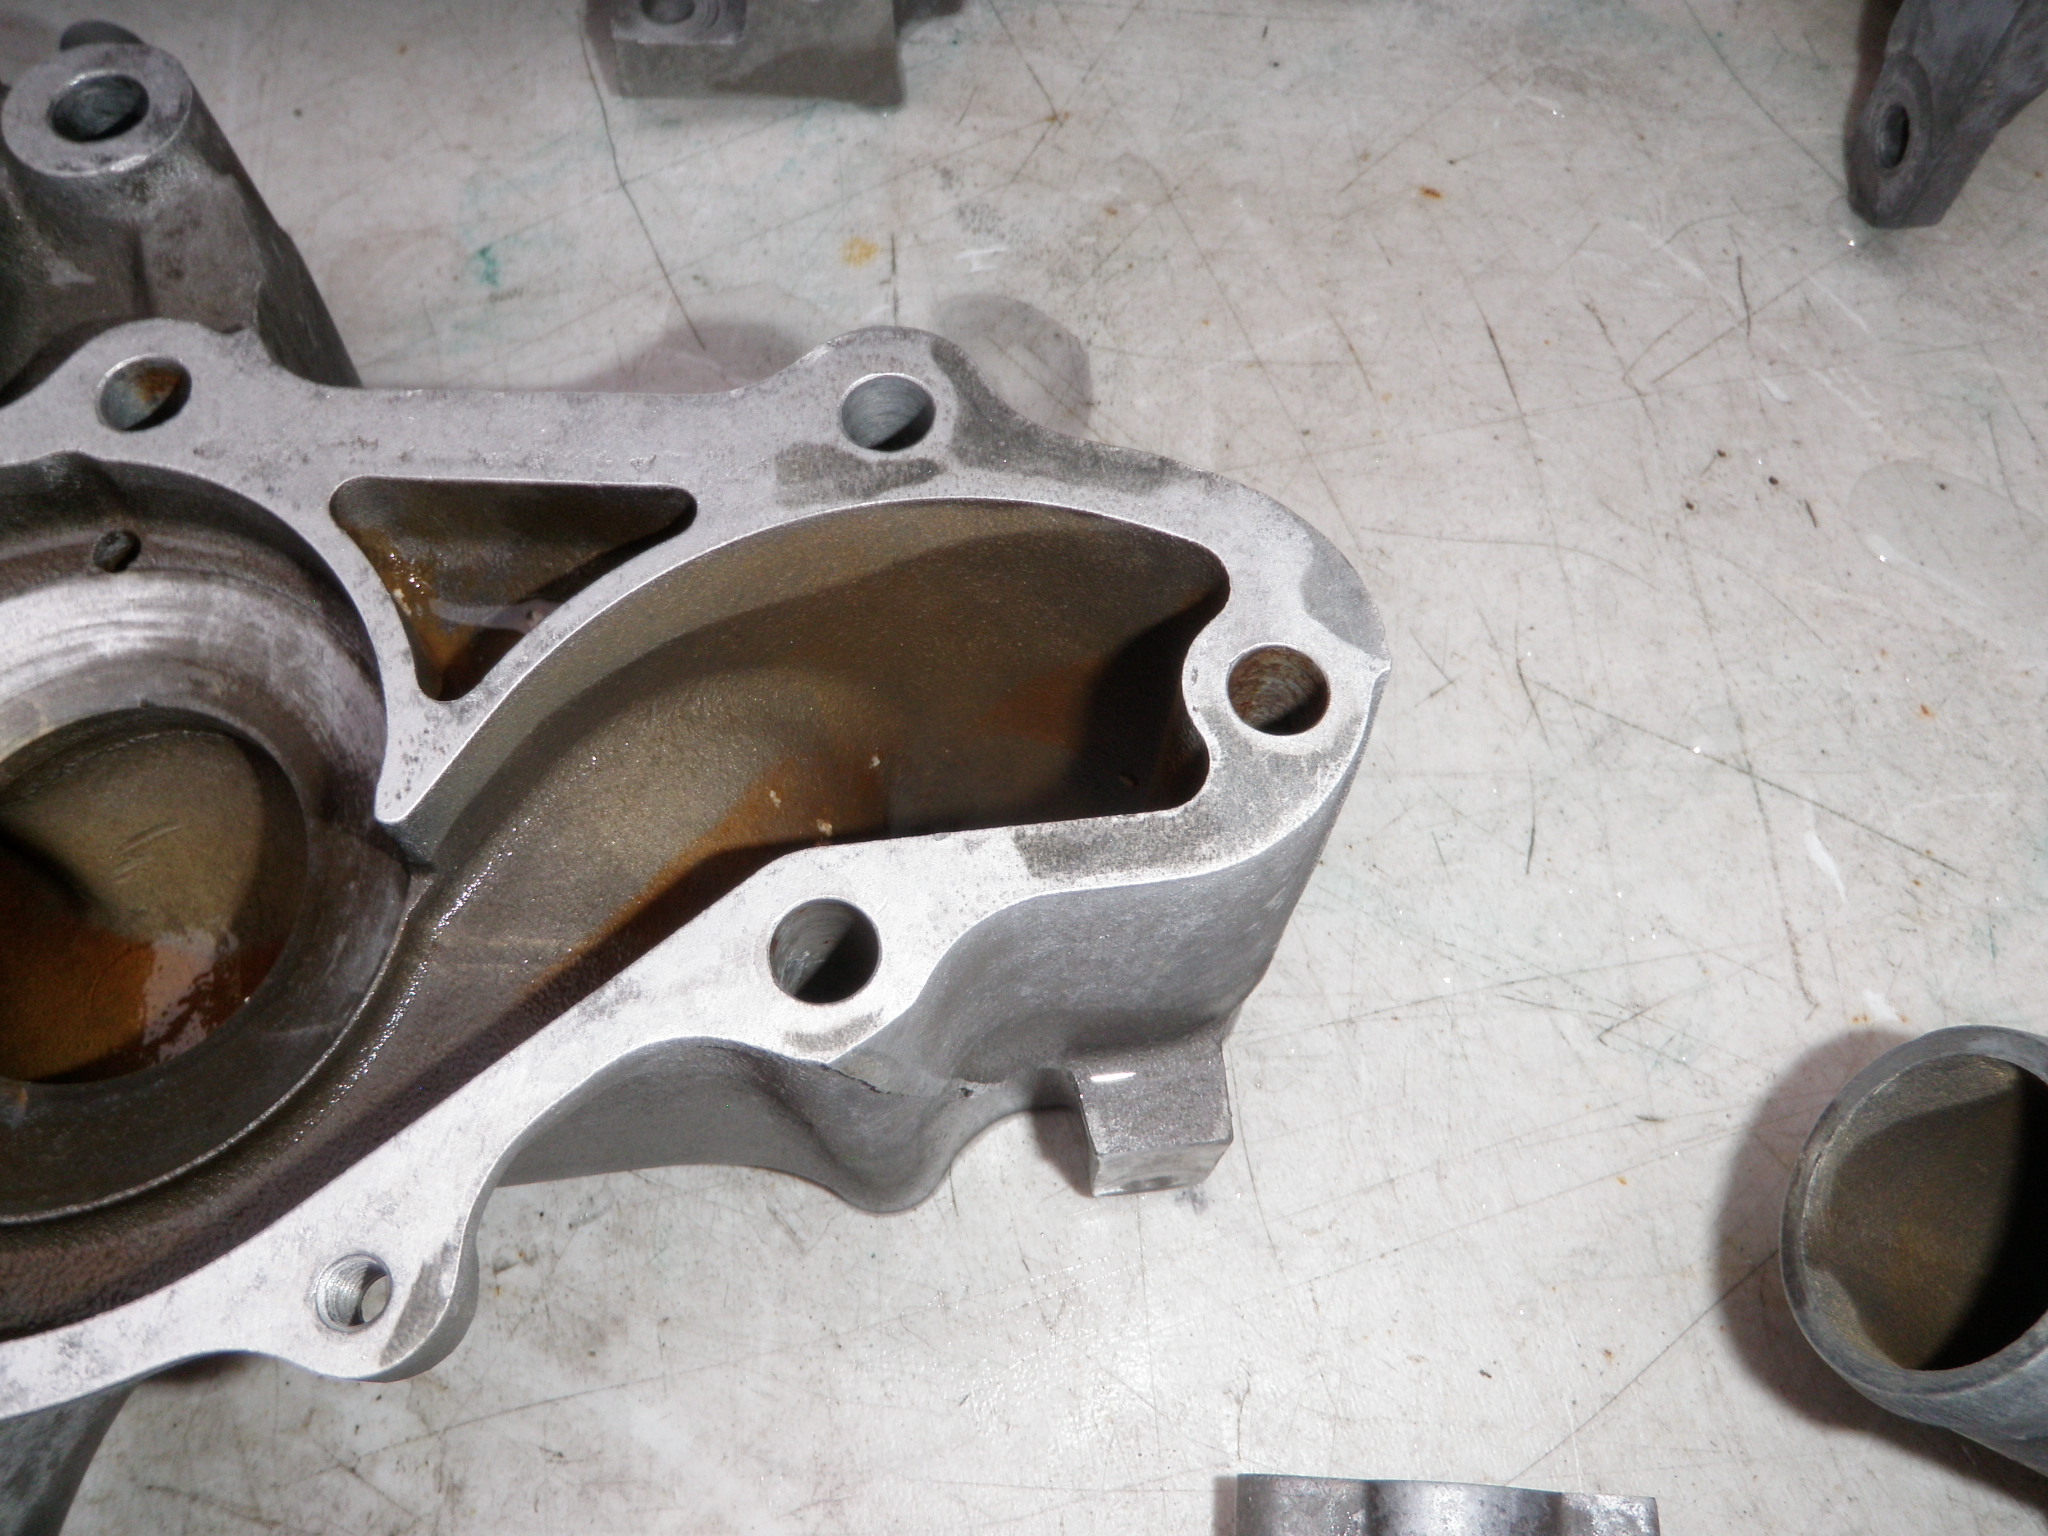
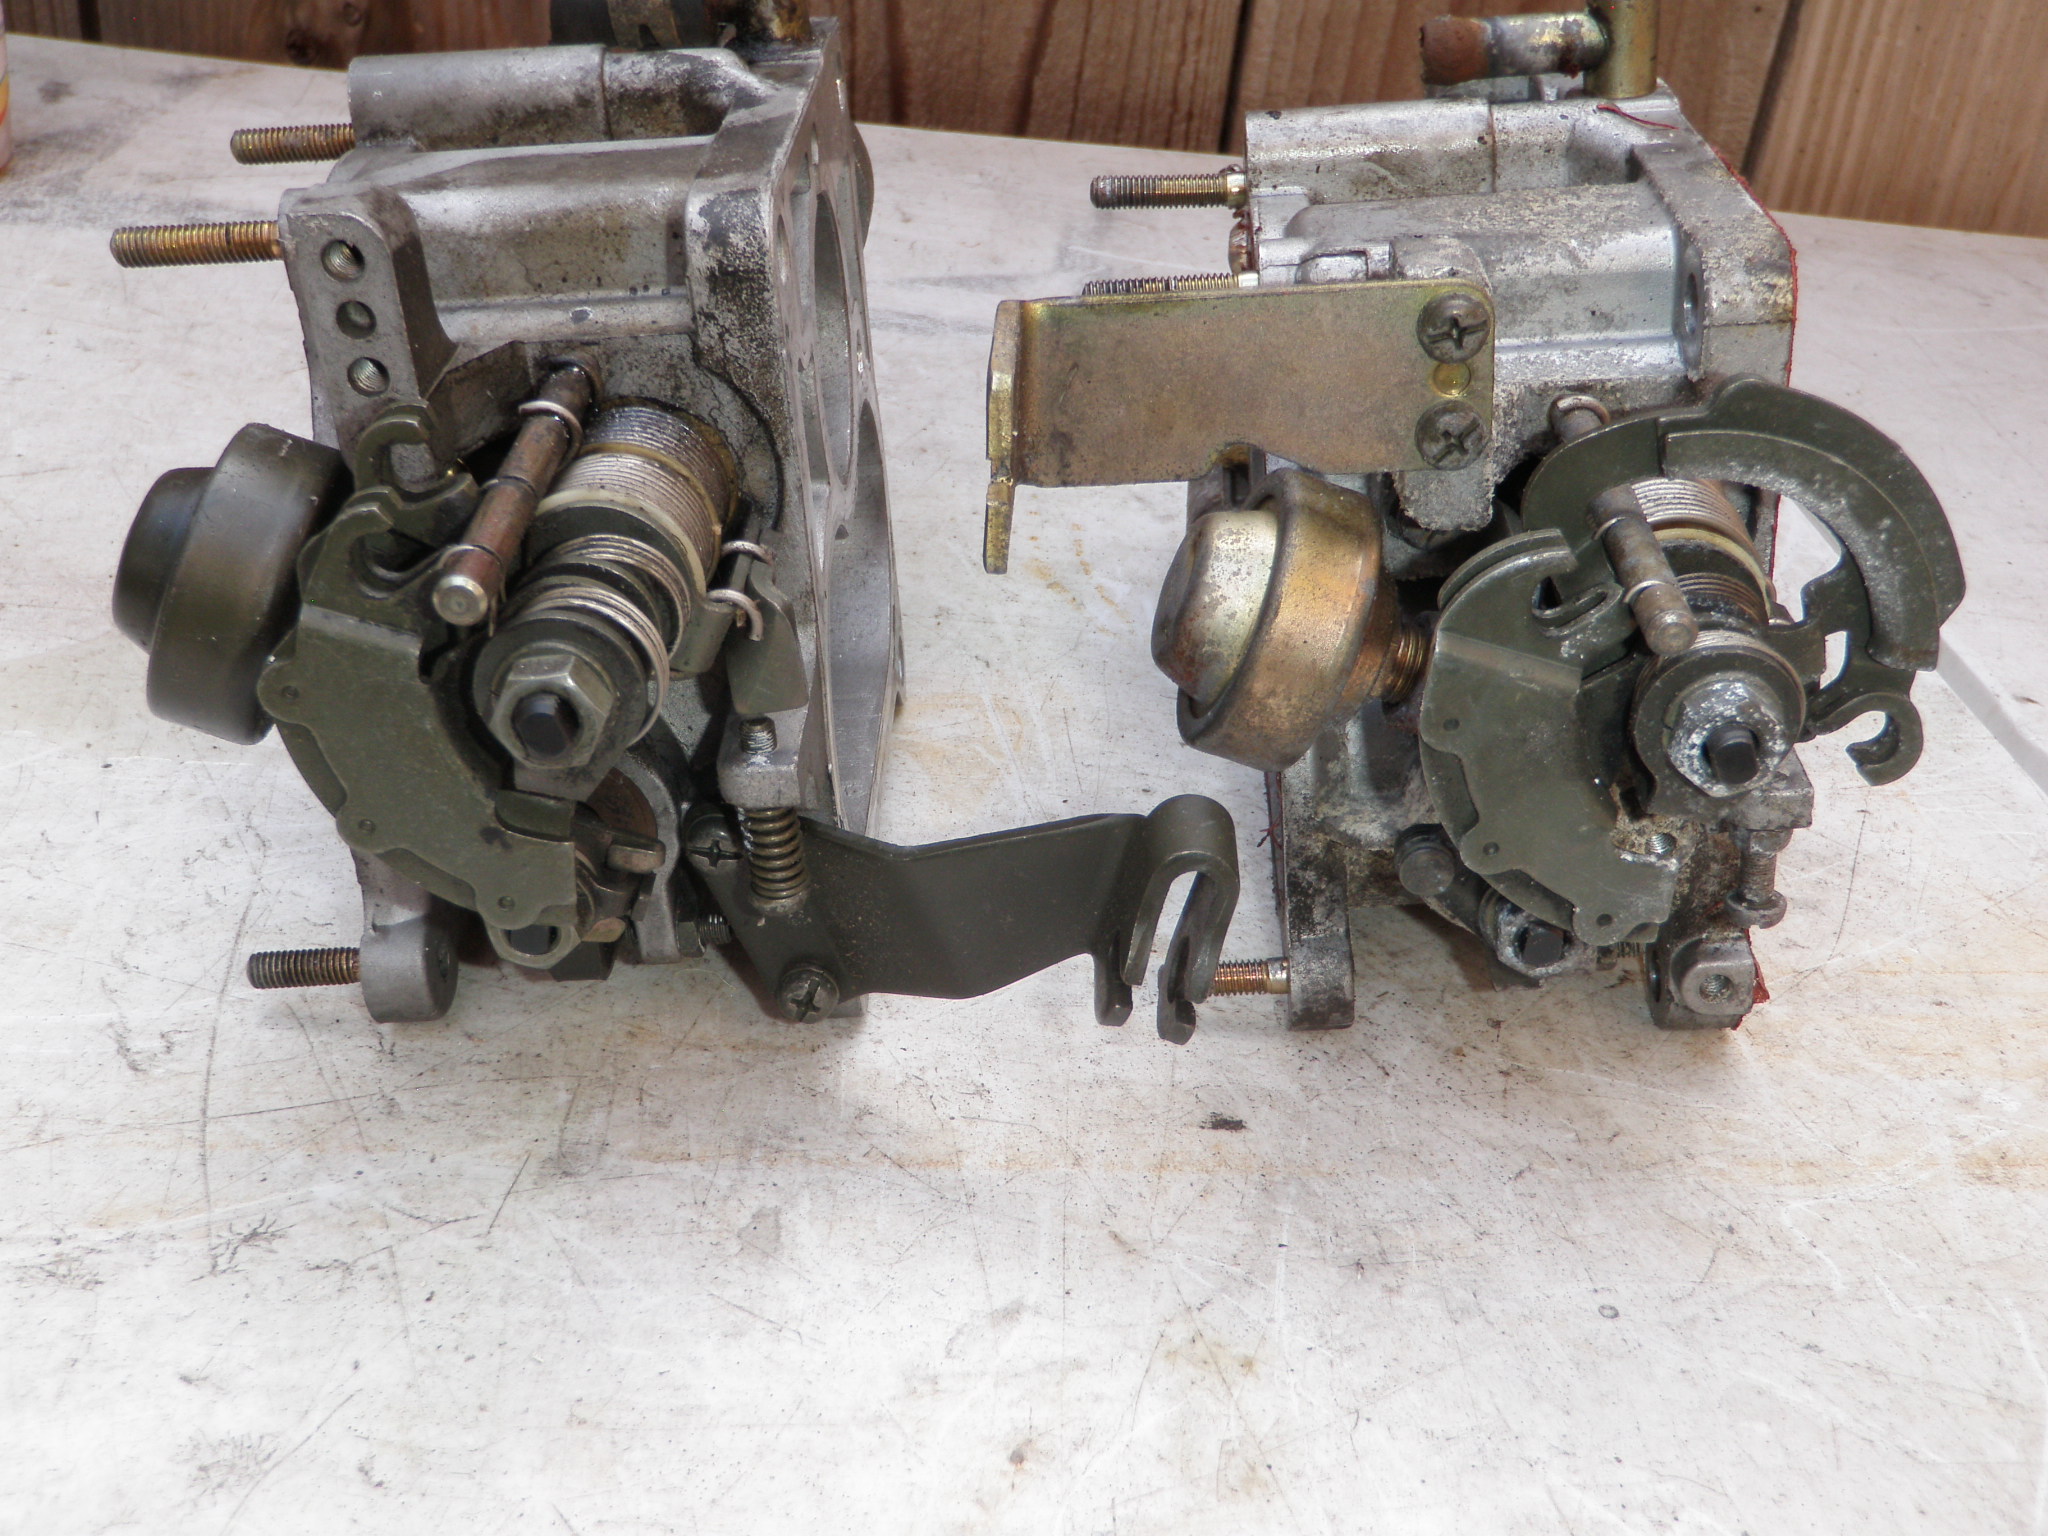
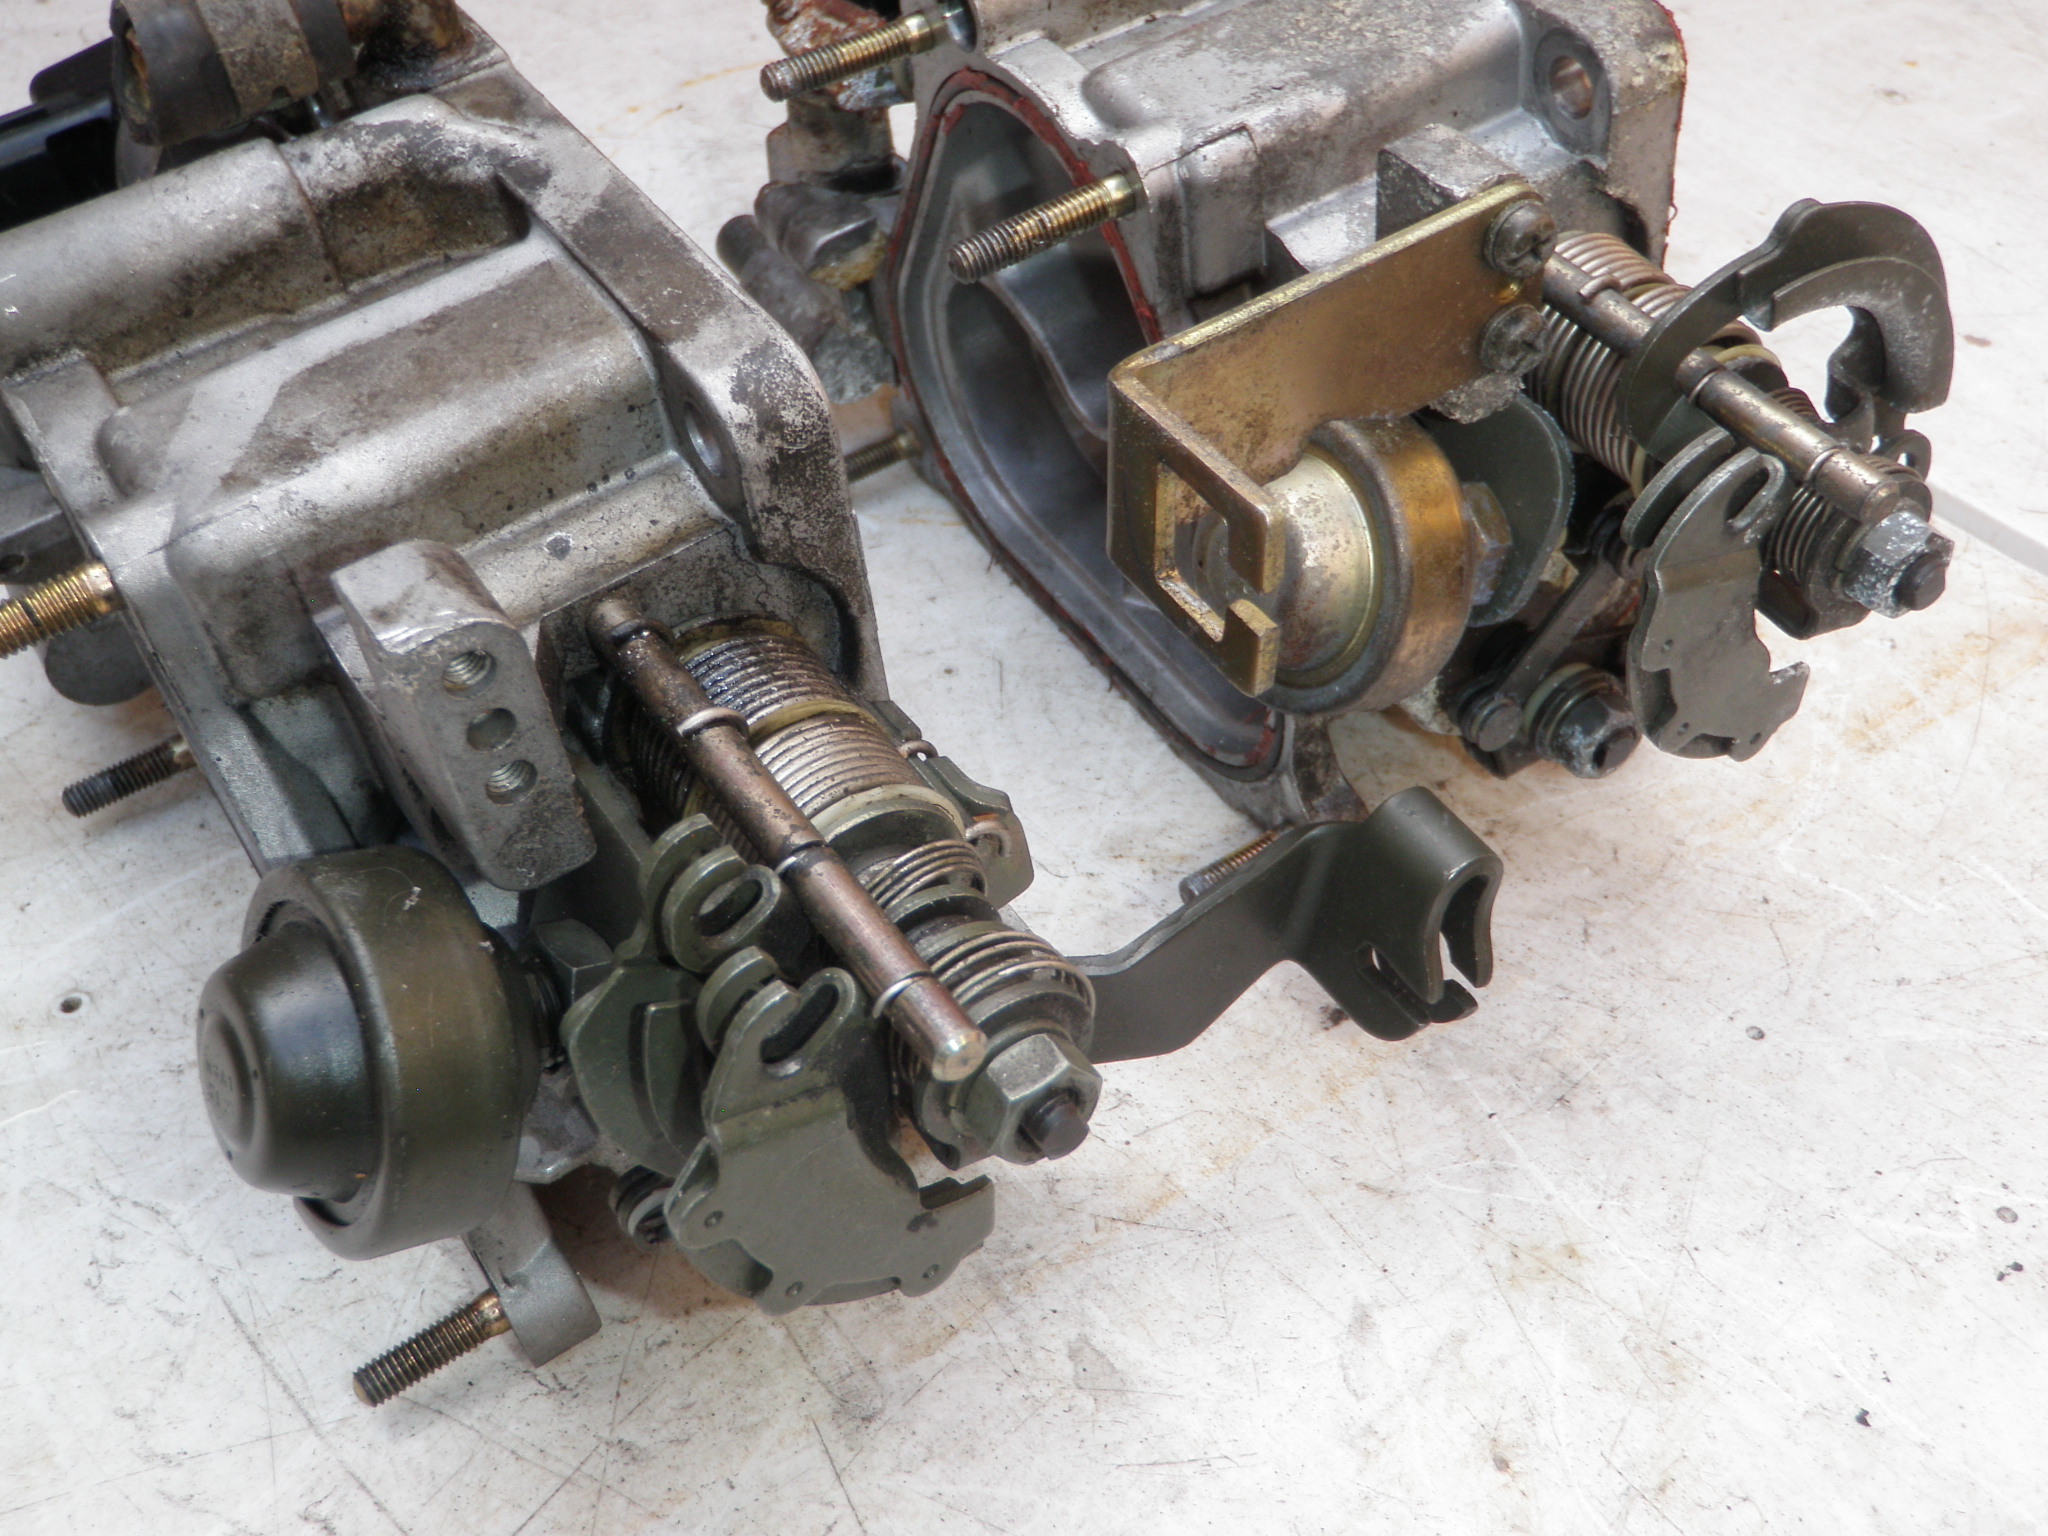
    So I read the Eagle One mag and wheel cleaner cleans aluminum well. I was praying that it would work and it did, so well that it also took the green coating off of the parts on the Throttle body assembly.

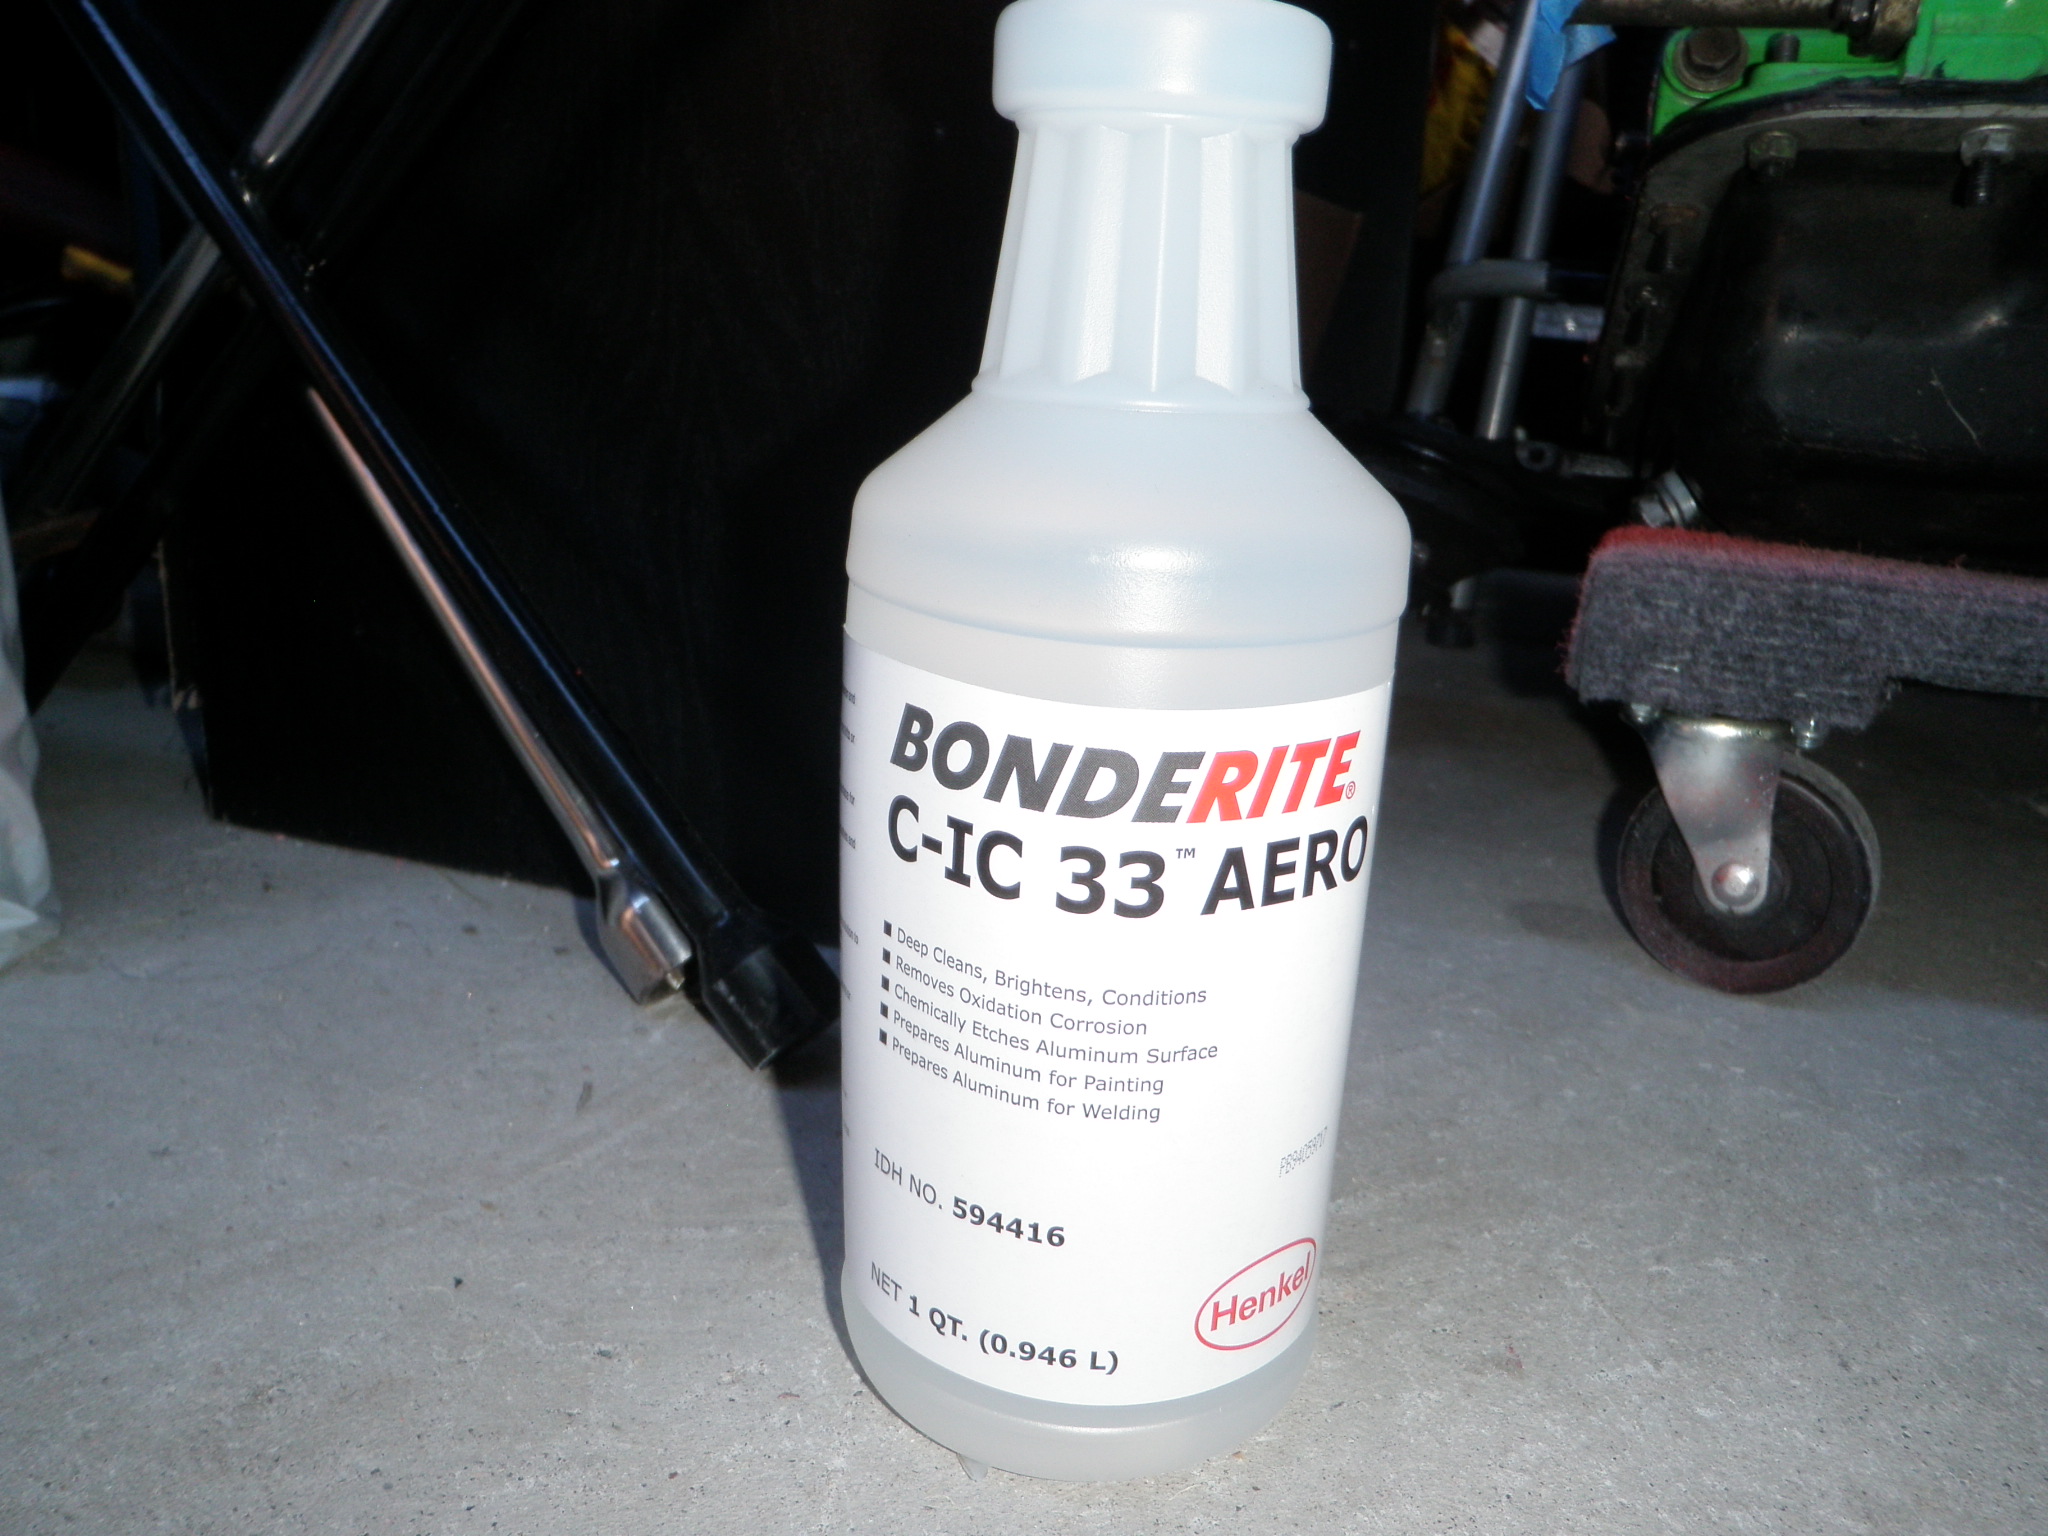
    I also got some Alumiprep 33 if the eagle one didn’t work.

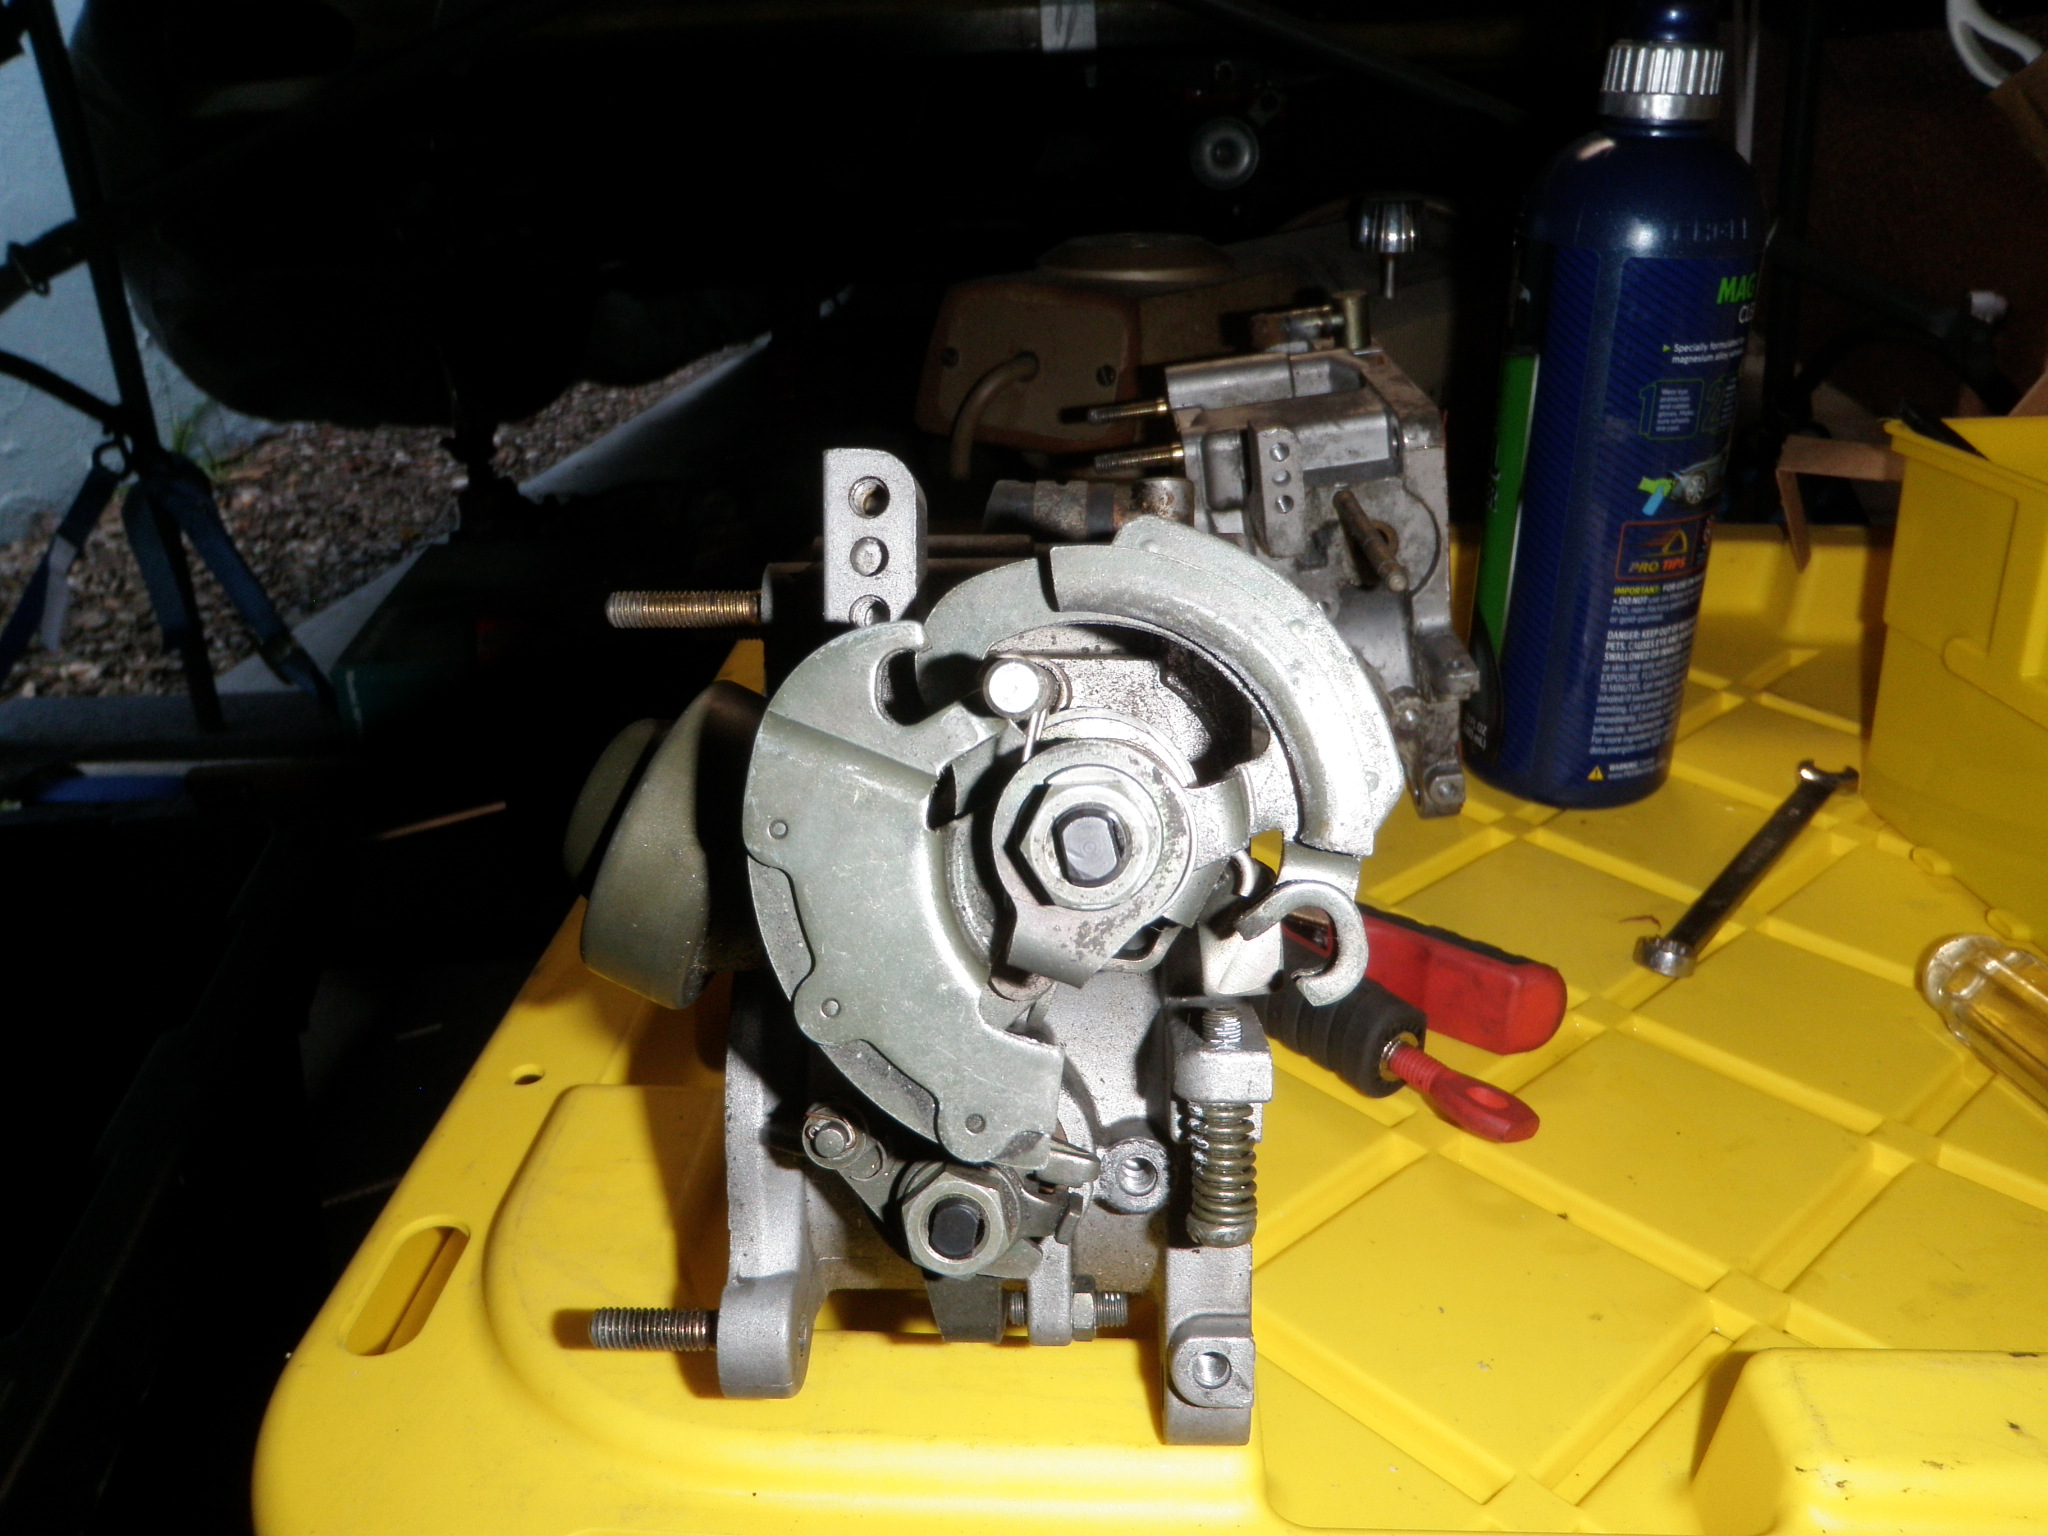
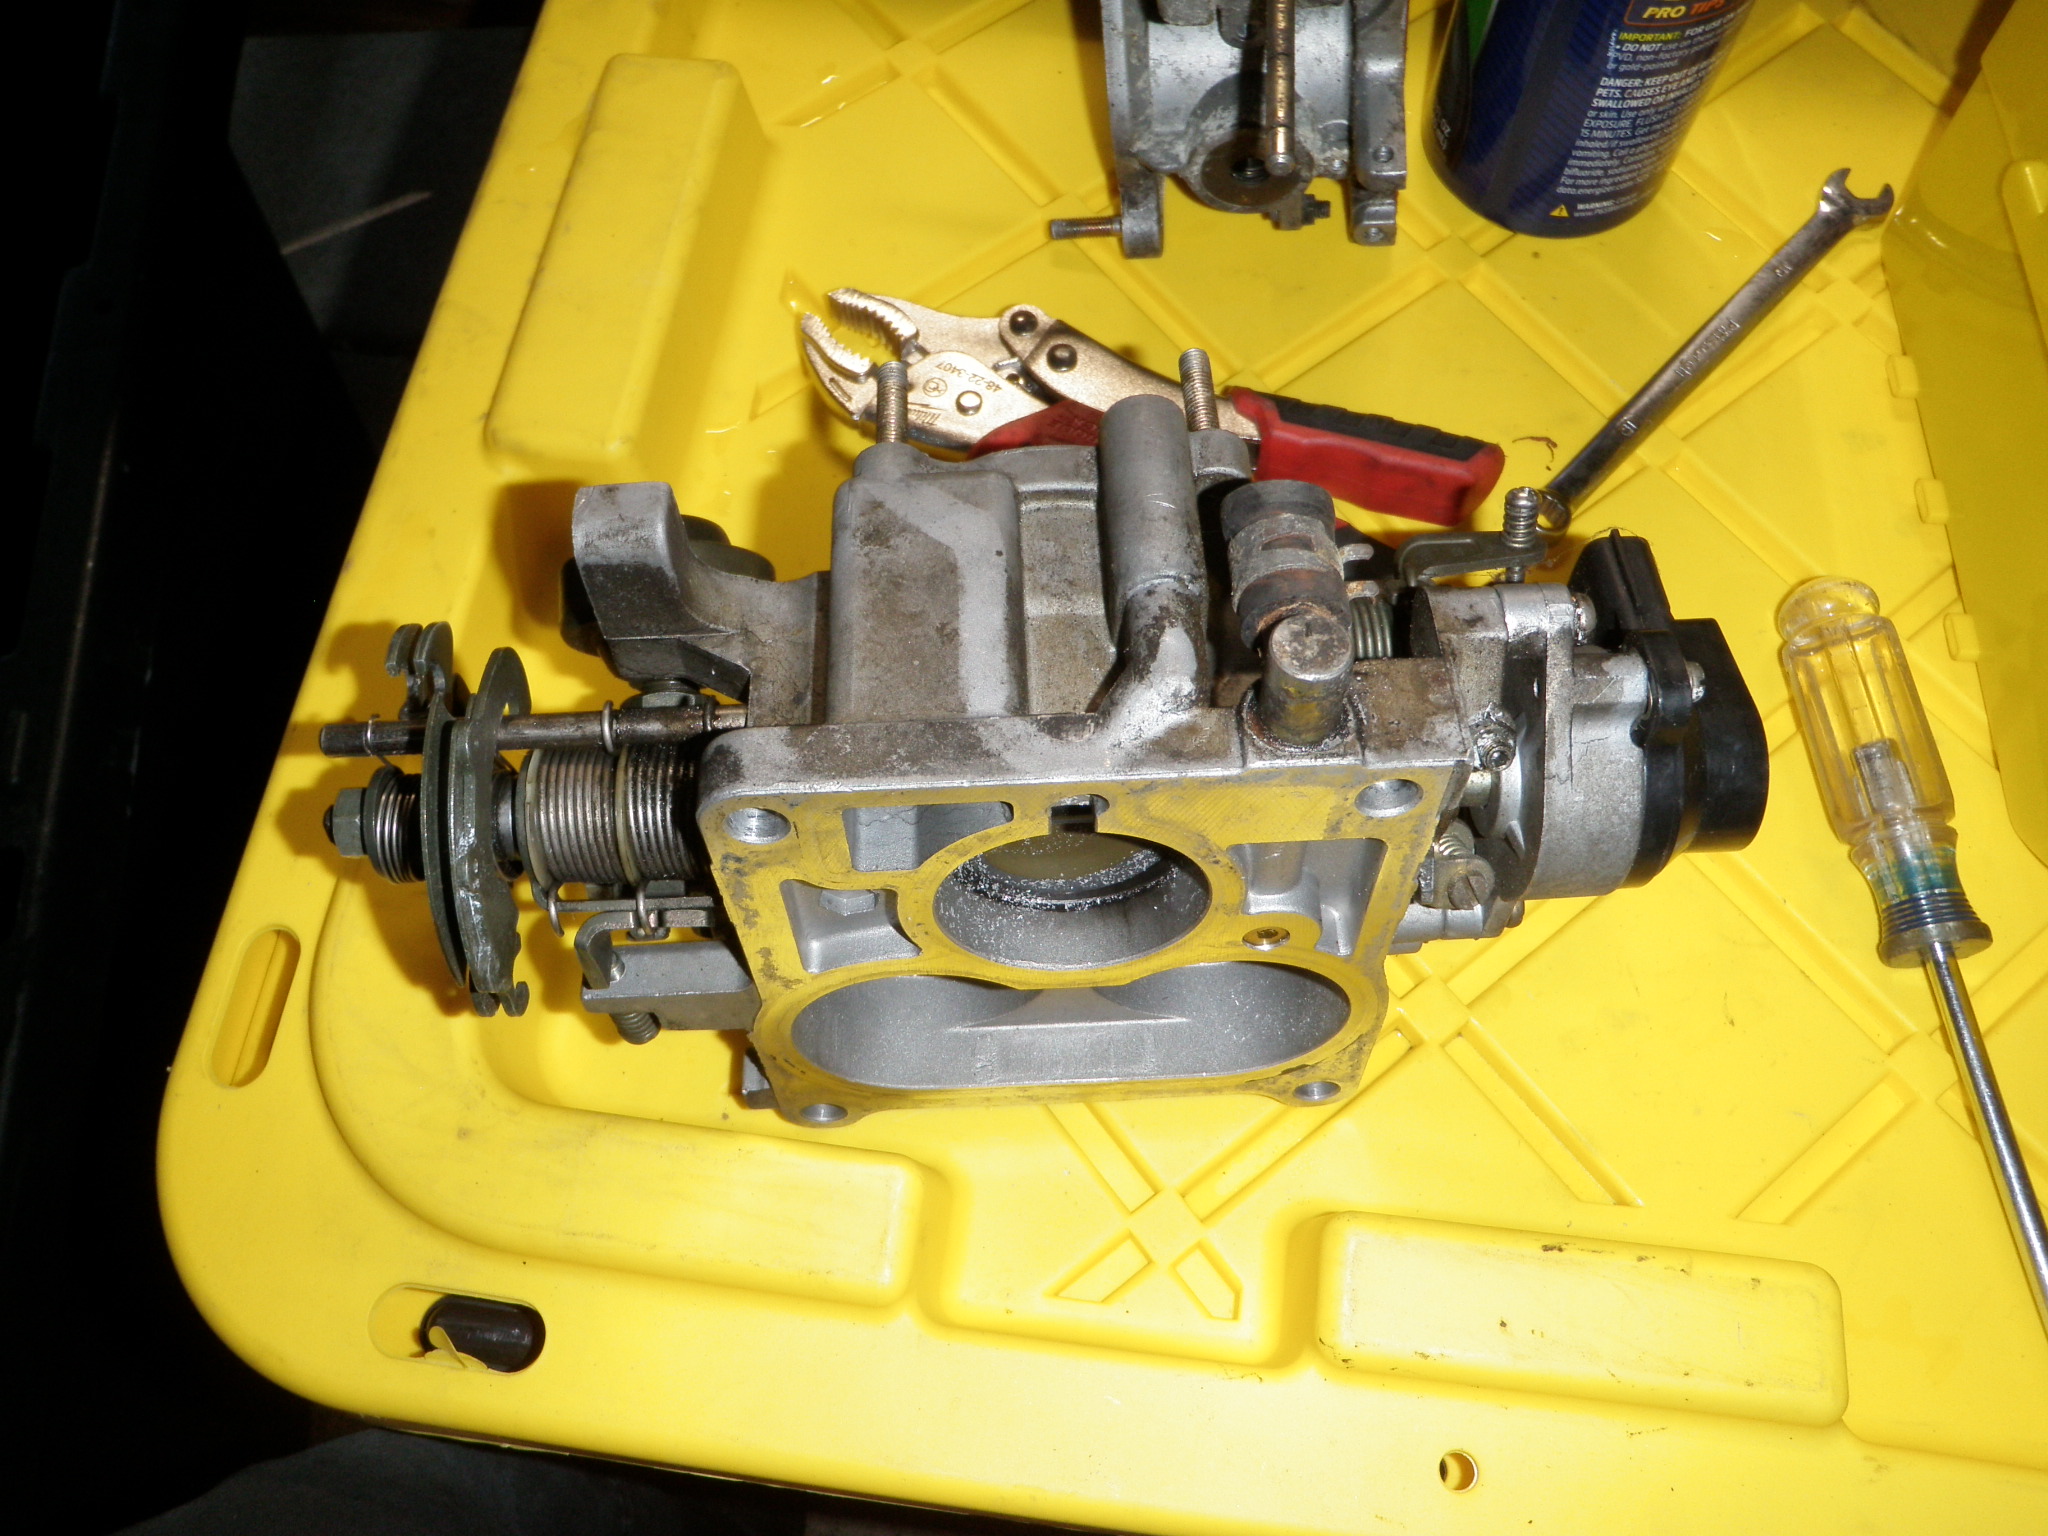
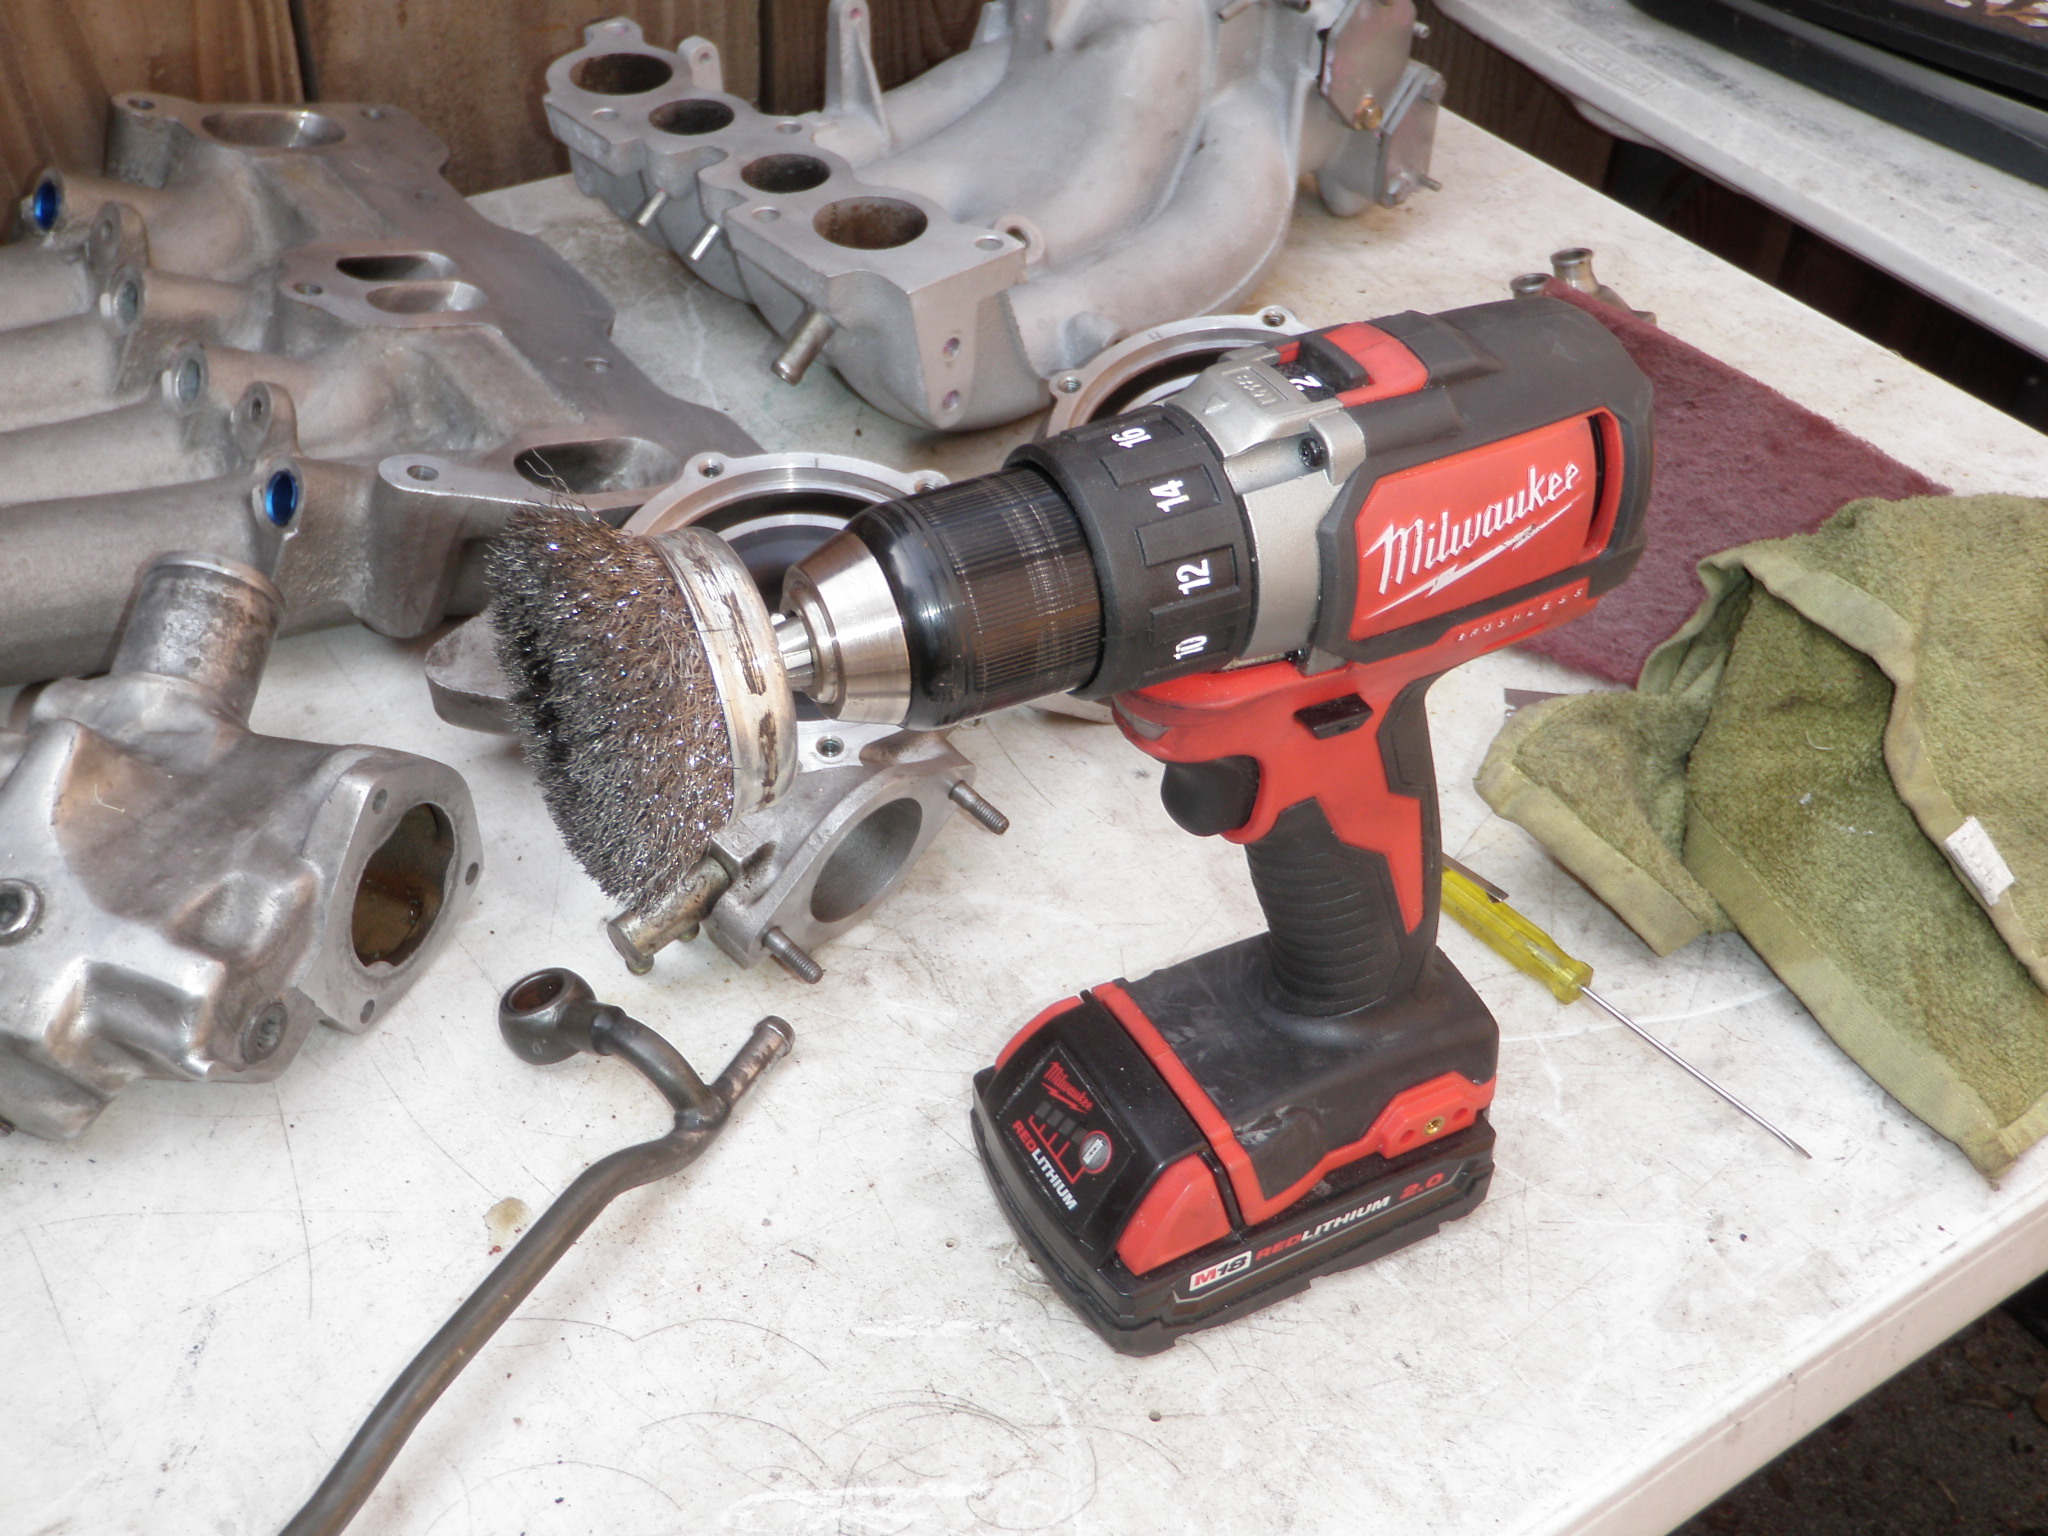
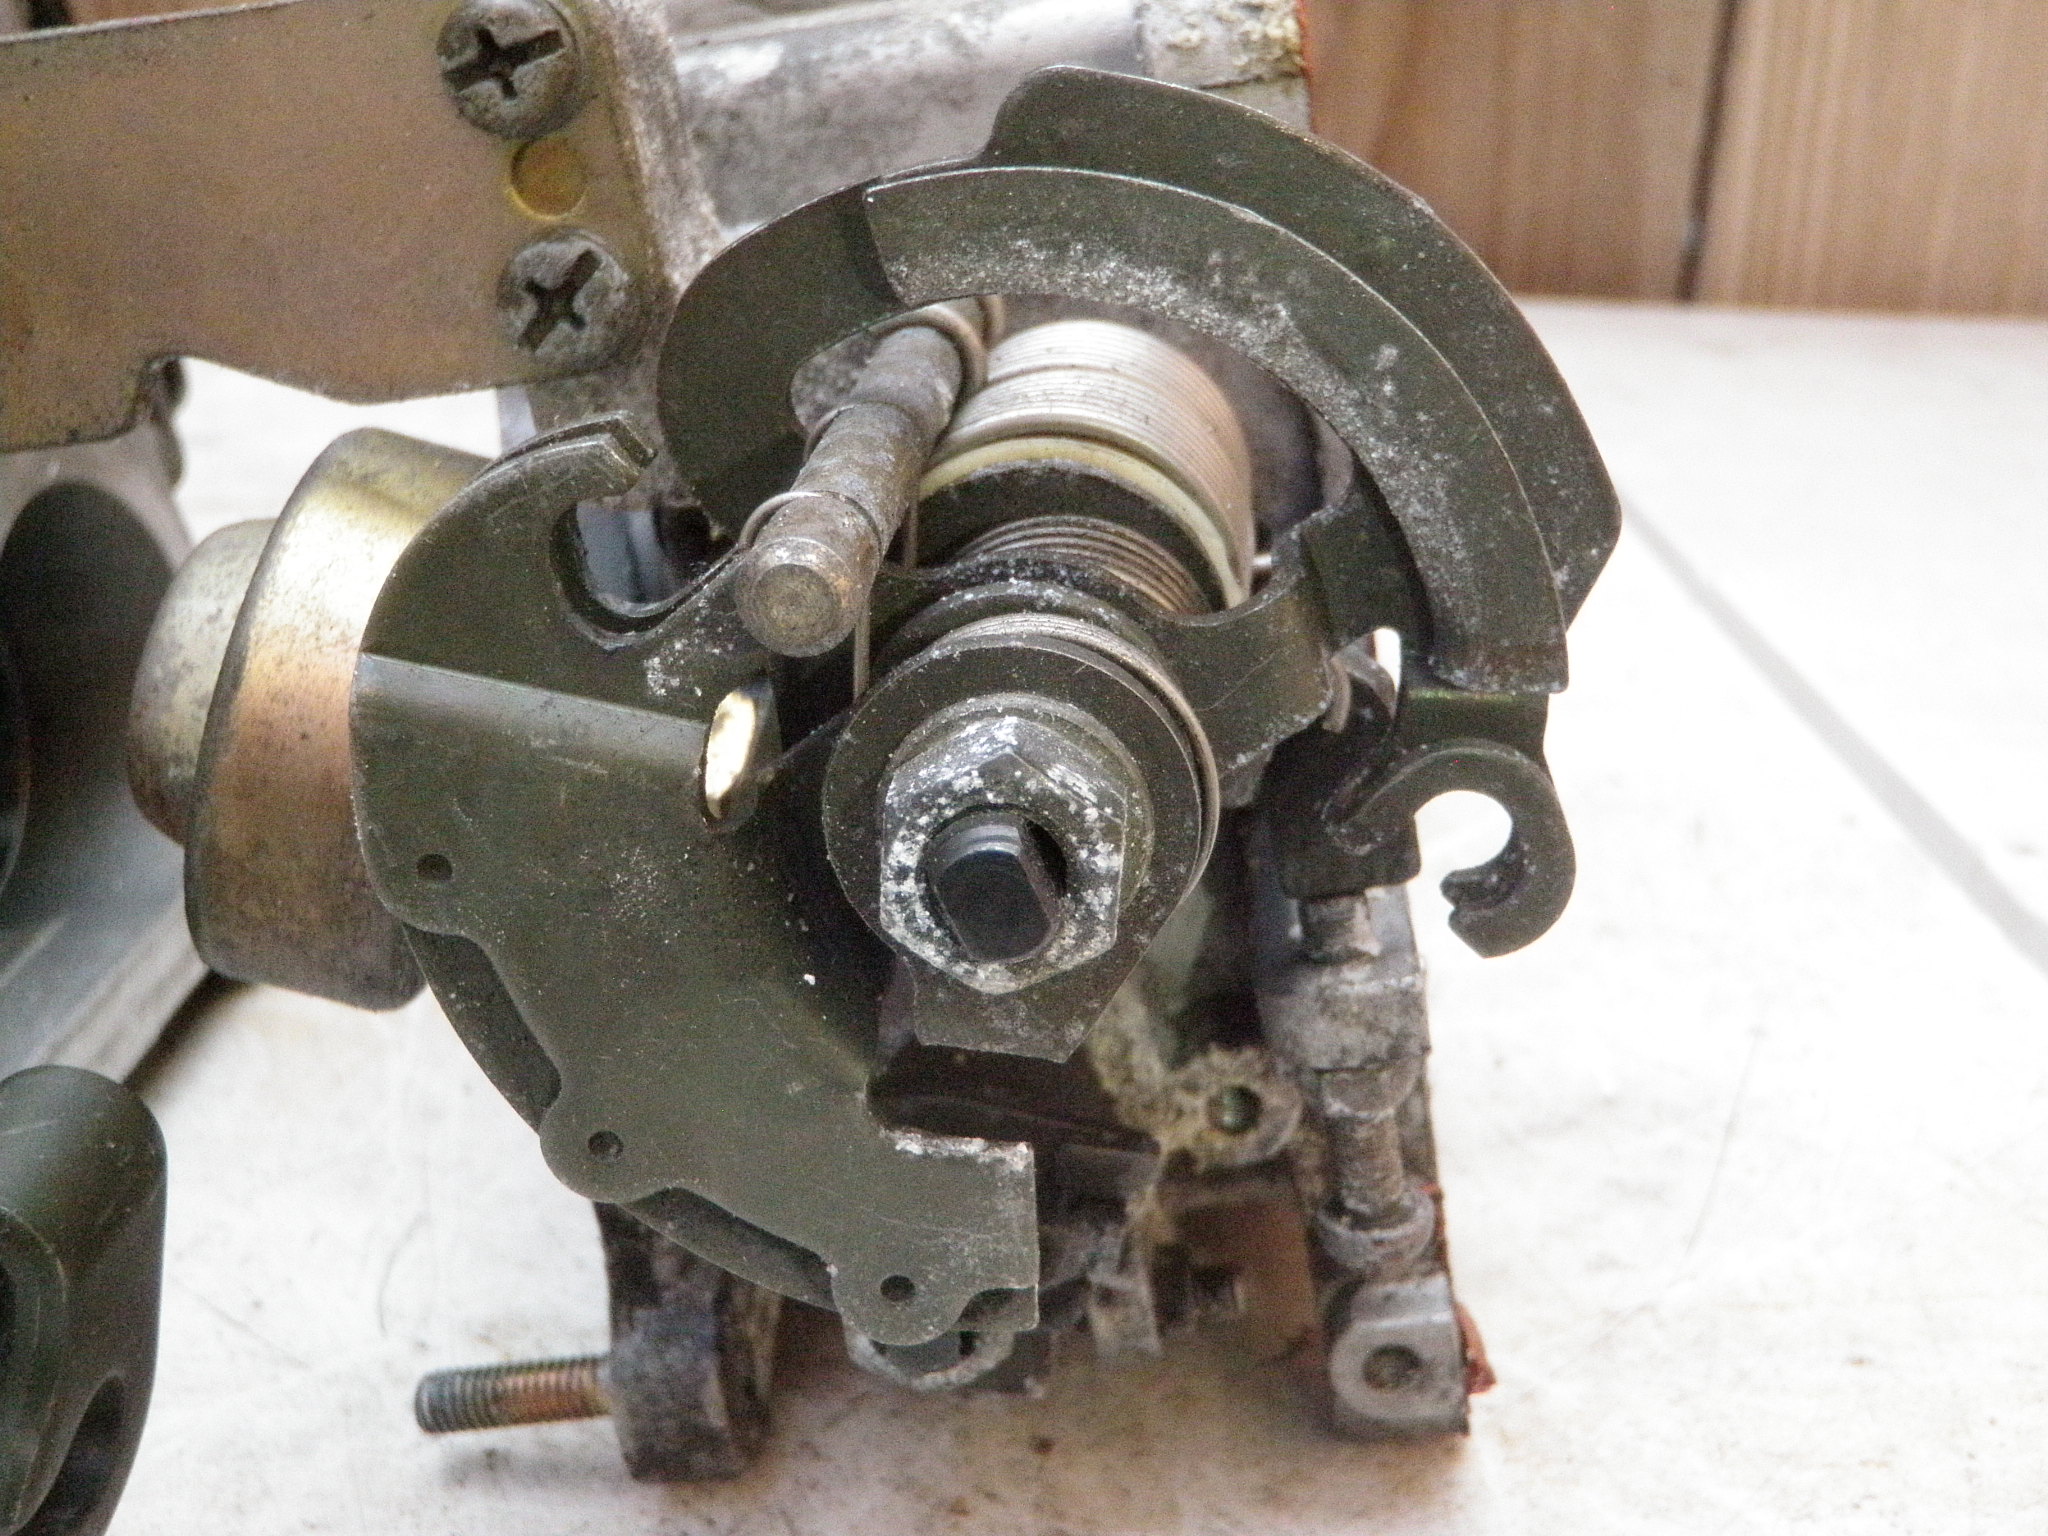
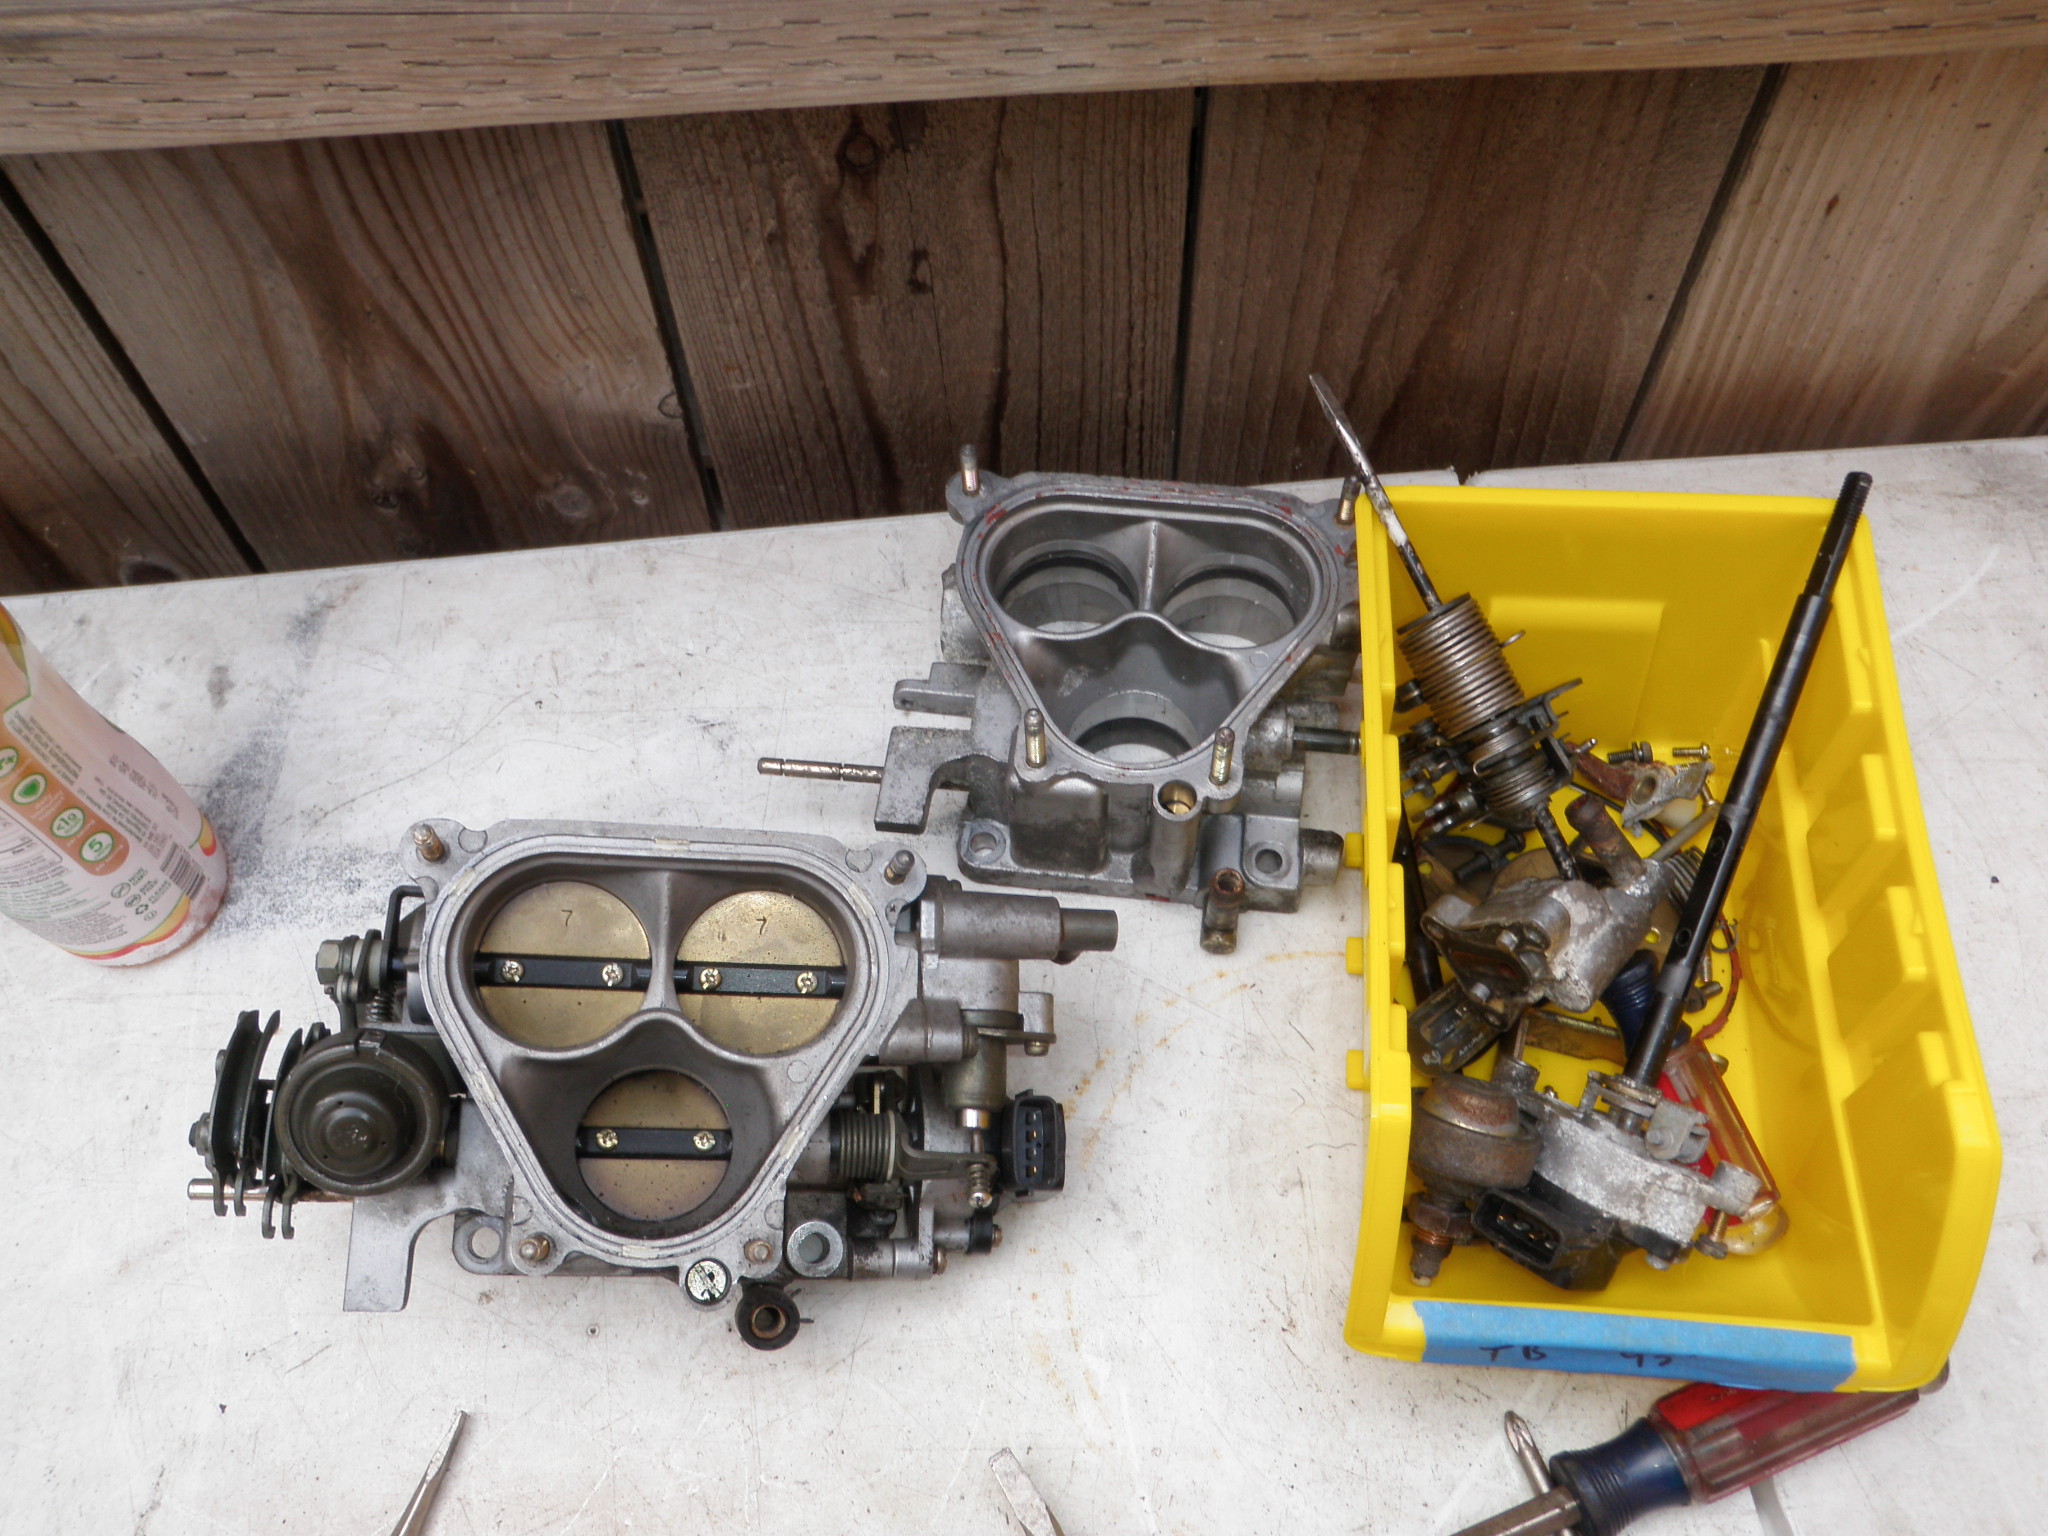
    I re-cleaned all of the aluminum parts and swapped over the cable linkage from my US TB over to the JDM TB, now I have cruise control and a clean TB. The TB also had some metal shavings in it – yup its all gone now.

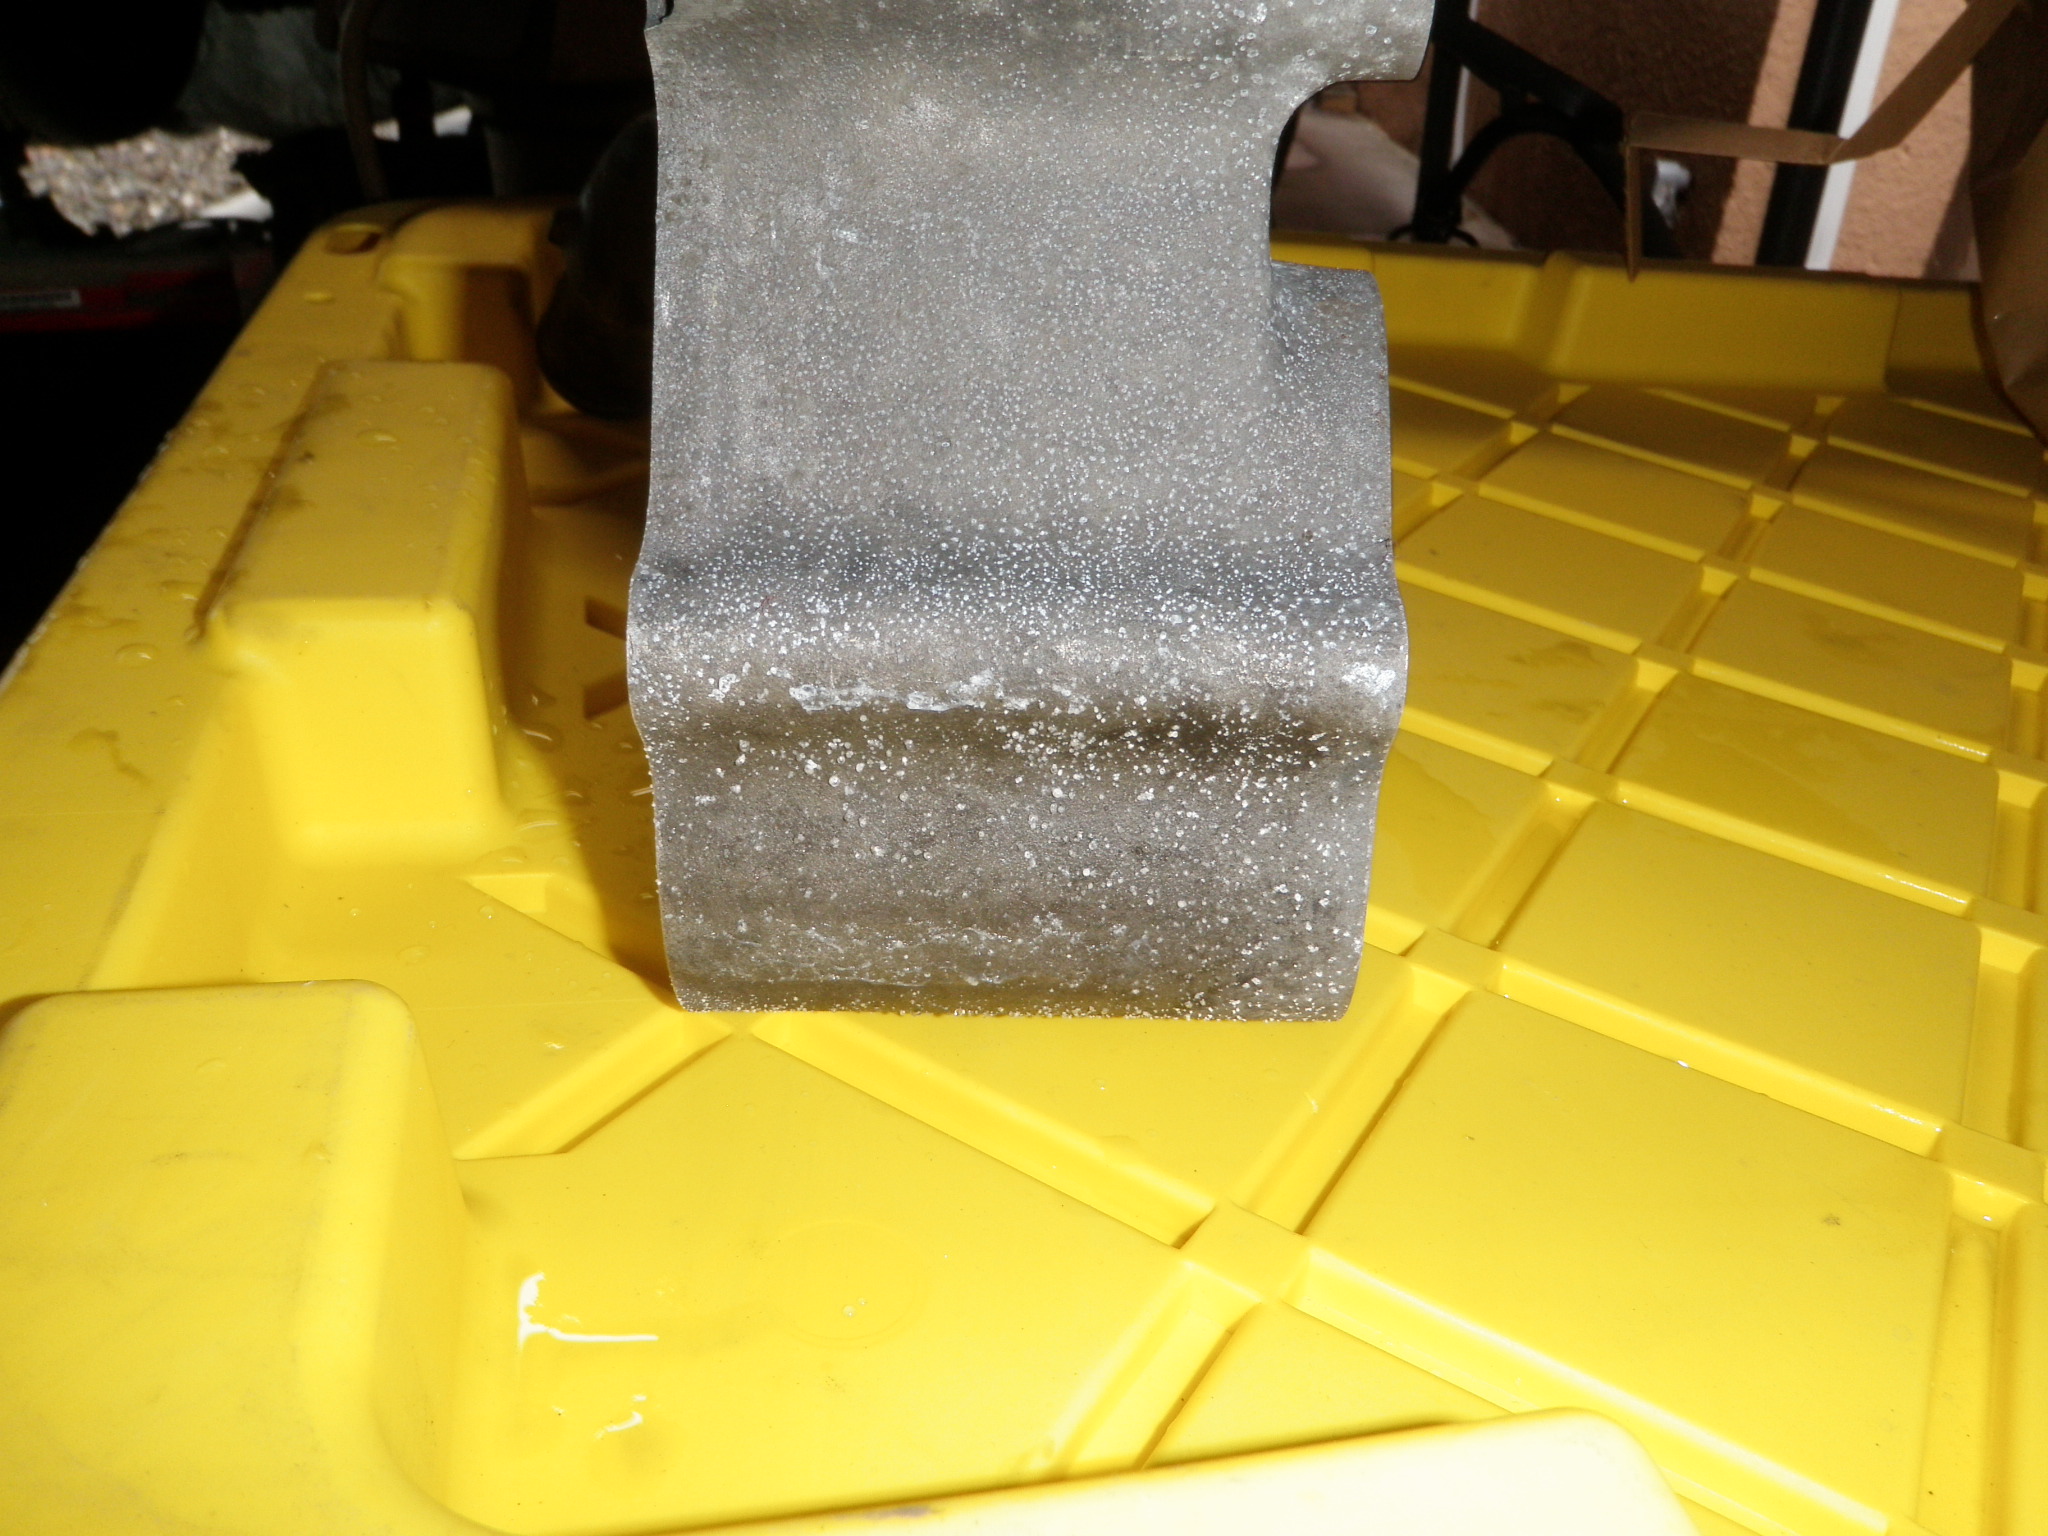
    One thing worries me, after 2 days of sitting some corrosion reappeared on the aluminum parts. This time after cleaning I blew it dry with my compressor. Lets see how it does in a few days.

  • Rotary Extreme RX7 Visual

    Rotary Extreme RX7 Visual

    quick visual

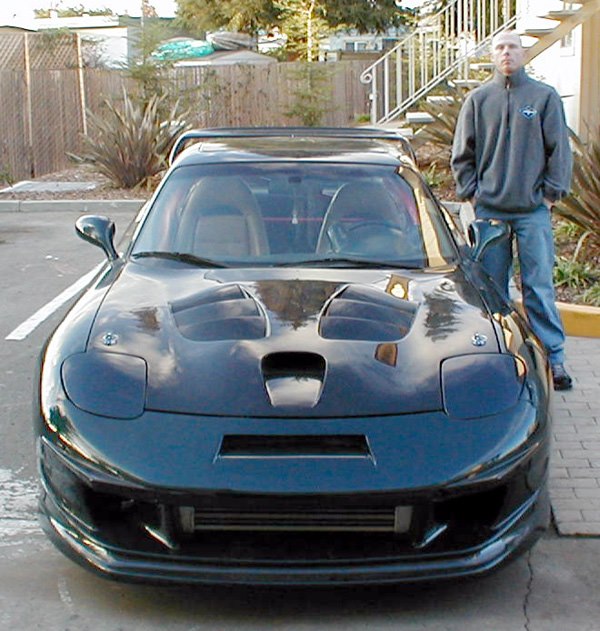
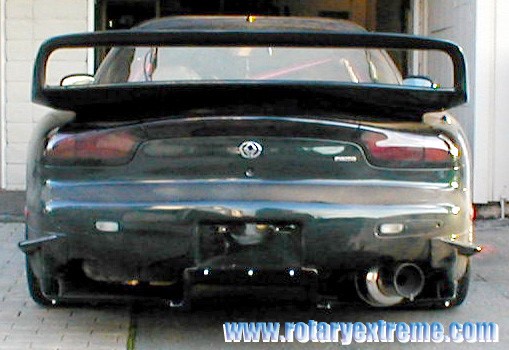
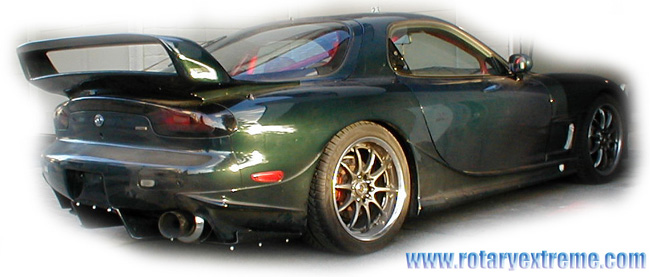
    I had the AB-Flug GTM body kit on my rx7 back in 2000, I went to sevenstock 4 with it. (I think the rims were Volk GTN’s)
    I have 3 pics showing what the spoiler looks like in different angles.
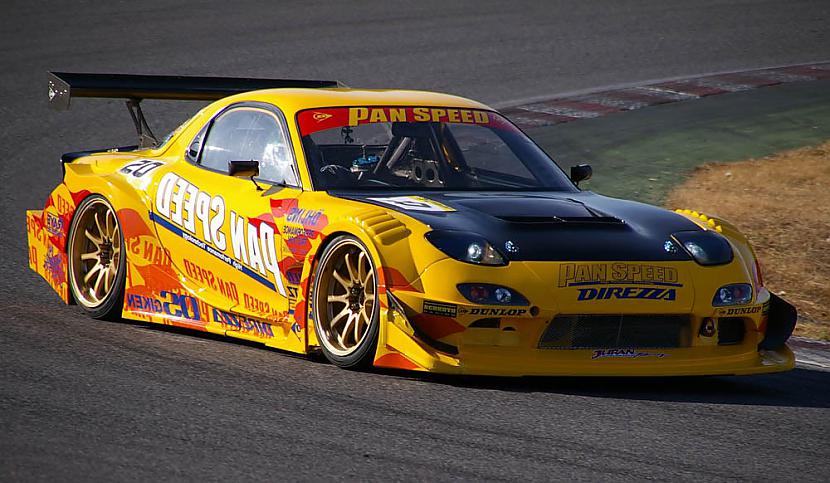
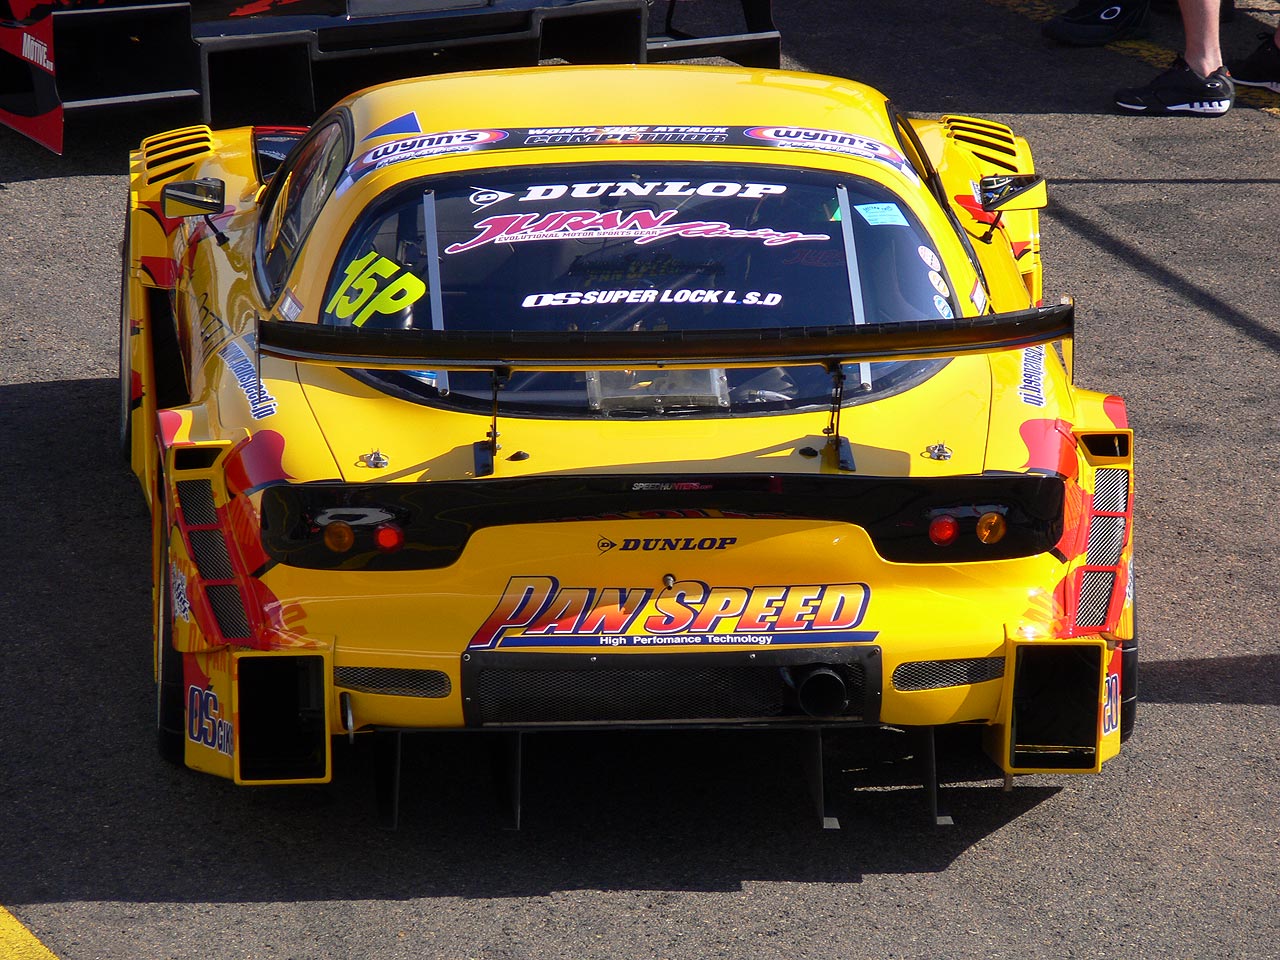
    I will use the AB-Flug GT7 widebody kit seen on the Panspeed time attack RX7, but it uses Panspeed sideskirts which I have.

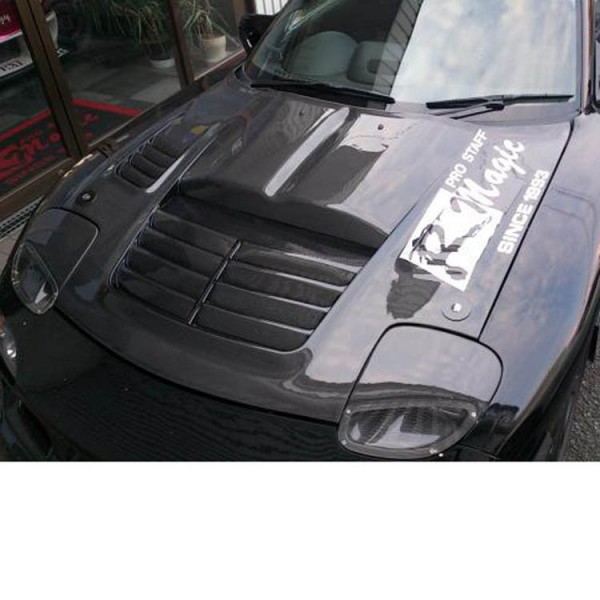
    The hood will be the R-Magic v. 2

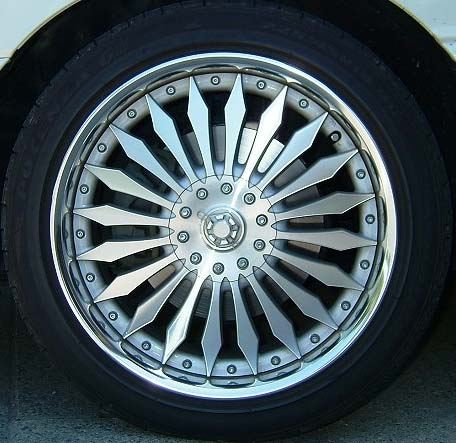
    Rims are Veilside as seen on the original red rx7 in the fast and the furious.

    I had a Greddy T78 turbo kit and an Apexi front mount.

    I went to Sevenstock 5 with this car – I was hooked for life.

  • Rotary Extreme RX7 Build Day 12 Prep Problems

    Rotary Extreme RX7 Build Day 12 Prep Problems

    Day 12 – a complete disaster !!!!

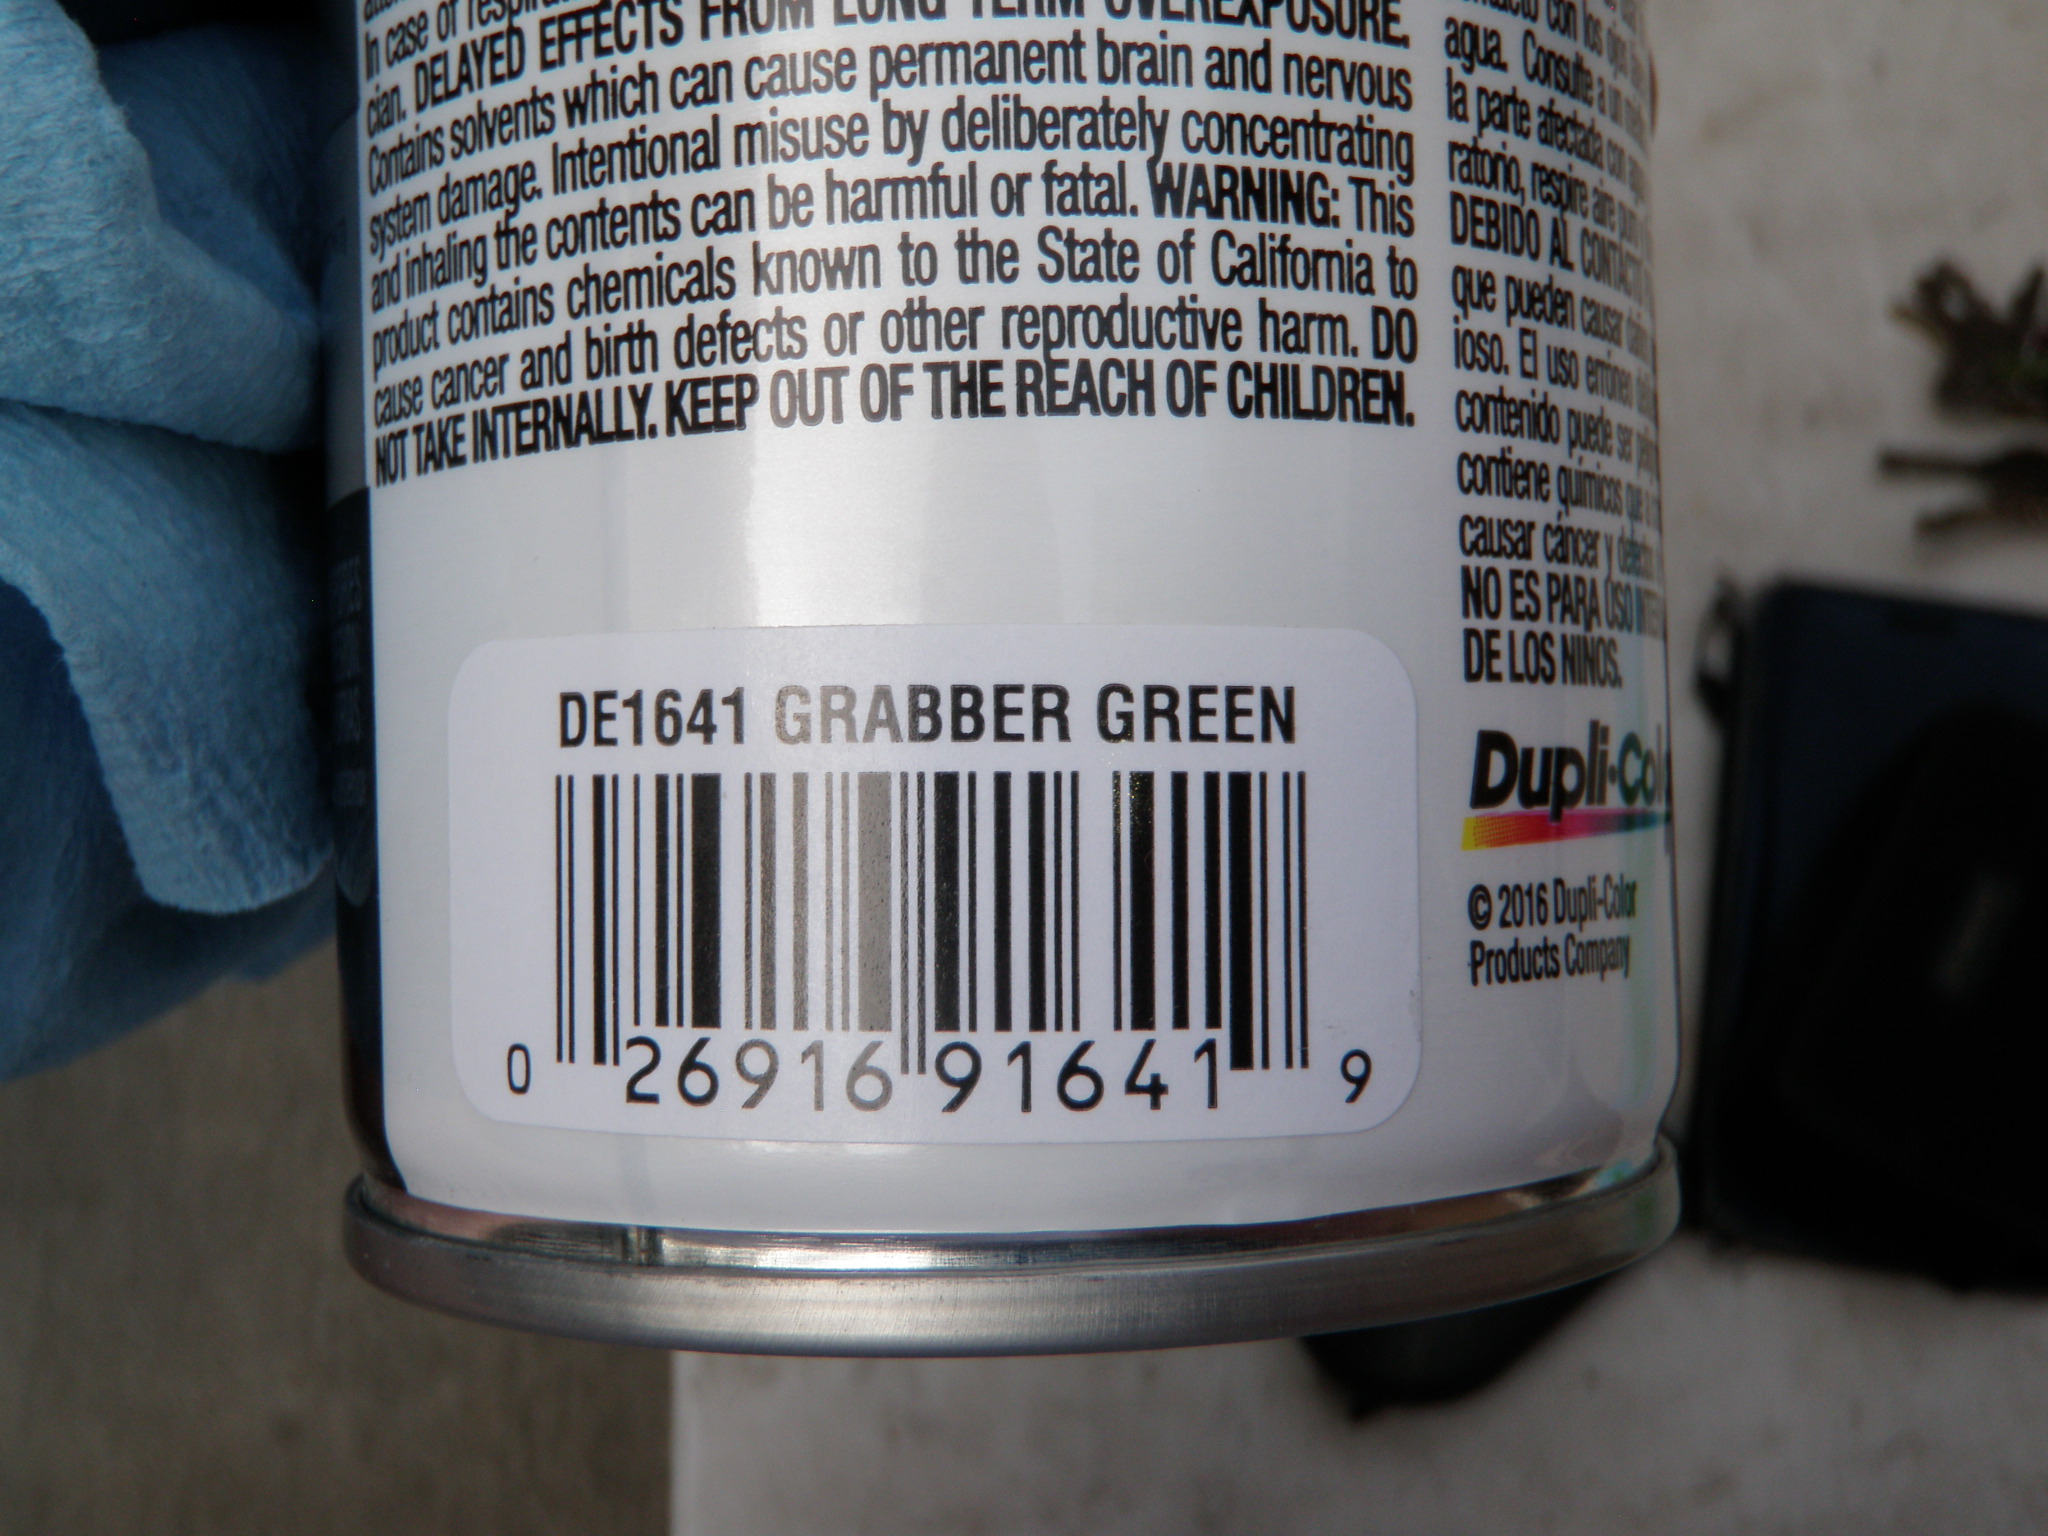
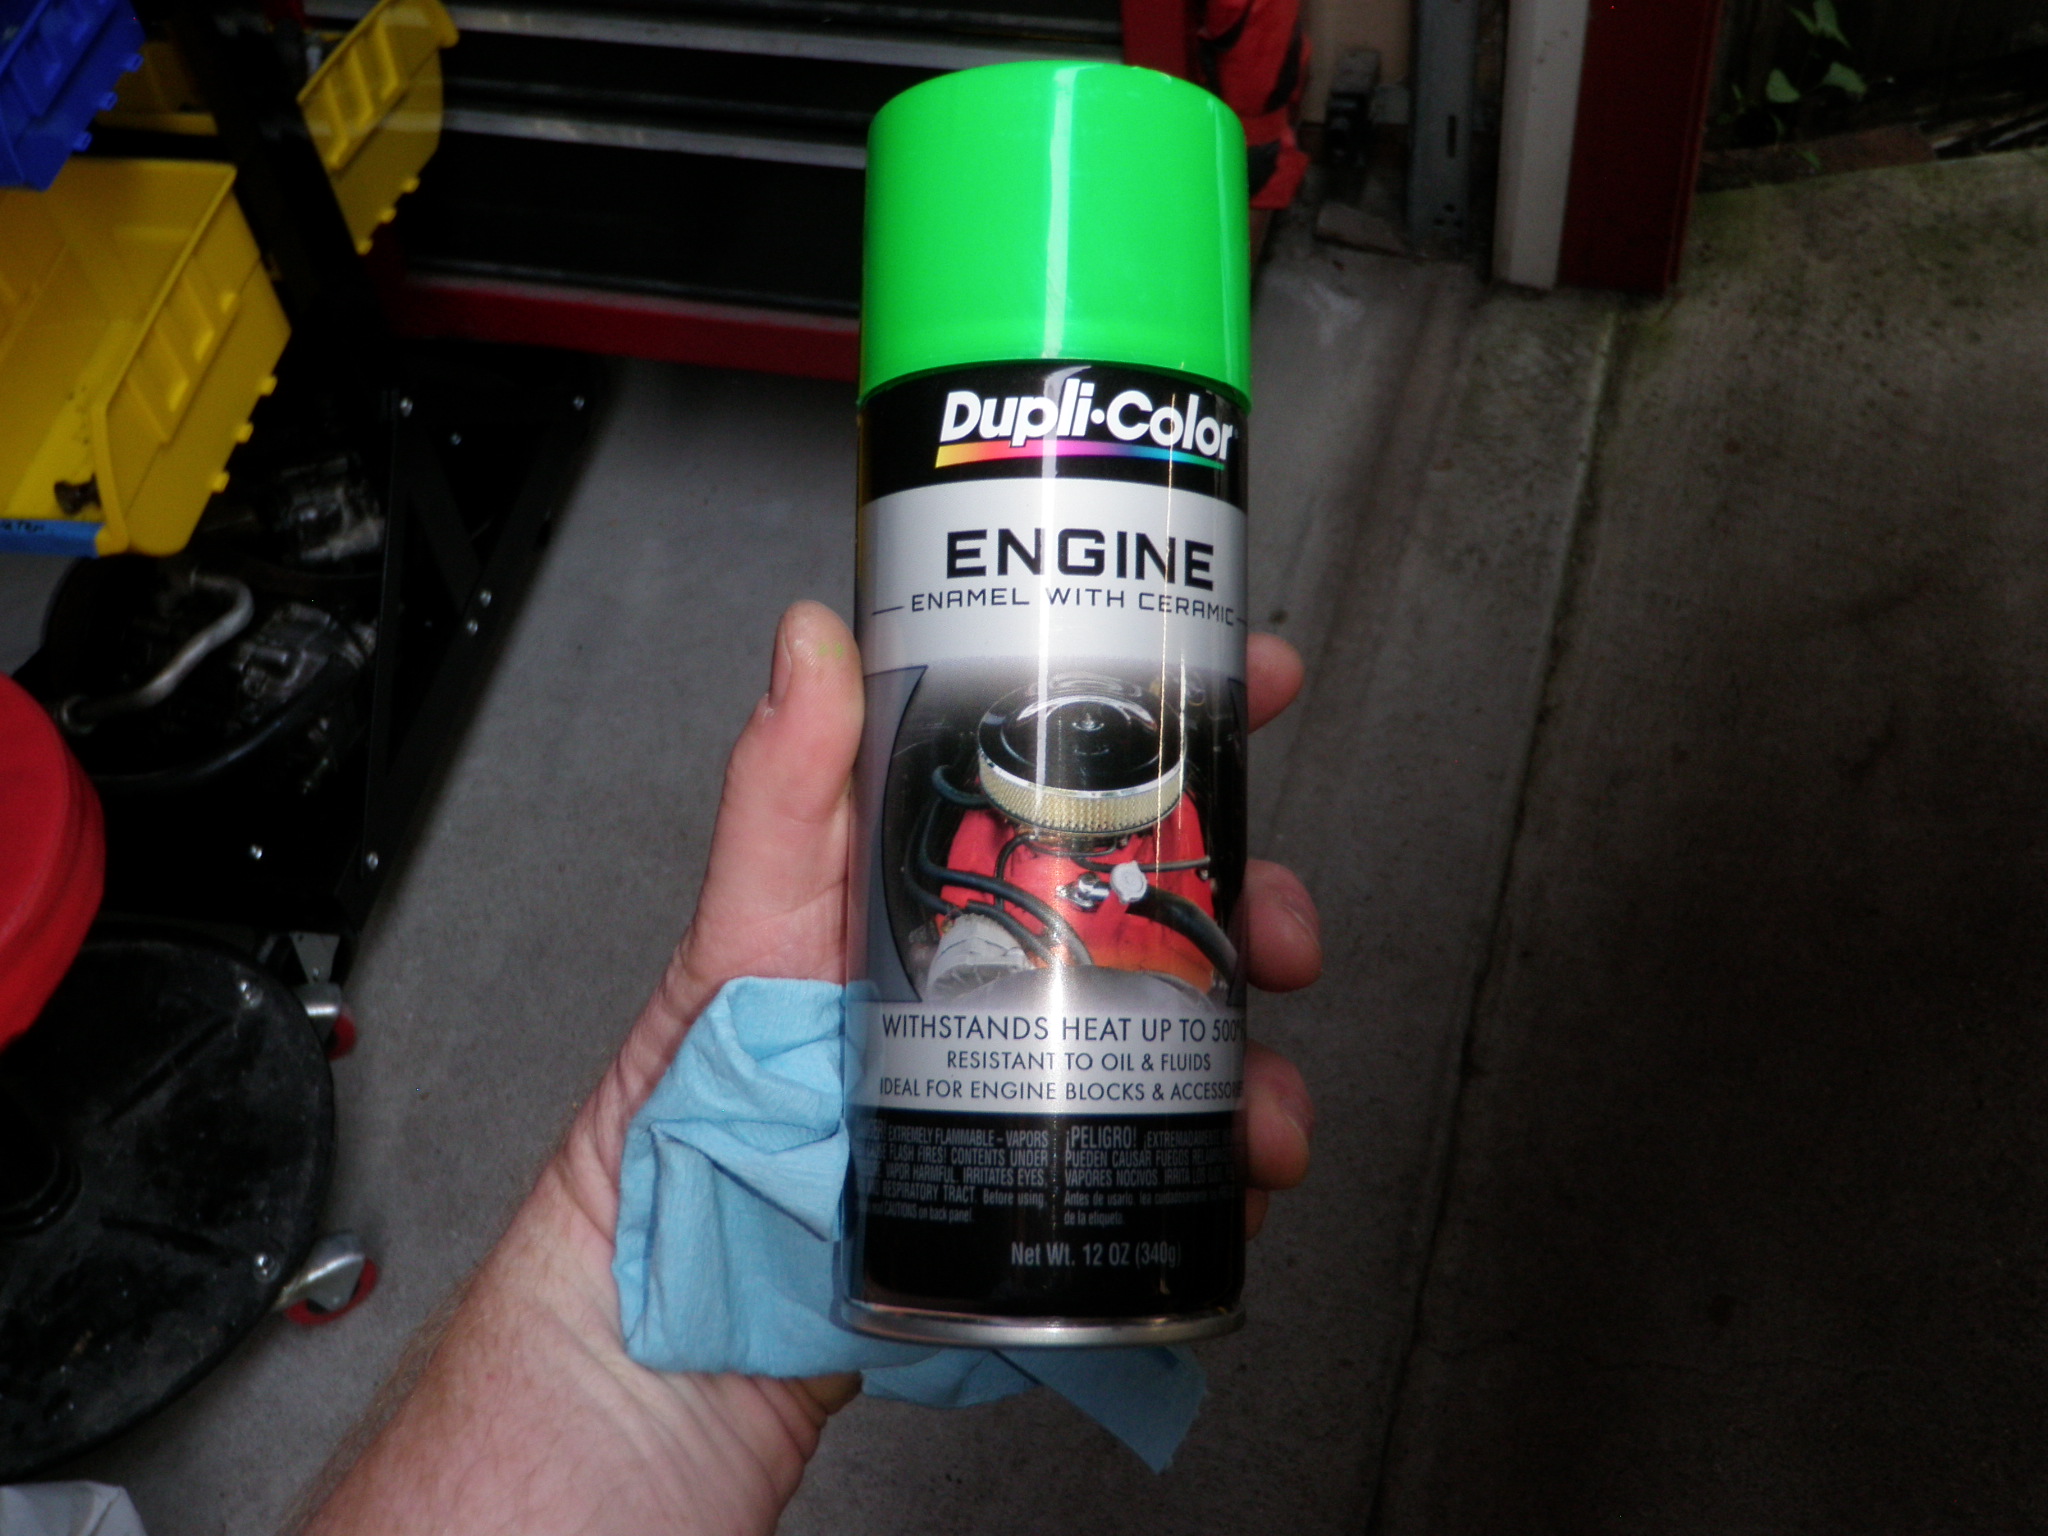
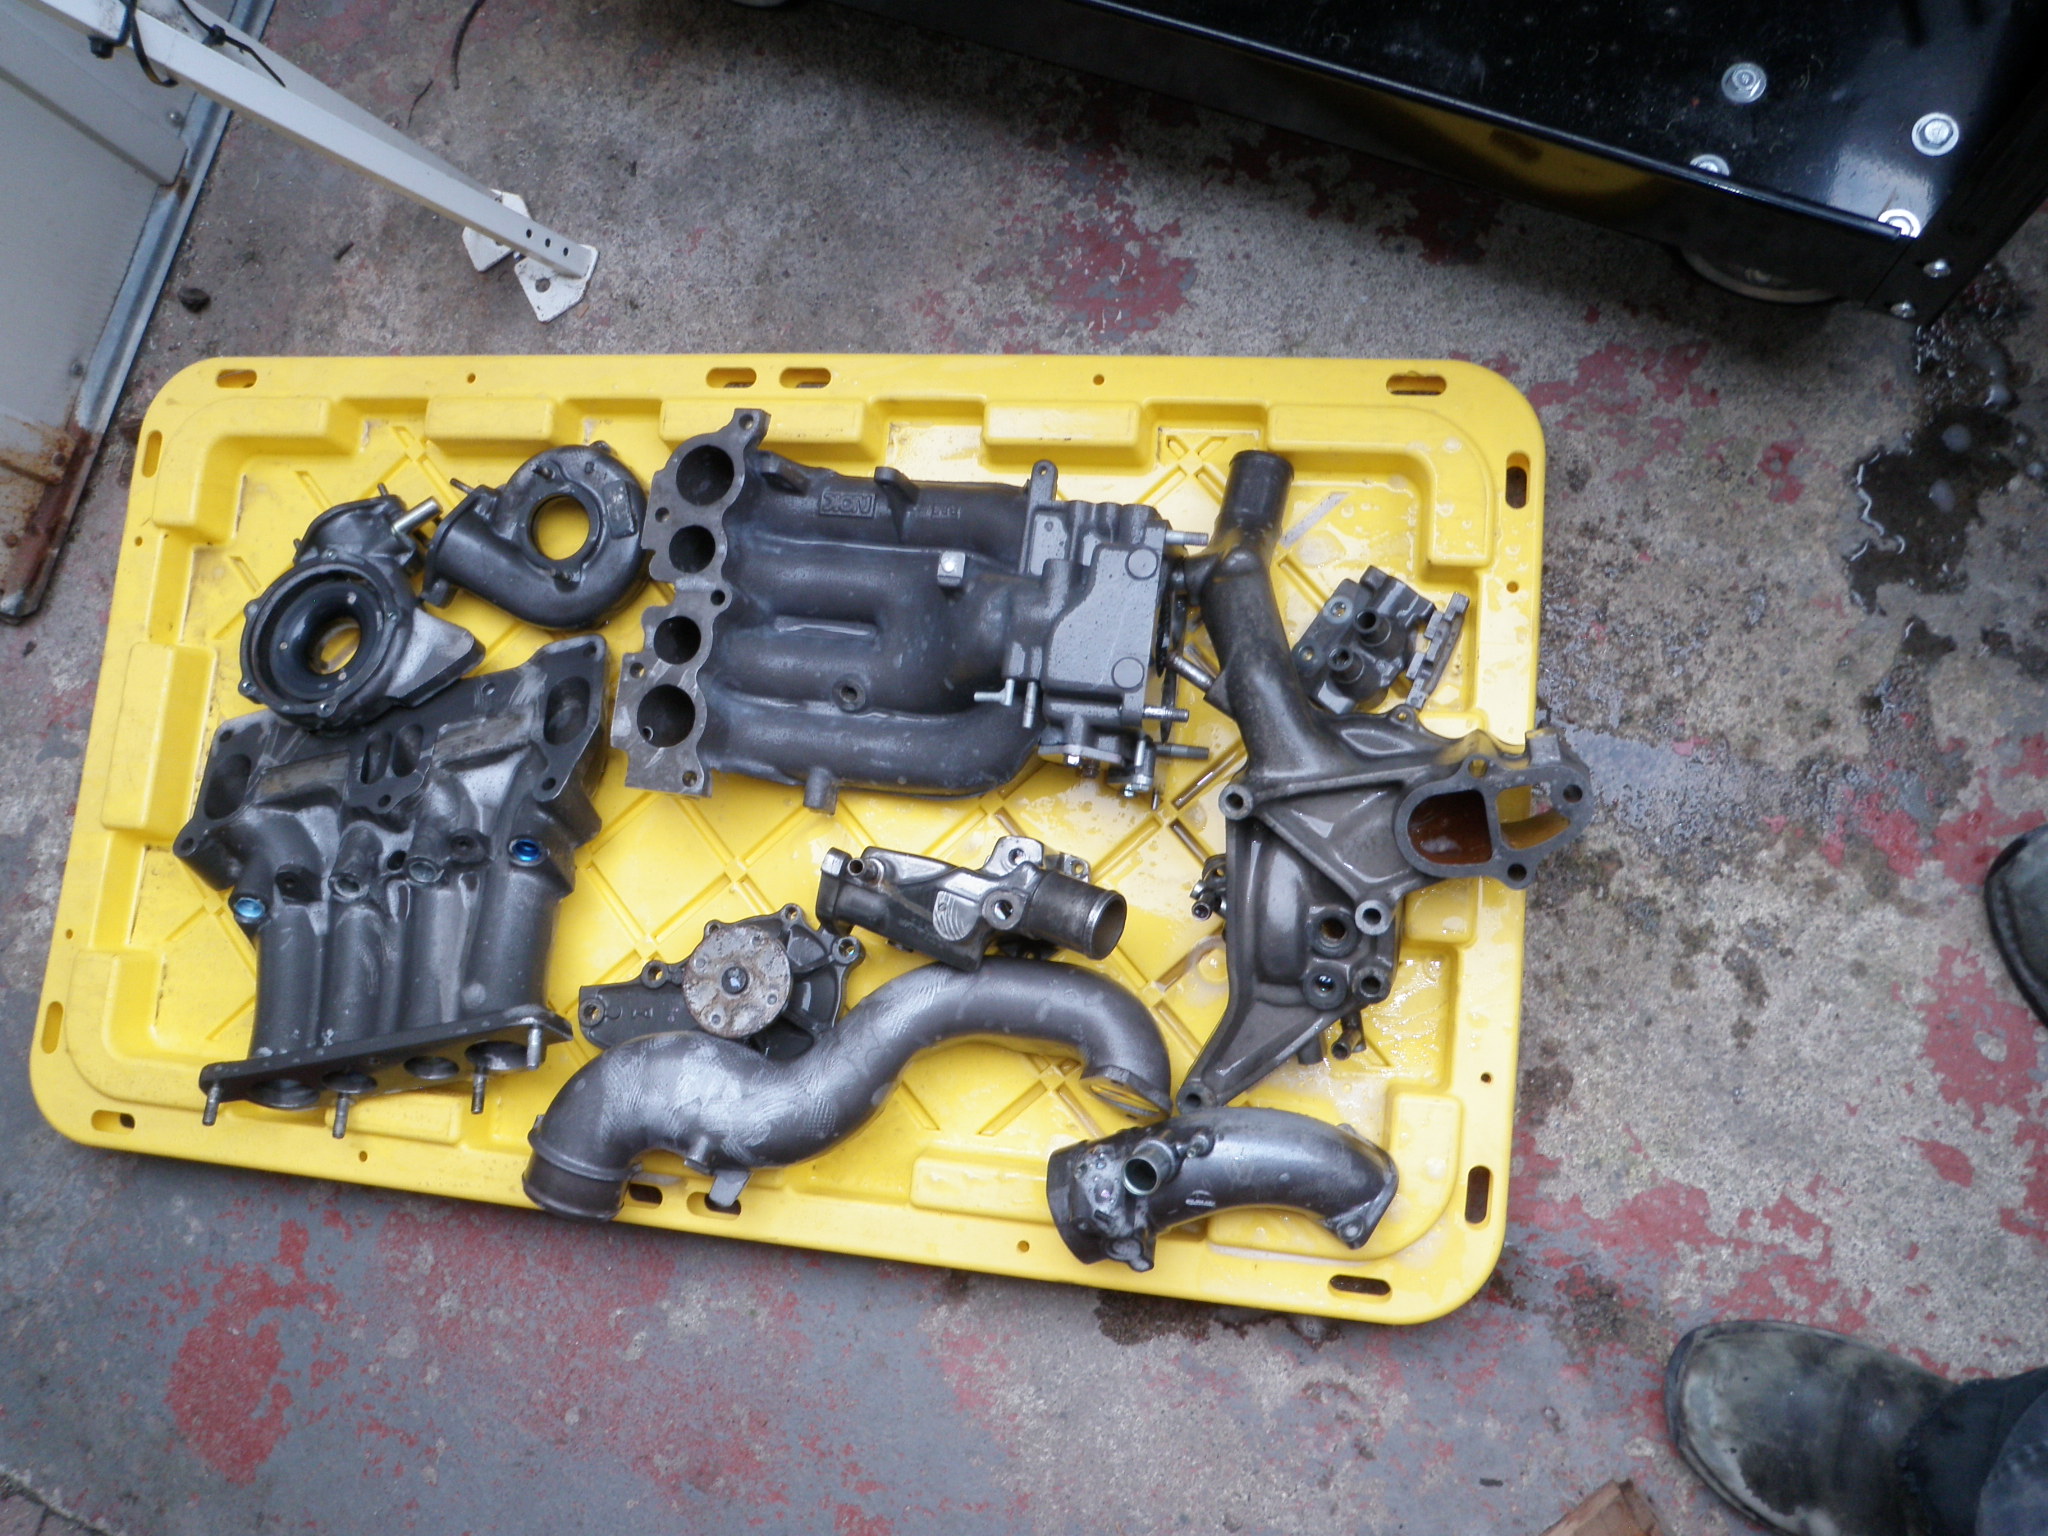
    I found the green paint for my engine, cleaned up turbo exhaust shields.

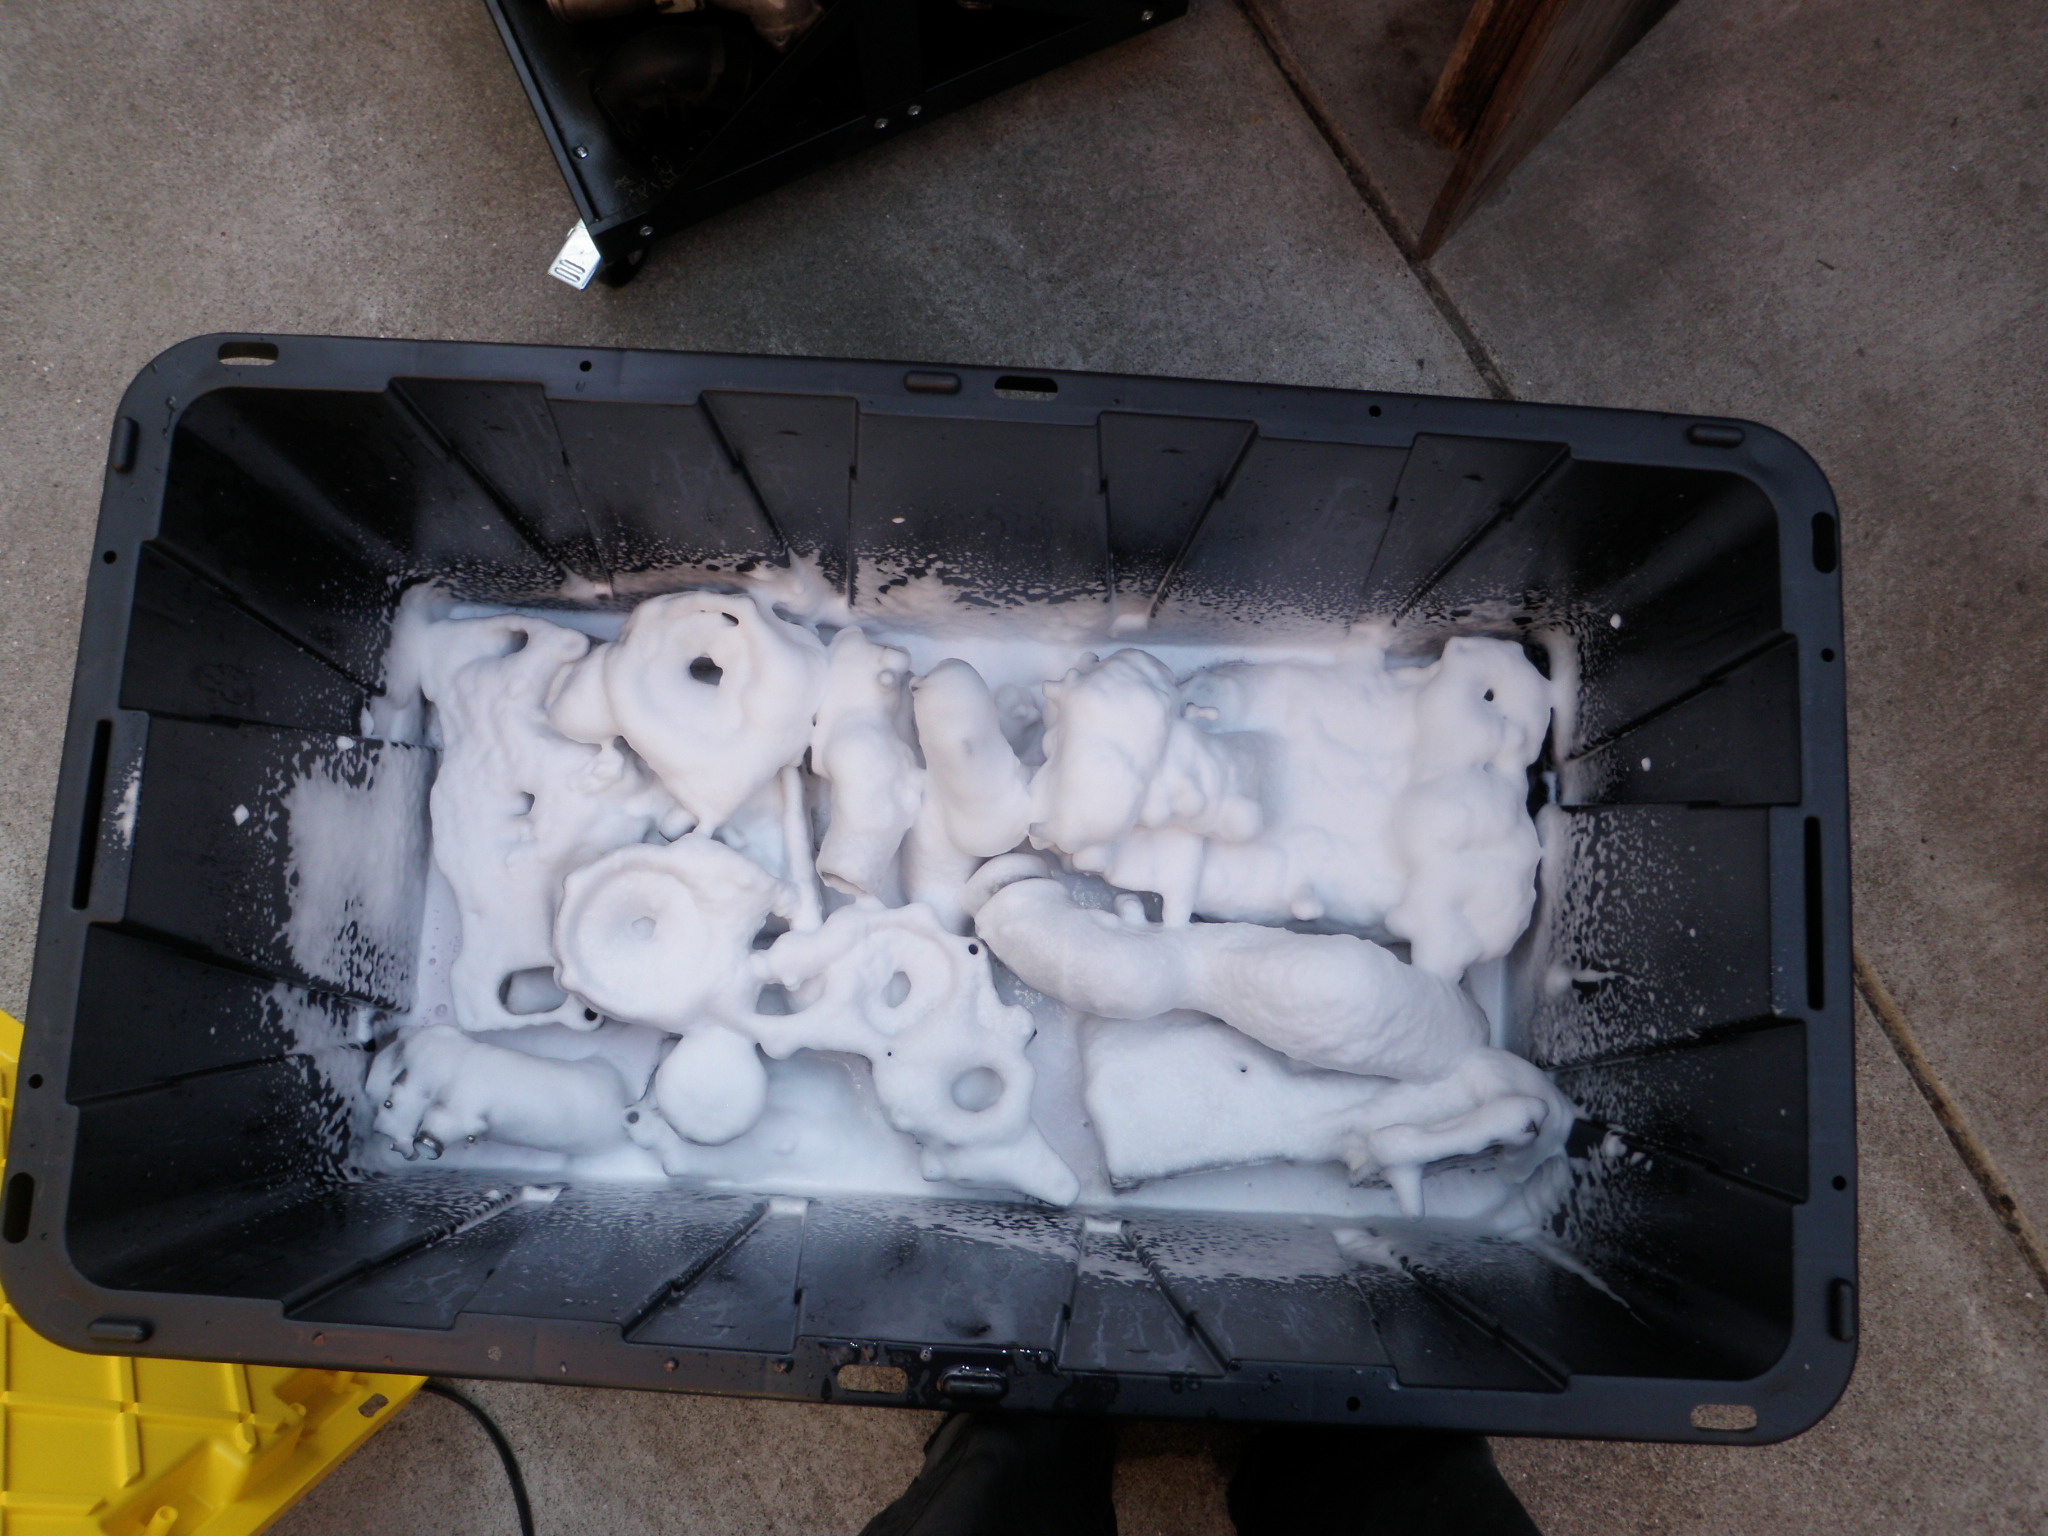
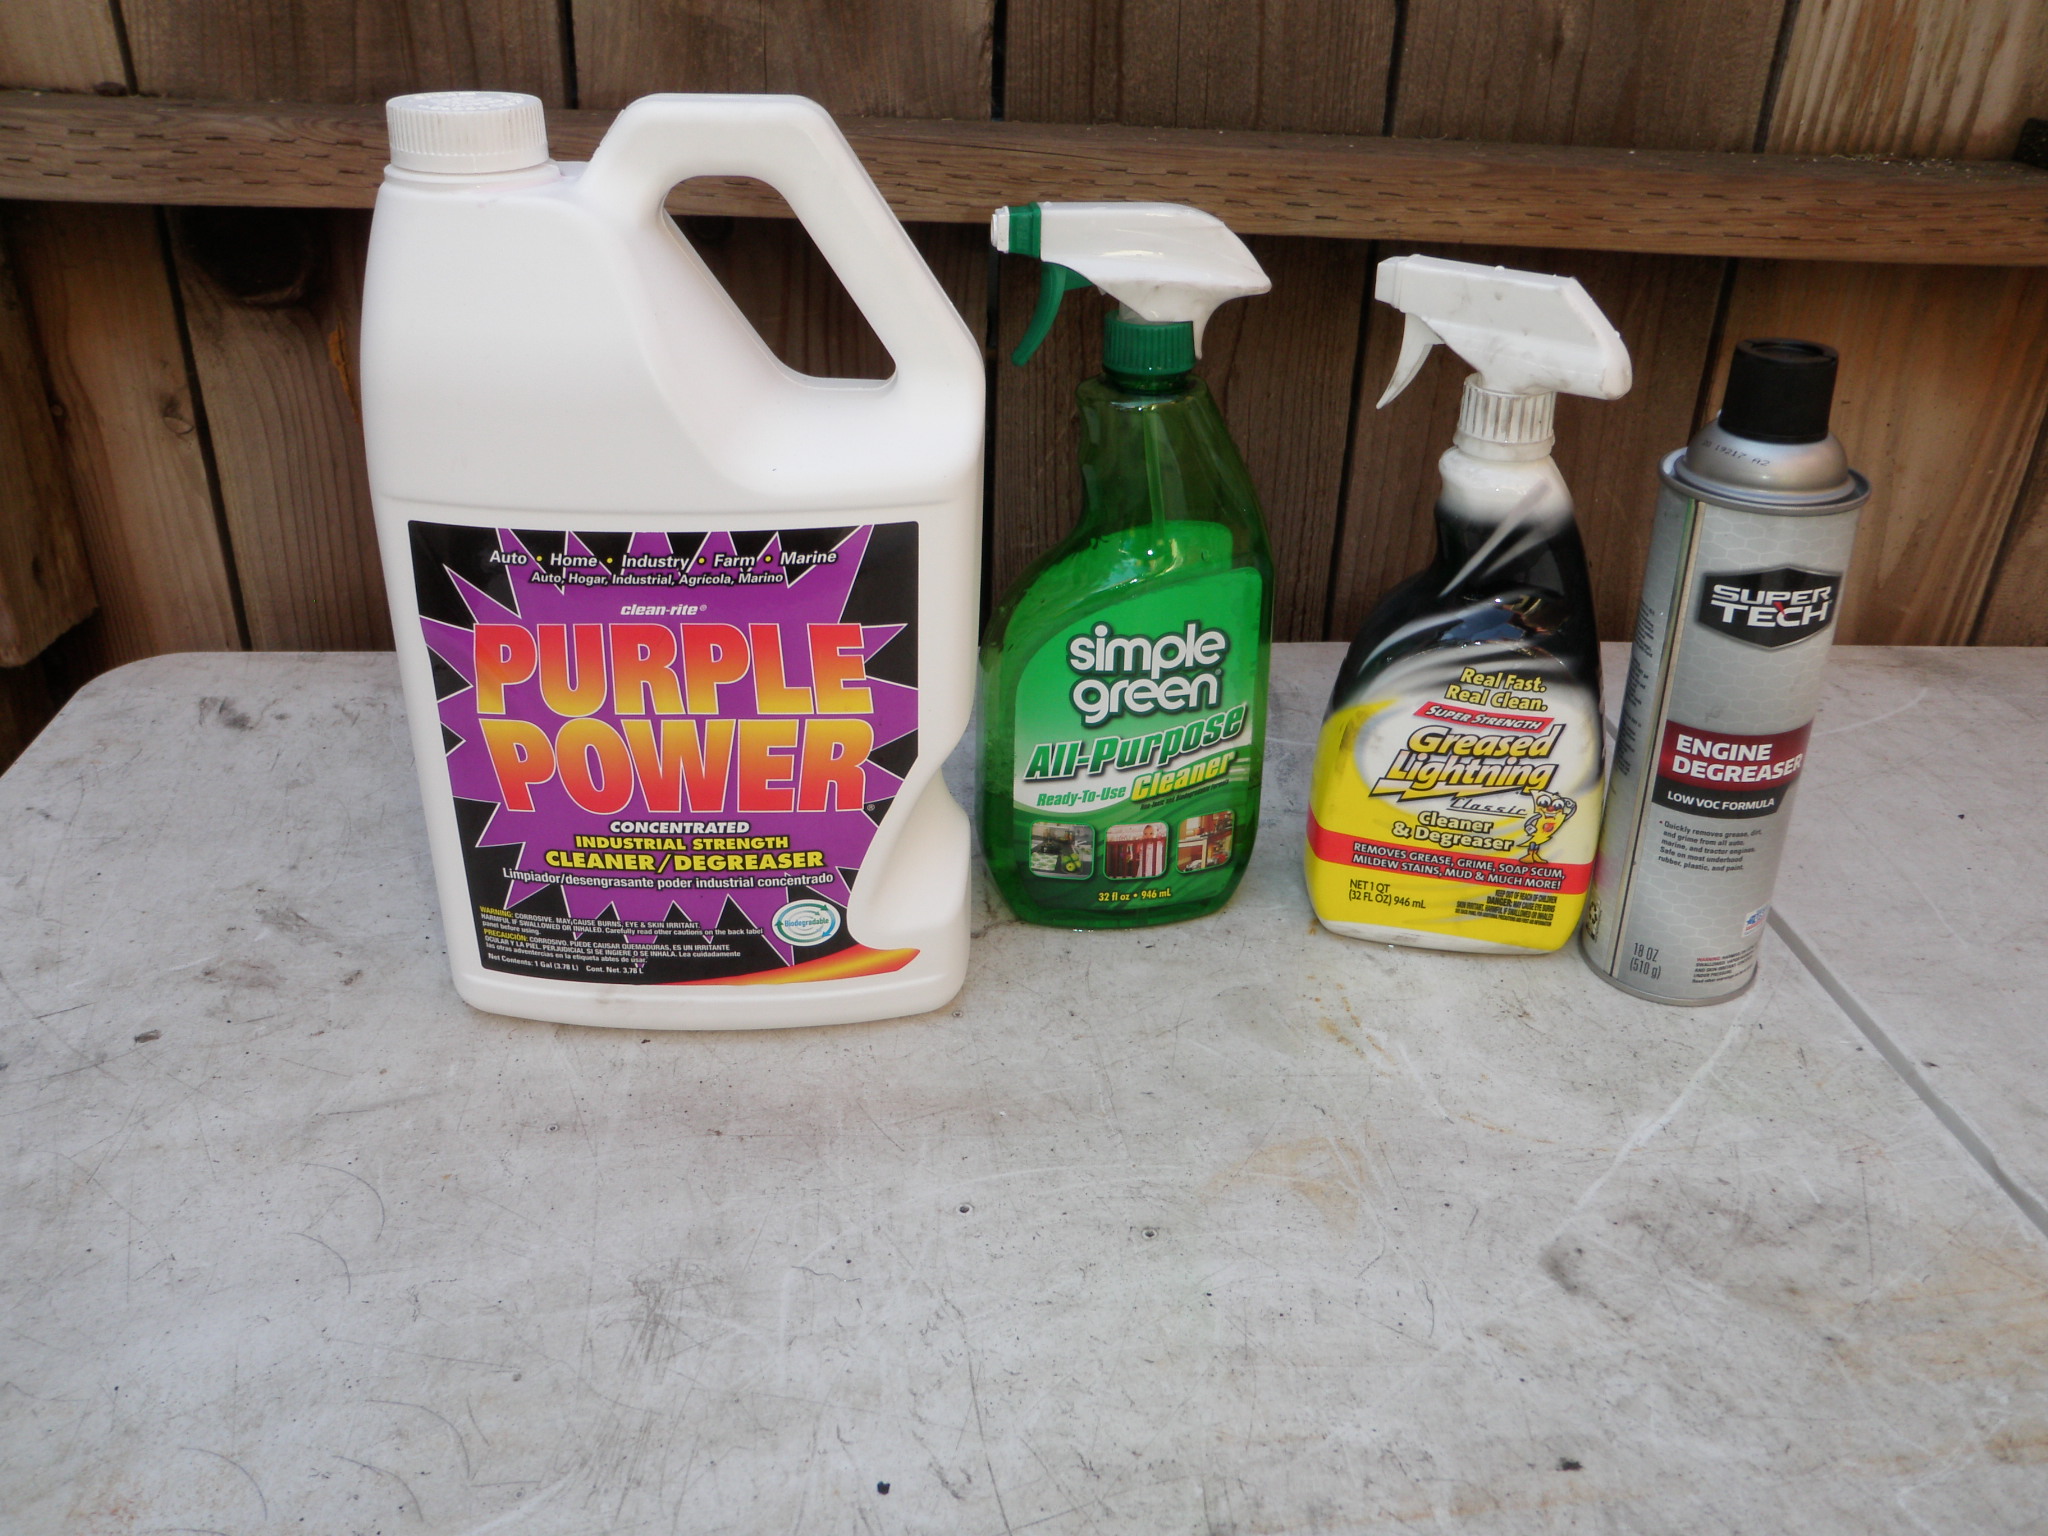
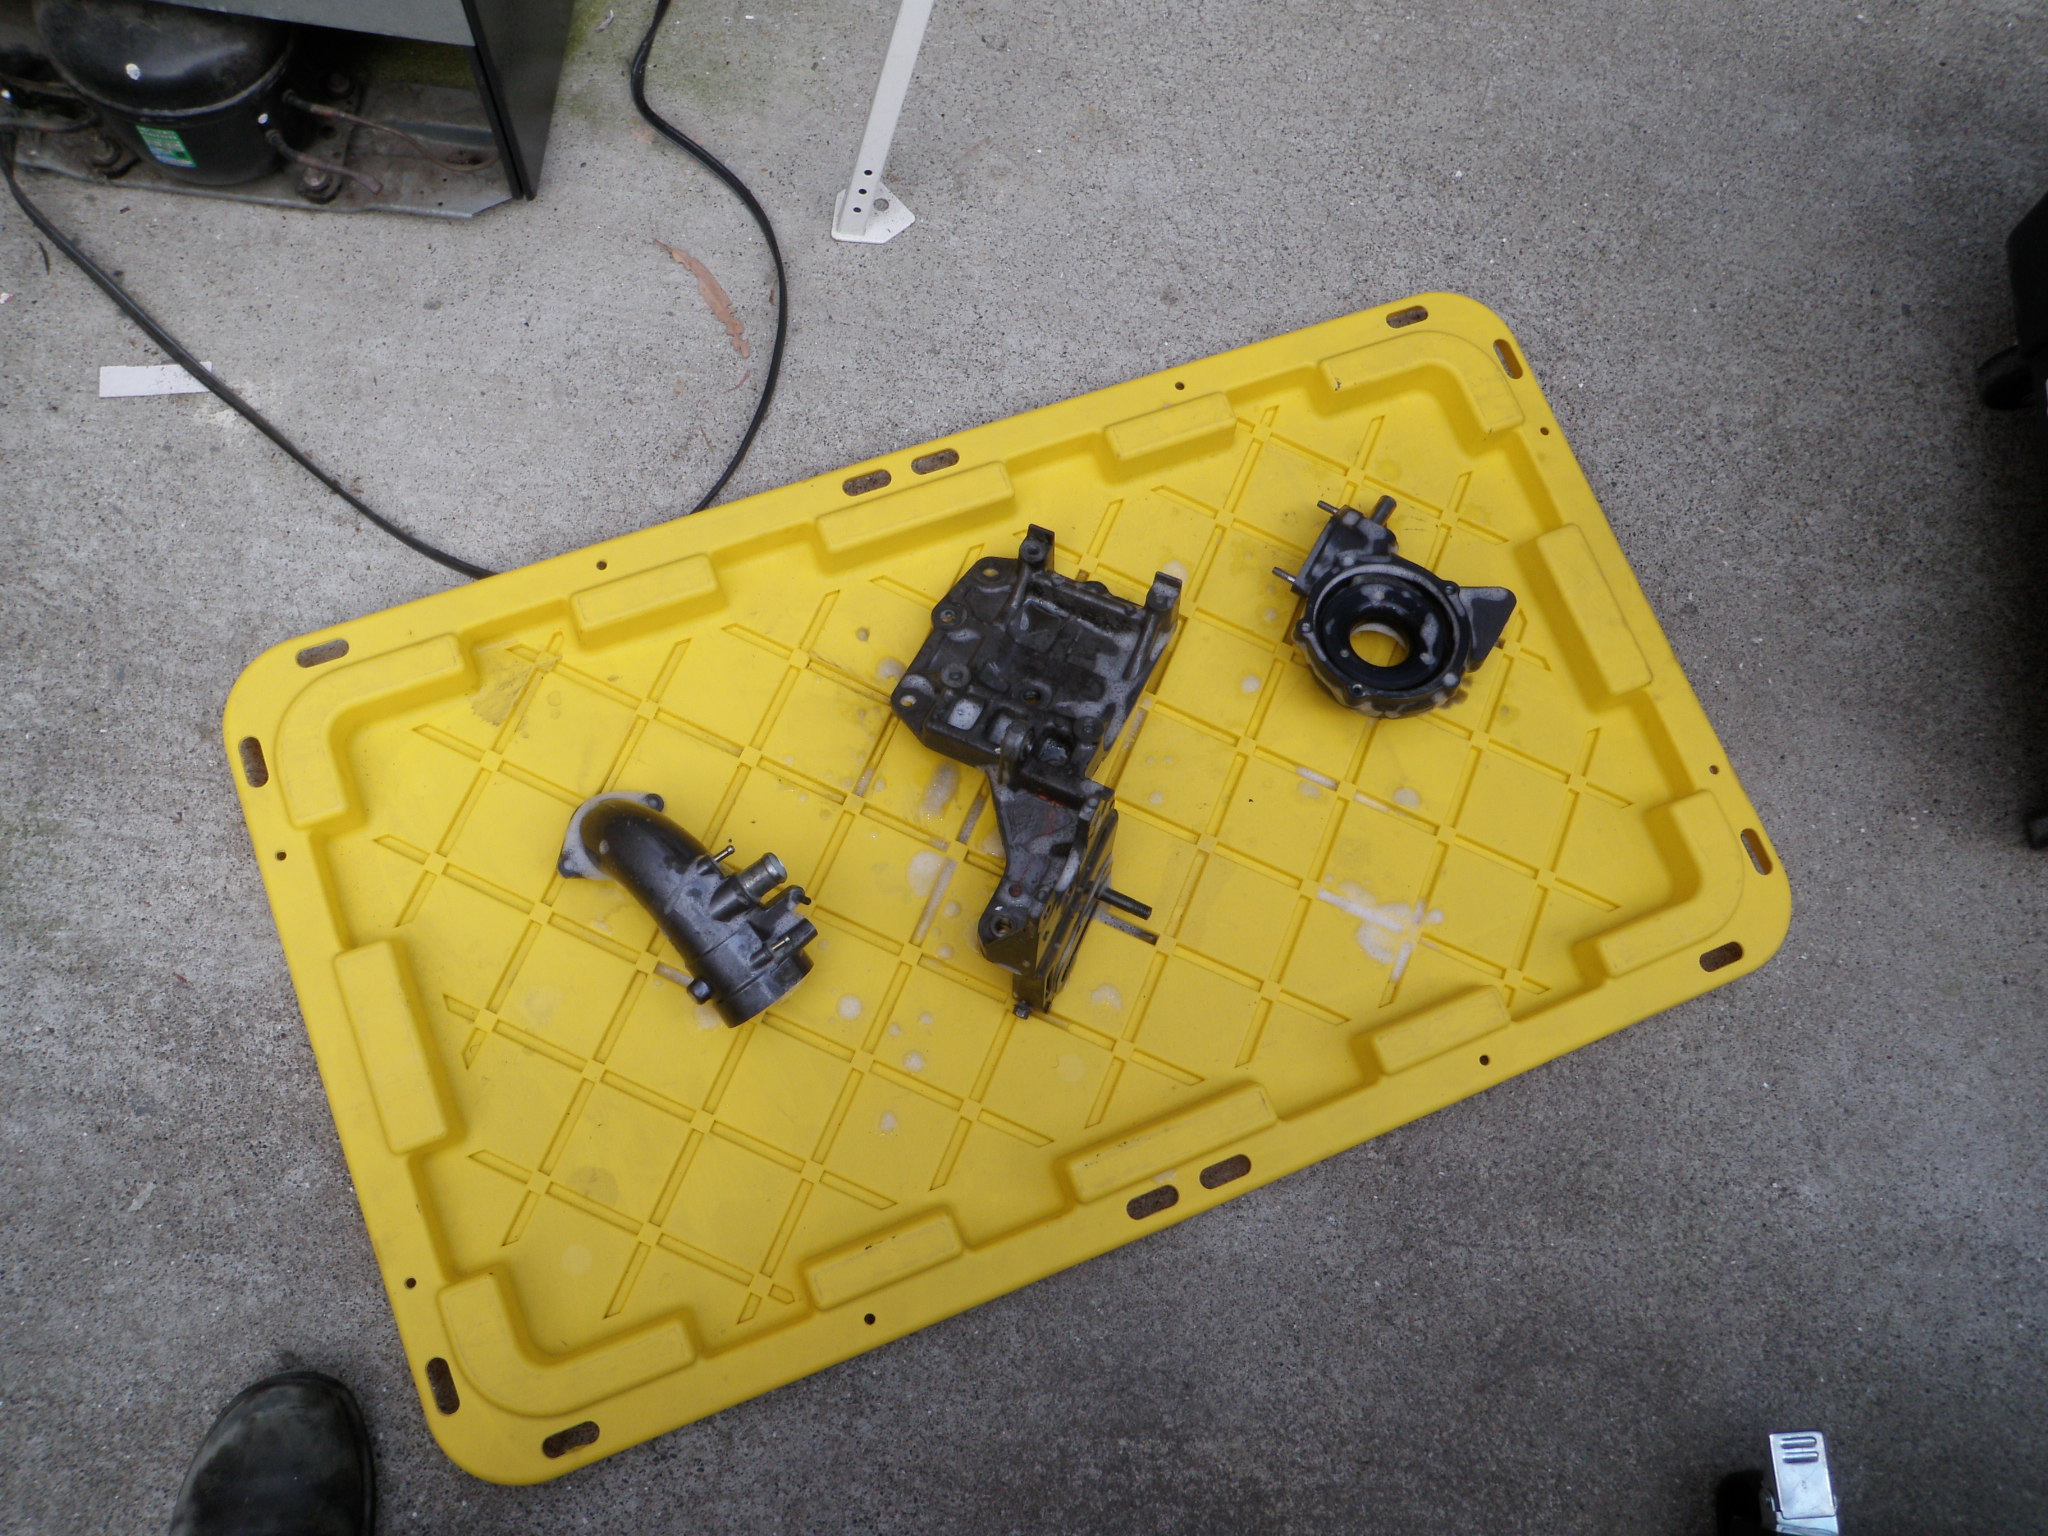
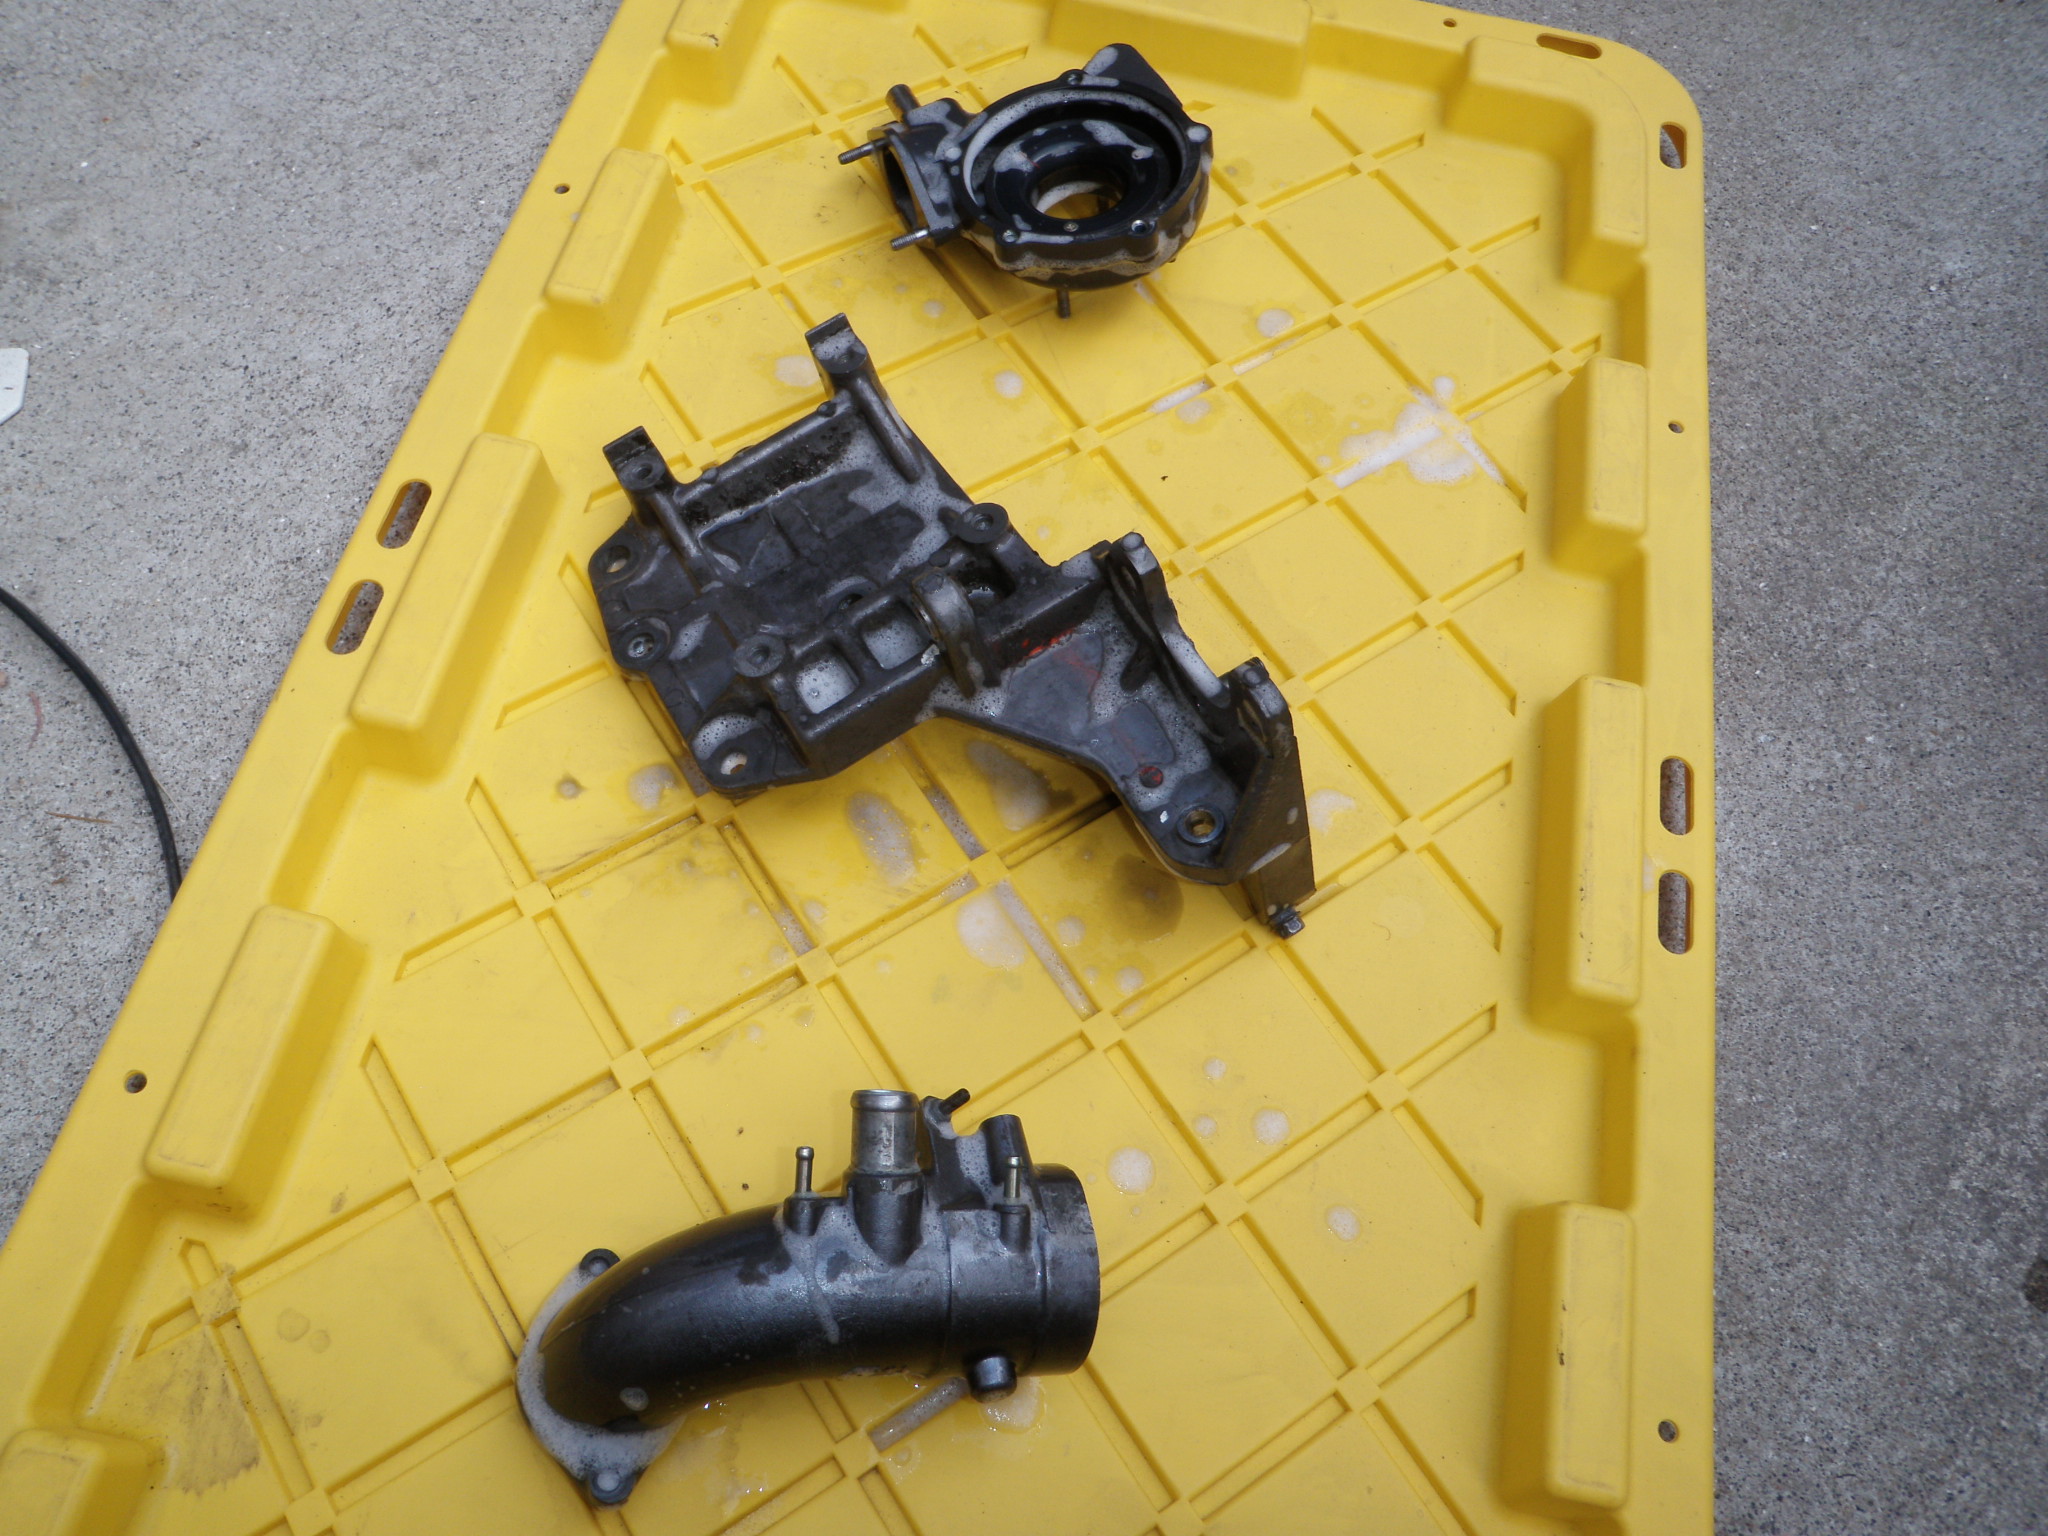
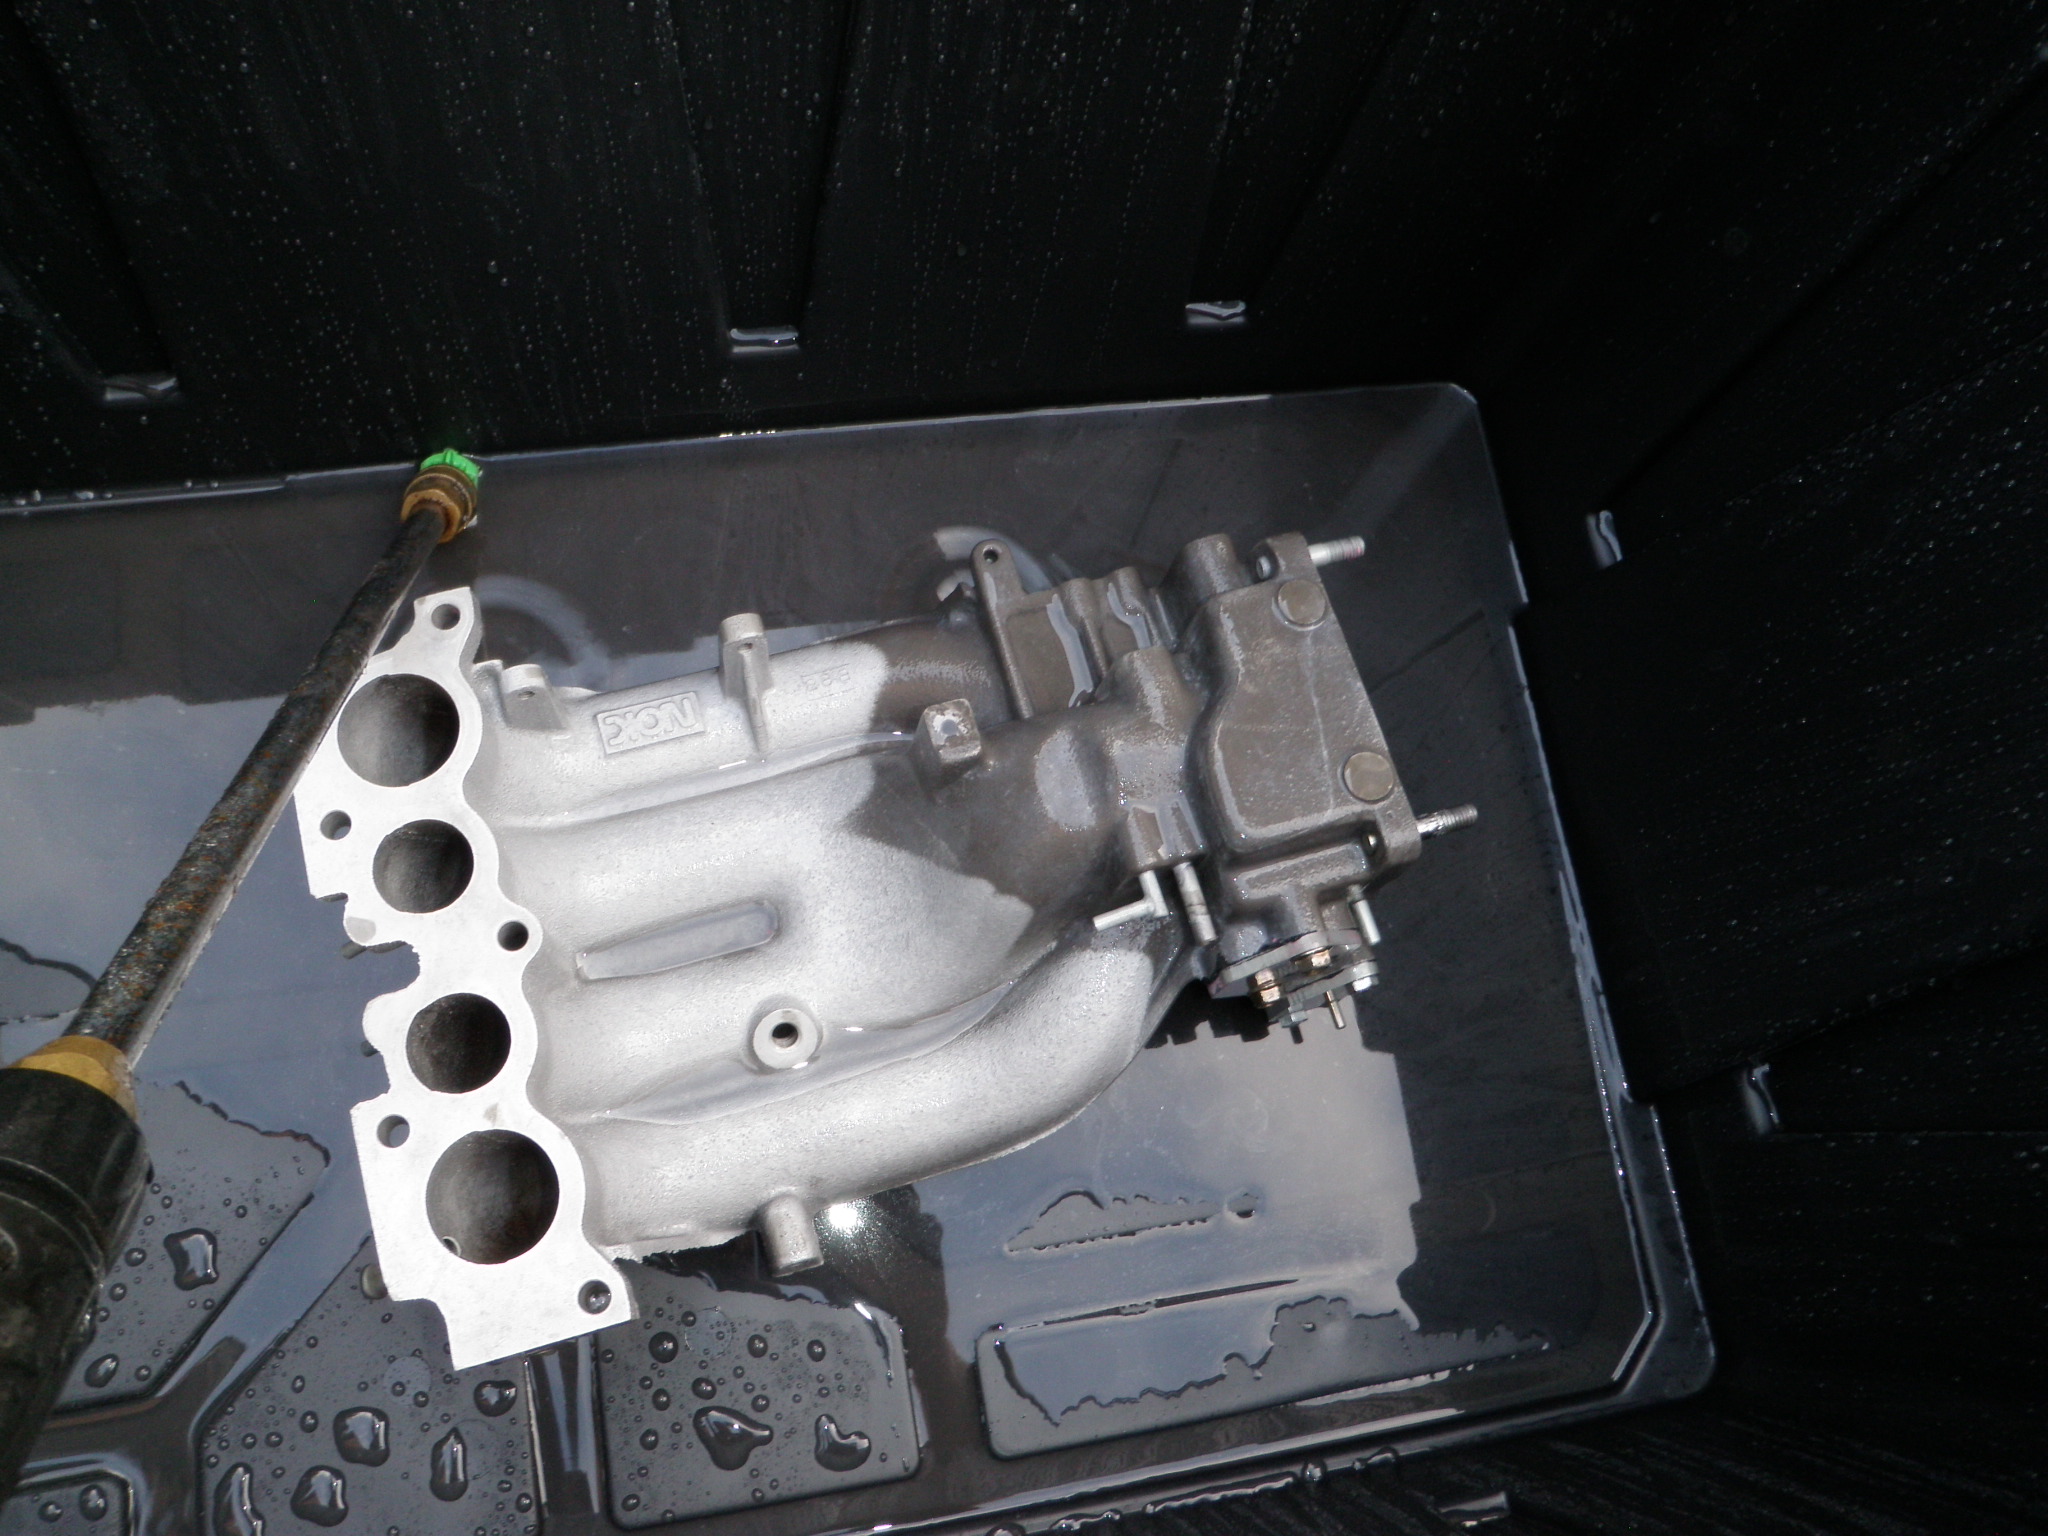
    I made a mix of some cleaners and it turned the aluminum black

    Luckily I have a power washer and I was able to get most of it off, but some of it was stained.

    Thank God I was going to repaint everything anyways. Also the chemical mix ate away at the color of one of the blue anodized fuel inserts.

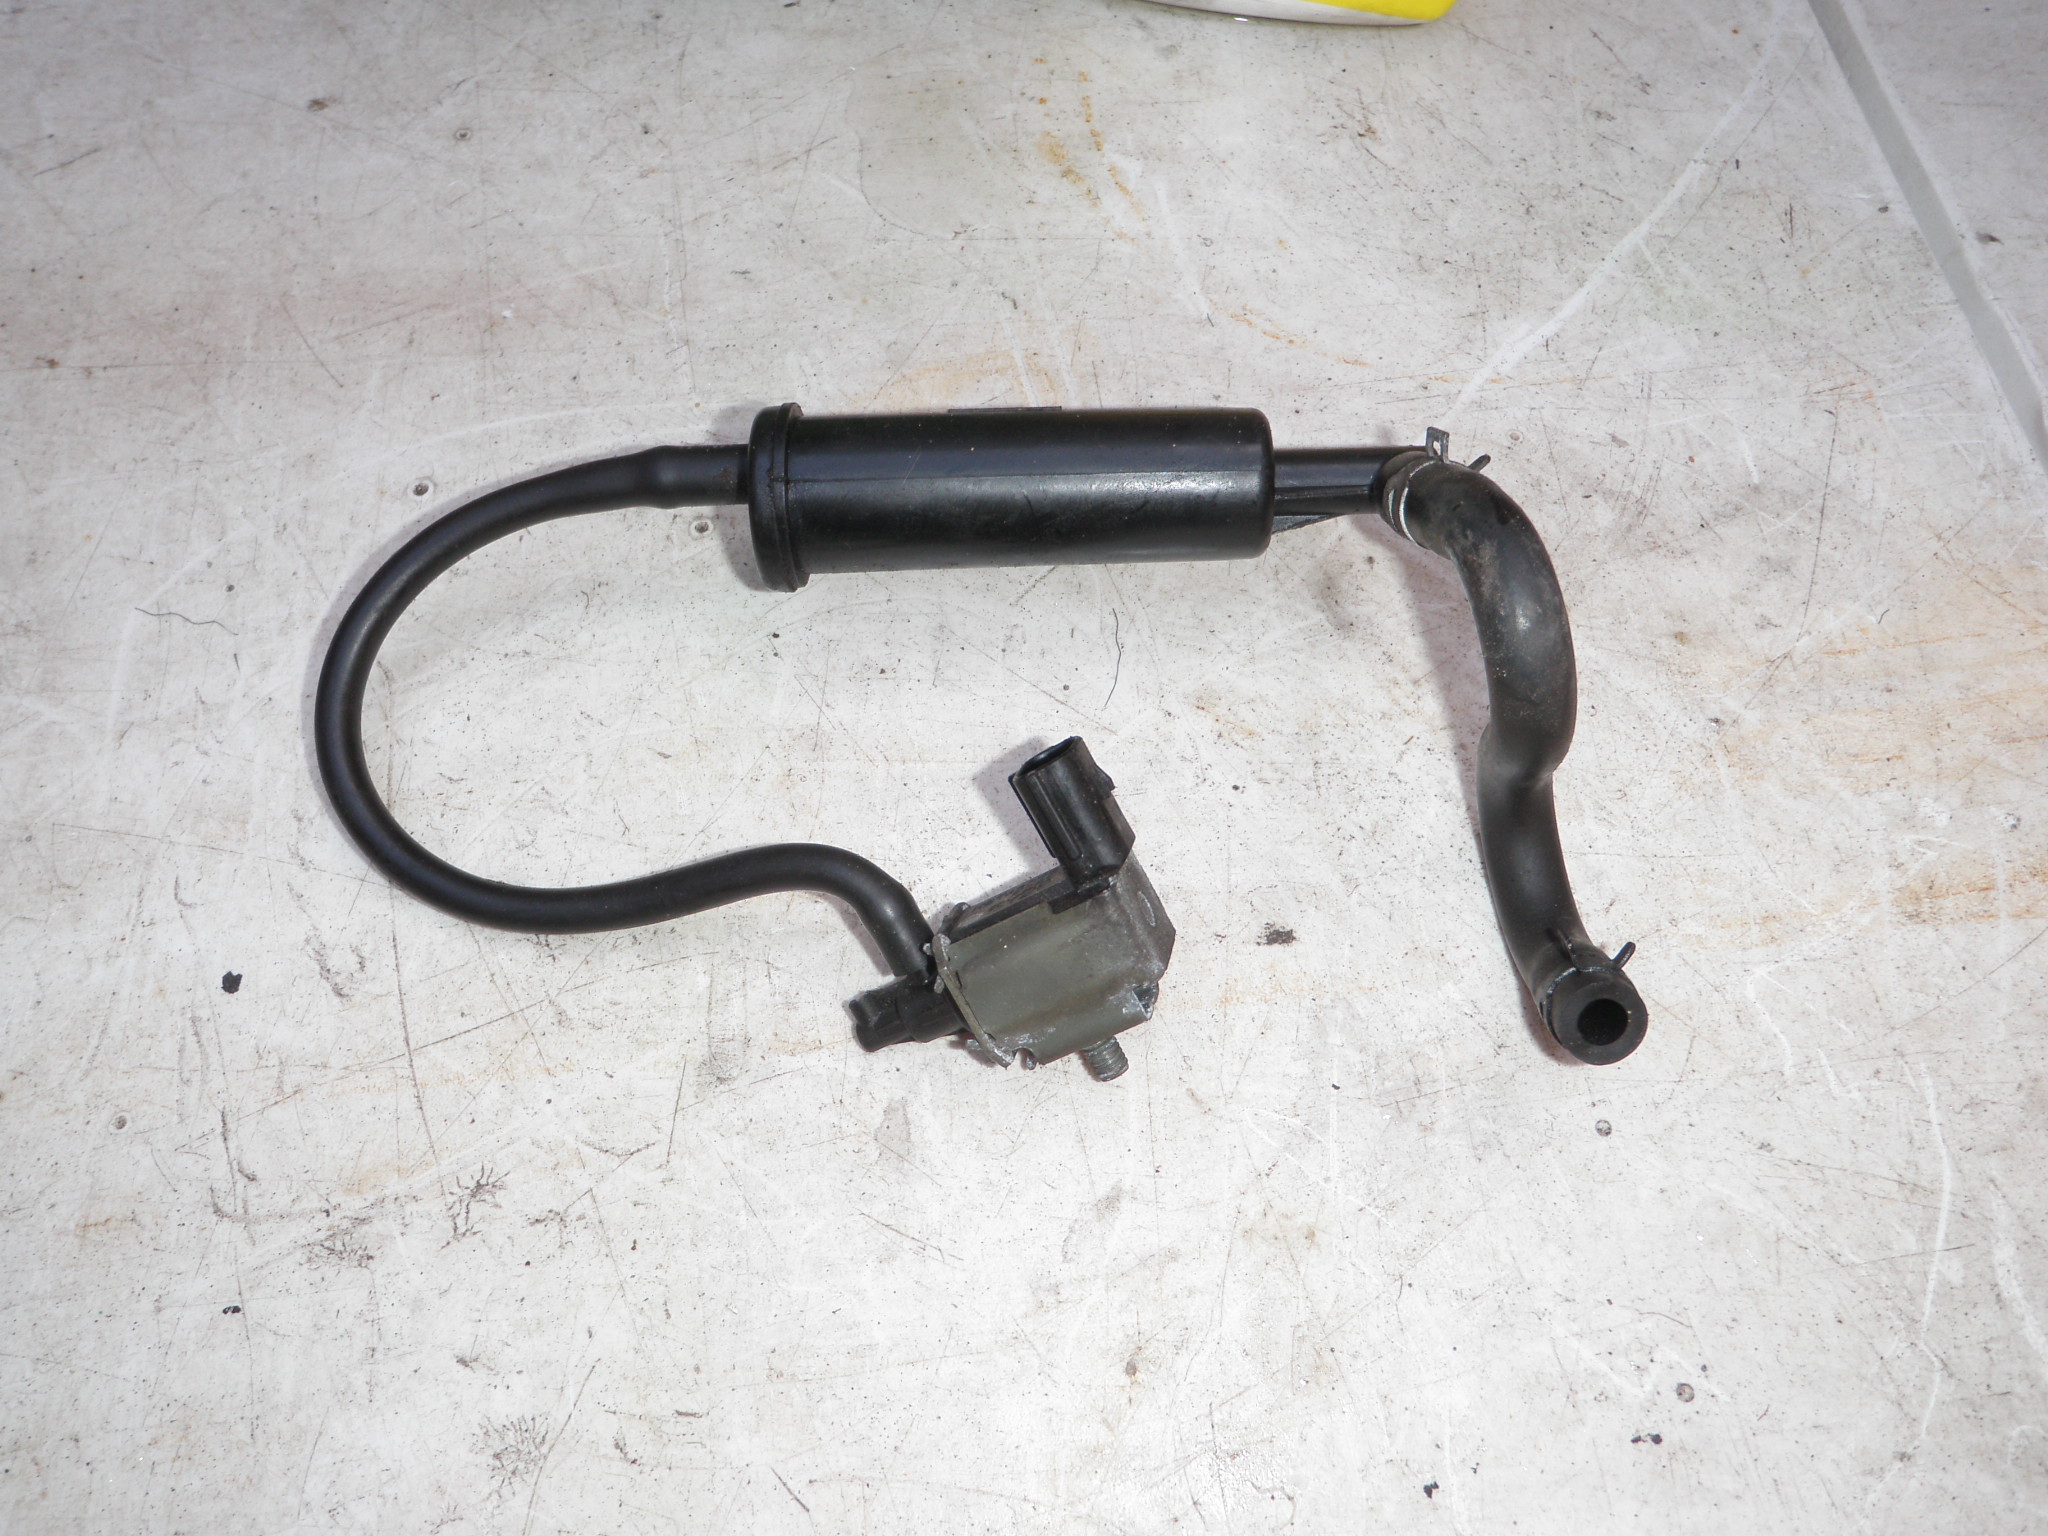
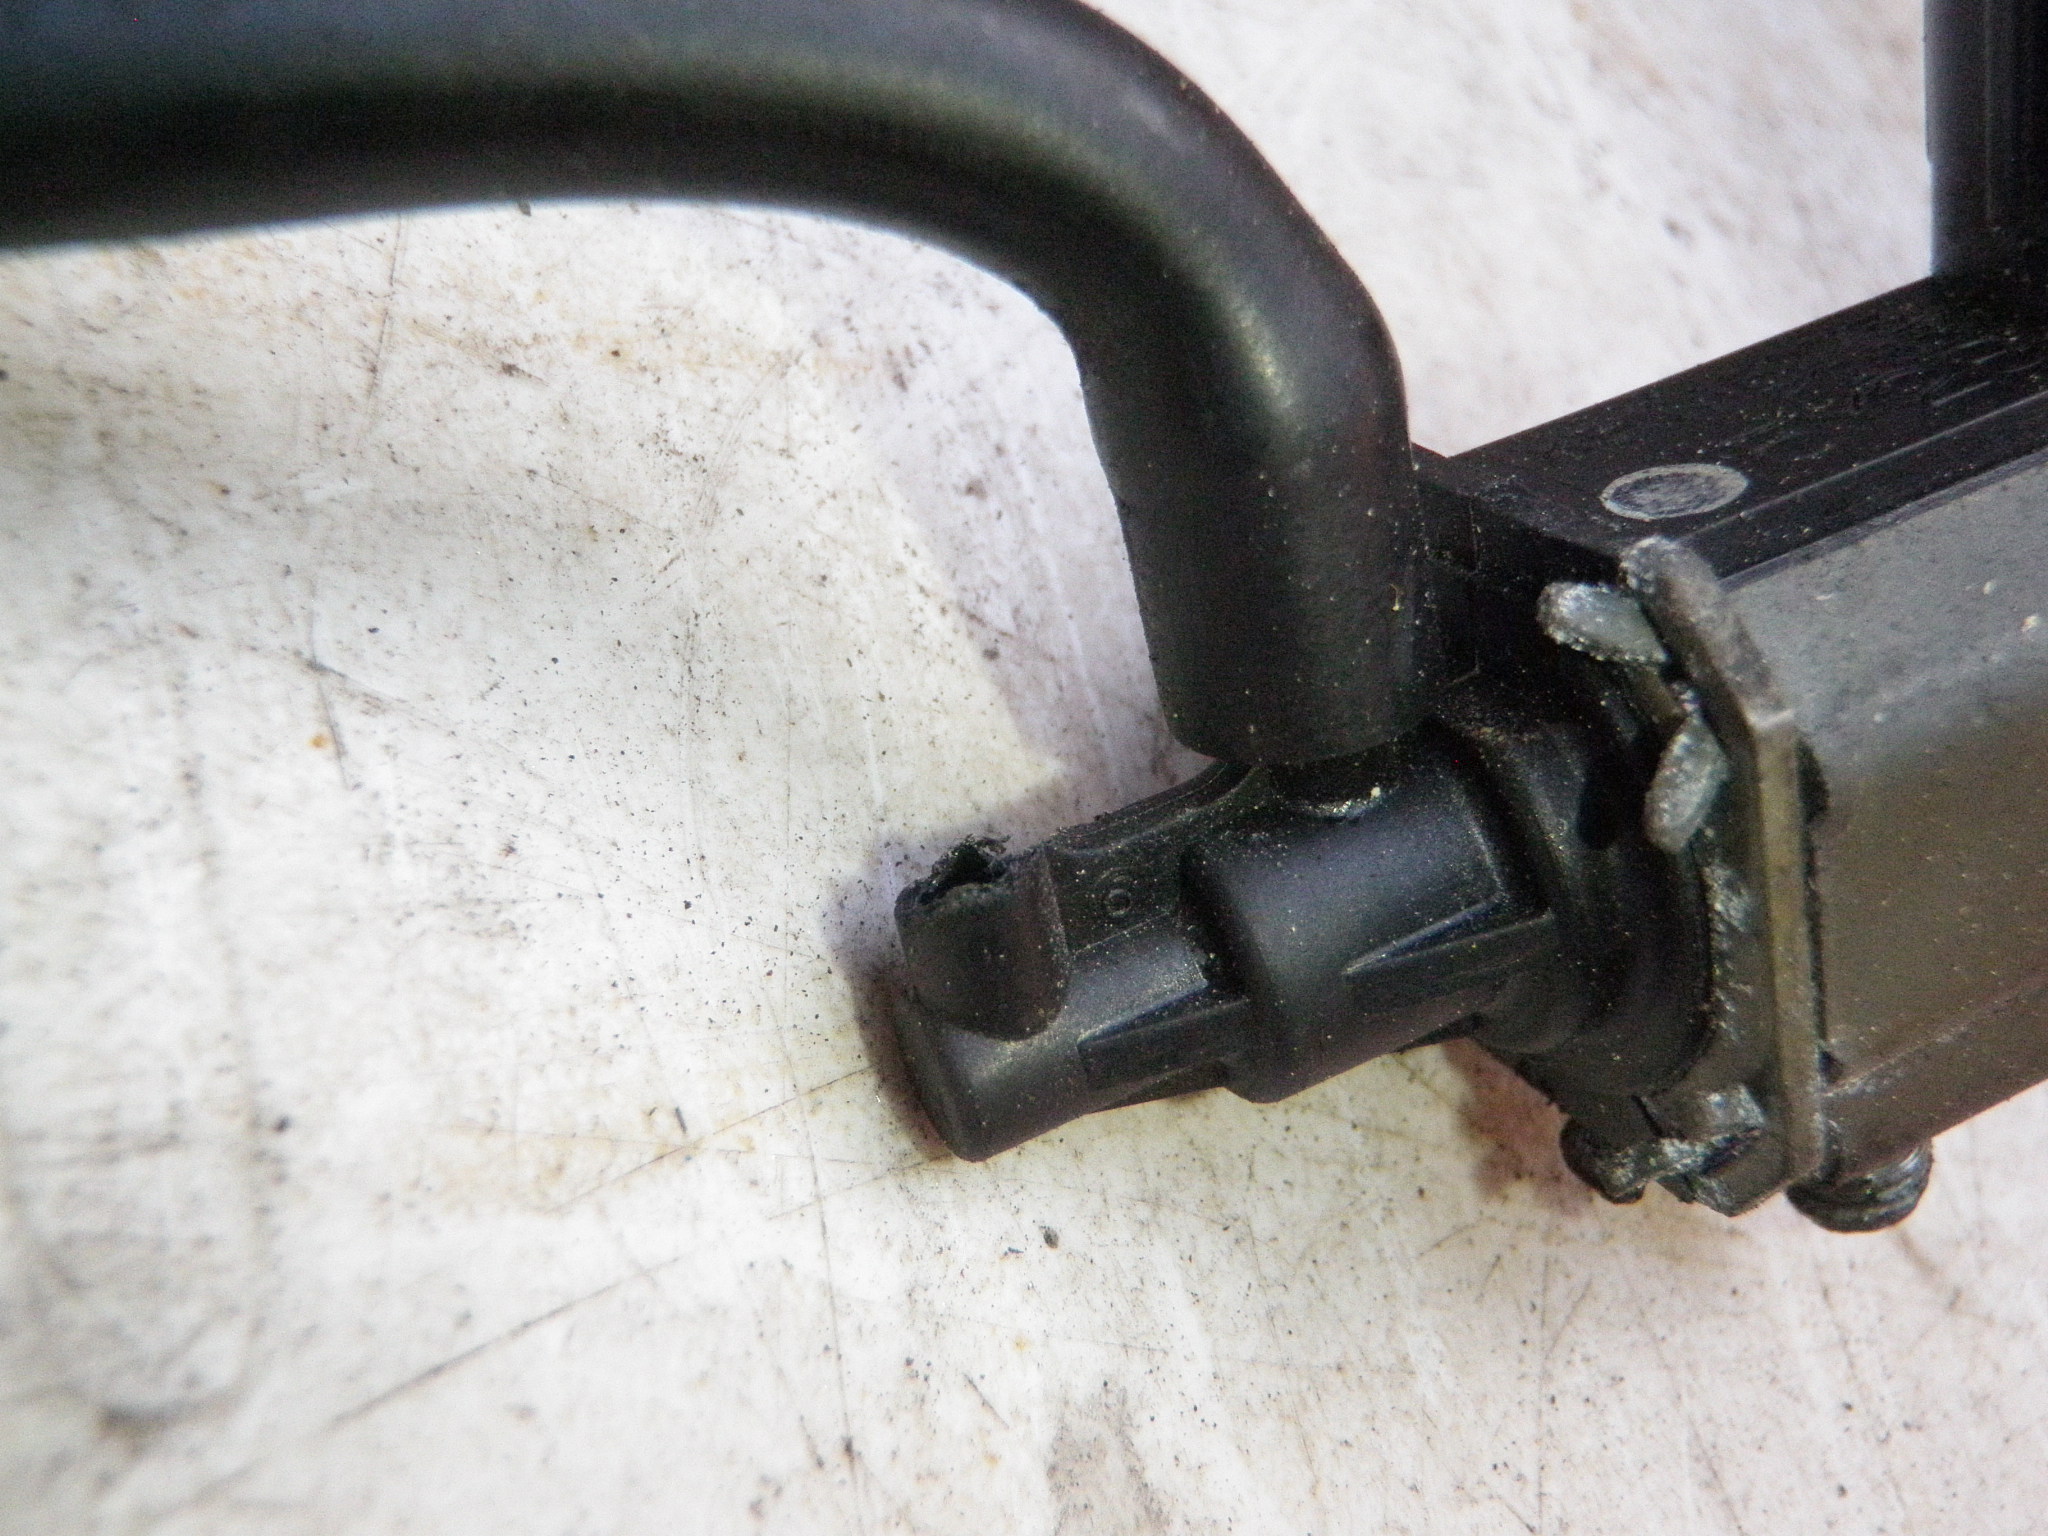
    Anyone have an extra purge solenoid valve, I broke mine.

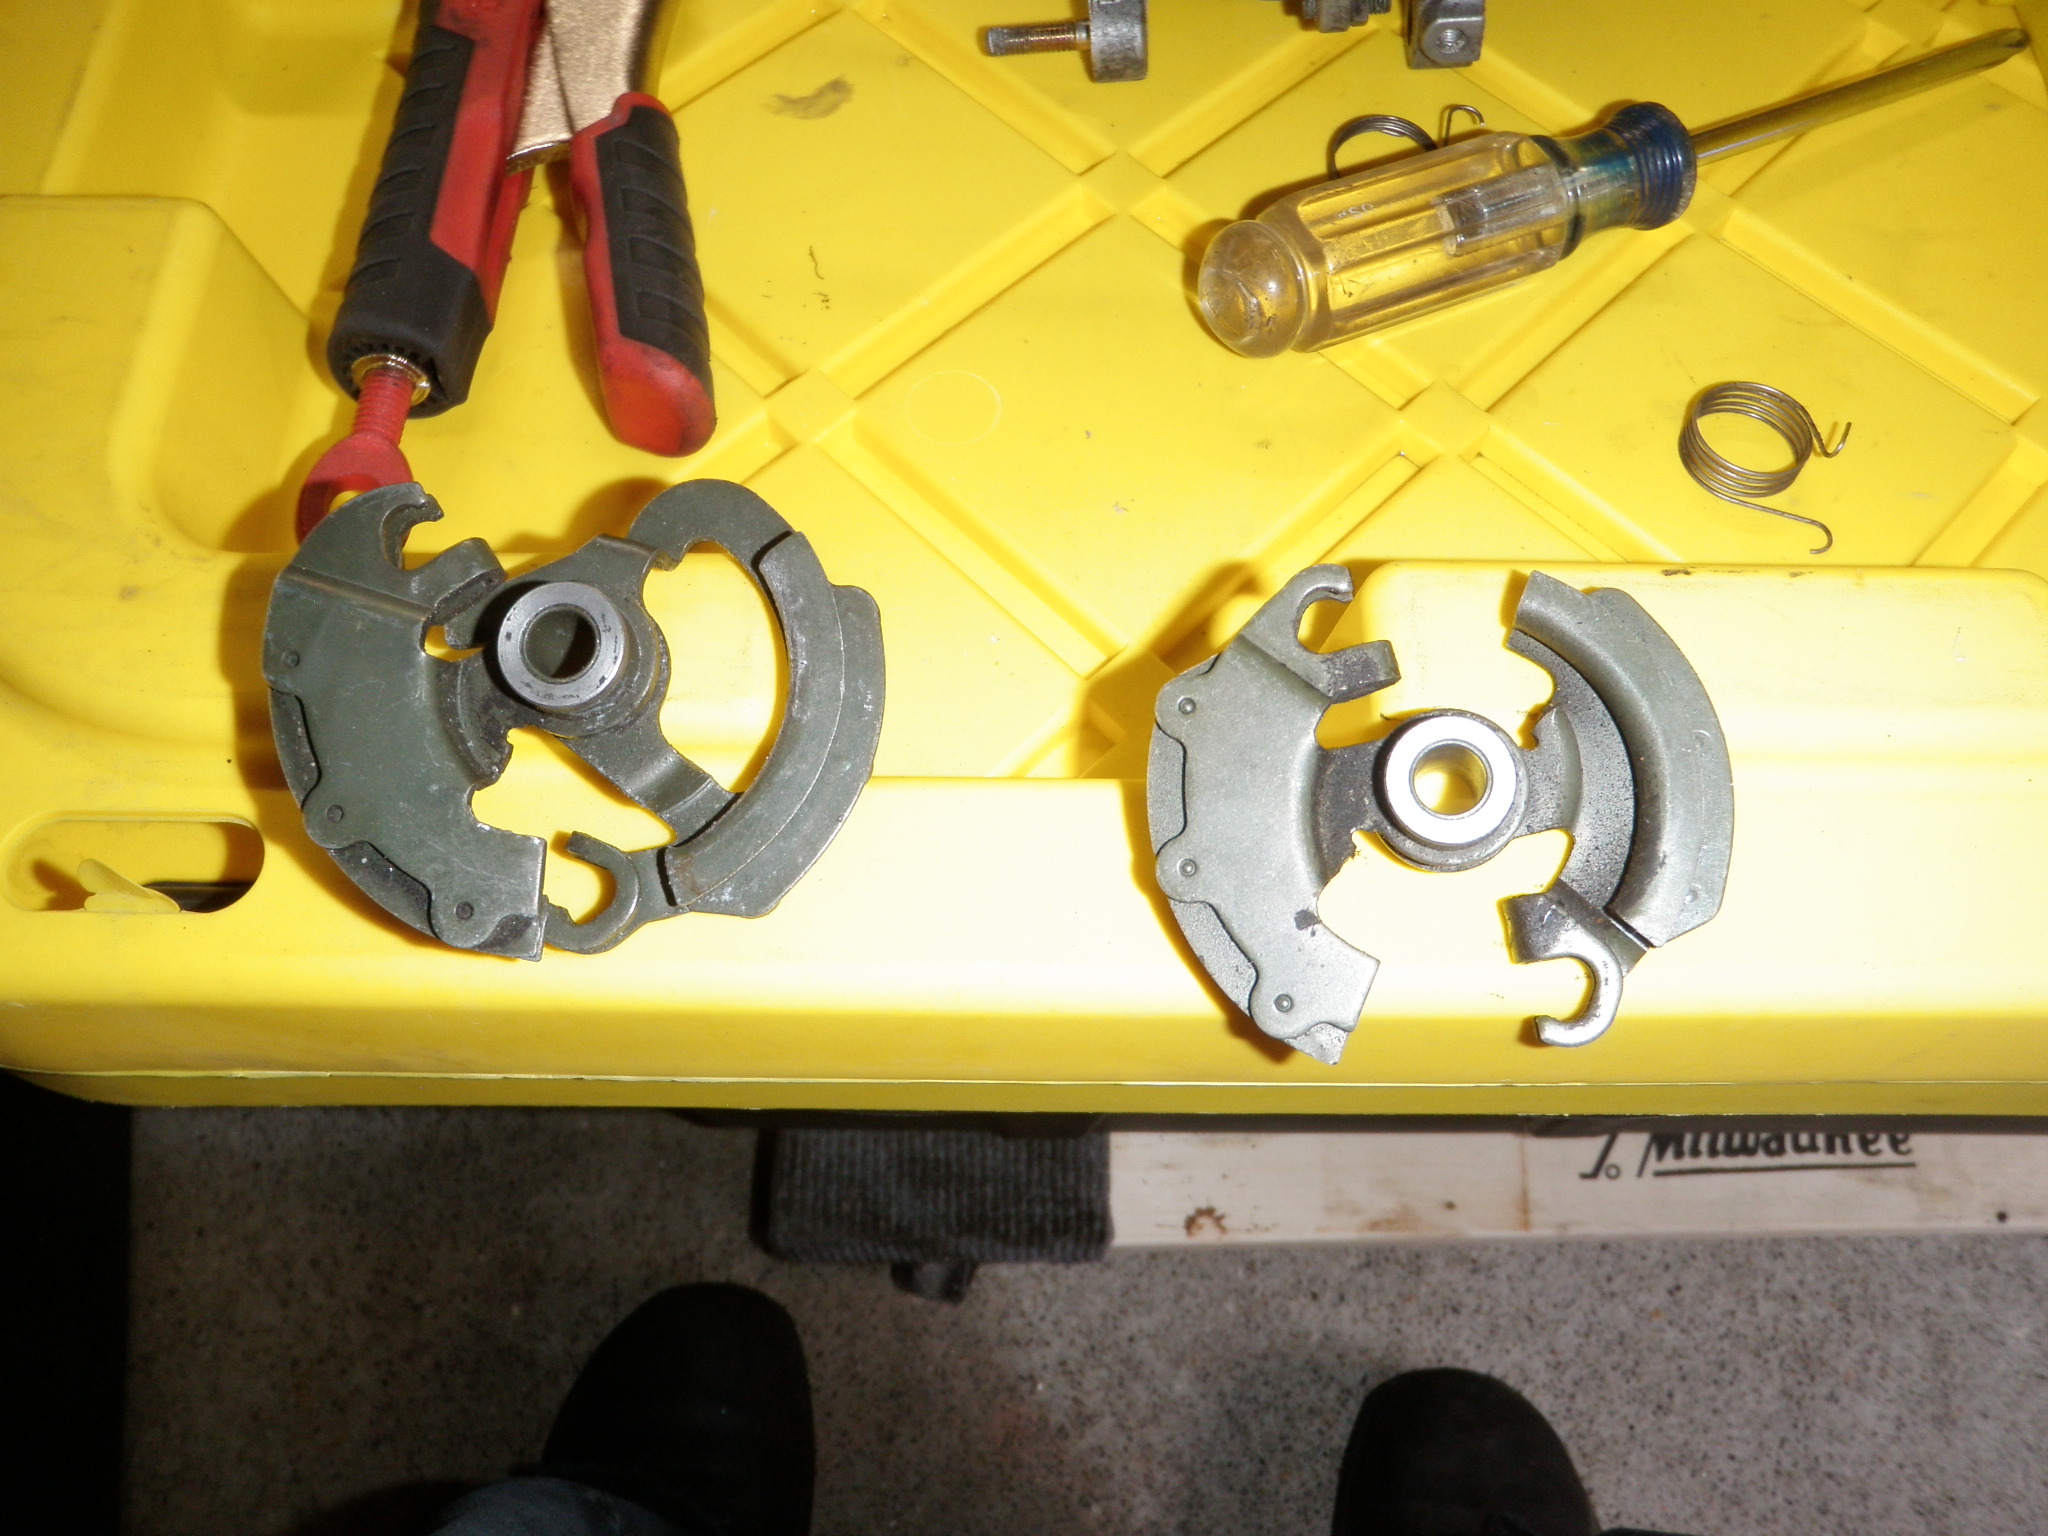
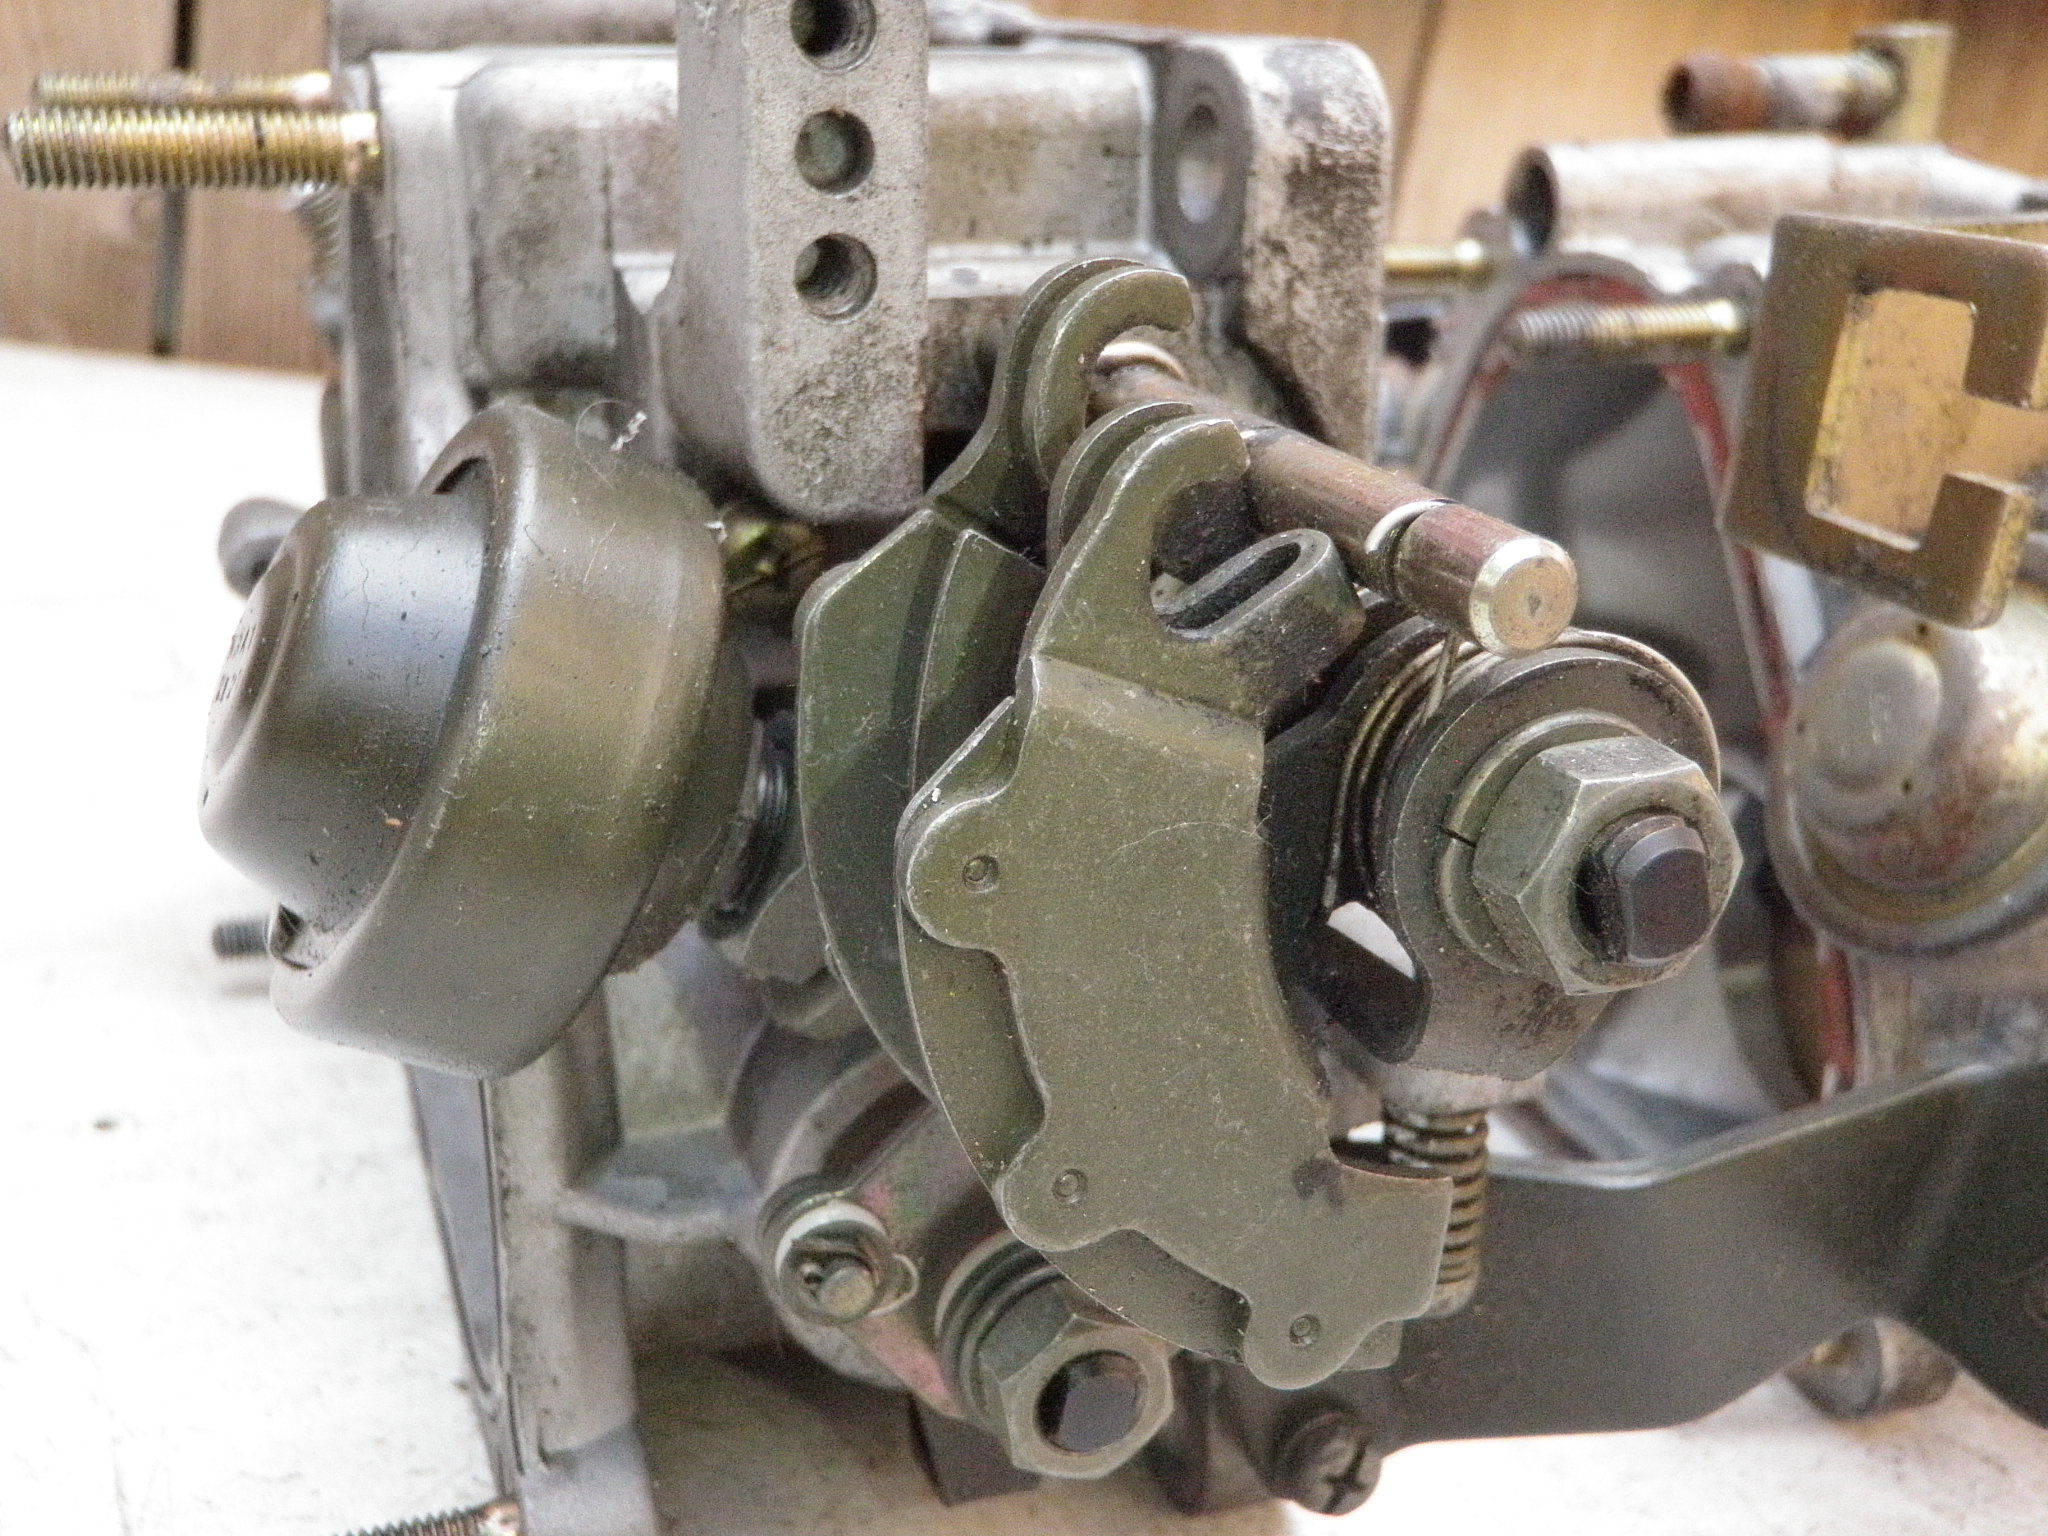
    I have a 95 Rx7 and apparently the tb cables are attached differently. My original throttle body was corroded so I took it apart to clean it. After doing so I am now just going to modify a clean TB to have the TB cables routed like the 95.

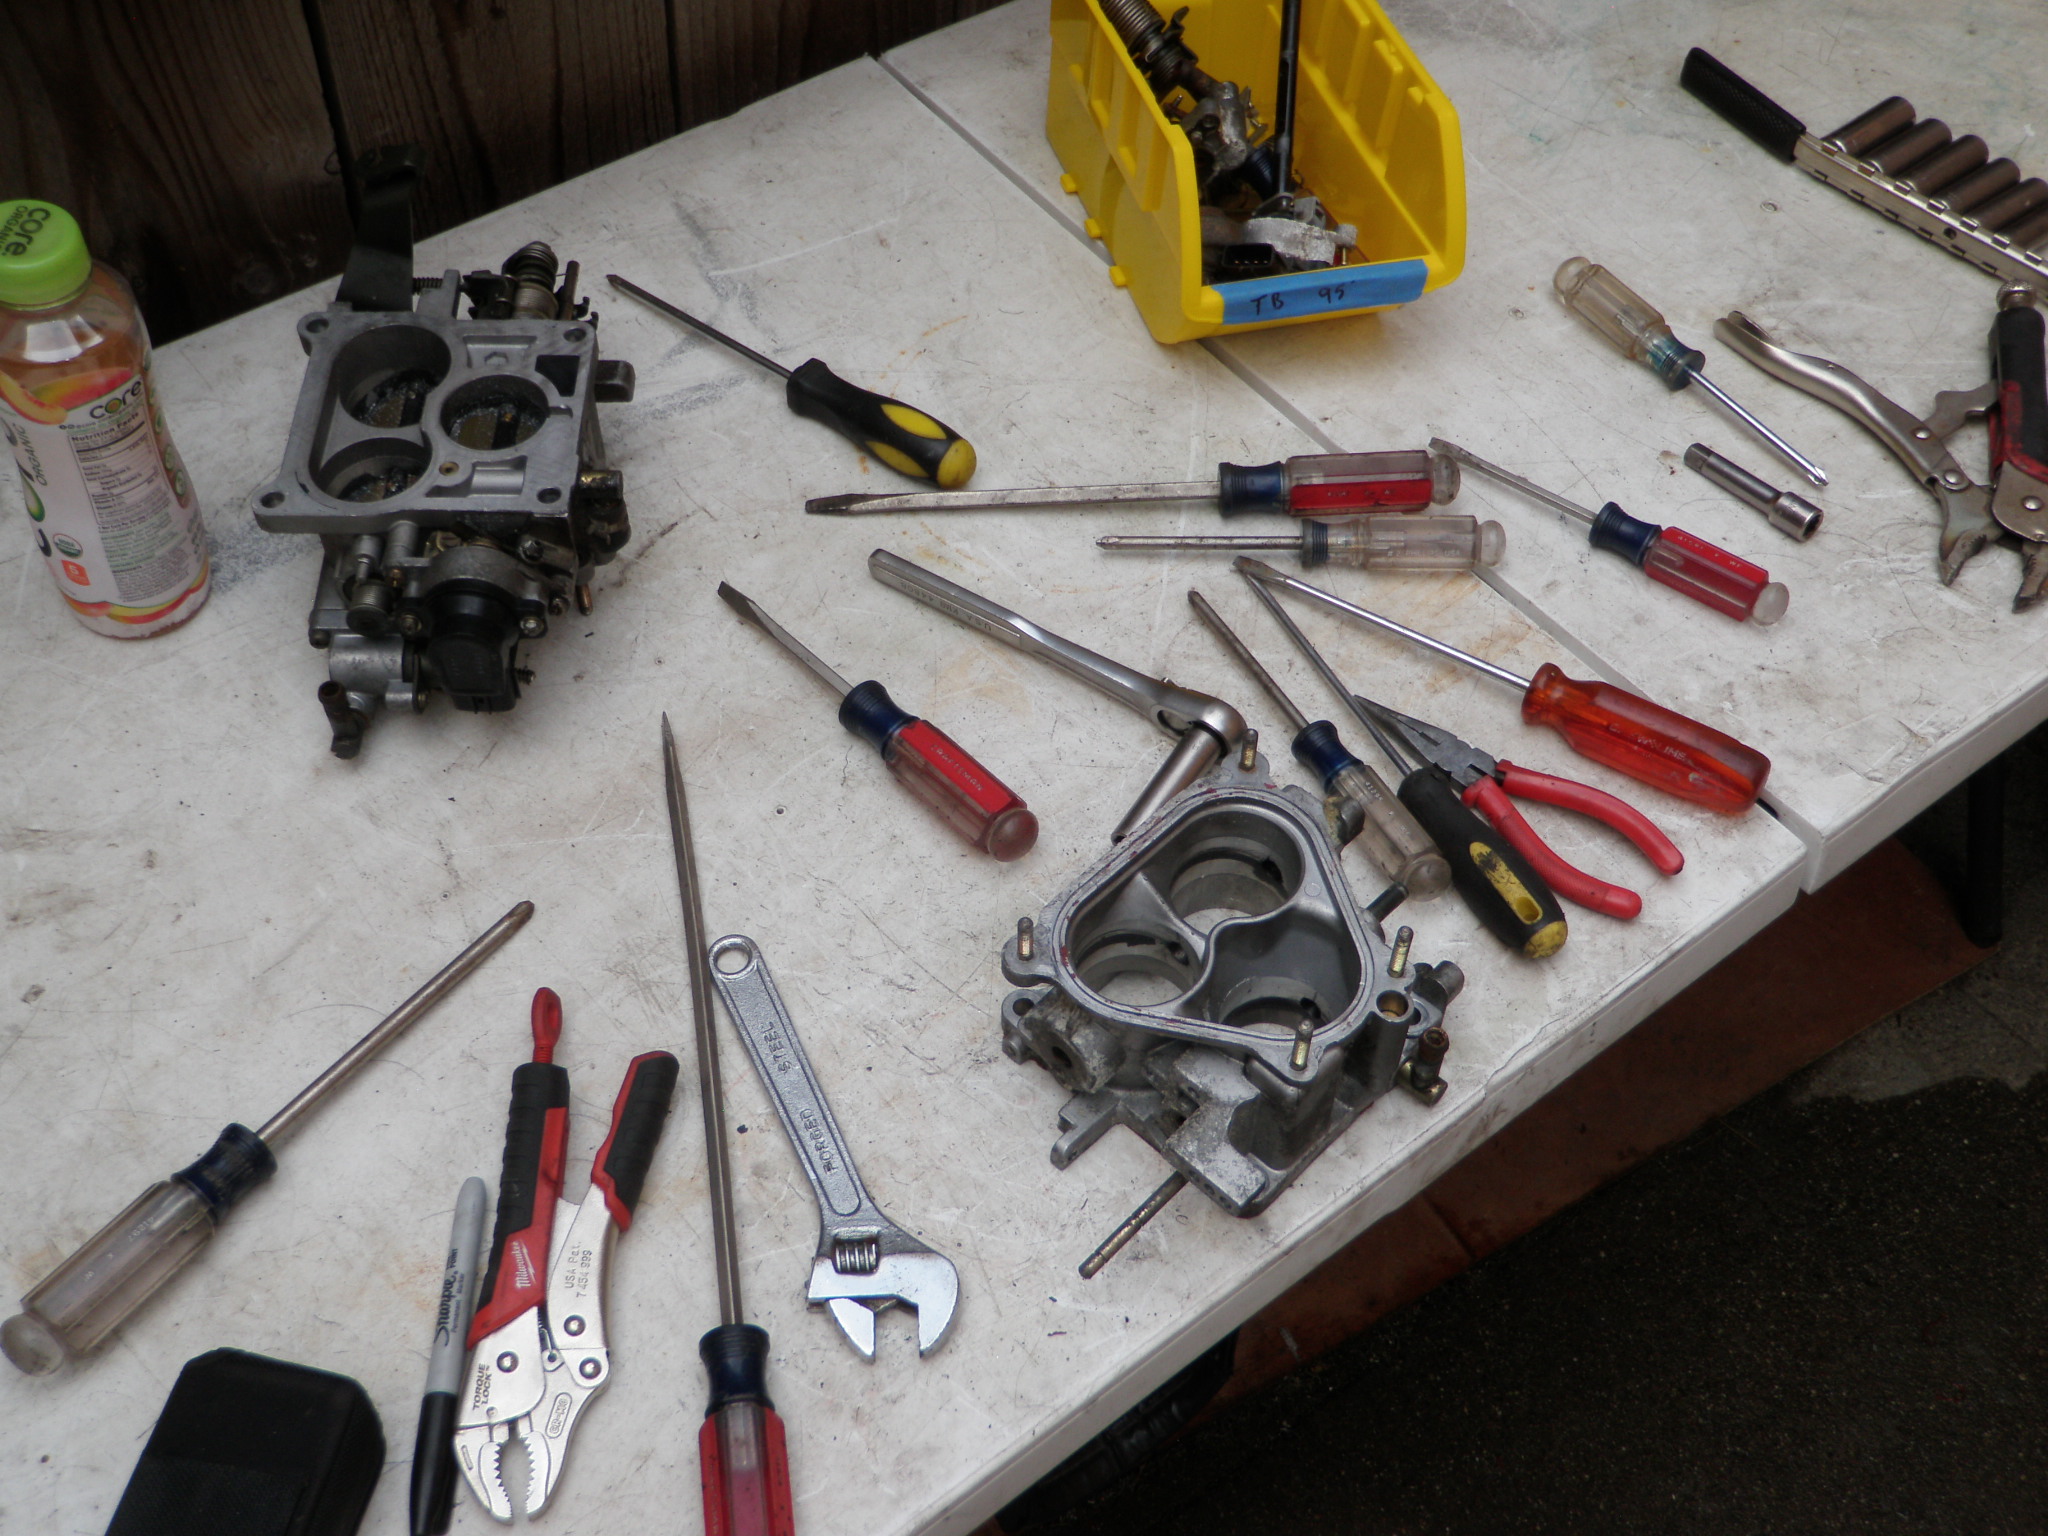
    I have no motivation after the aluminum cleaning incident. I also managed to use every flat and Philips head screwdriver trying to take the TB apart. A REAL PITA !!!!!!

  • Rotary Extreme RX7 Build Day 9 Engine Paint Prep

    Rotary Extreme RX7 Build Day 9 Engine Paint Prep

    Day 9

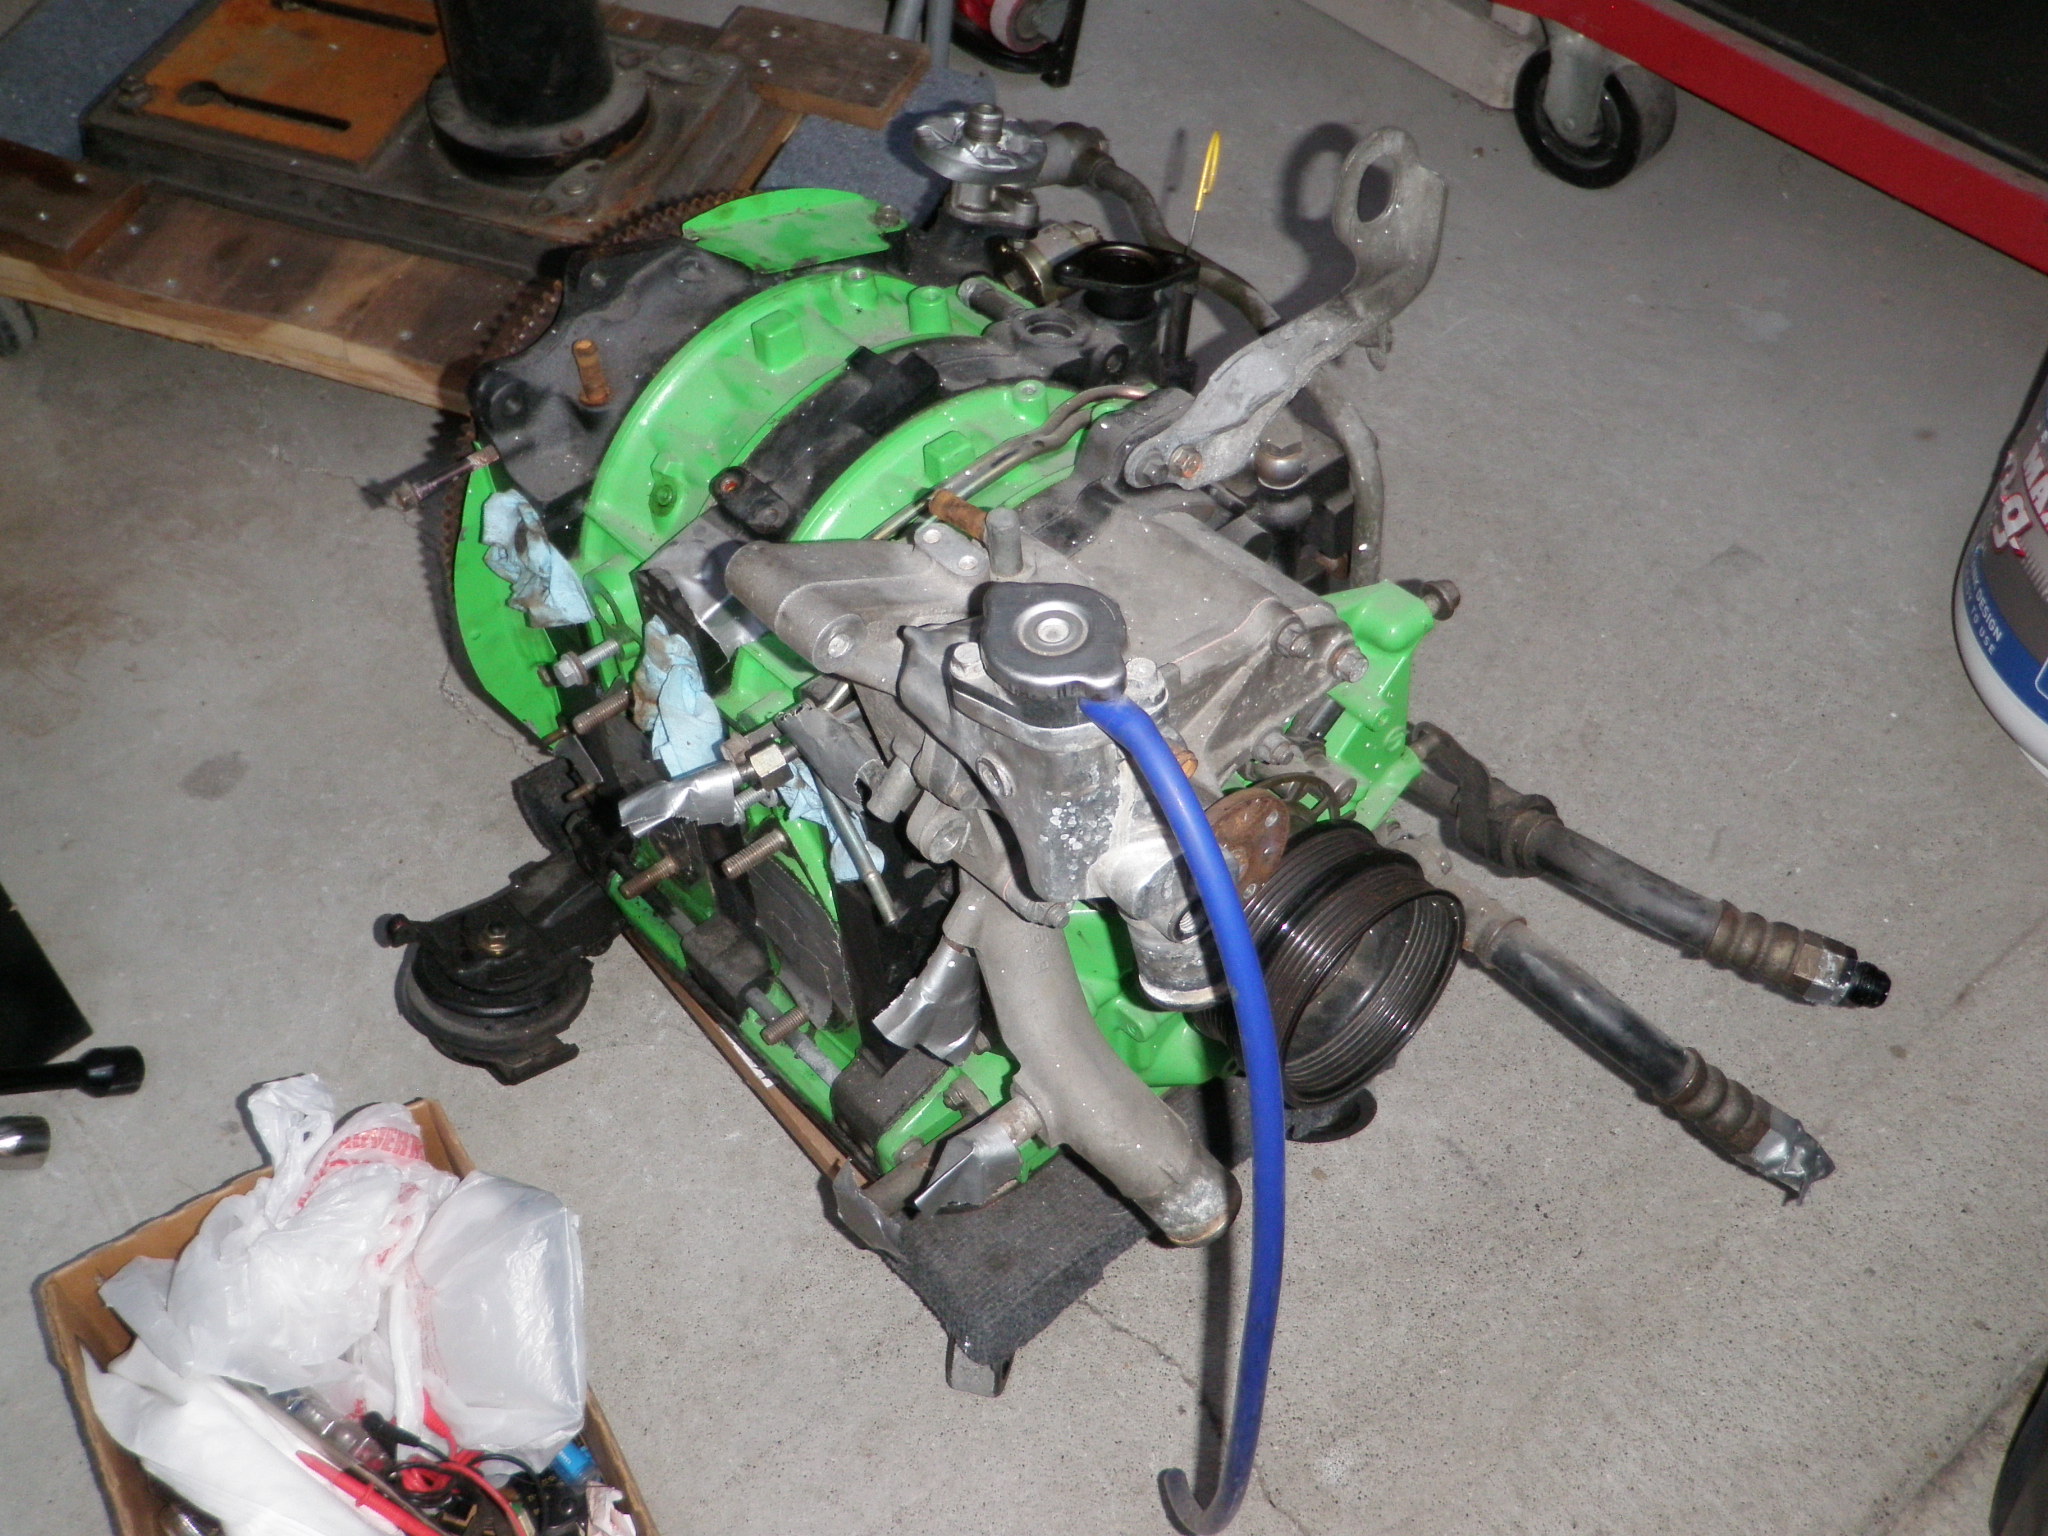
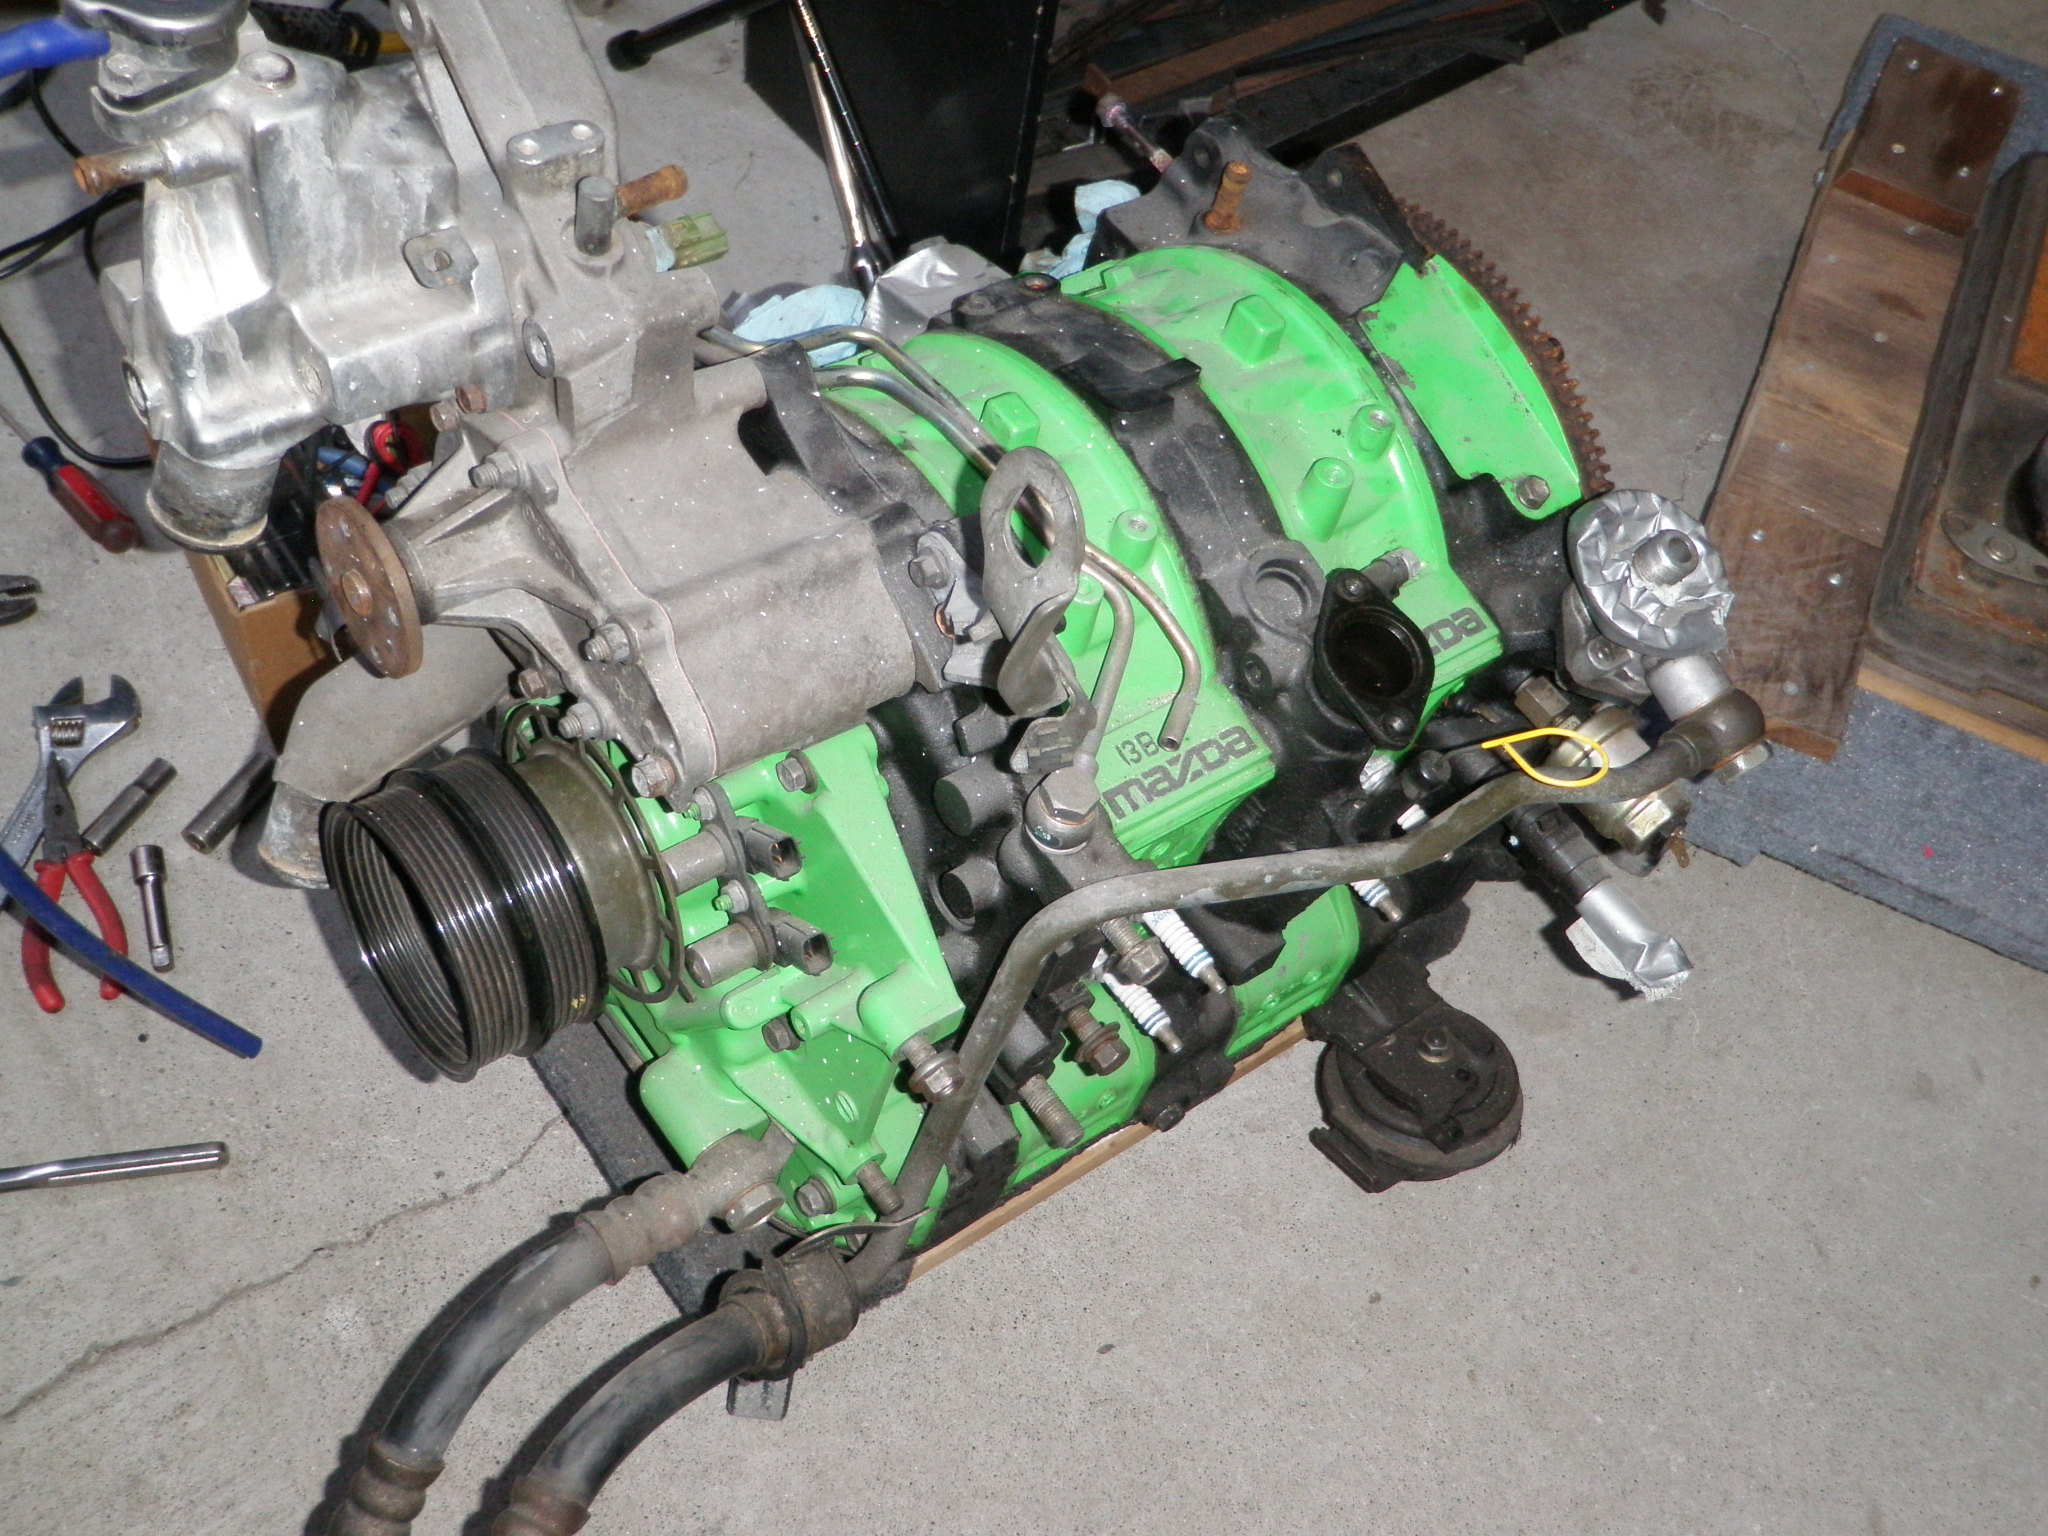
    I got my engine from Jamie – aka Battlecat – he painted it green and black

    well…this whole time I was trying to figure out how I could tie it into my theme, i finally had a vision. I will paint the black parts orange. Paying respect to the Mazda 787B !!!!! Now the colors make sense…lol

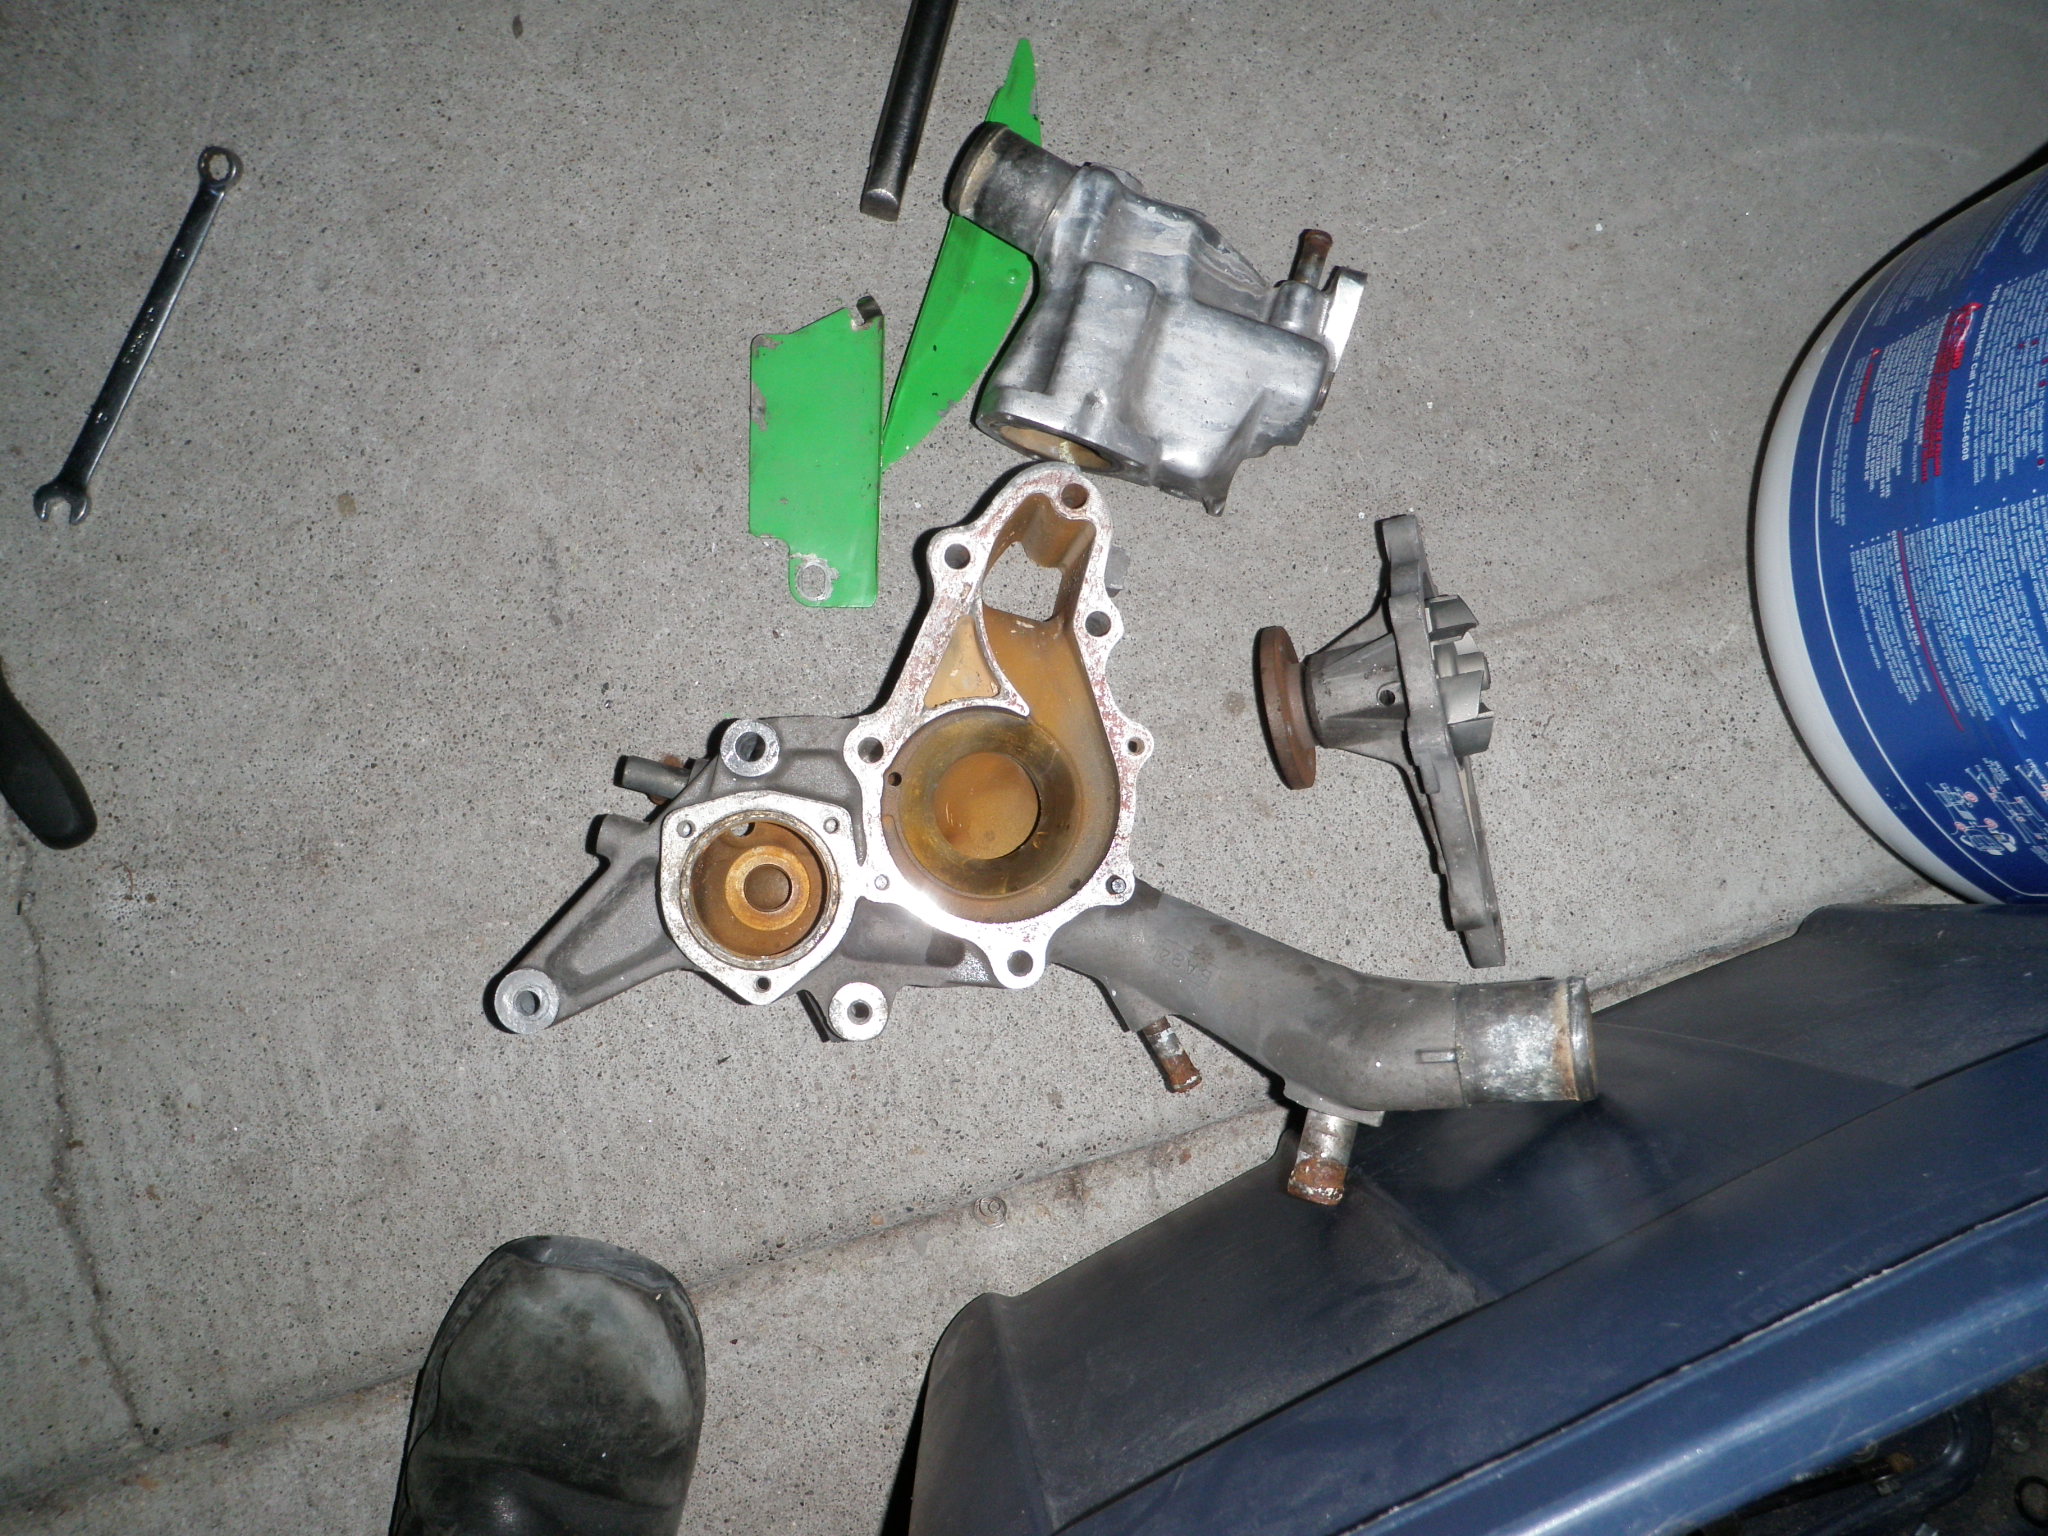
    Stripped the engine down even more for paint.

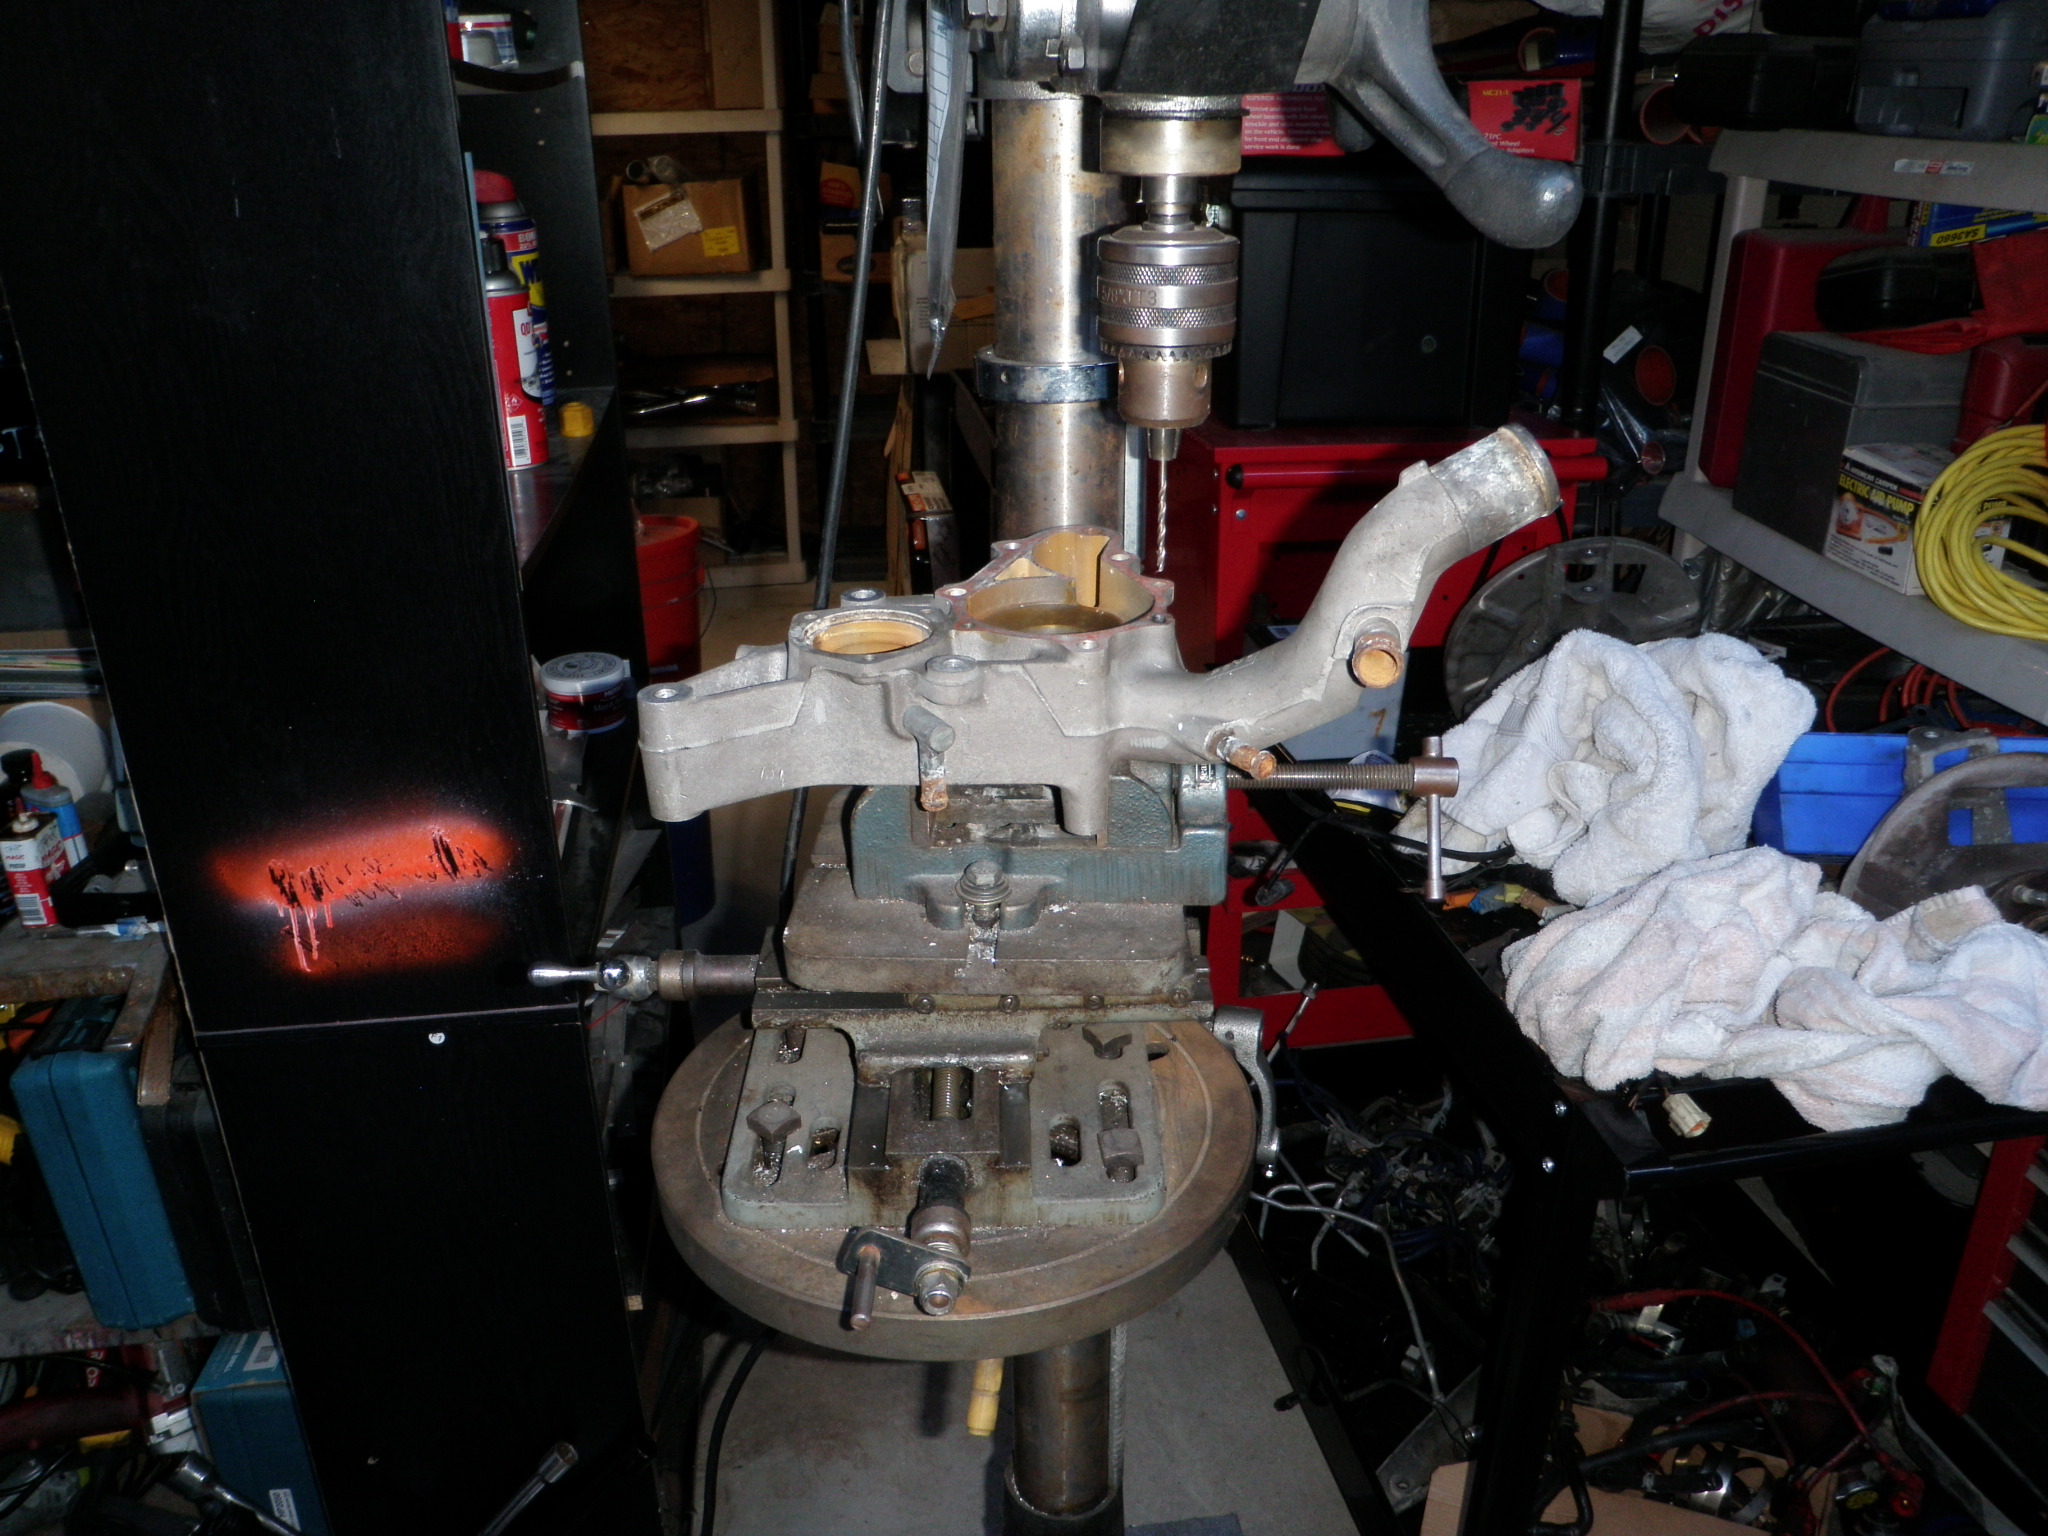
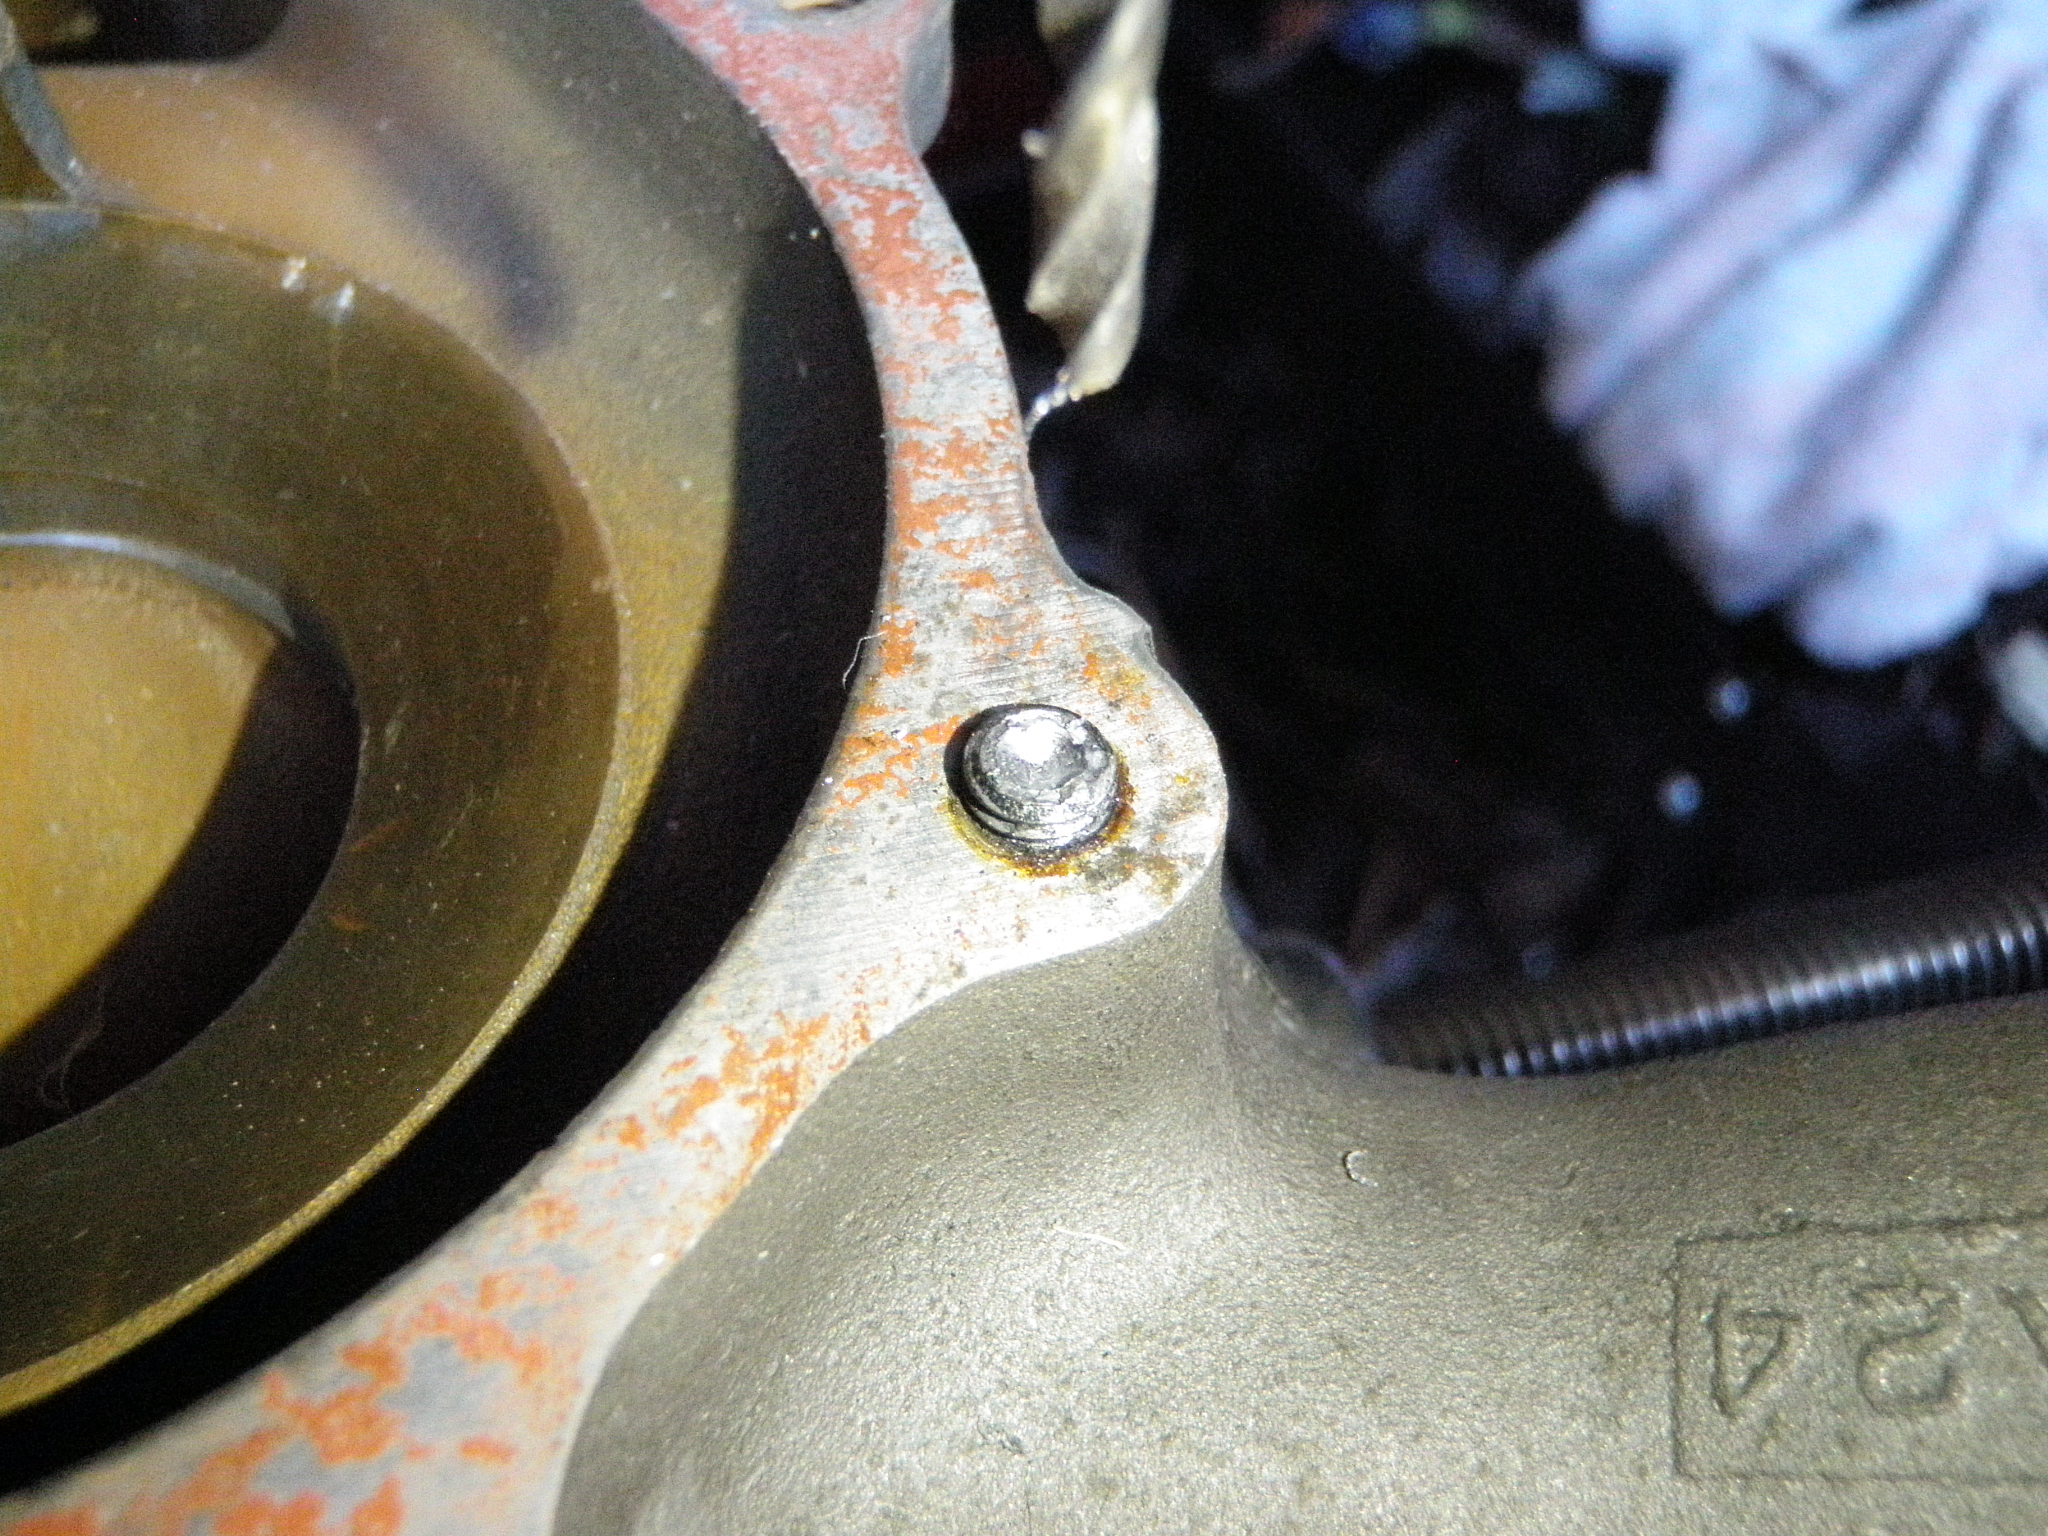
    One bolt was seized and broke, I managed to drill it out and re-tap. I used my drill press and a small bit to make sure I had it centered up.

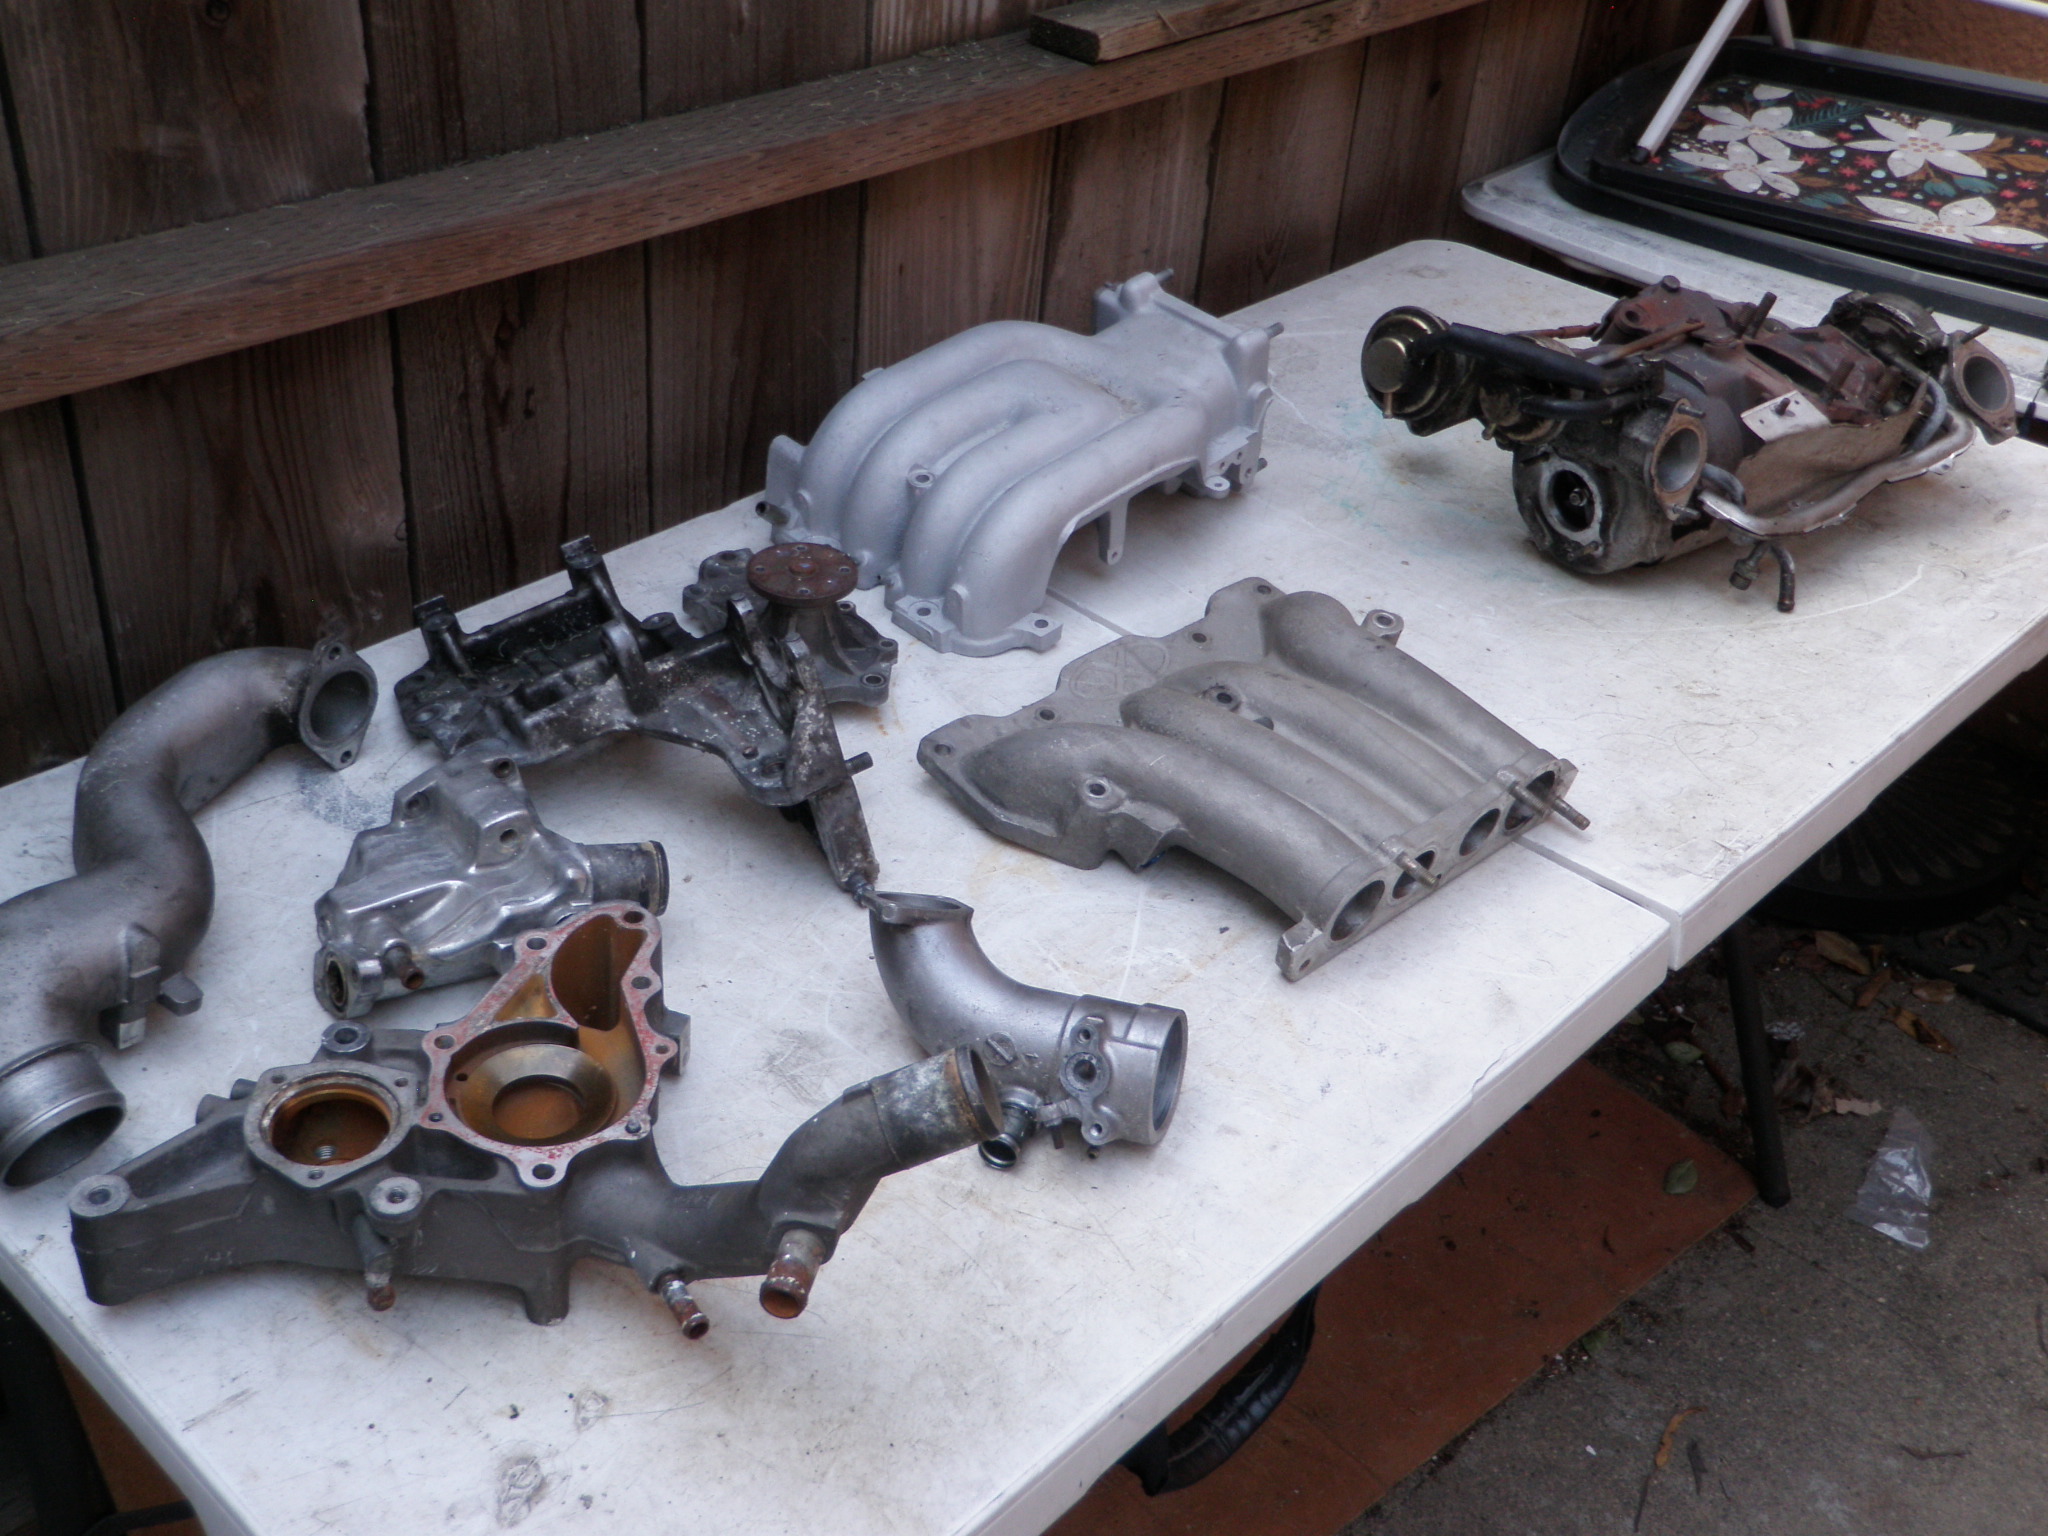
    Collecting all the parts I want to polish or powder coat on the table. I will also do the turbo compressor housings.

  • Rotary Extreme RX7 Build Day 8 Used Parts

    Rotary Extreme RX7 Build Day 8 Used Parts

    I ordered some used parts, I was lucky to get them. When they arrived – A steal on pricing turned into it was worth what I paid for. Still I saved a ton.

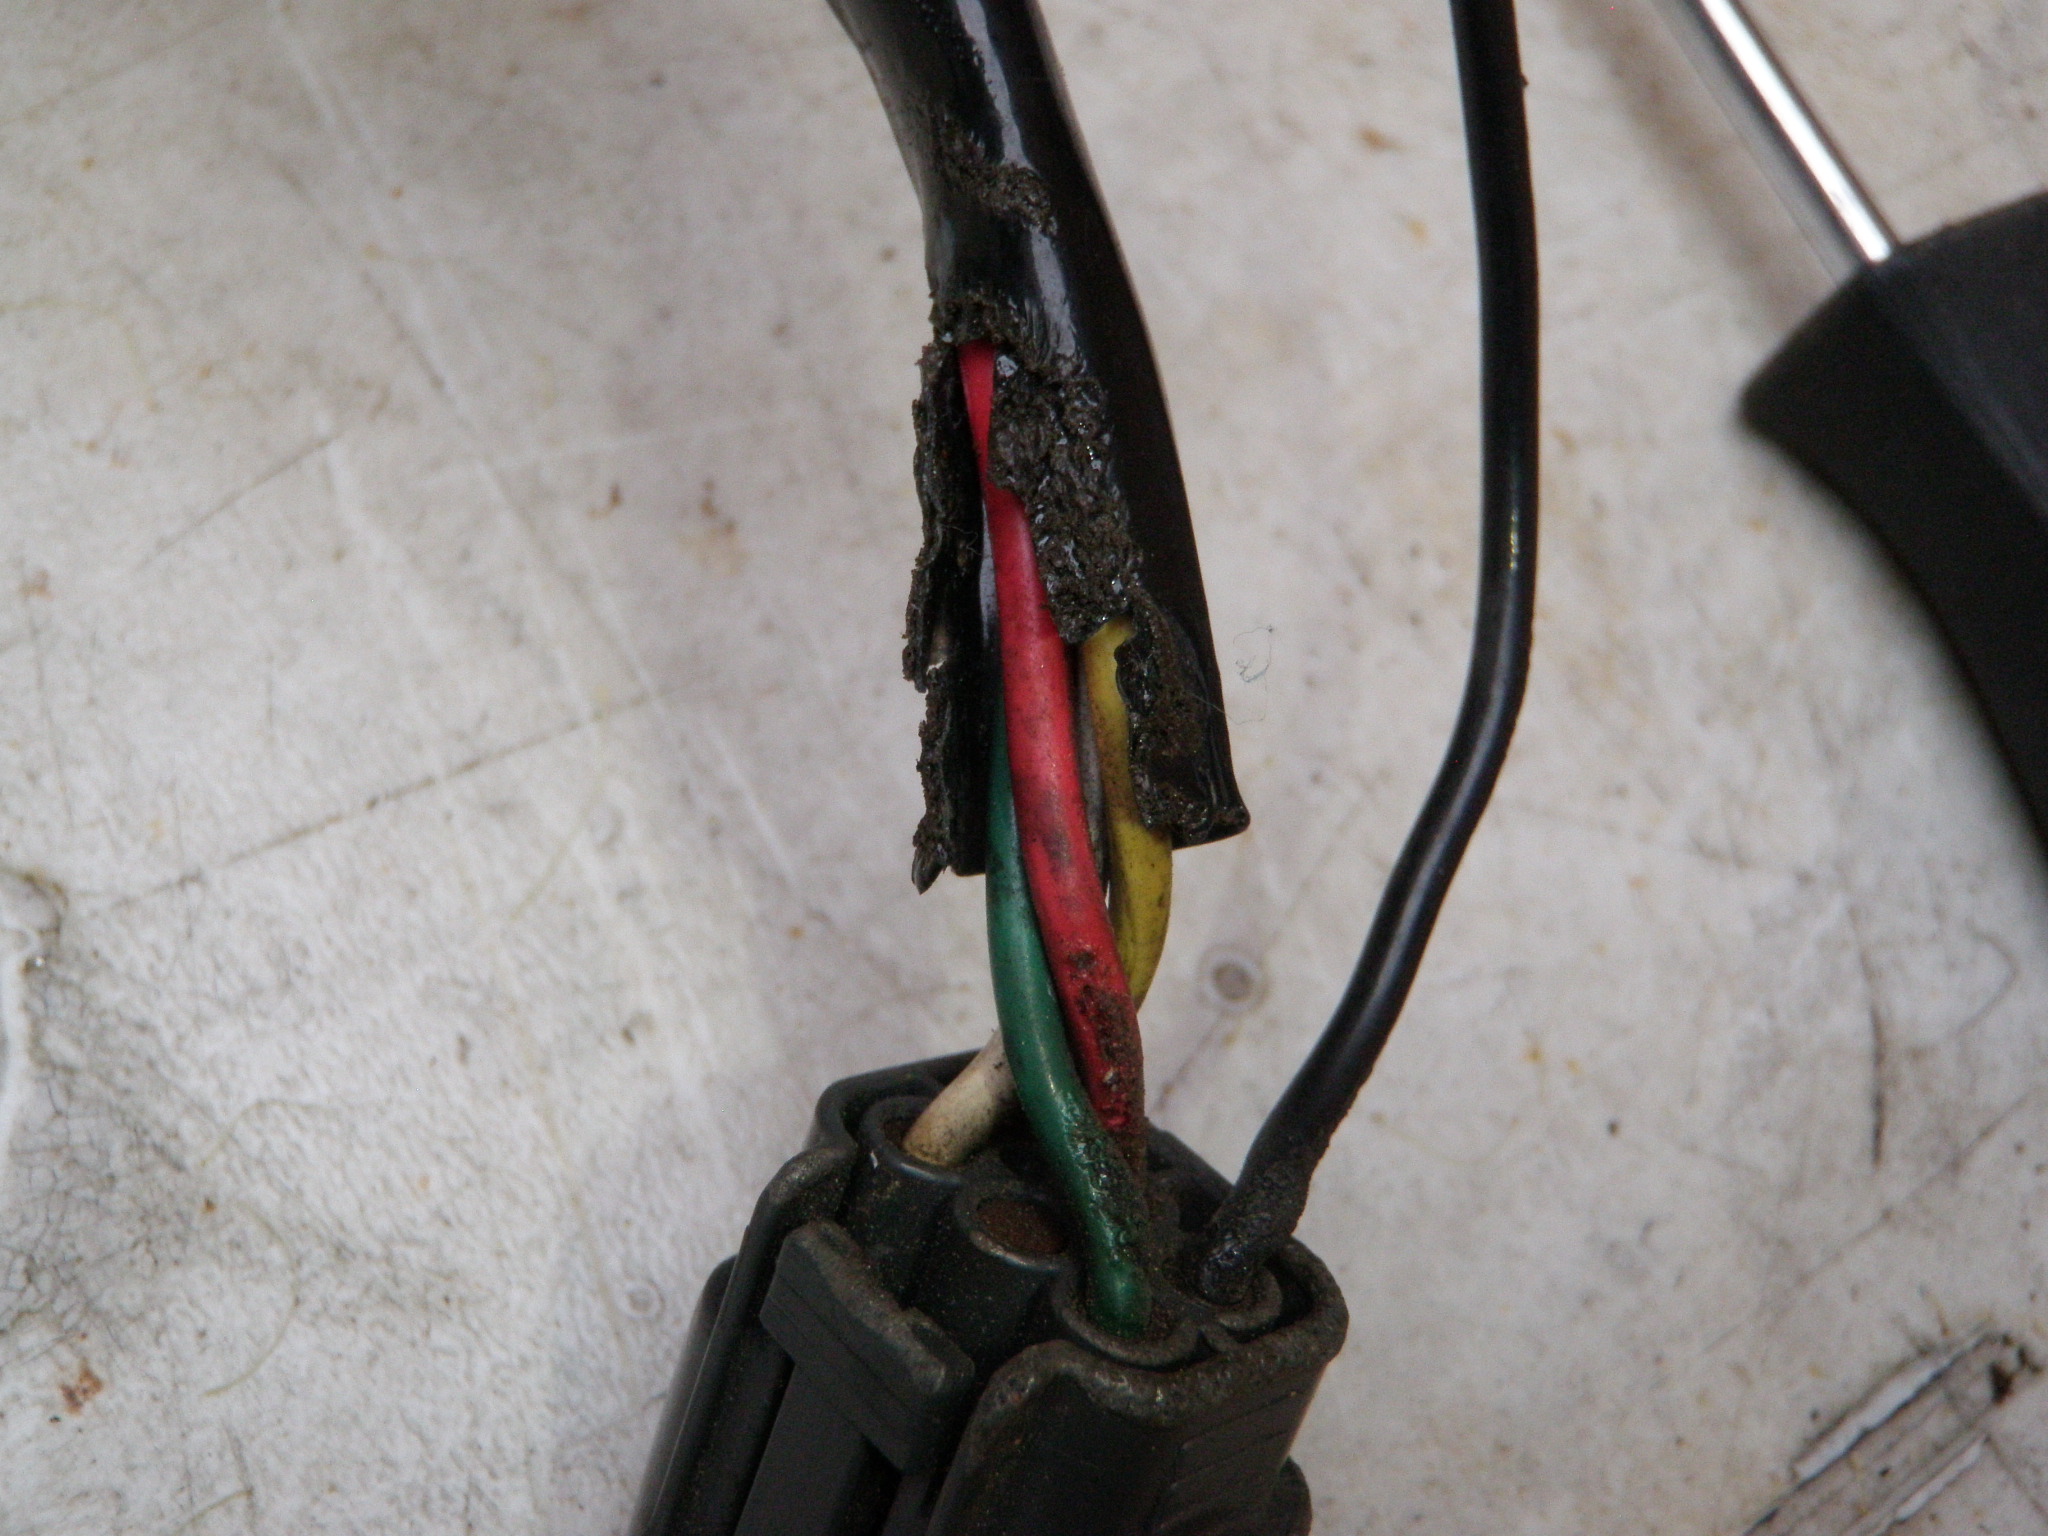
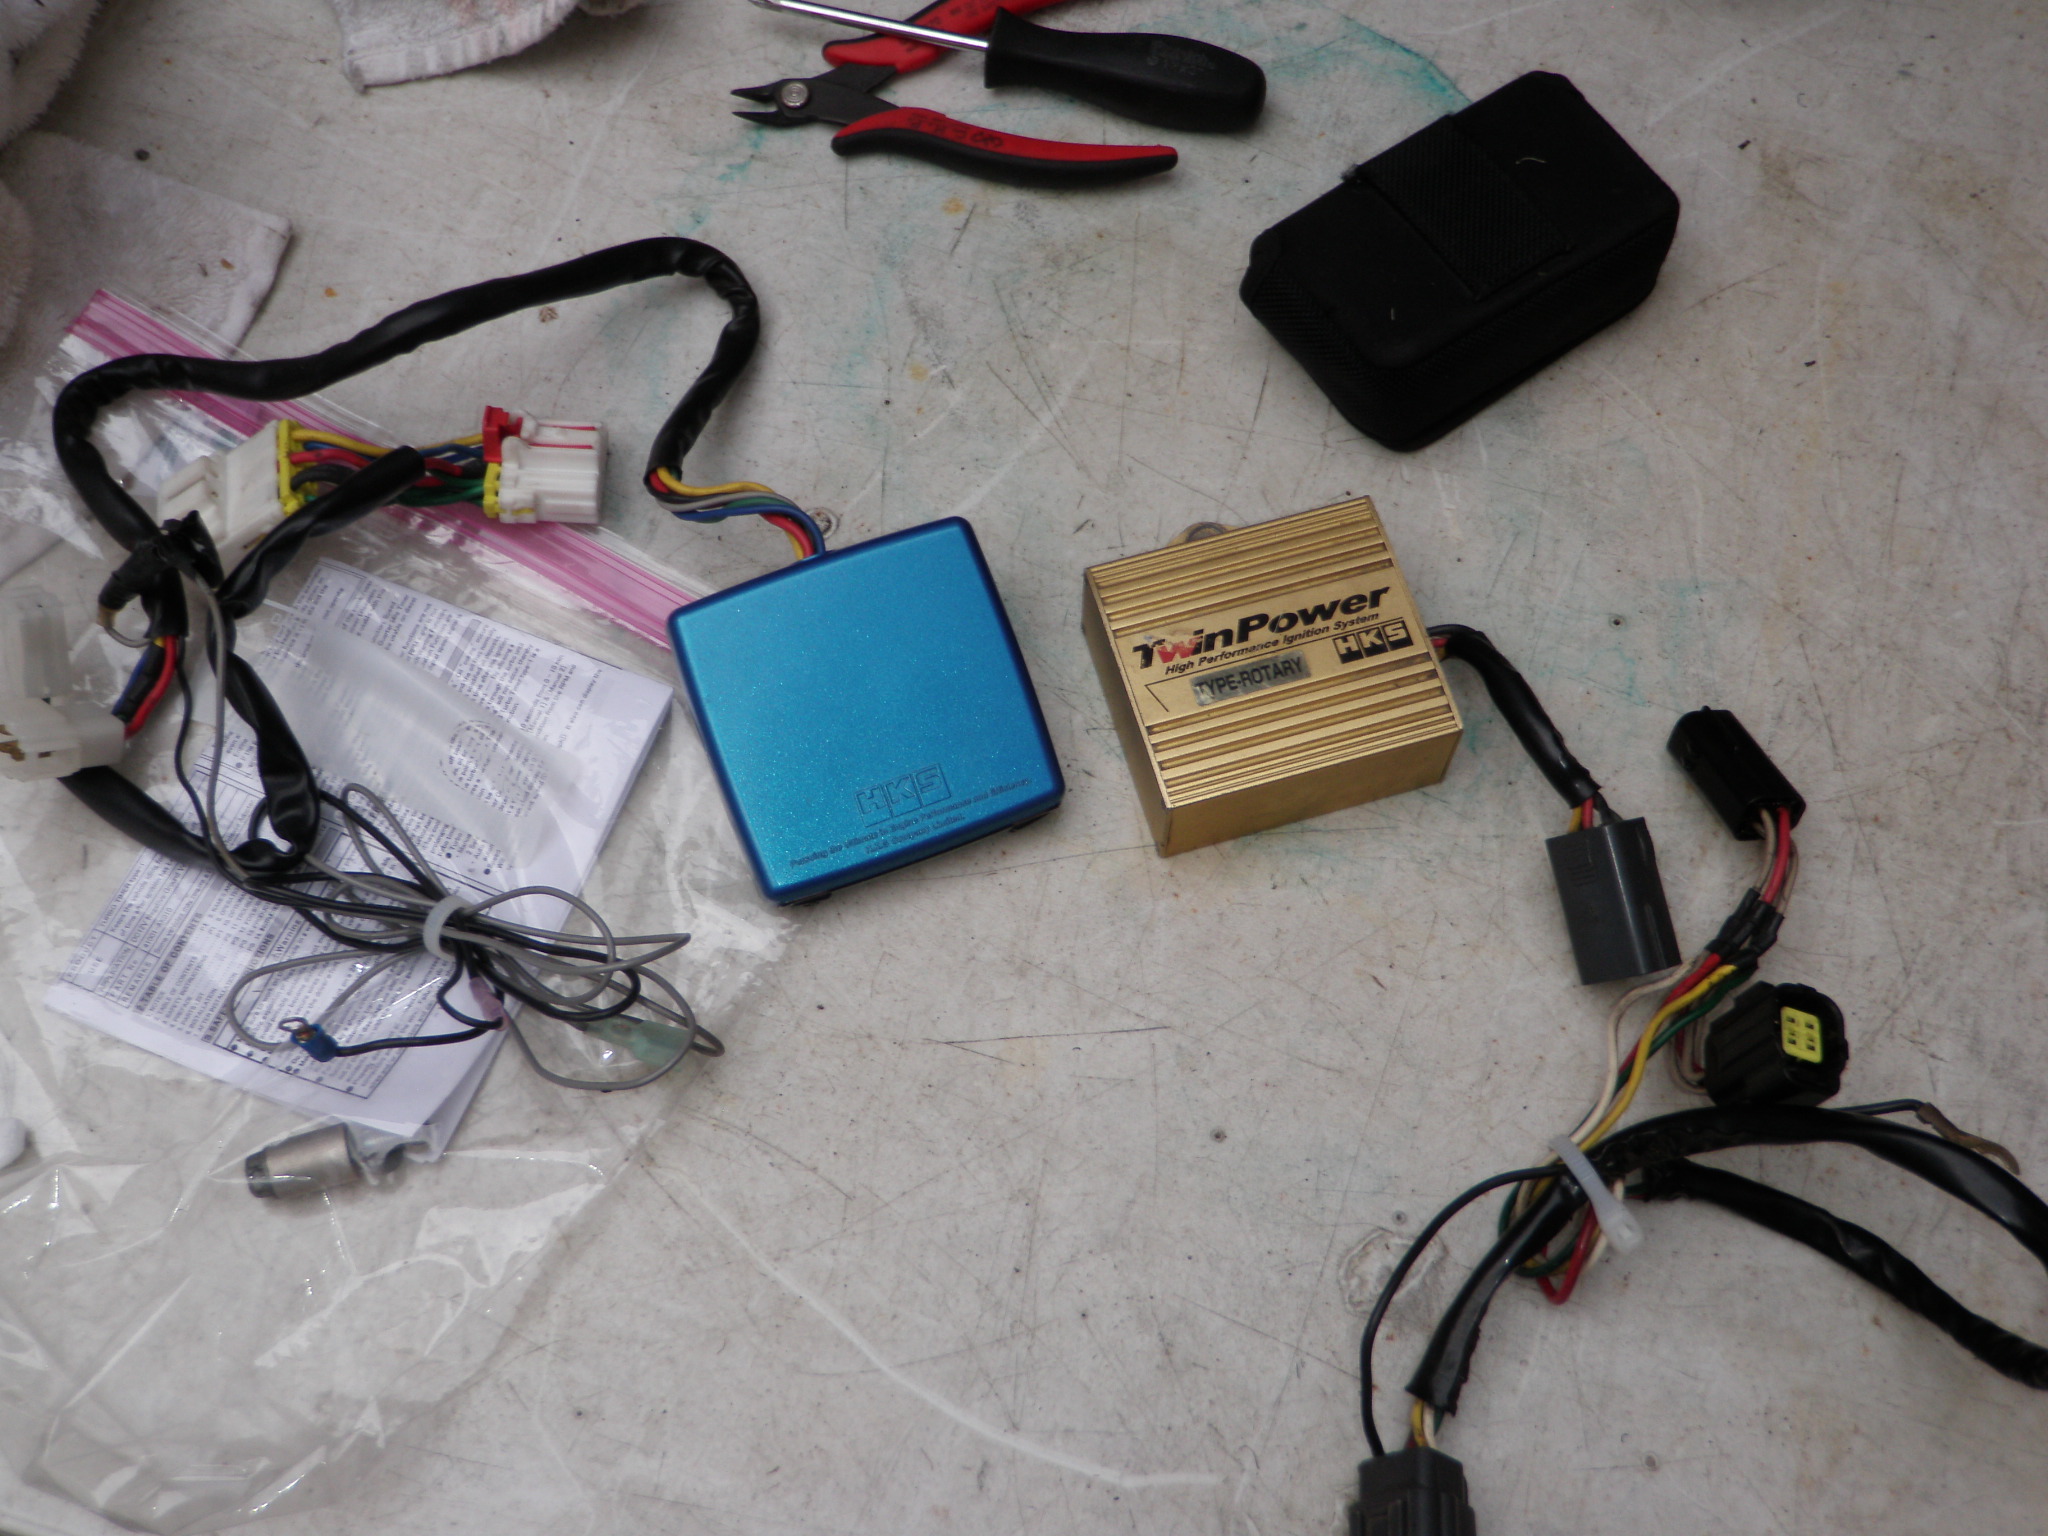
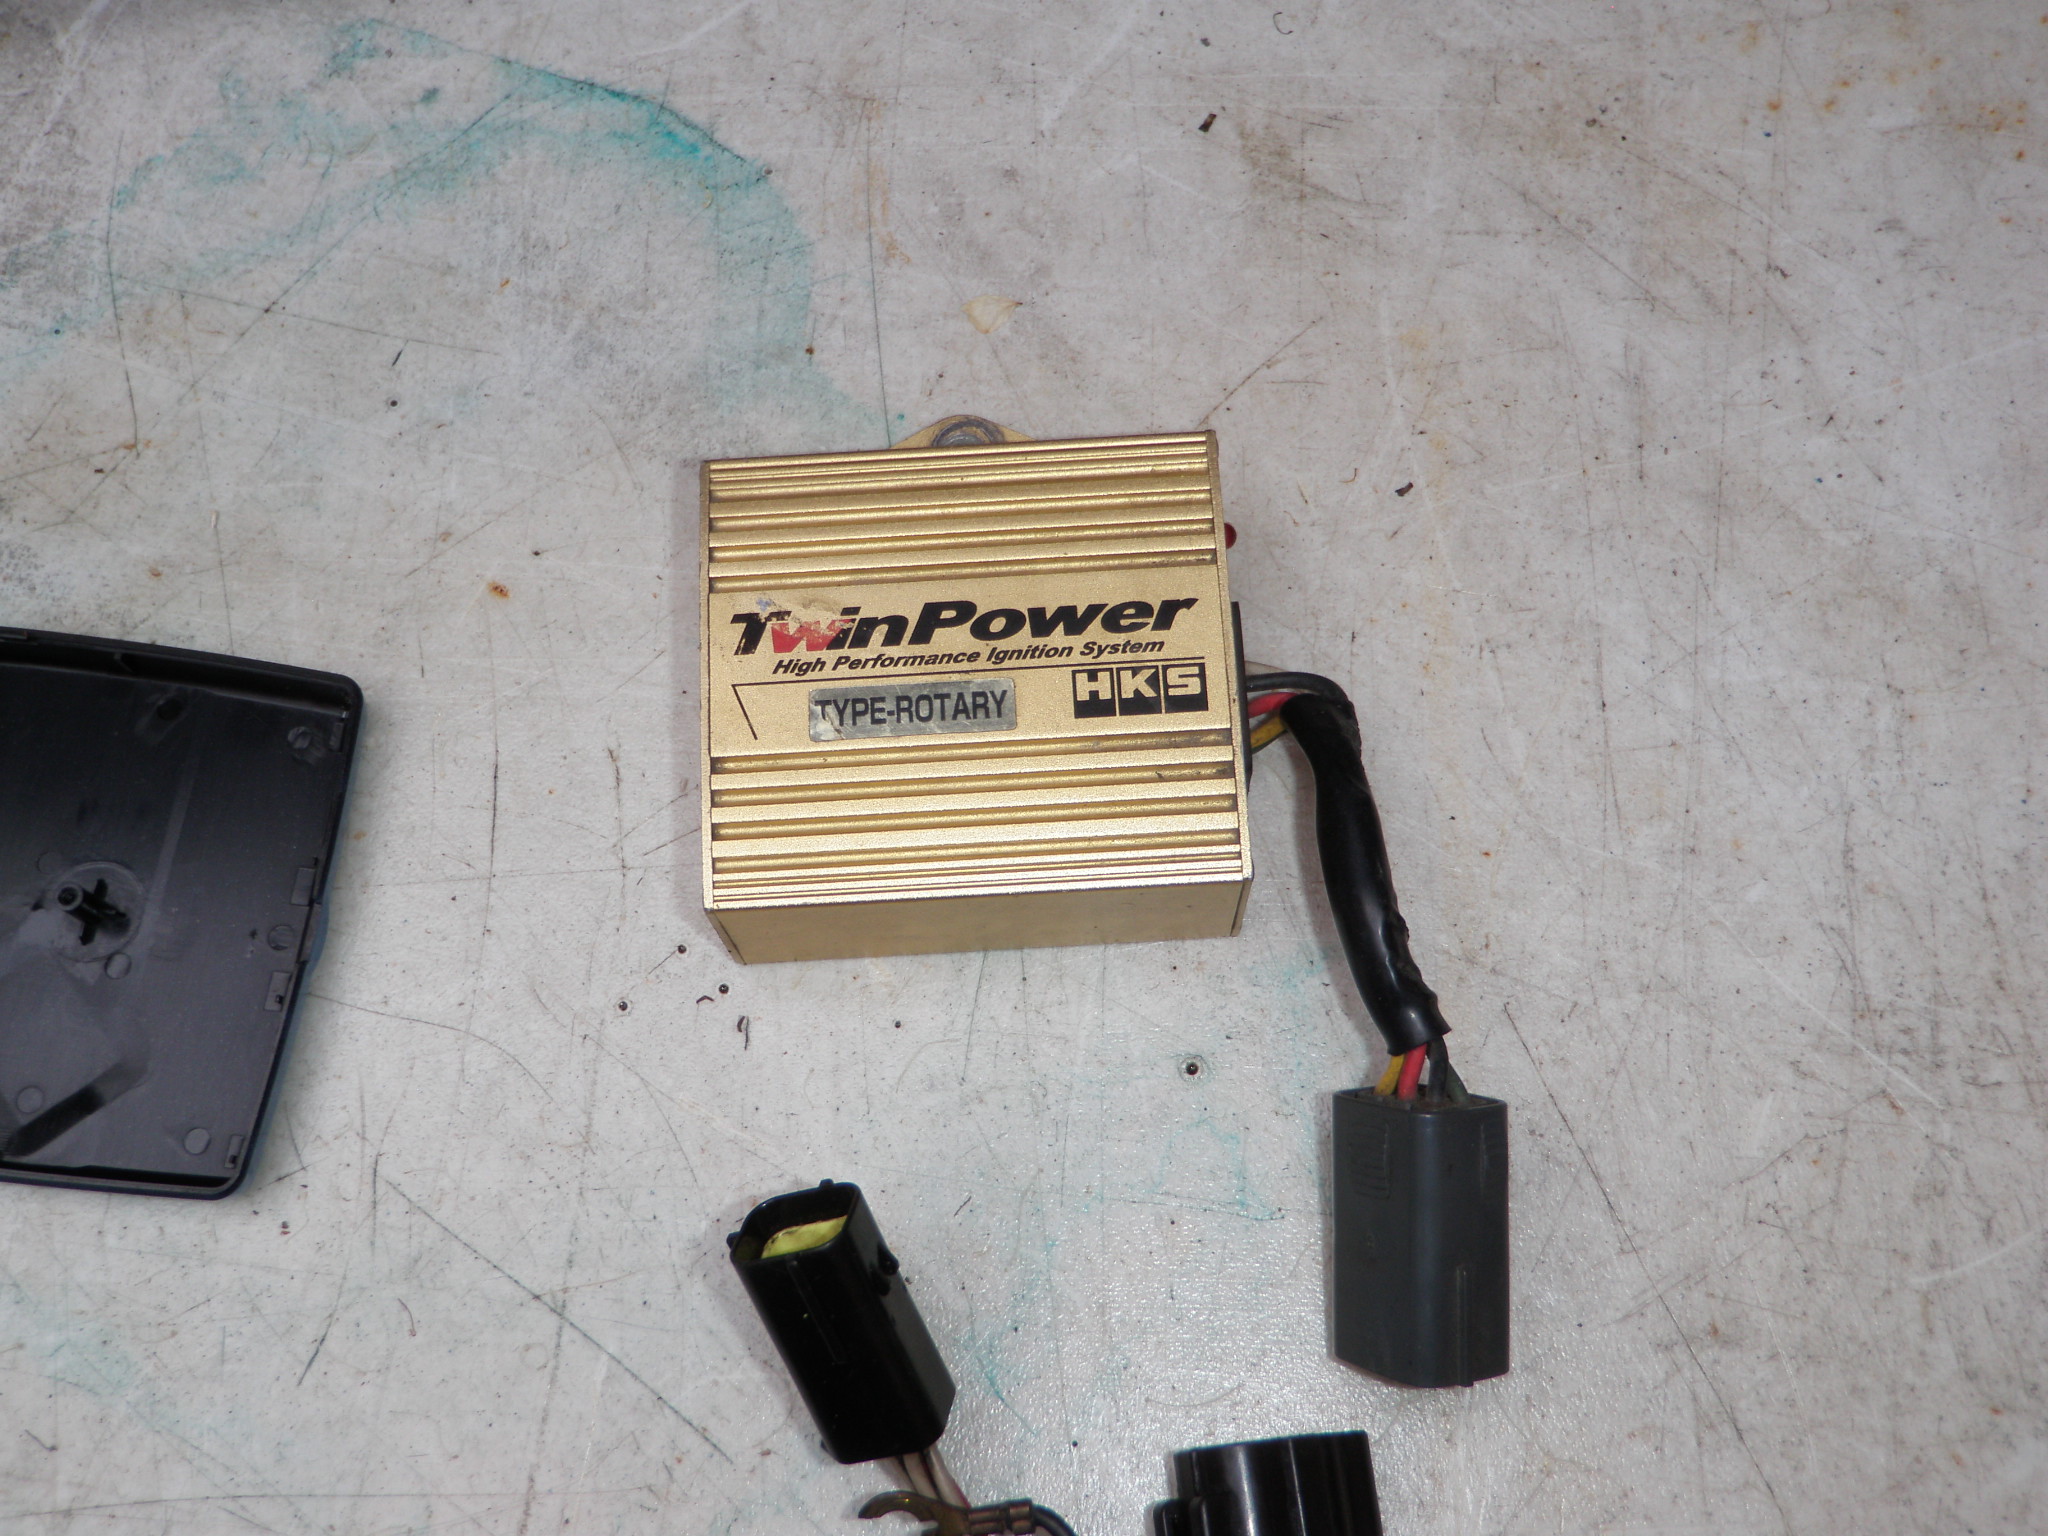
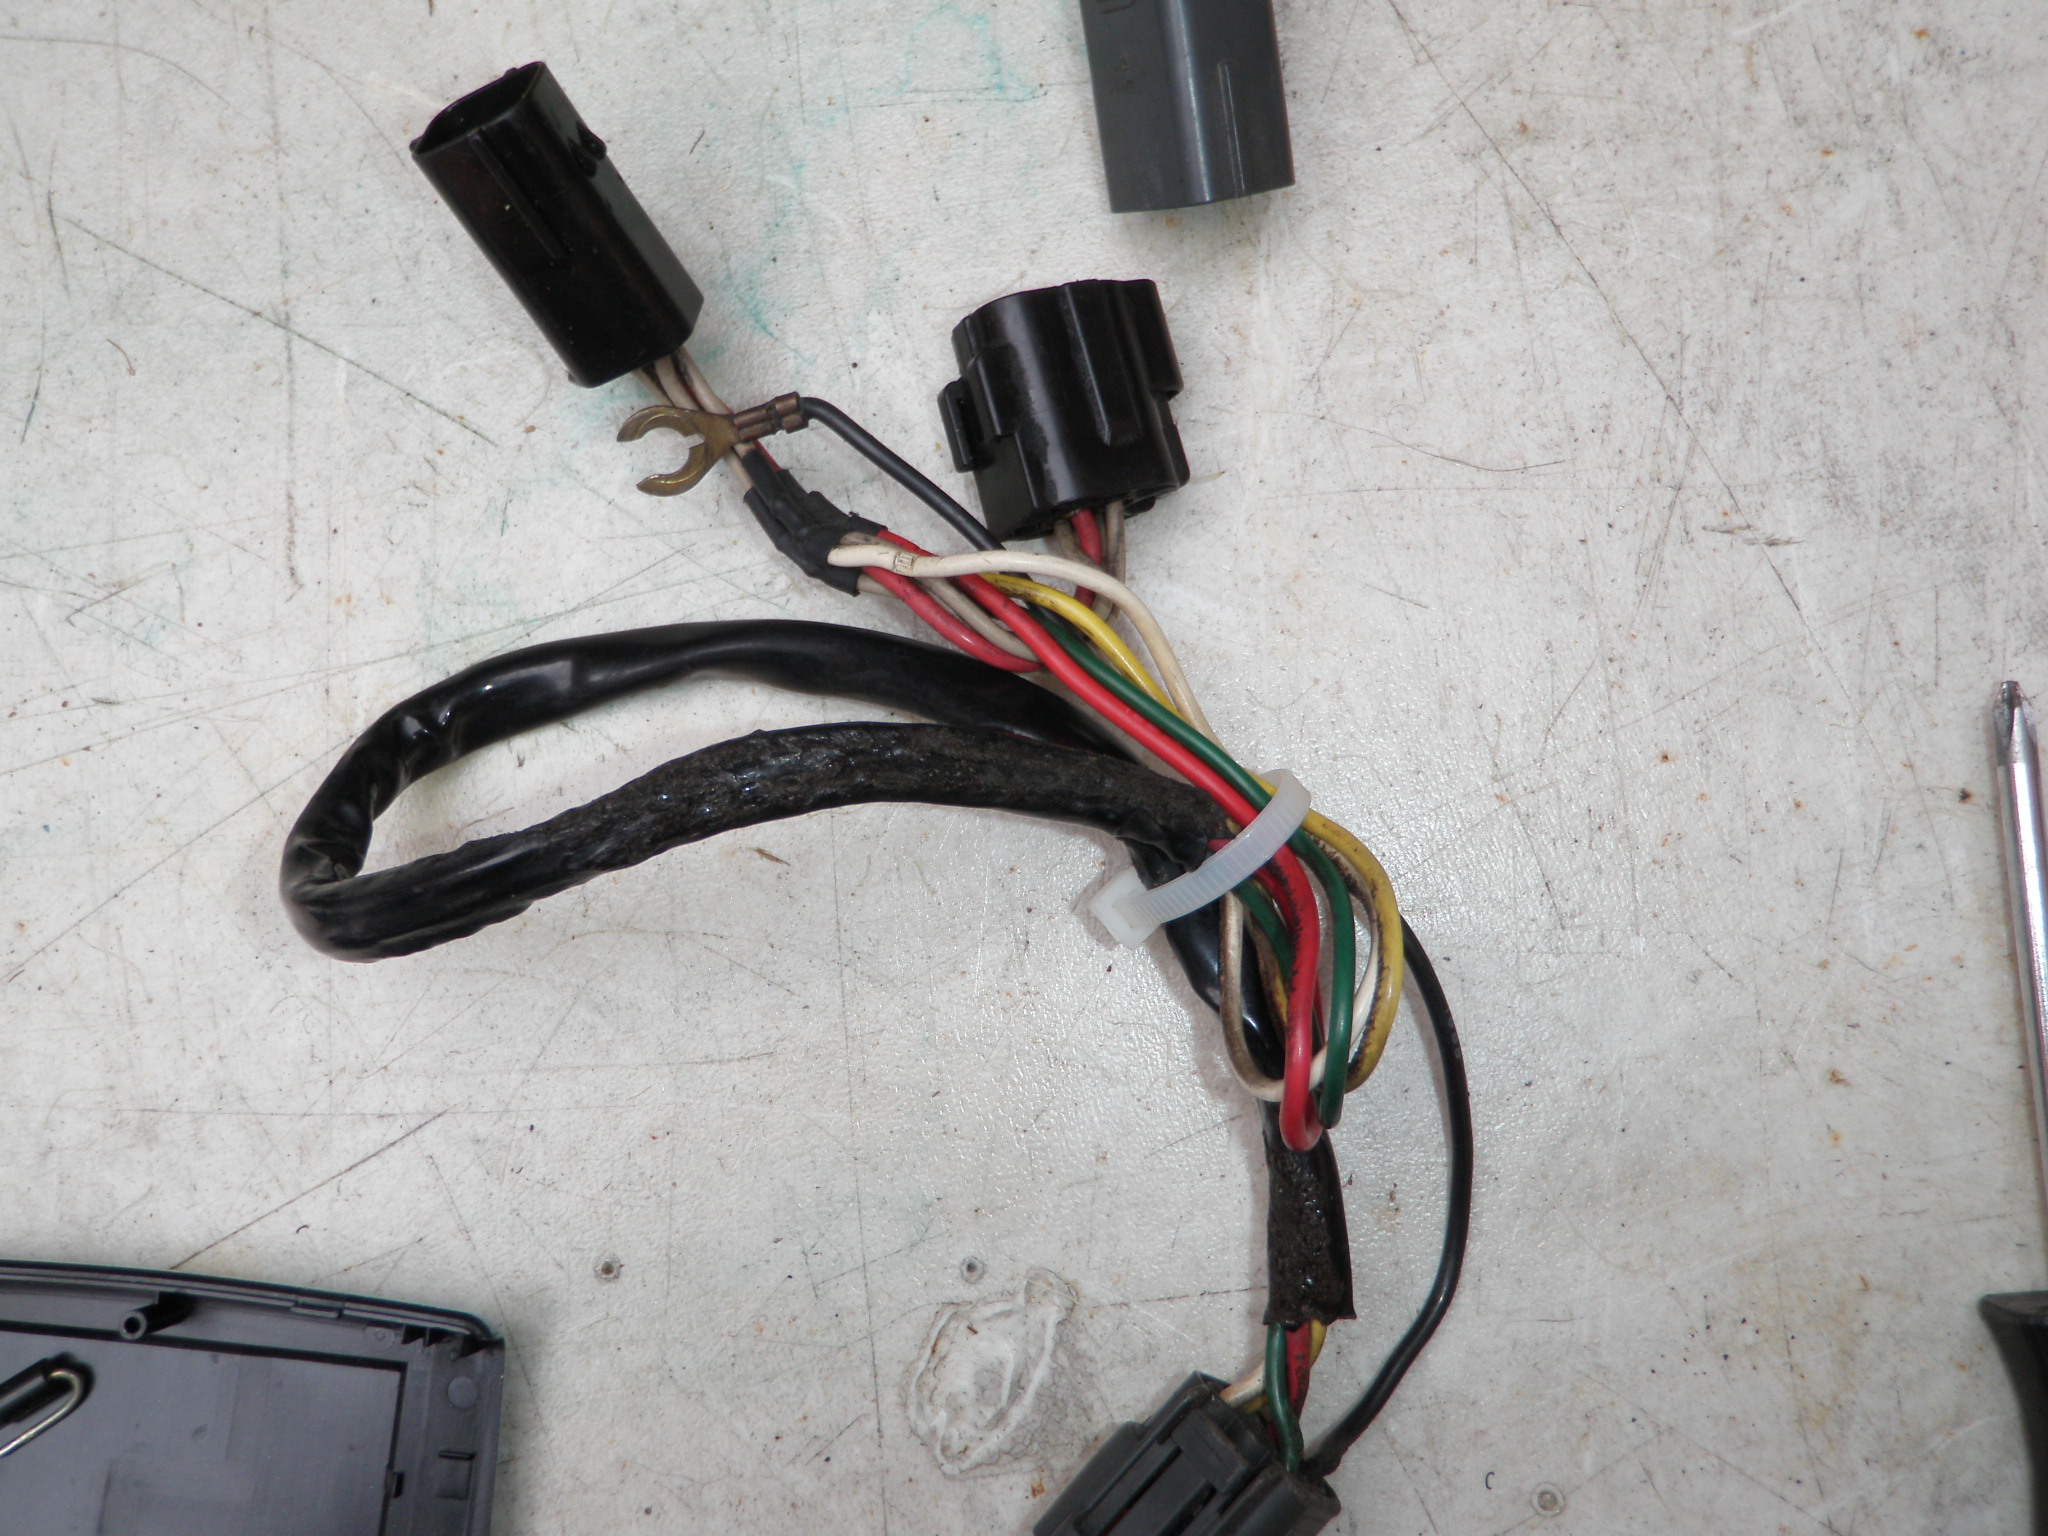
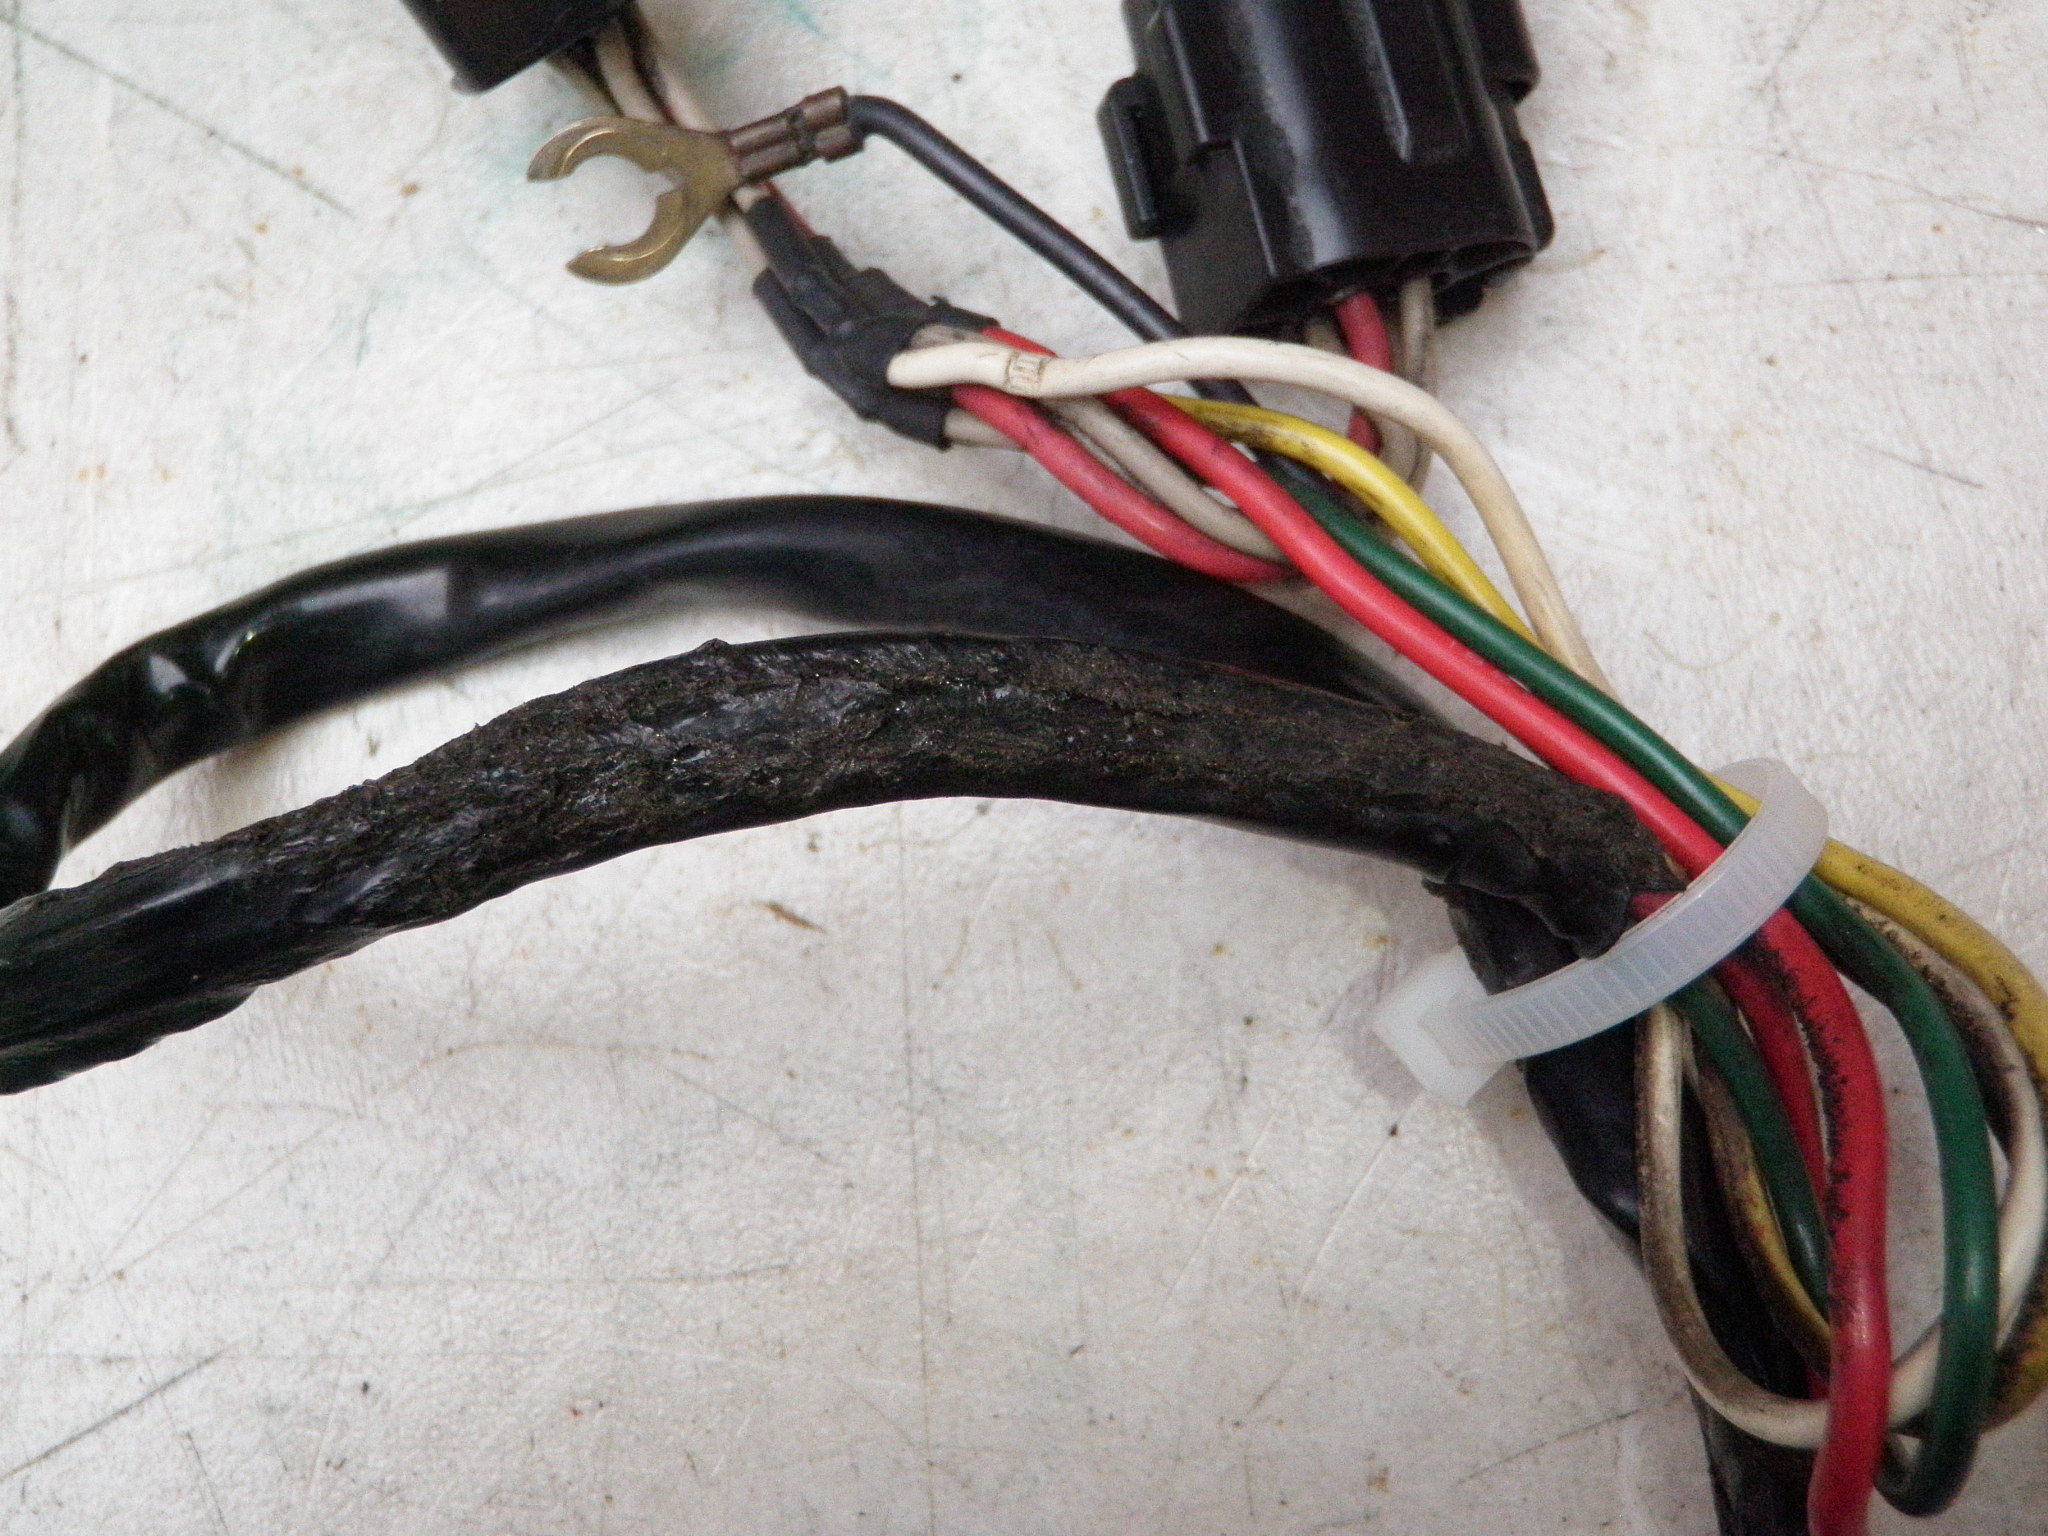
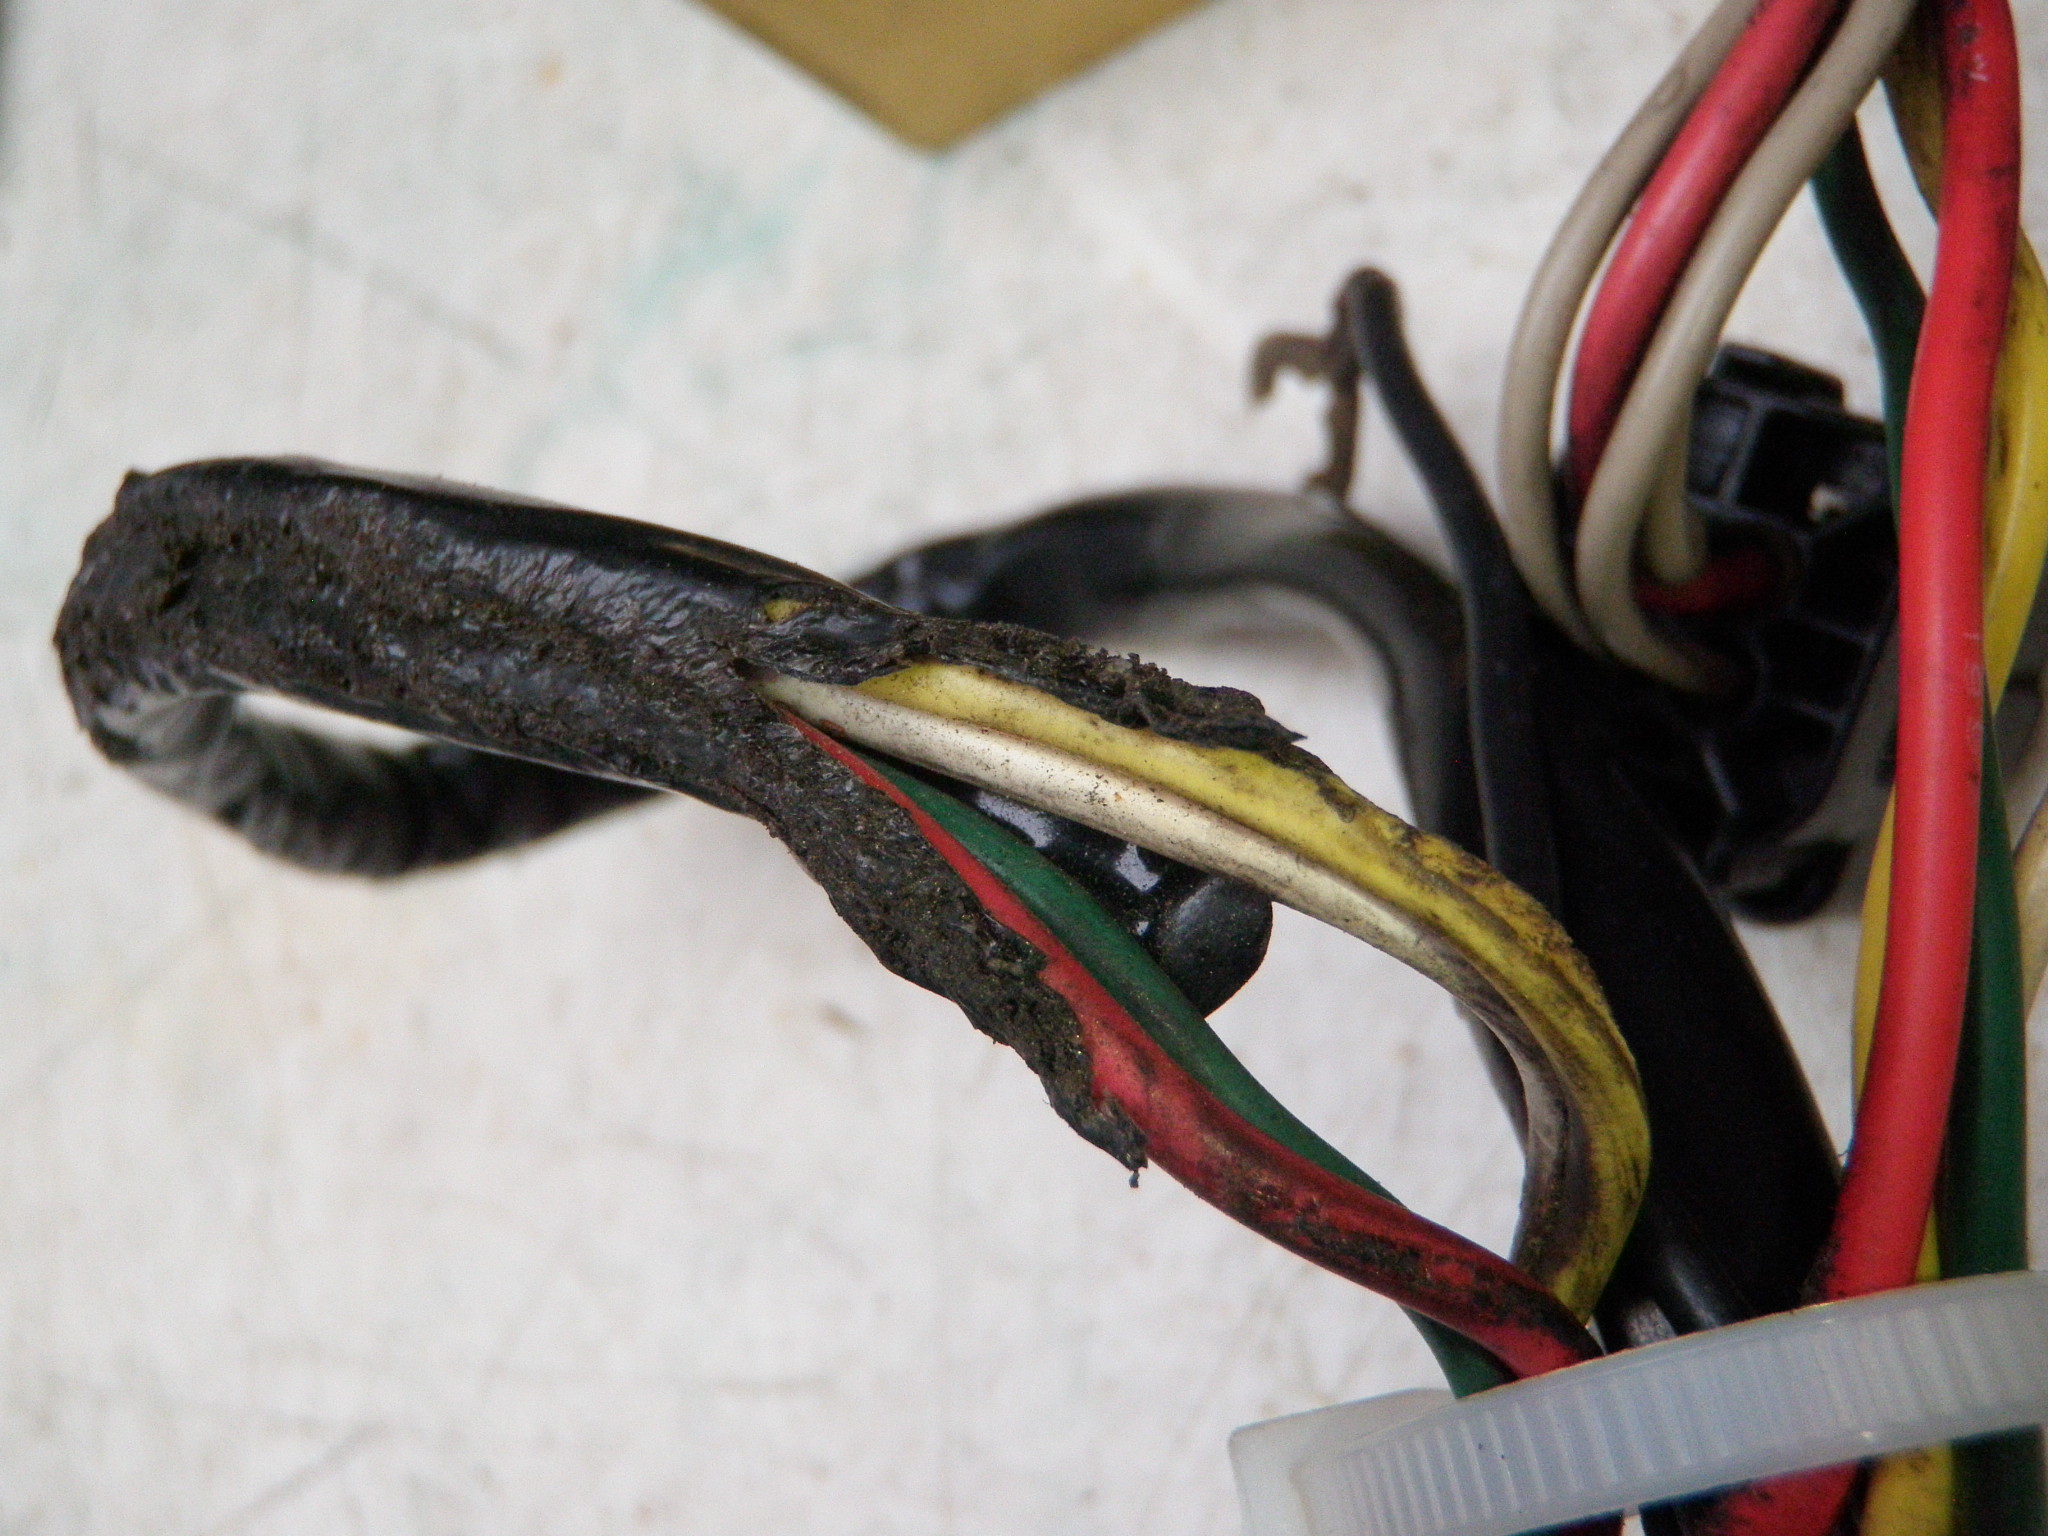
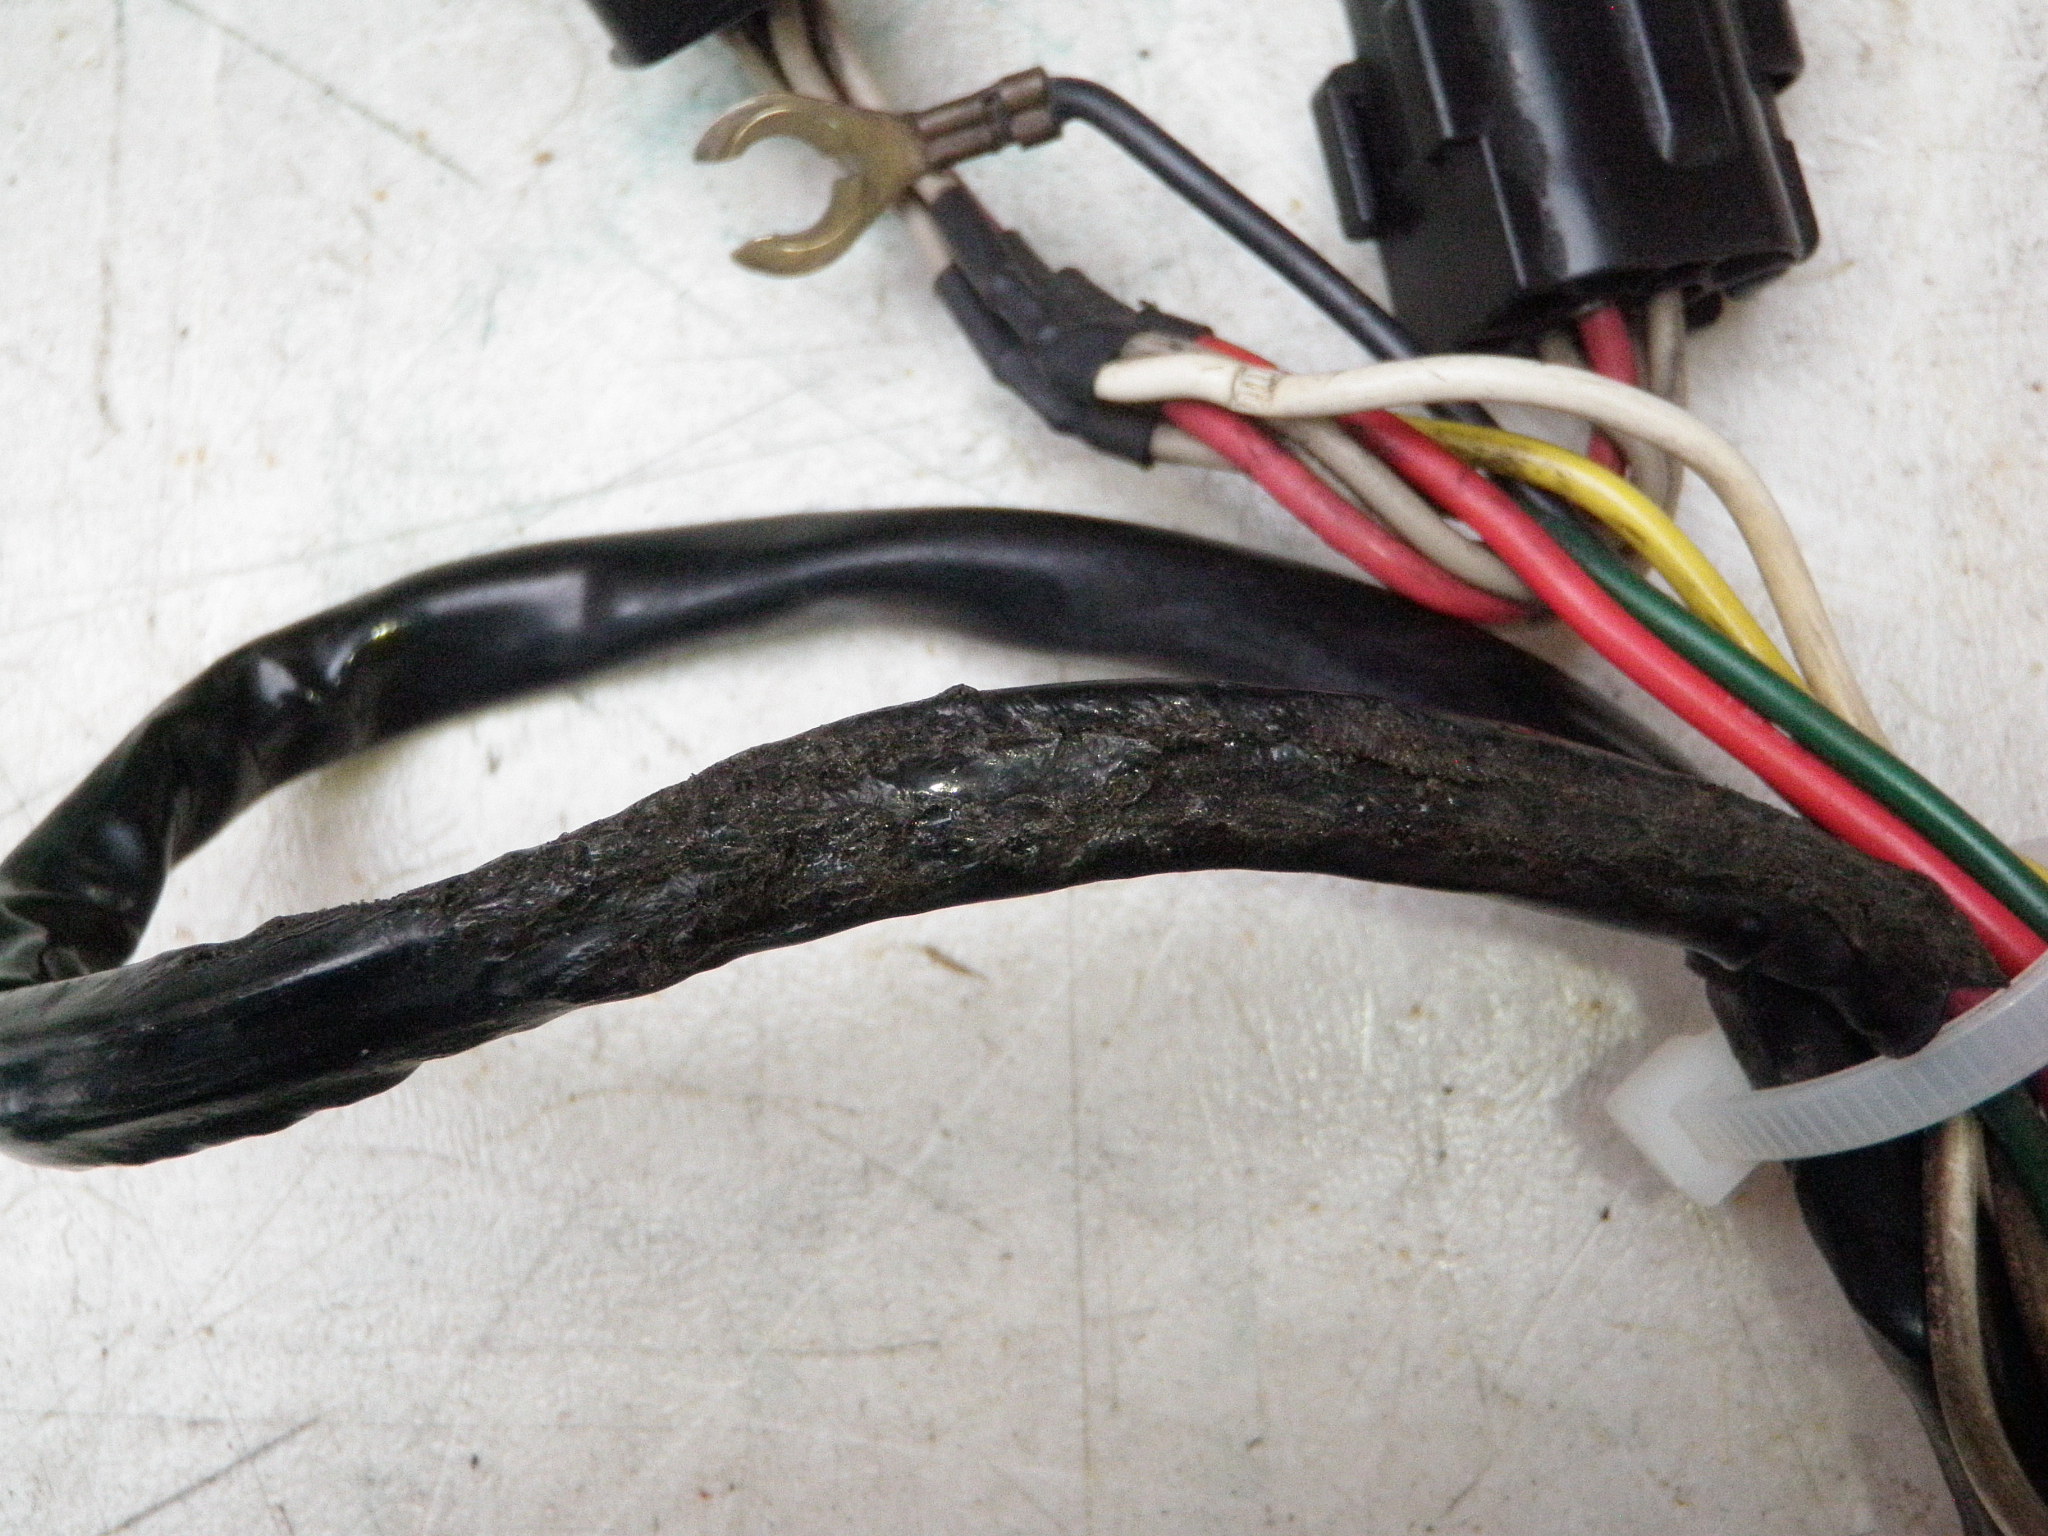
    HKS Twin Power – harness cover burned, cut it open and wires were fine inside. Maybe an engine fire?

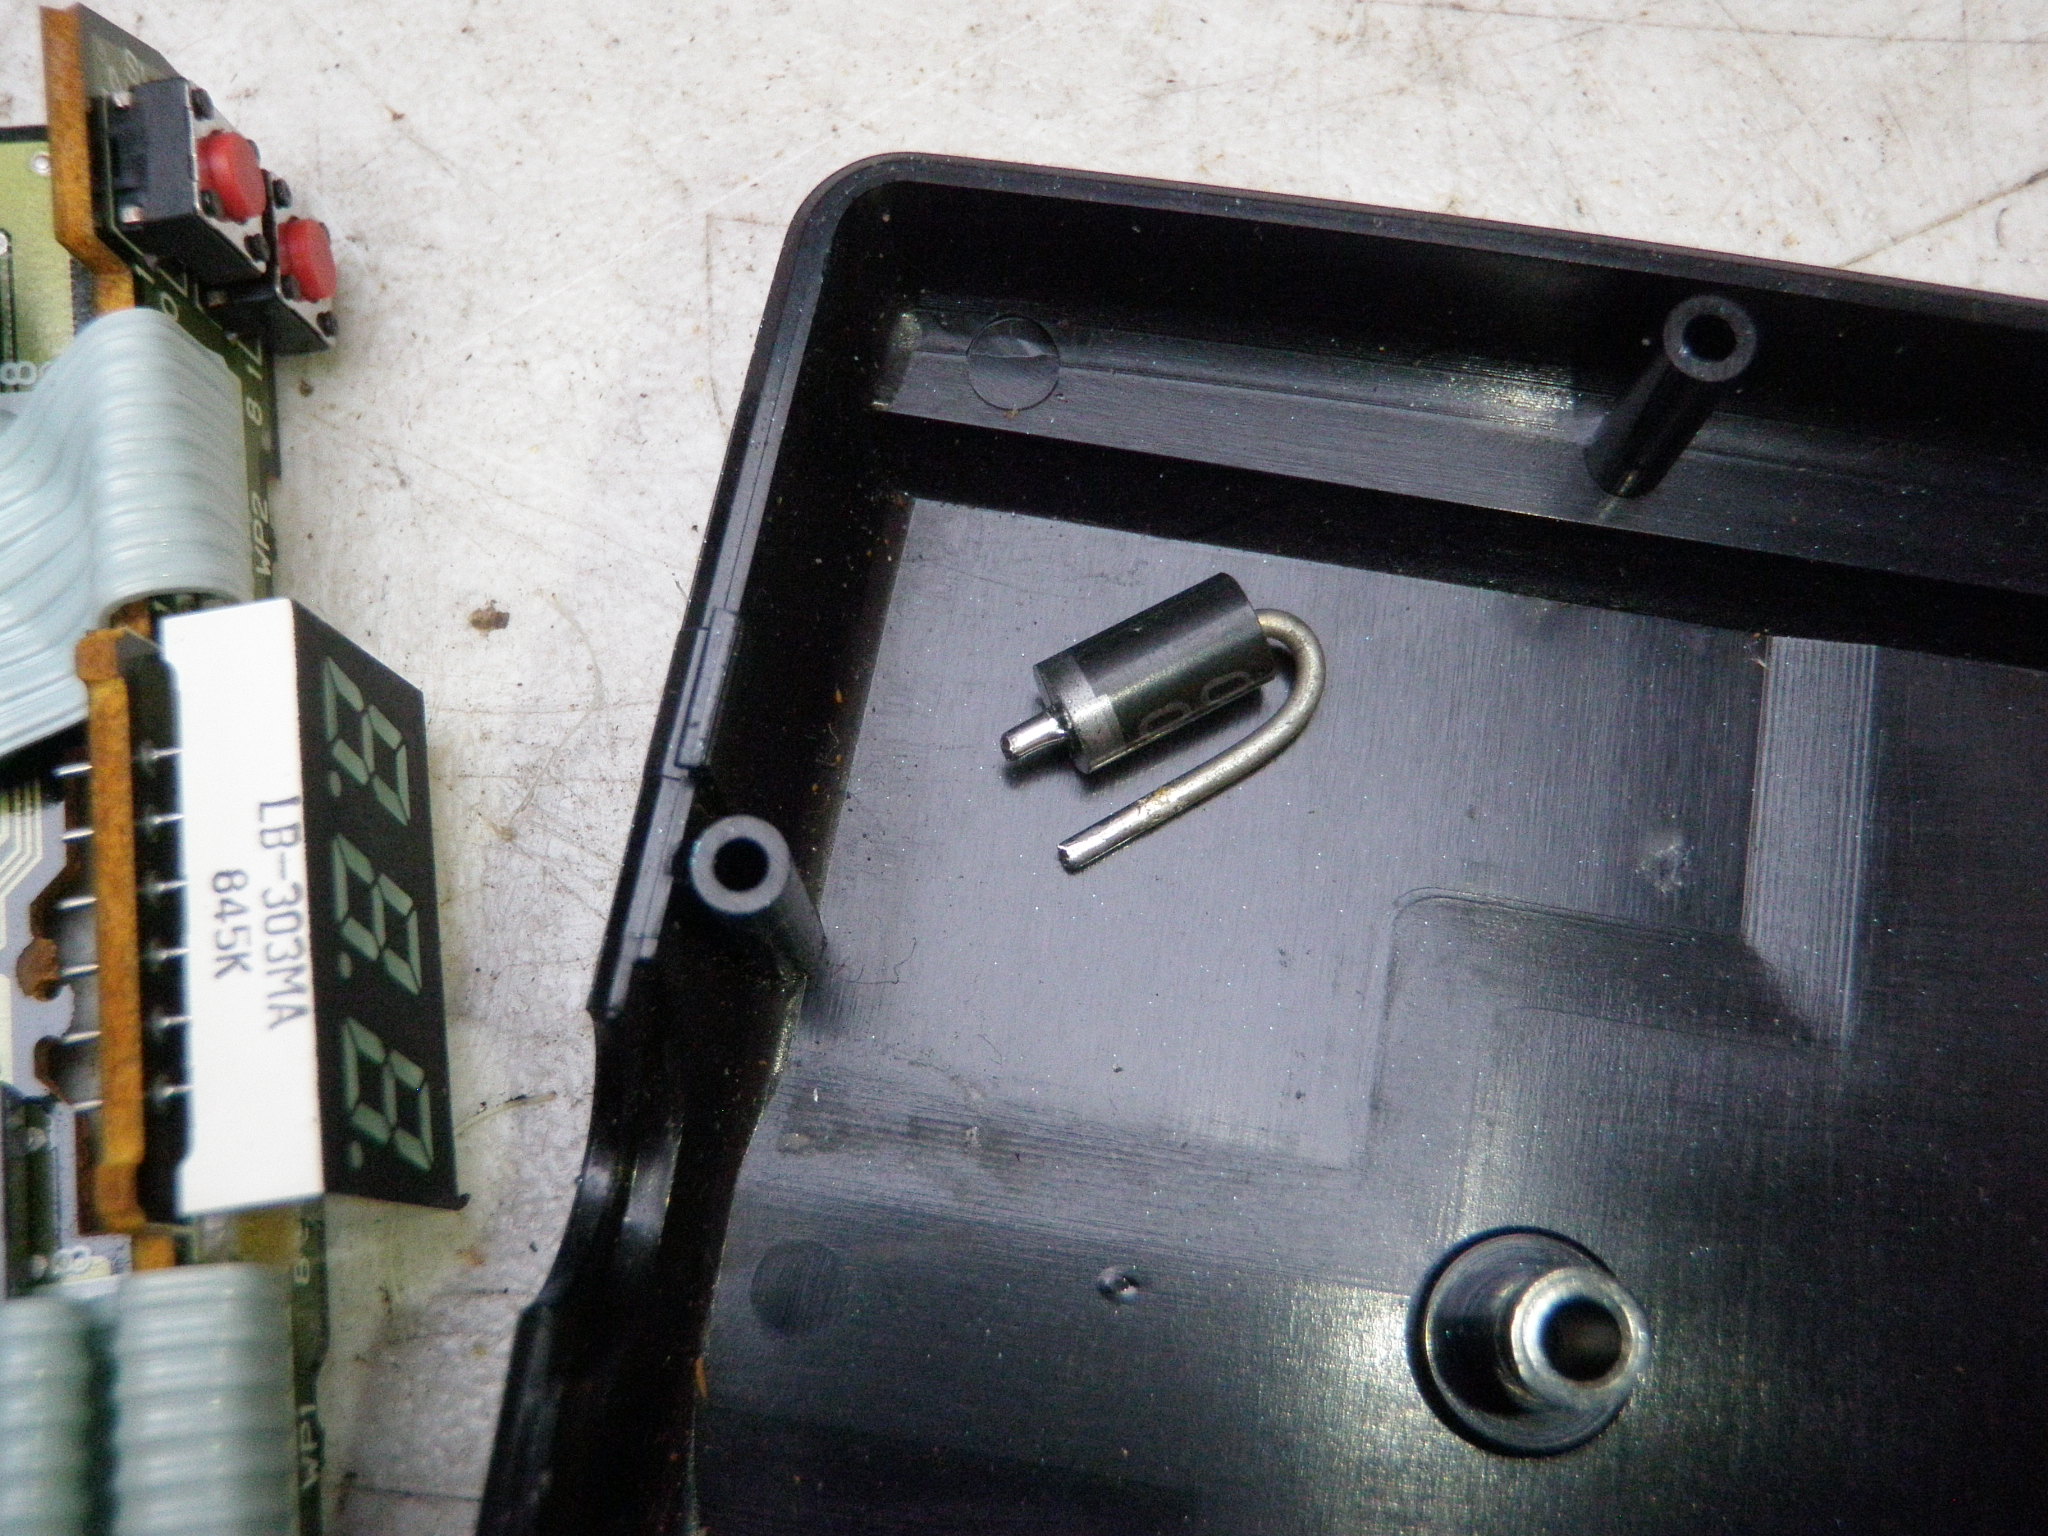
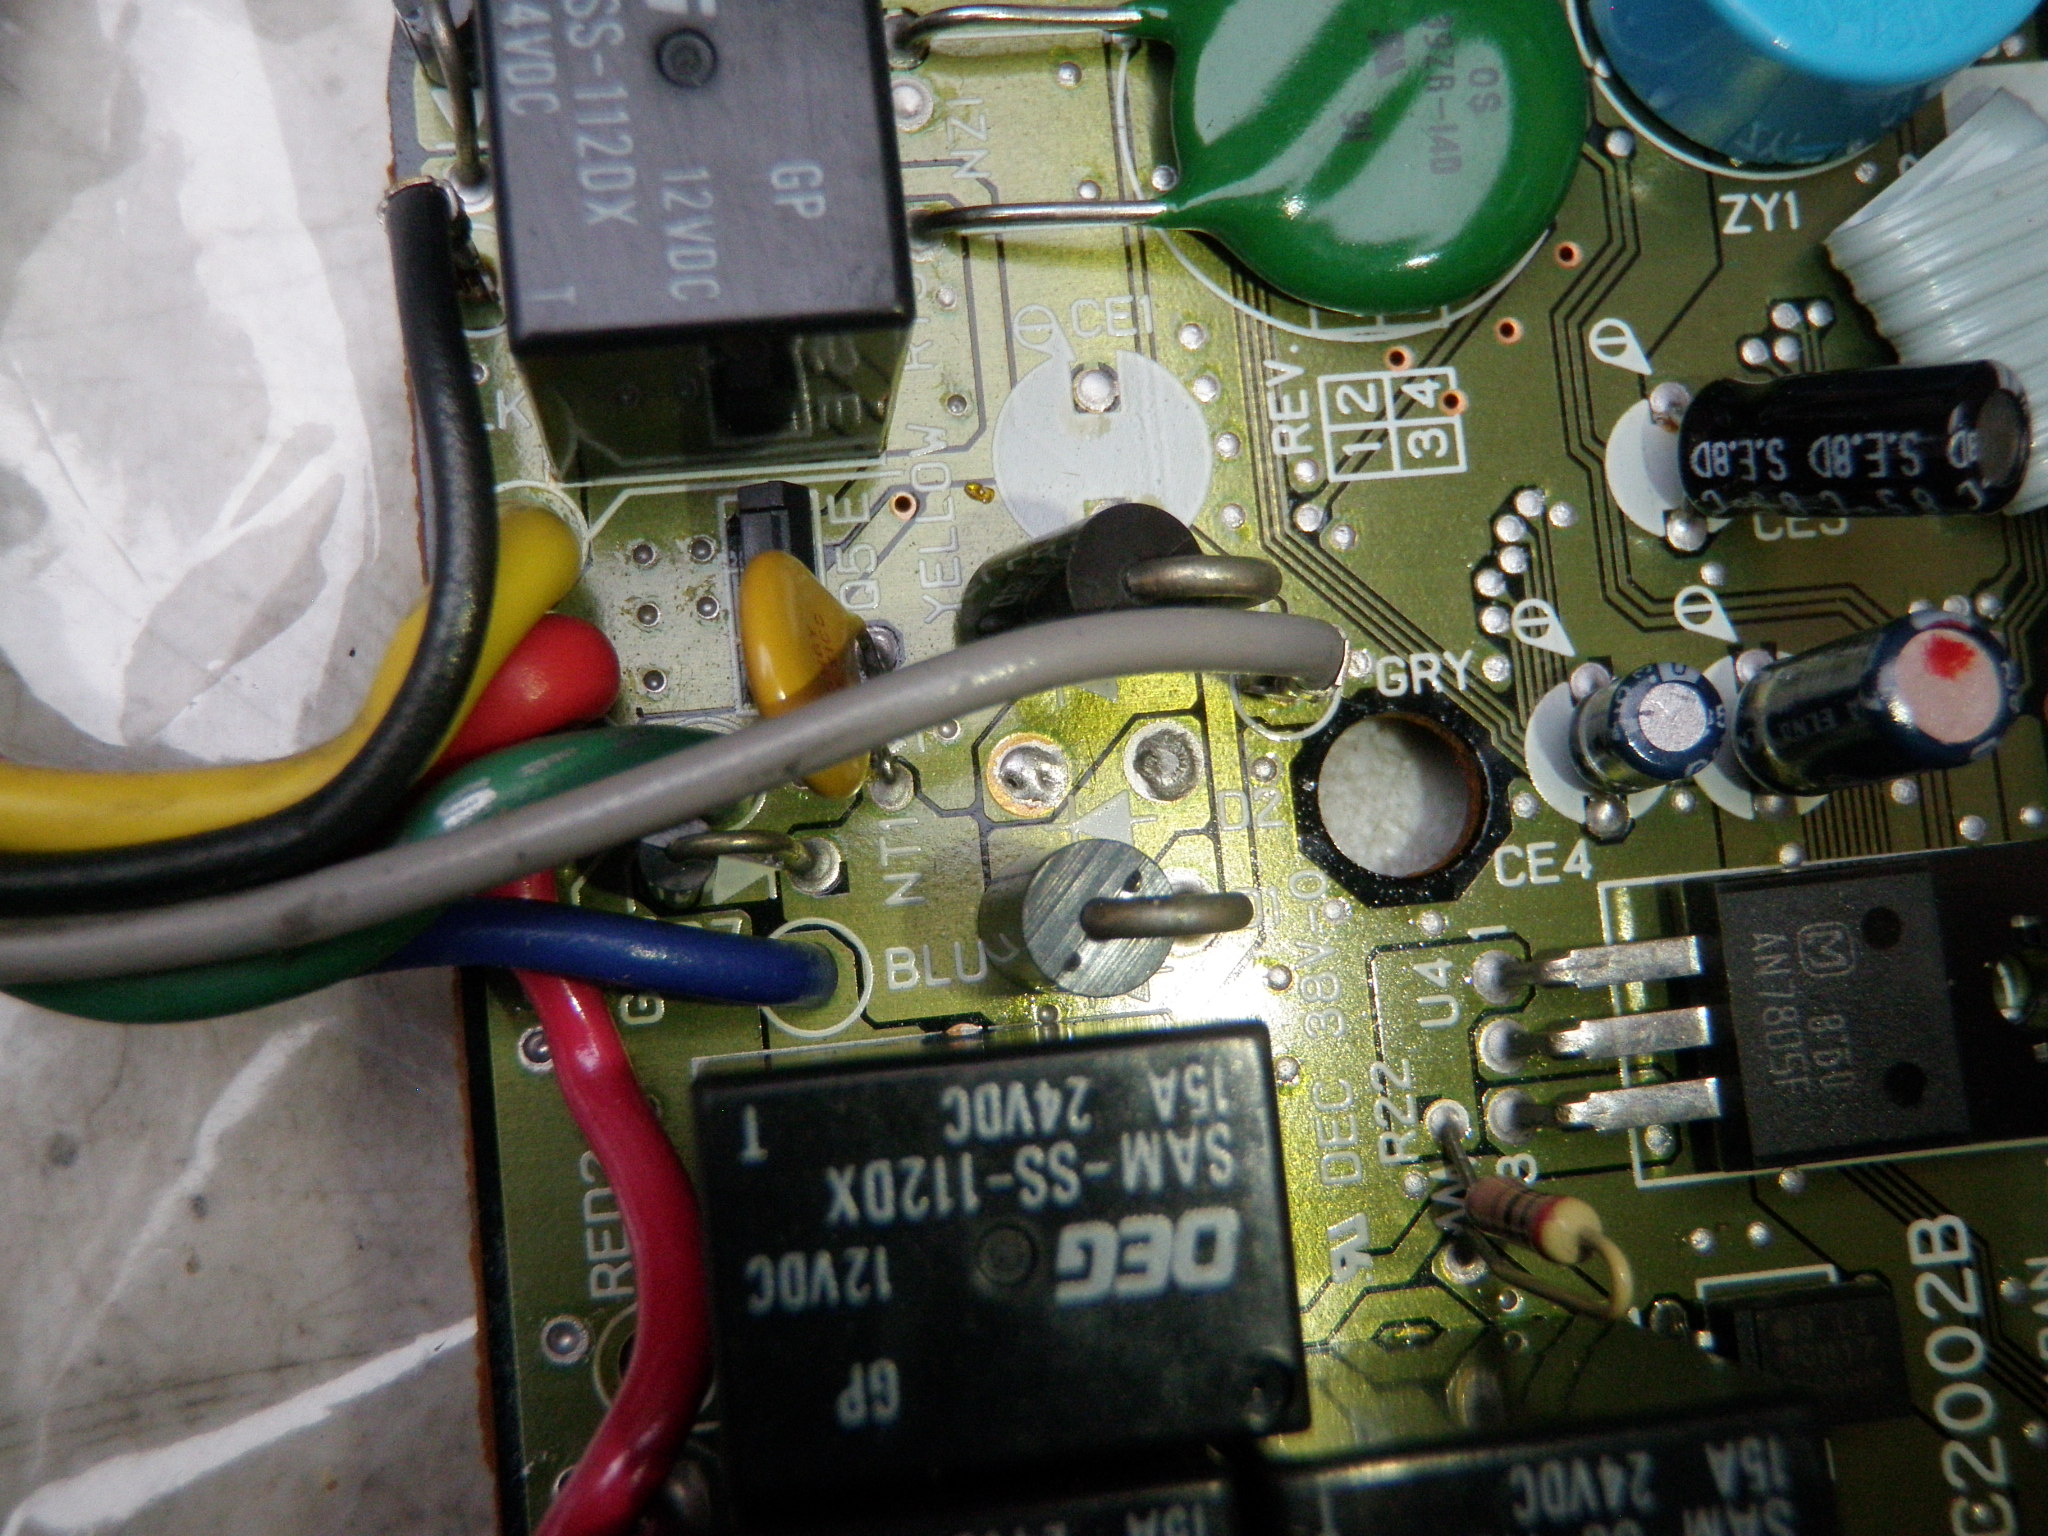
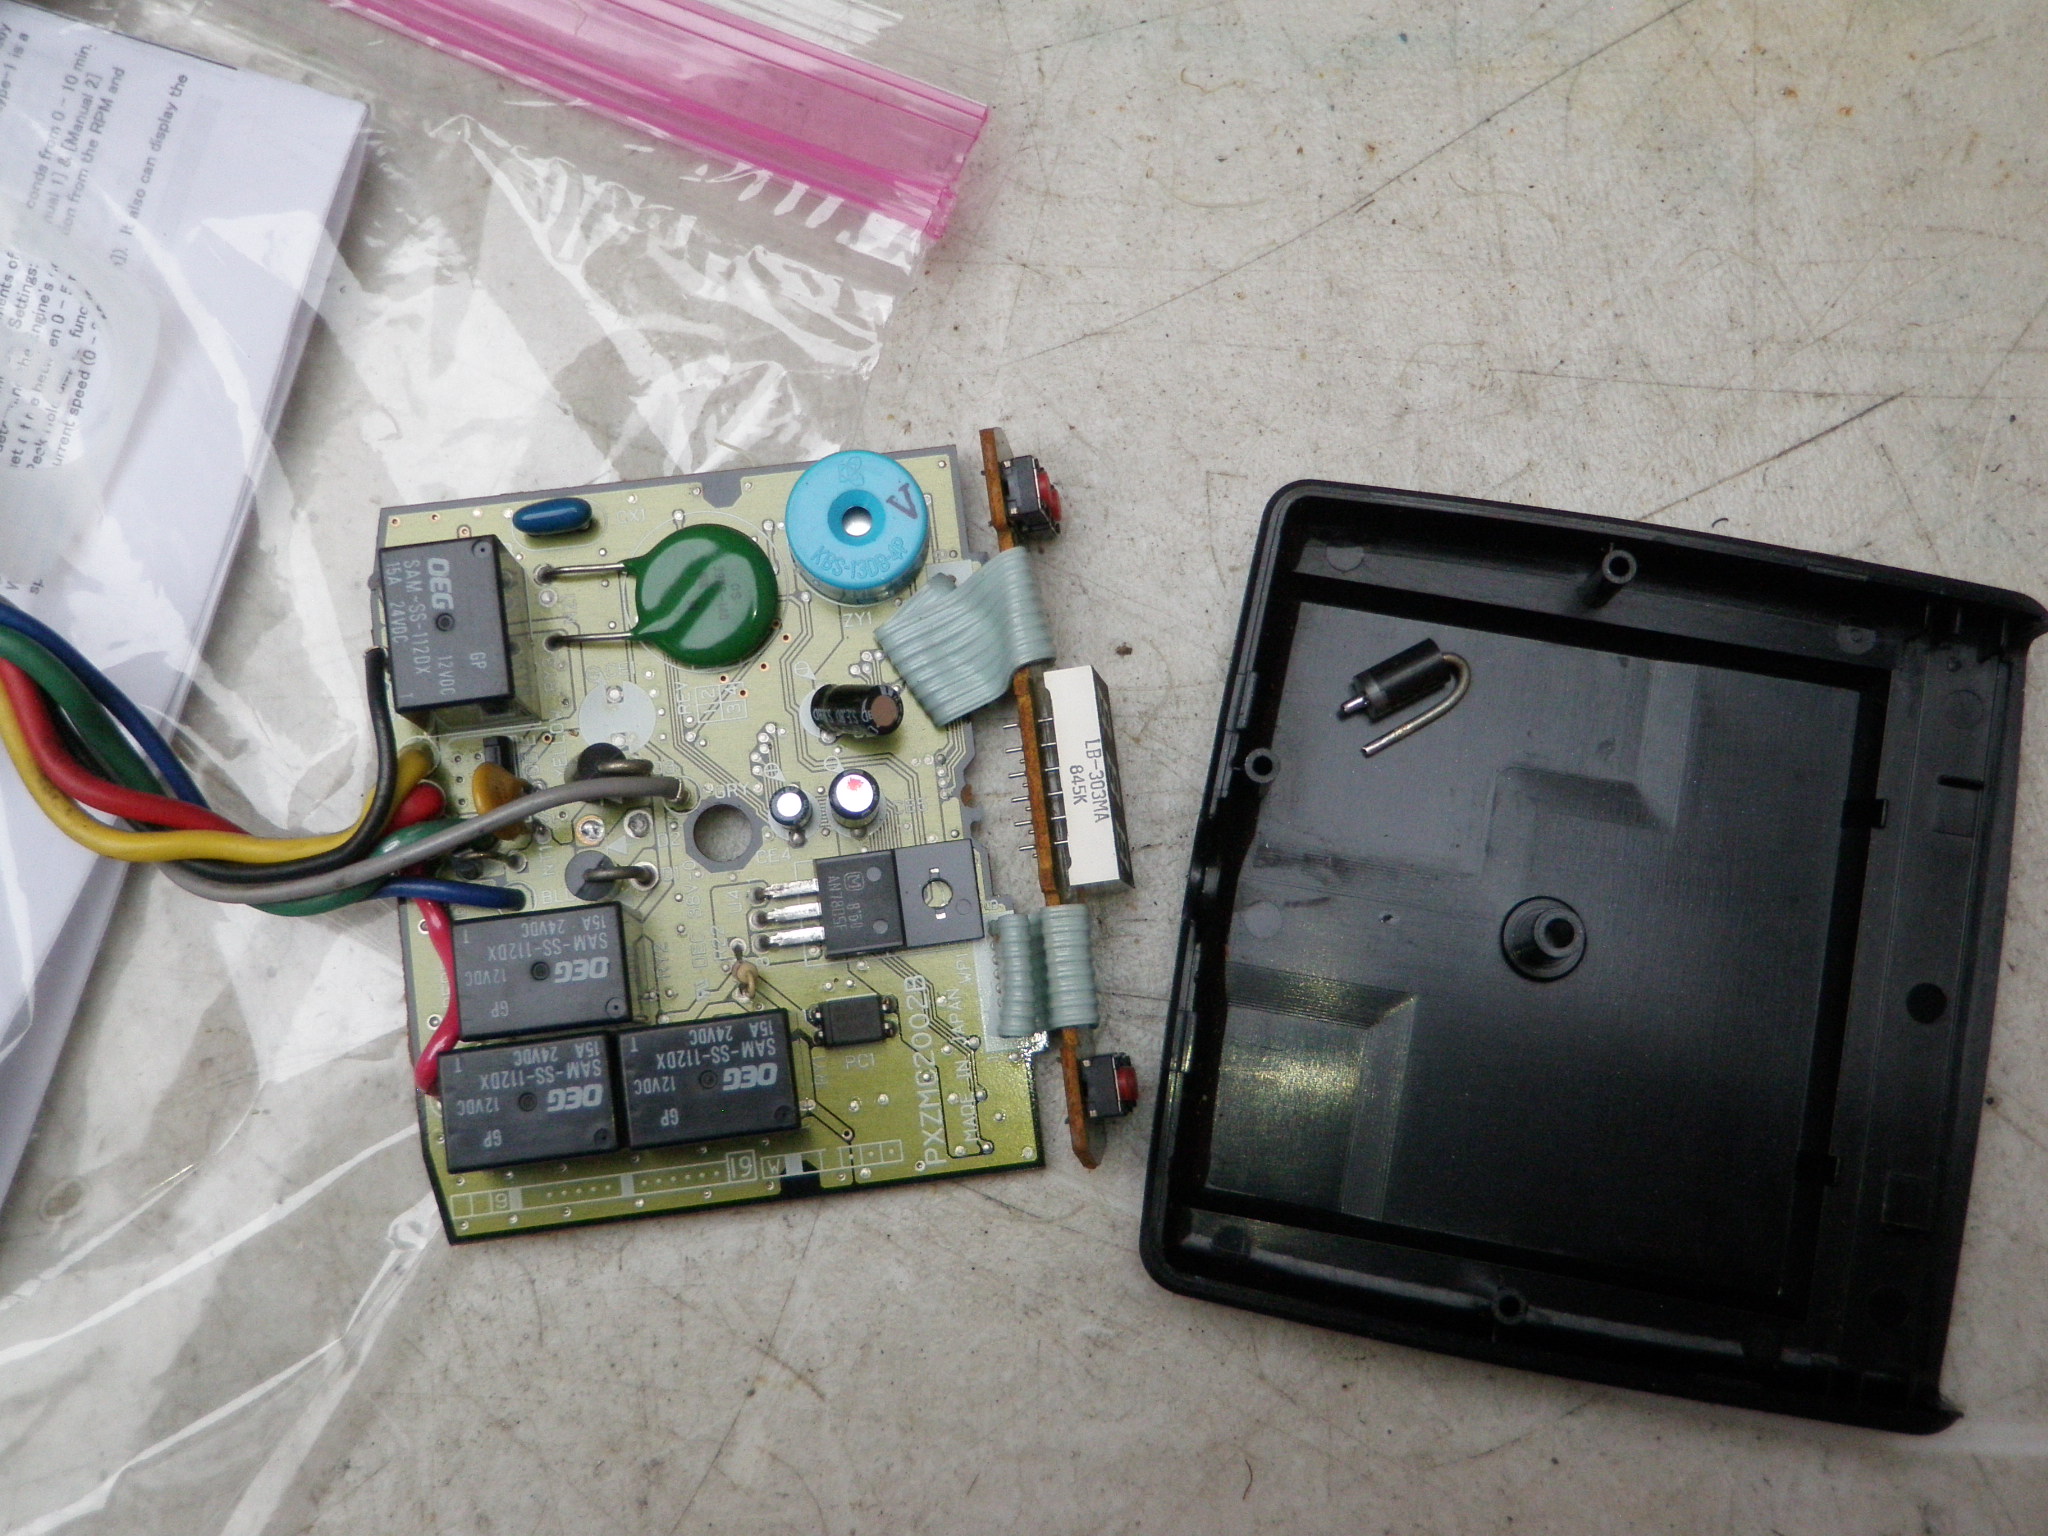
    HKS turbo timer – had a loose object inside and found a diode got loose. maybe it got to hot and the solder melted or it wasn’t in the trace hole enough to begin with – anyways I fixed it. I wont know if it work until my cars all back together – sigh.

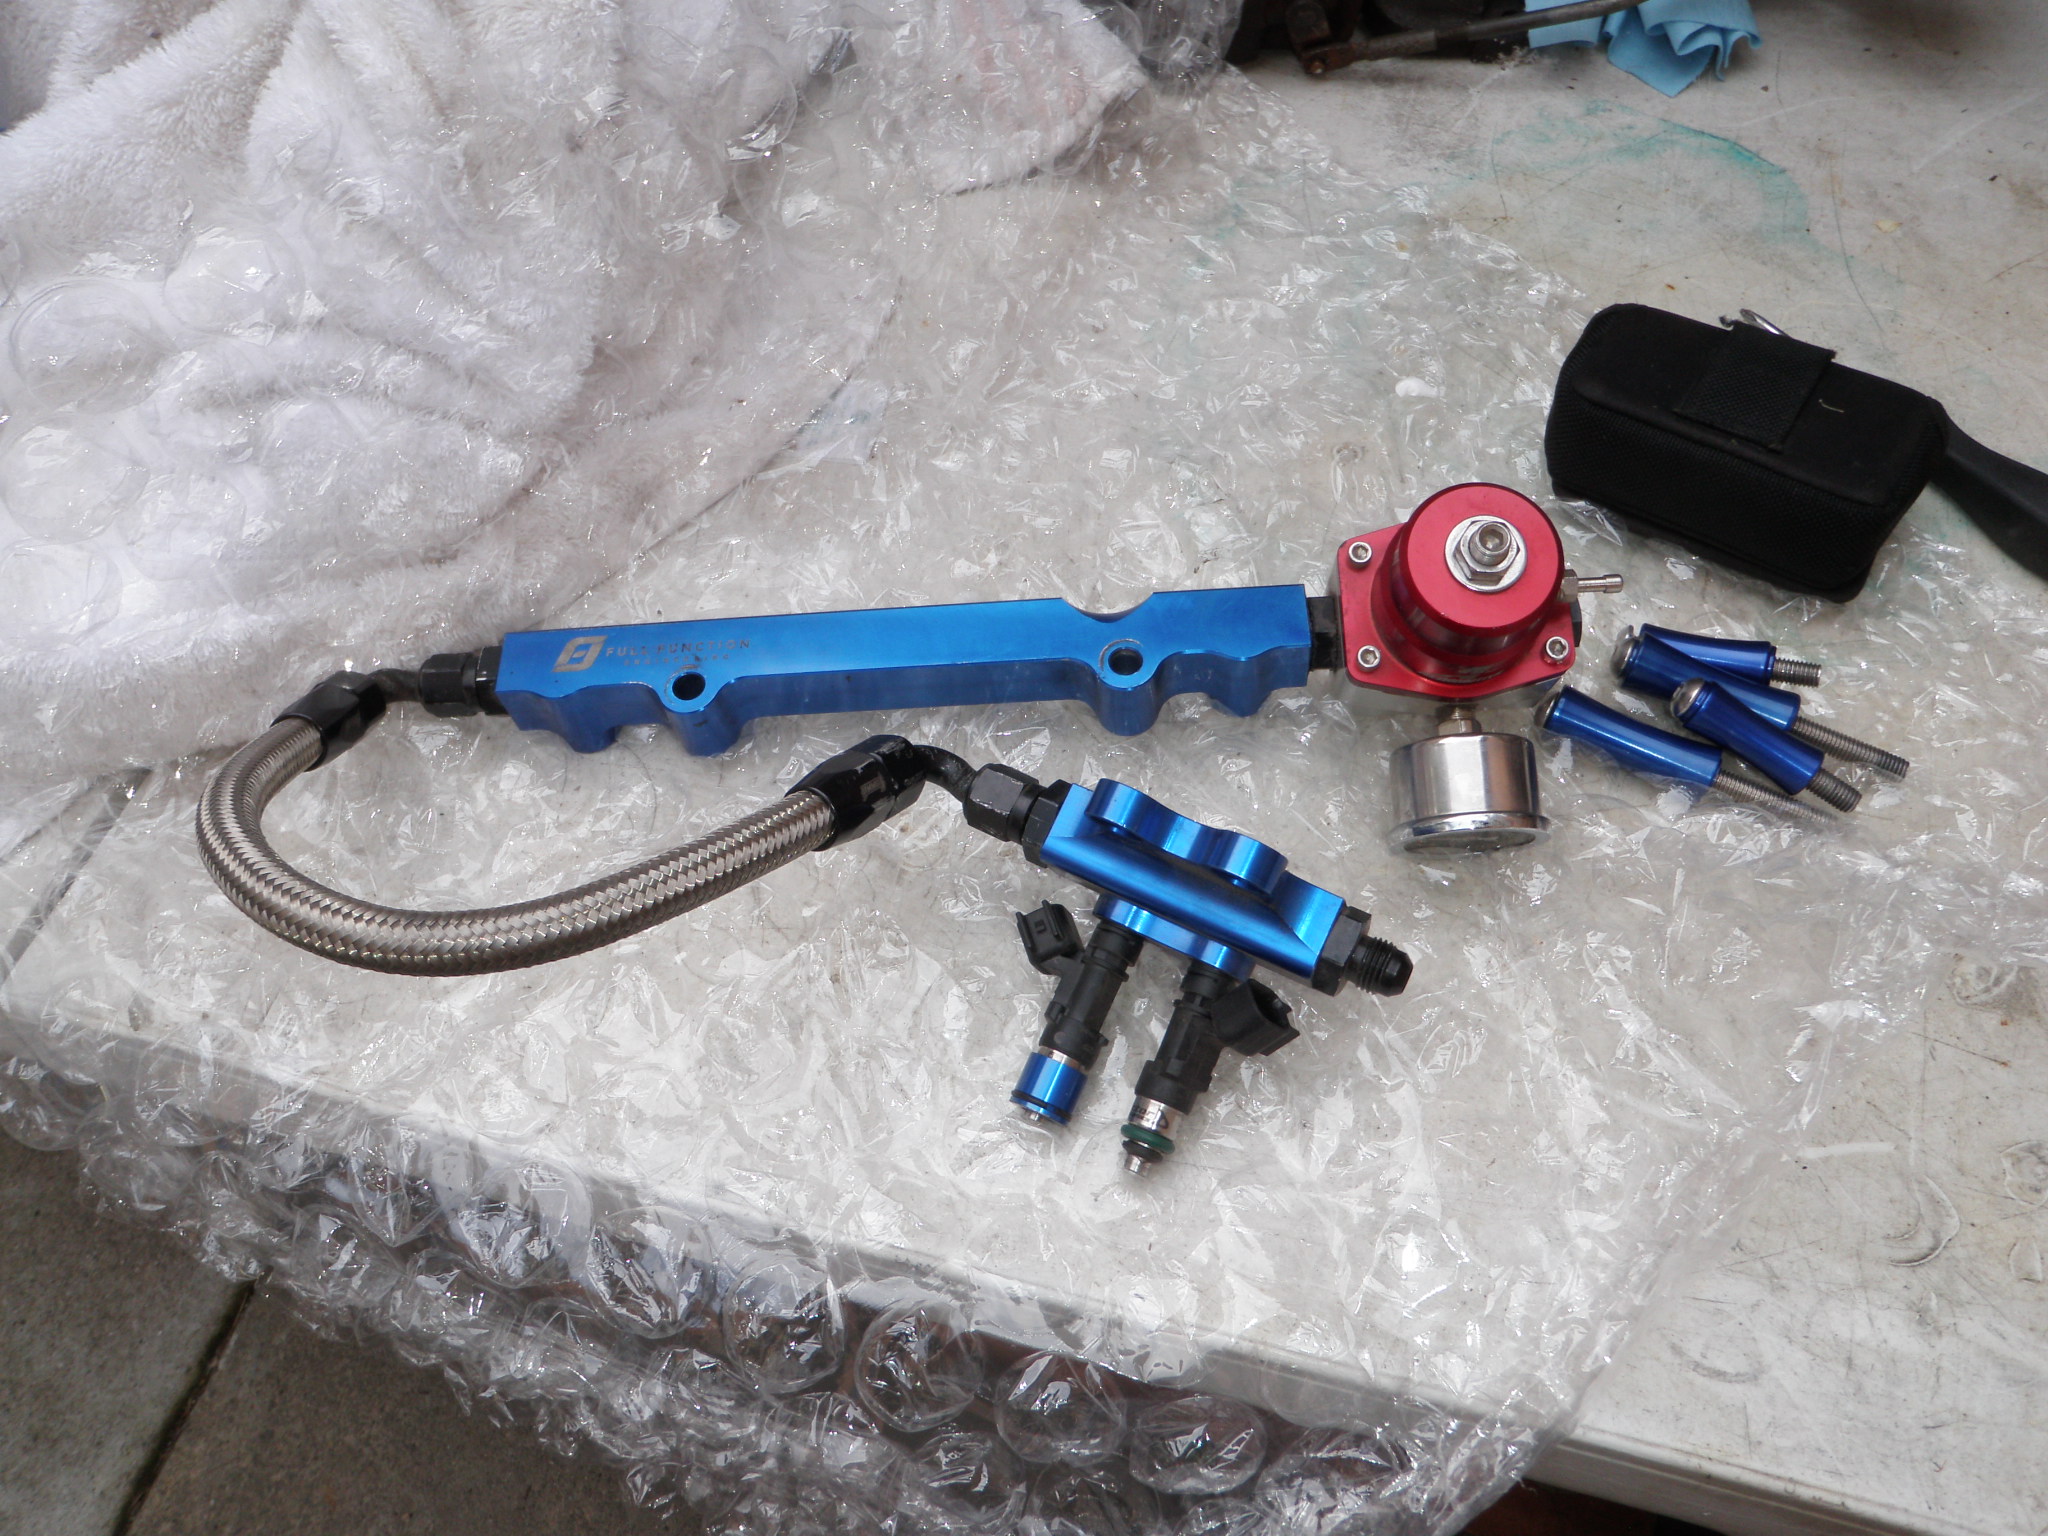
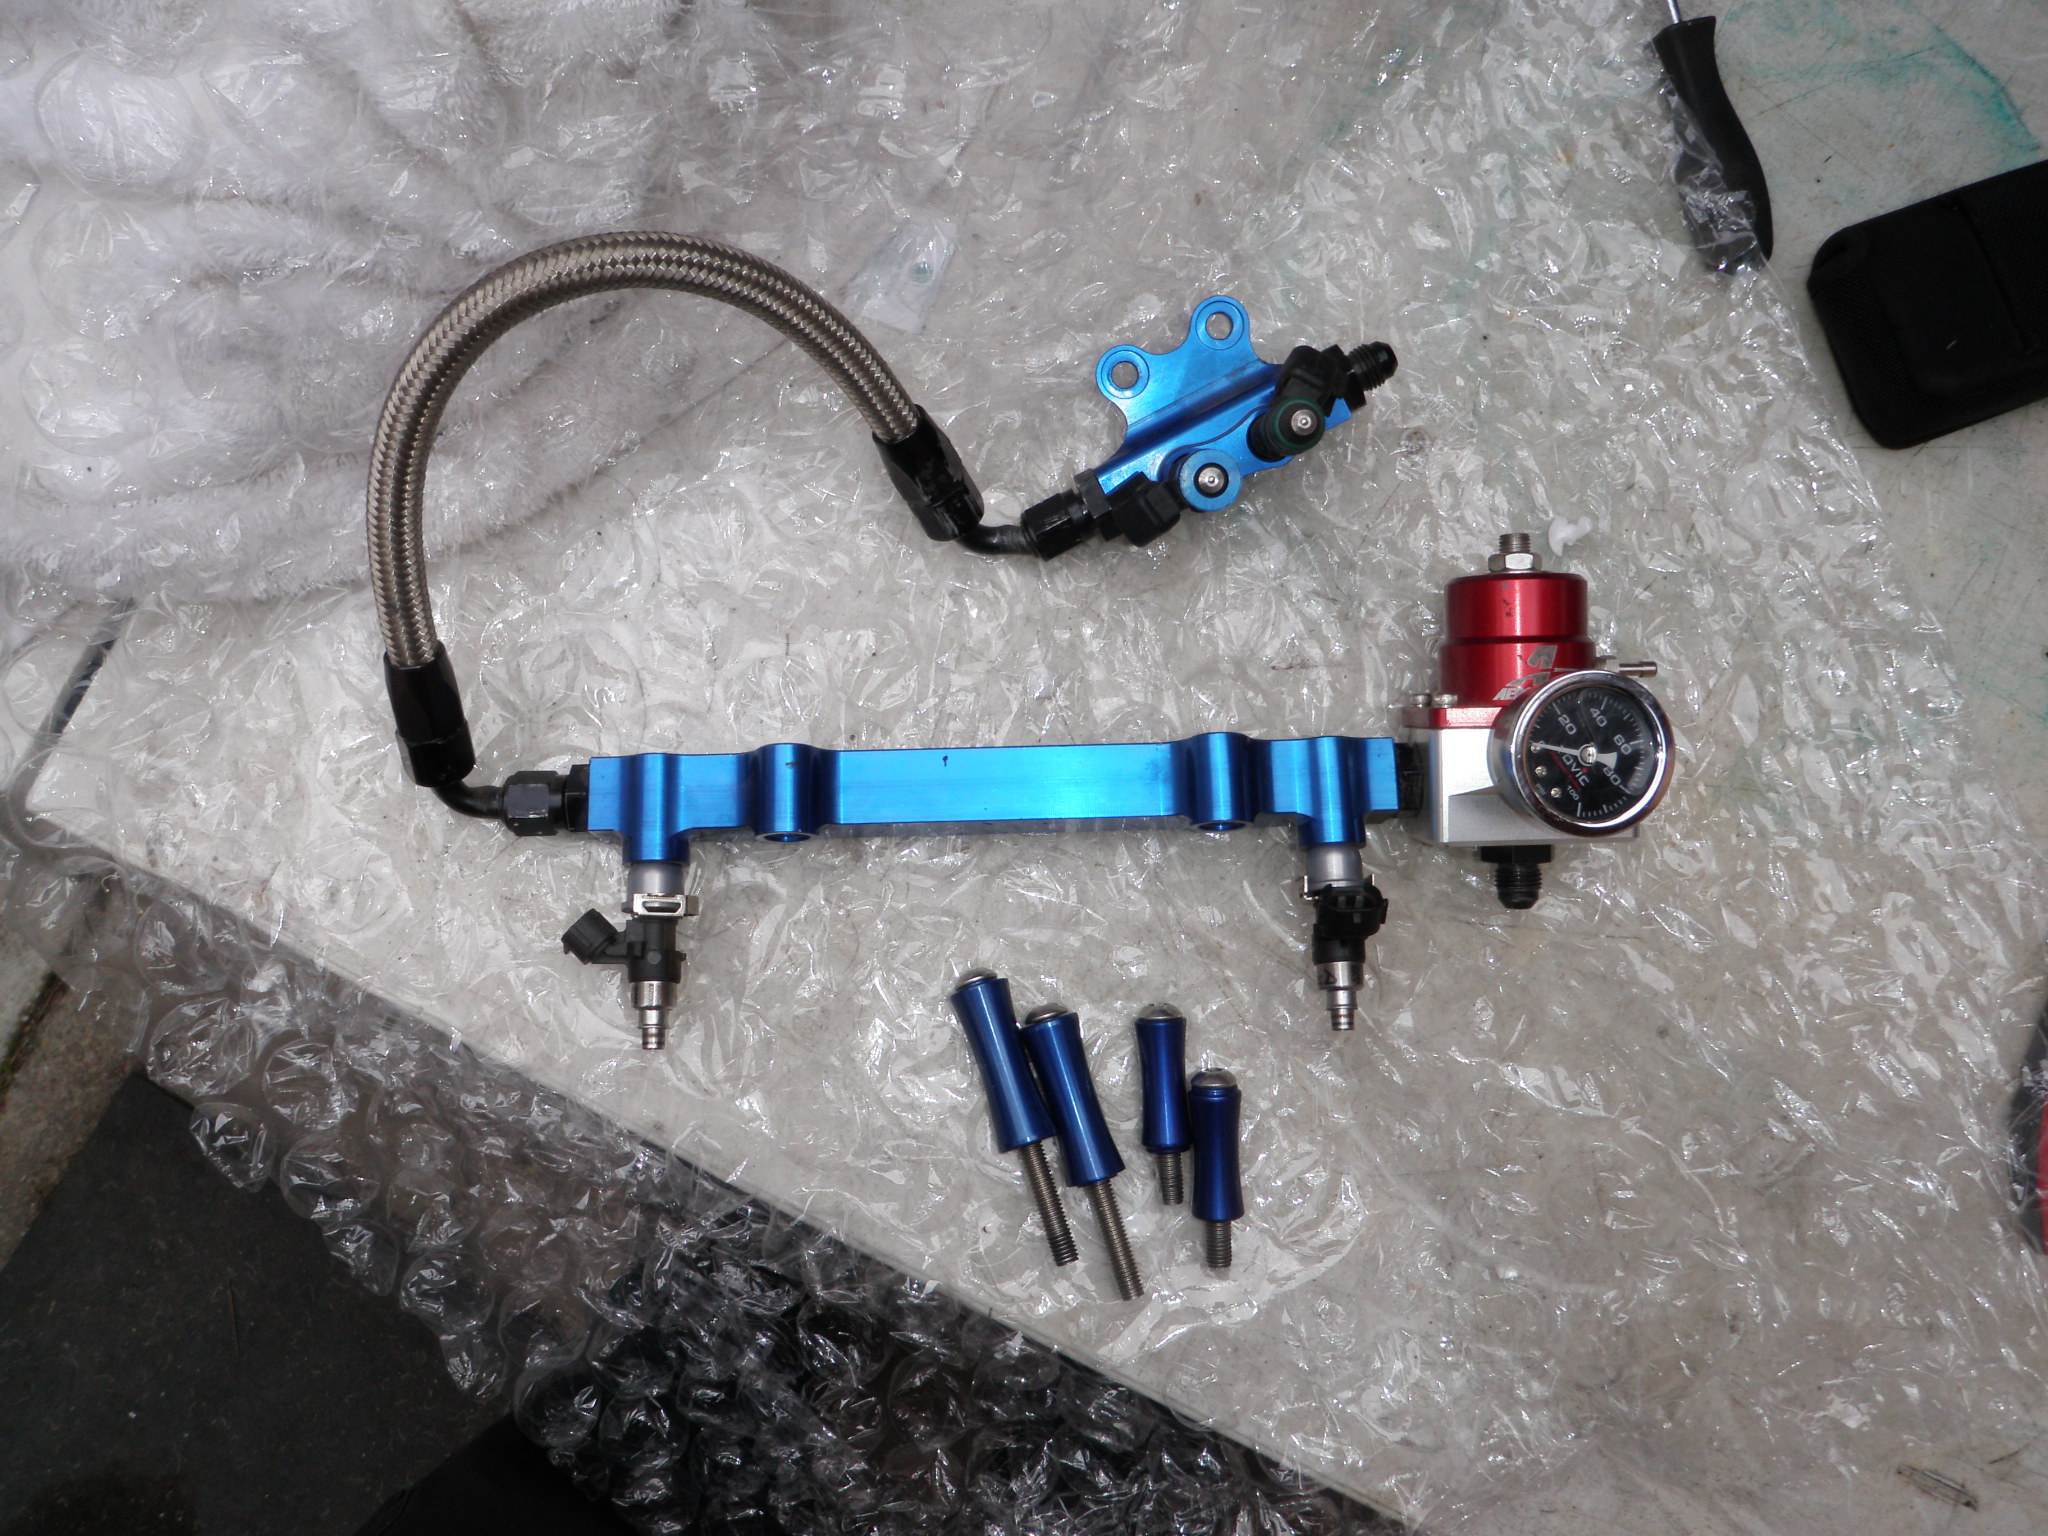
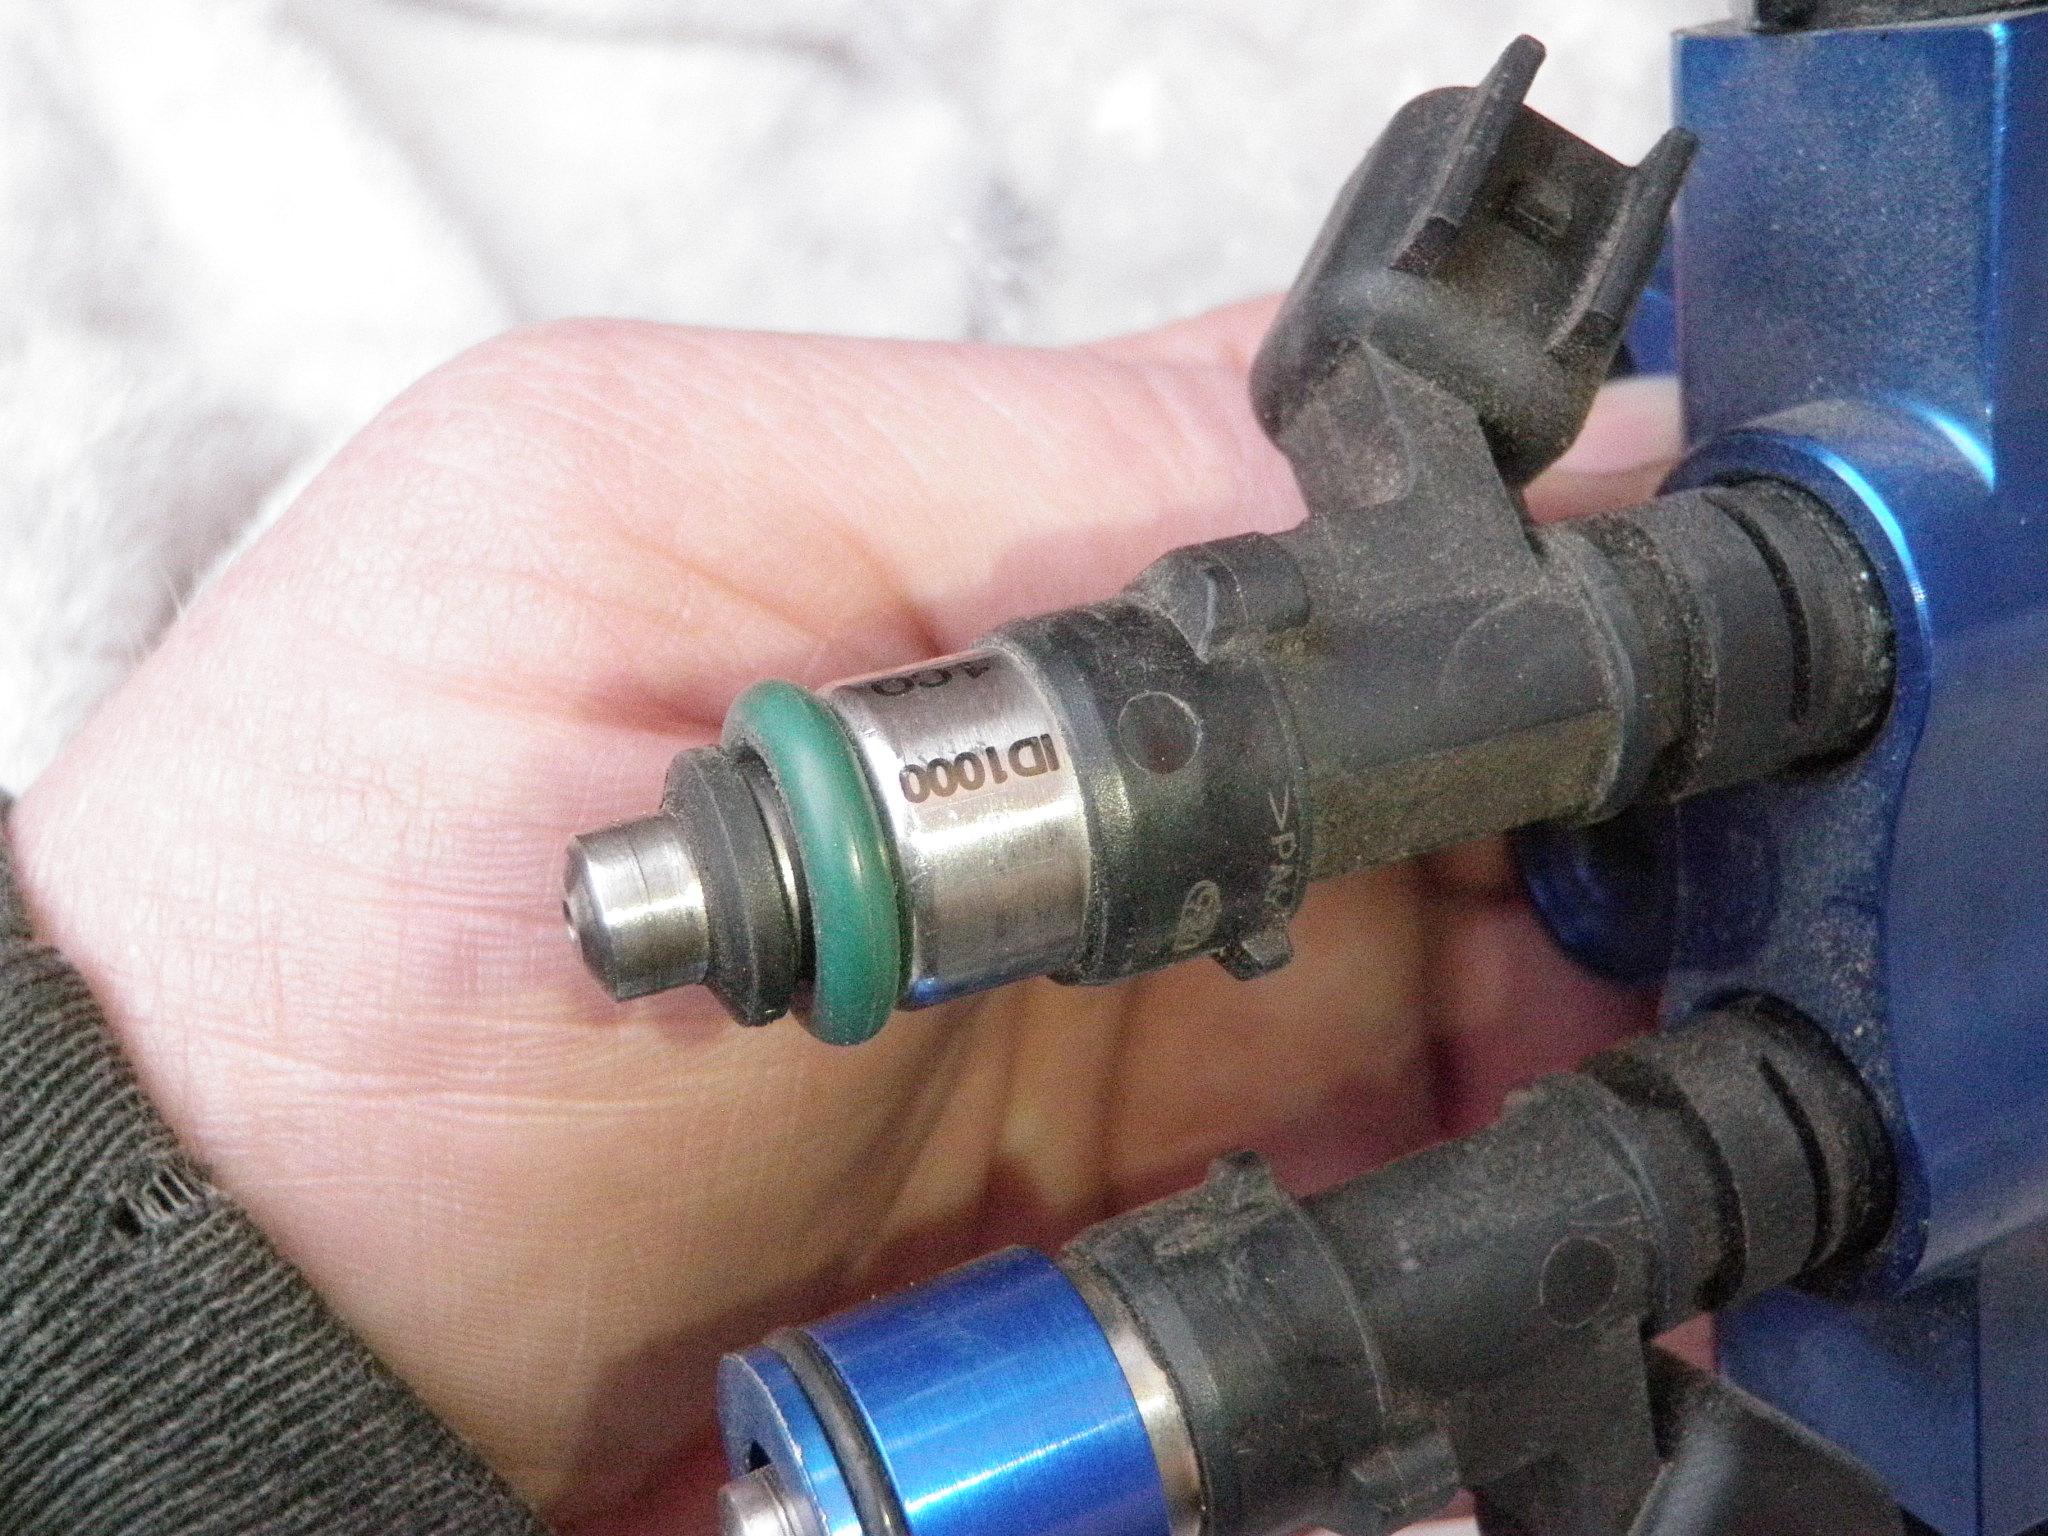
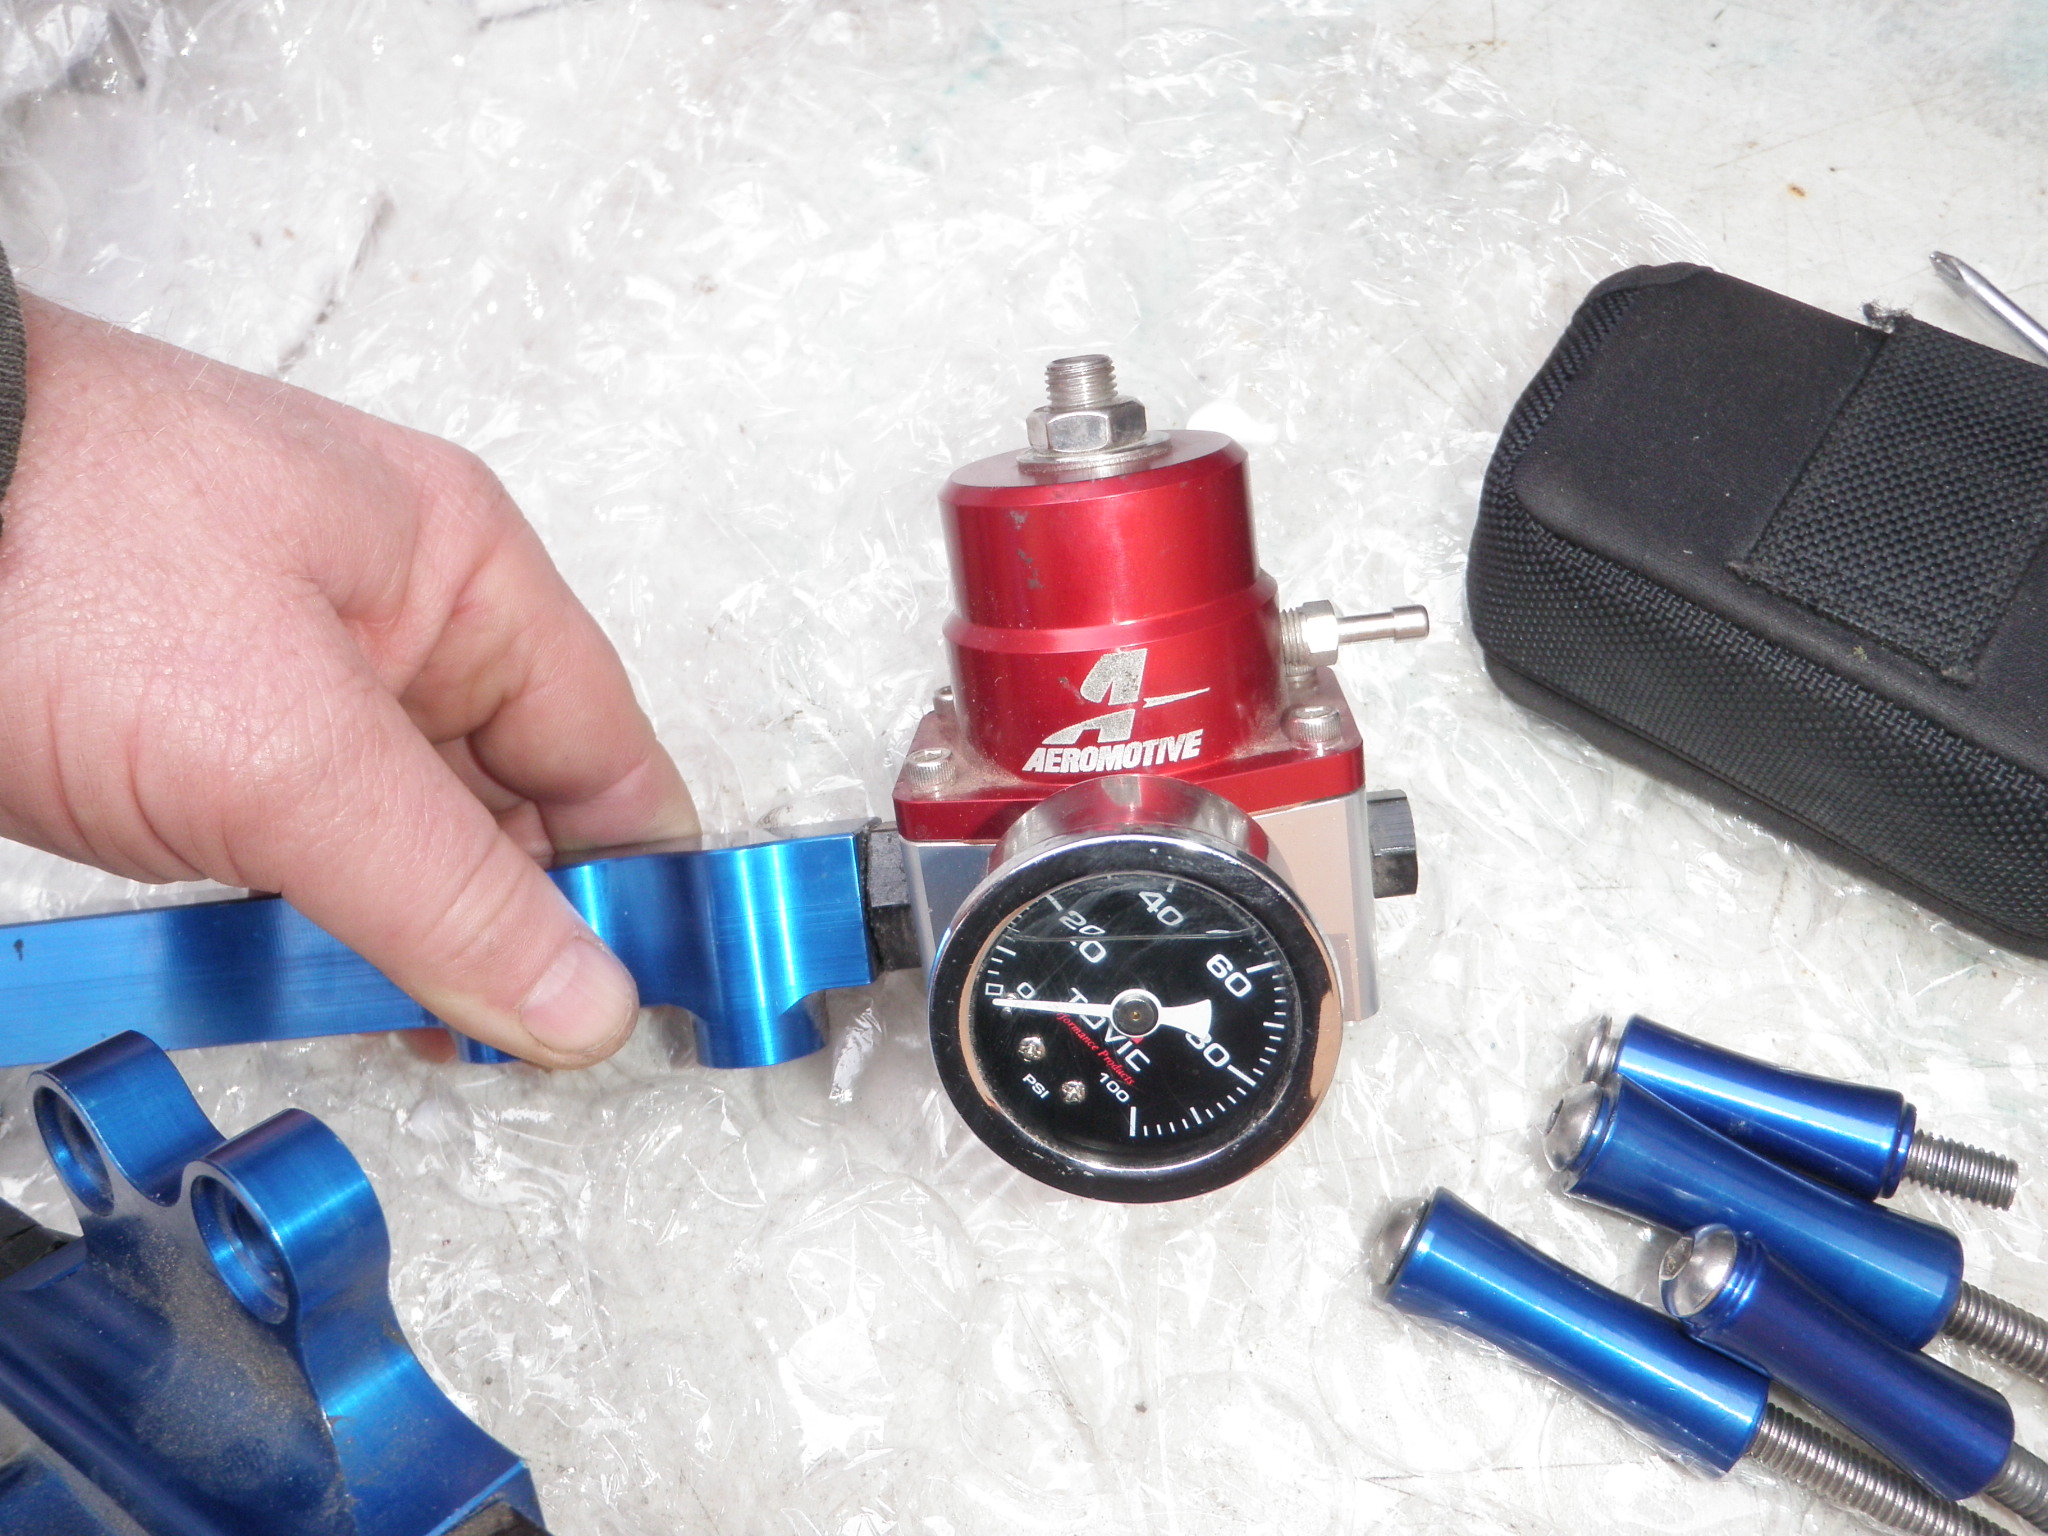
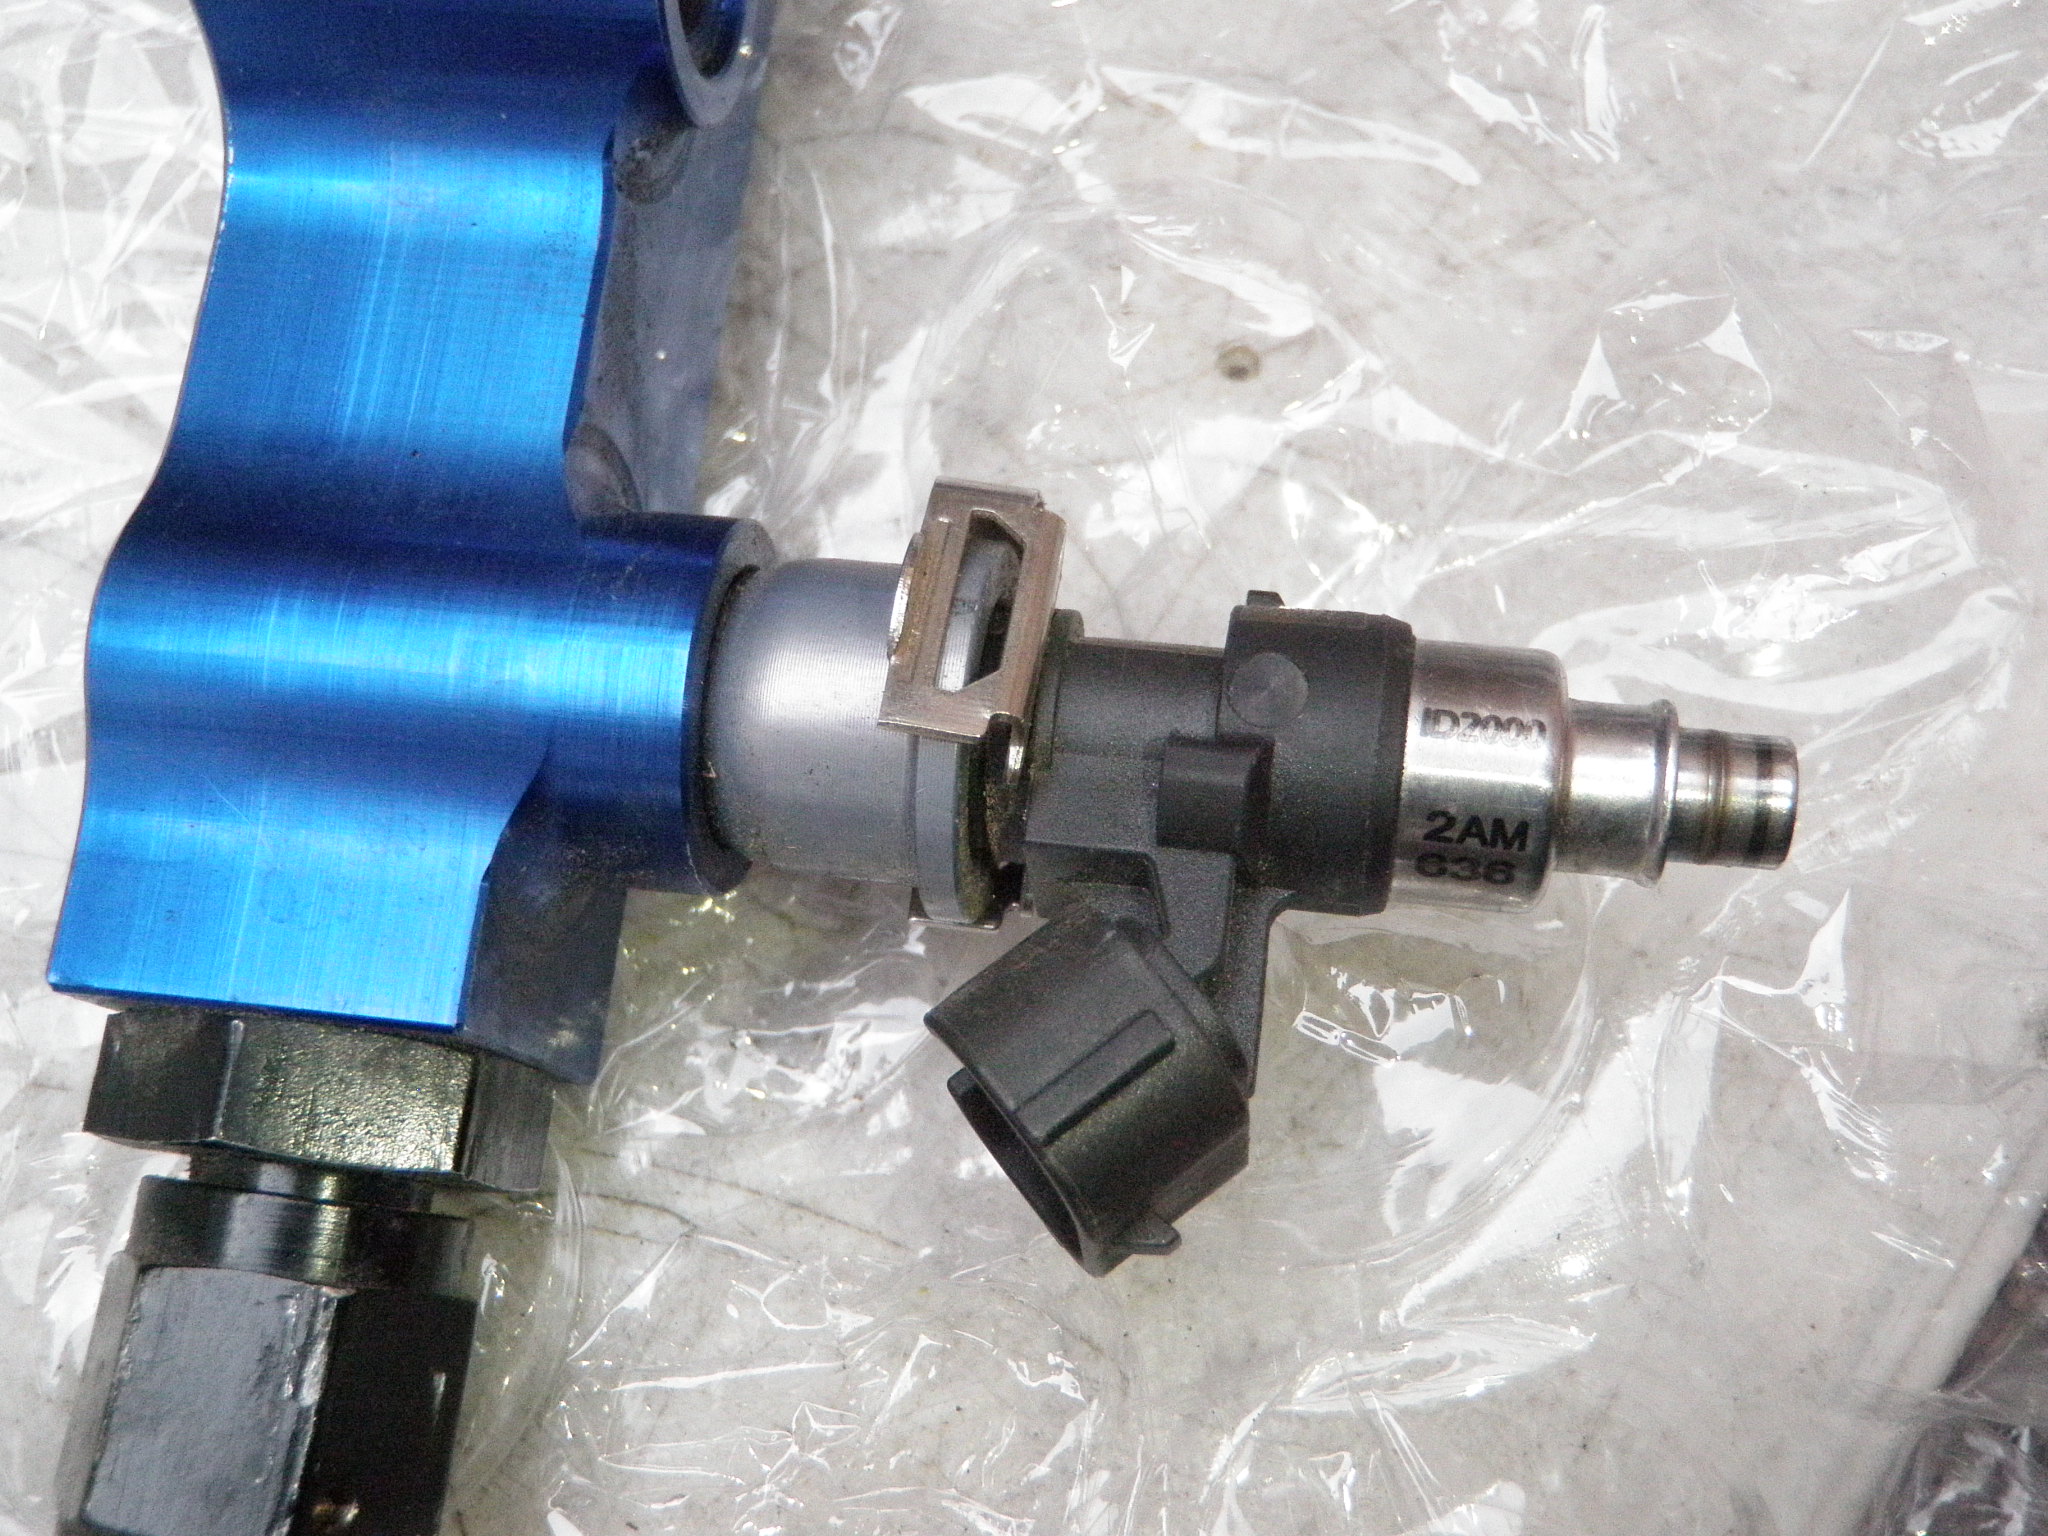
    My FFE fuel rail set-up showed up.

    Secondary rail had 34mm ID2000 with hats making them 48mm – (will probably use theID2000 with the CJ secondary rail w/fpd)

    Primary rail has 48 ID1000

    Aeromotive FPR and a fuel pressure gauge.

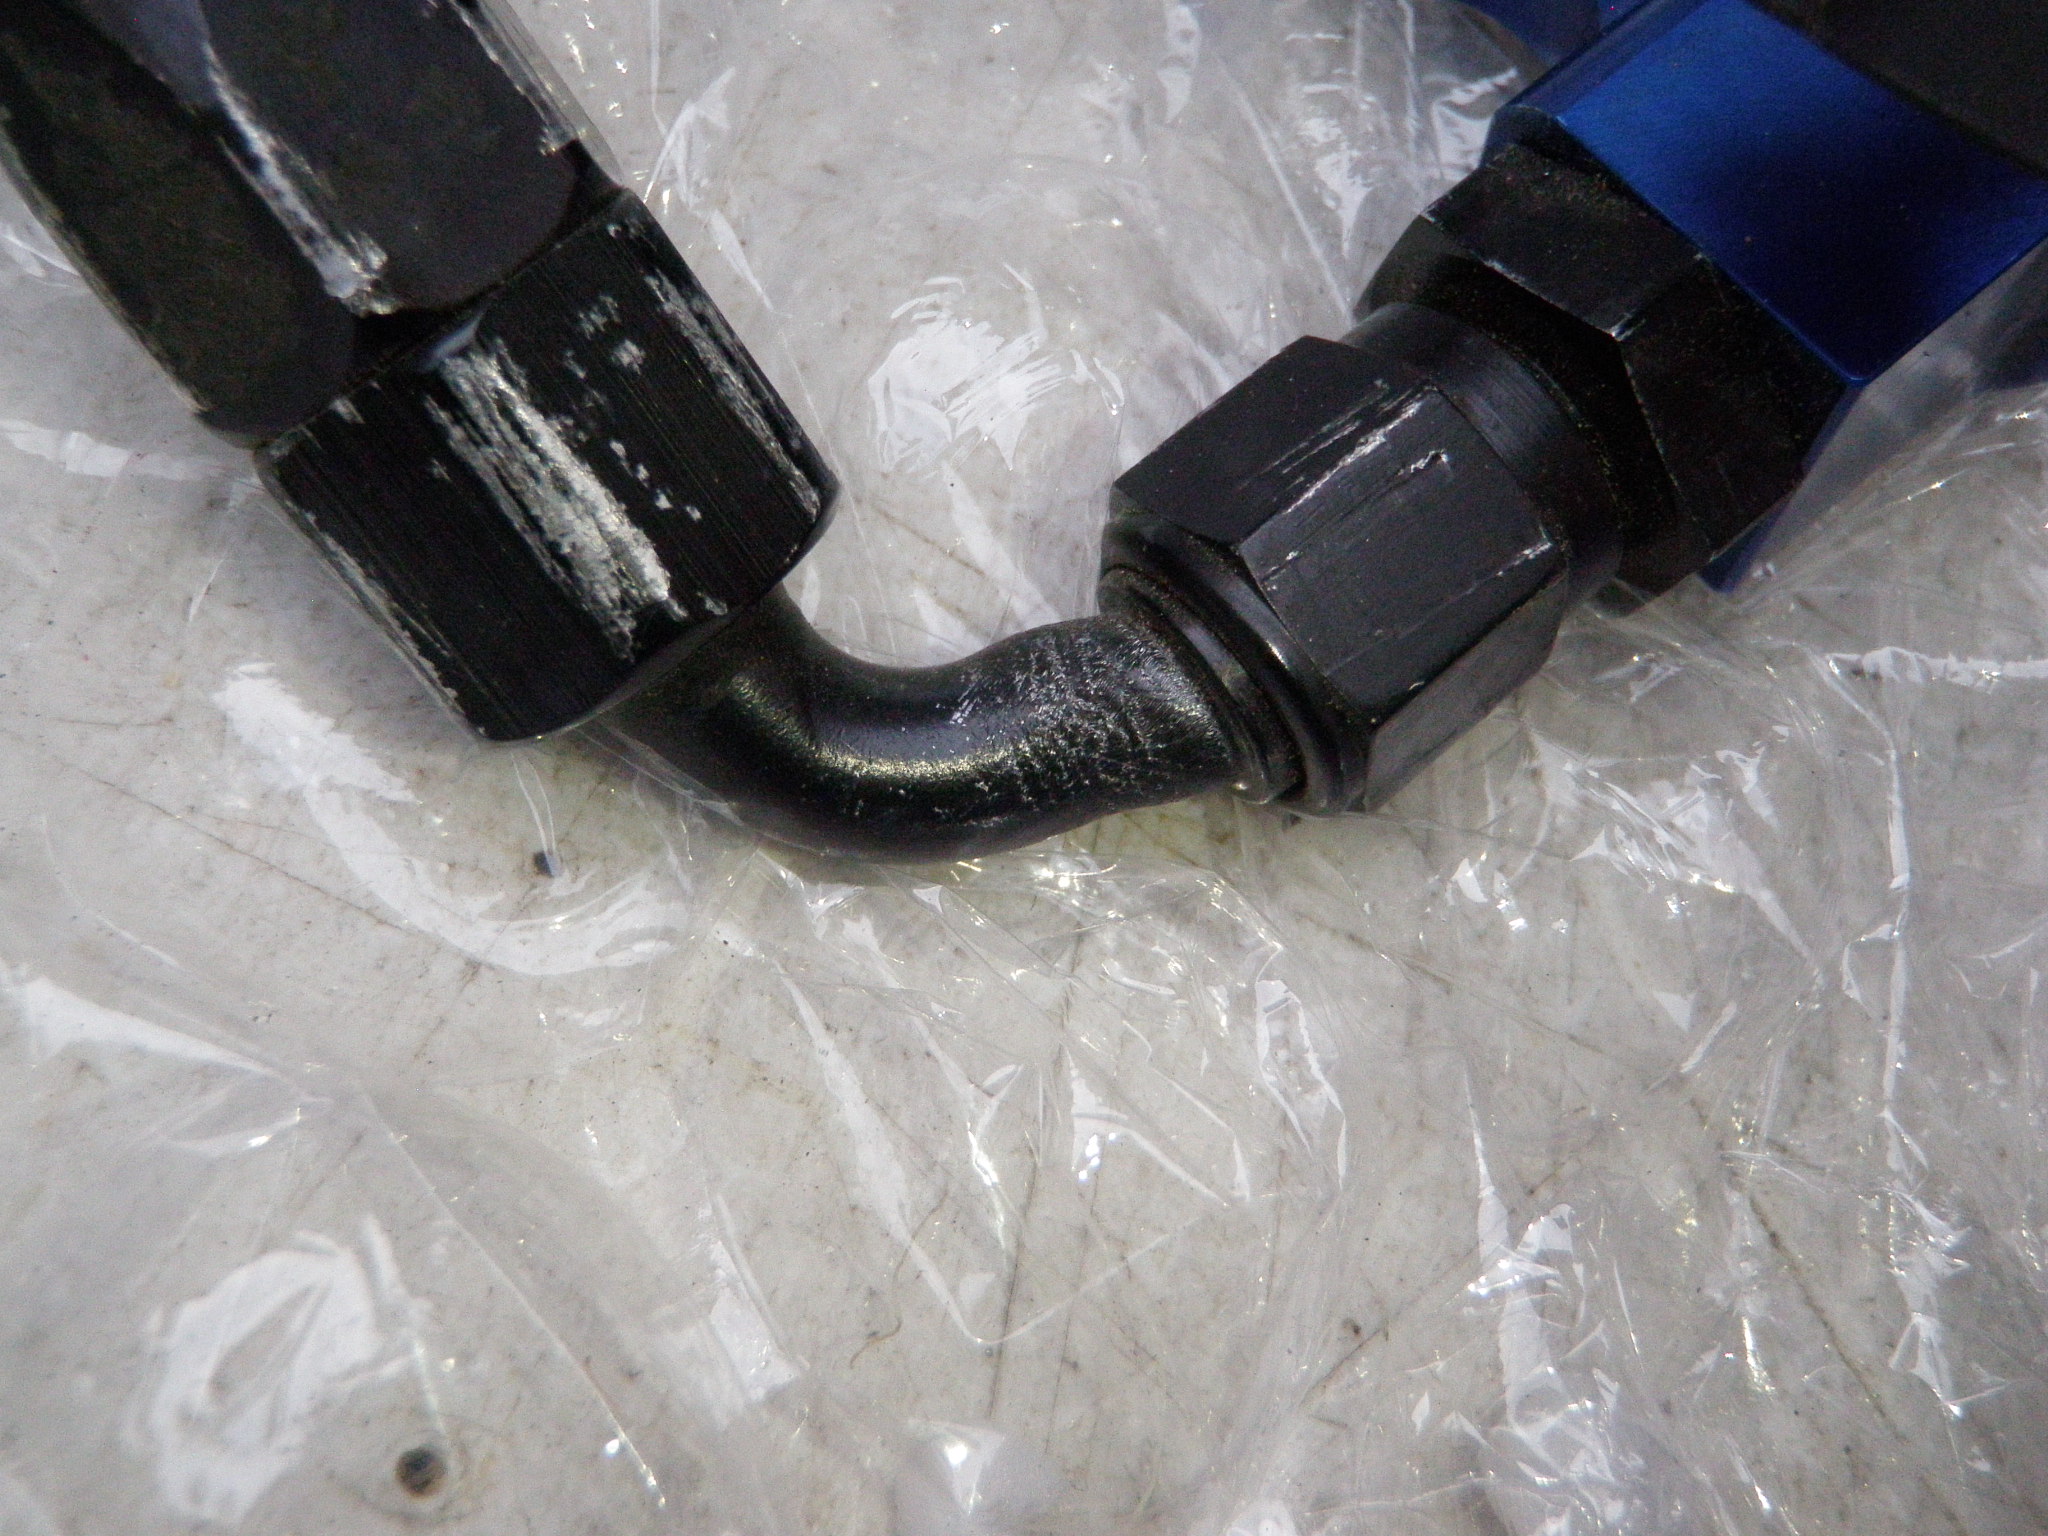
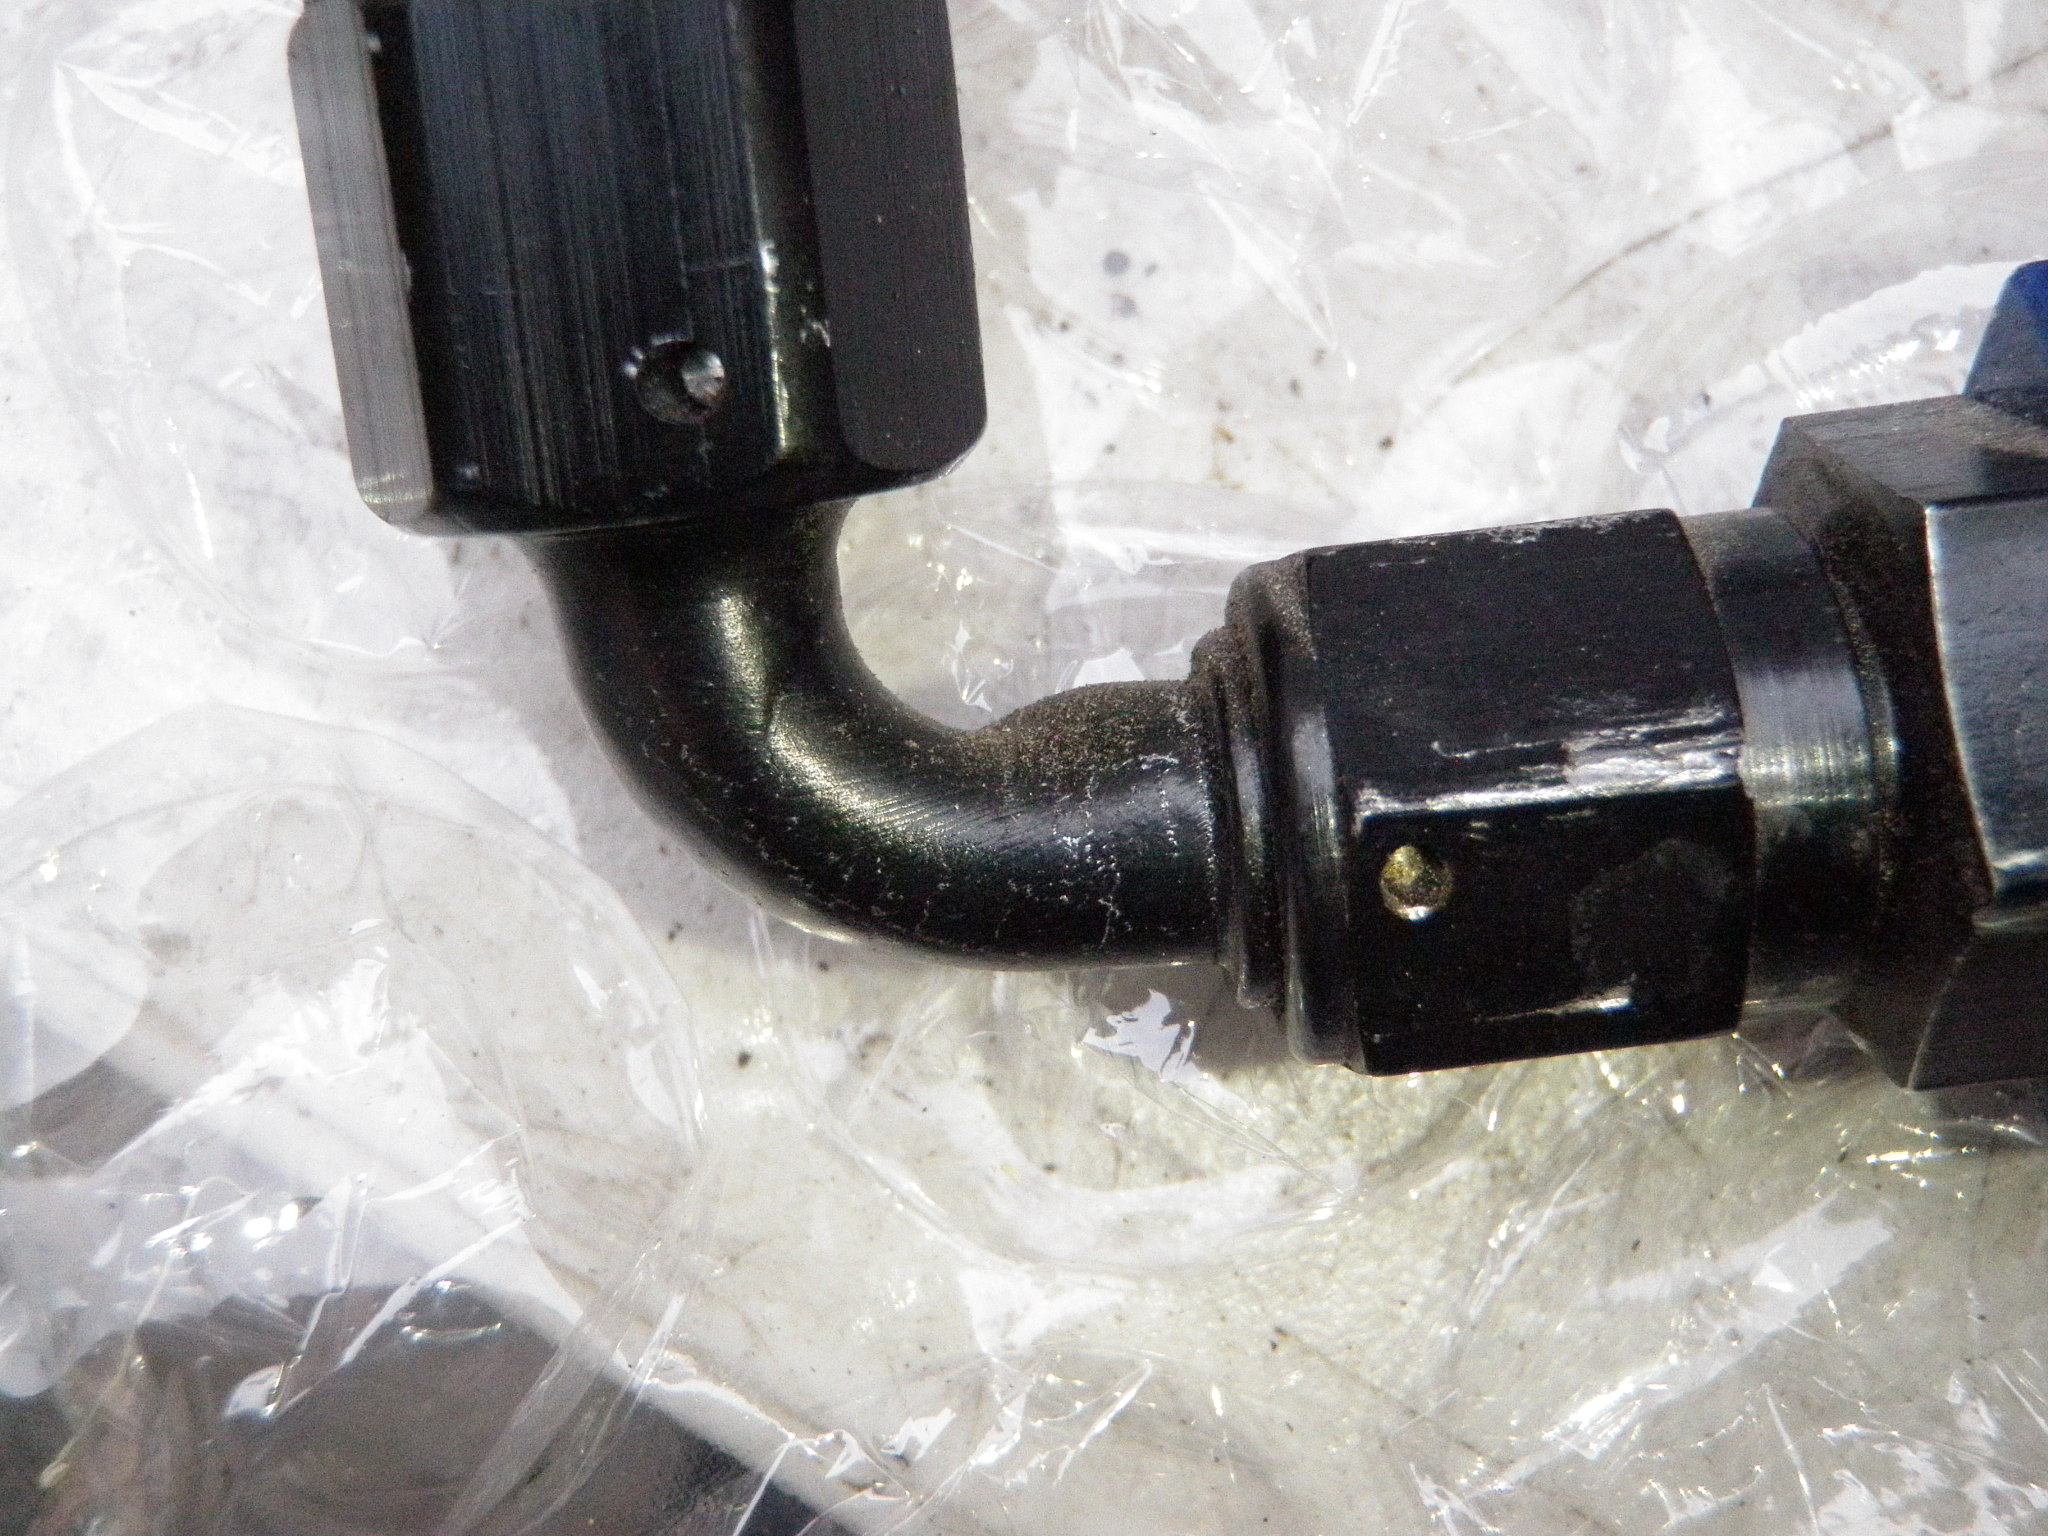
    Some inserts are missing, also the 2 90 degree AN fittings are actually bent/twisted – bummer

  • Rotary Extreme RX7 Build Day 7ish Research Day

    Rotary Extreme RX7 Build Day 7ish Research Day

    Research Day

    ​​​​​​​

    lots of research

    on the to do list

    12v from battery to coil with relay – https://www.rx7club.com/…/coil-igniter-rewire-question…/ and https://www.rx7club.com/…/how-fds-ignition-system…/ (use relay diagram in fuel pump re-wire)

    solenoid upgrade – https://www.rx7club.com/…/custom-solenoid-rack-project…/ (try to find parts to replicate)

    solenoid rewire – https://www.rx7club.com/…/simplified-rats-nest-layout…/ (keep upgraded solenoids in stock location if possible – closer = shorter vacuum line)

    simplified seq vacuum lines – https://www.rx7club.com/…/vacuum-diagrams-stock…/

    fuel pump re-wire – https://www.rx7club.com/…/why-everyone-should-rewire…/

    Looks like I can use these for the coil and fuel pump relay – https://cj-motorsports.com/products/fuel-pump-relay-kit

    Anyone please chime in.

  • Rotary Extreme RX7 Build Day 4 Accessory Removal

    Rotary Extreme RX7 Build Day 4 Accessory Removal

    Day 4

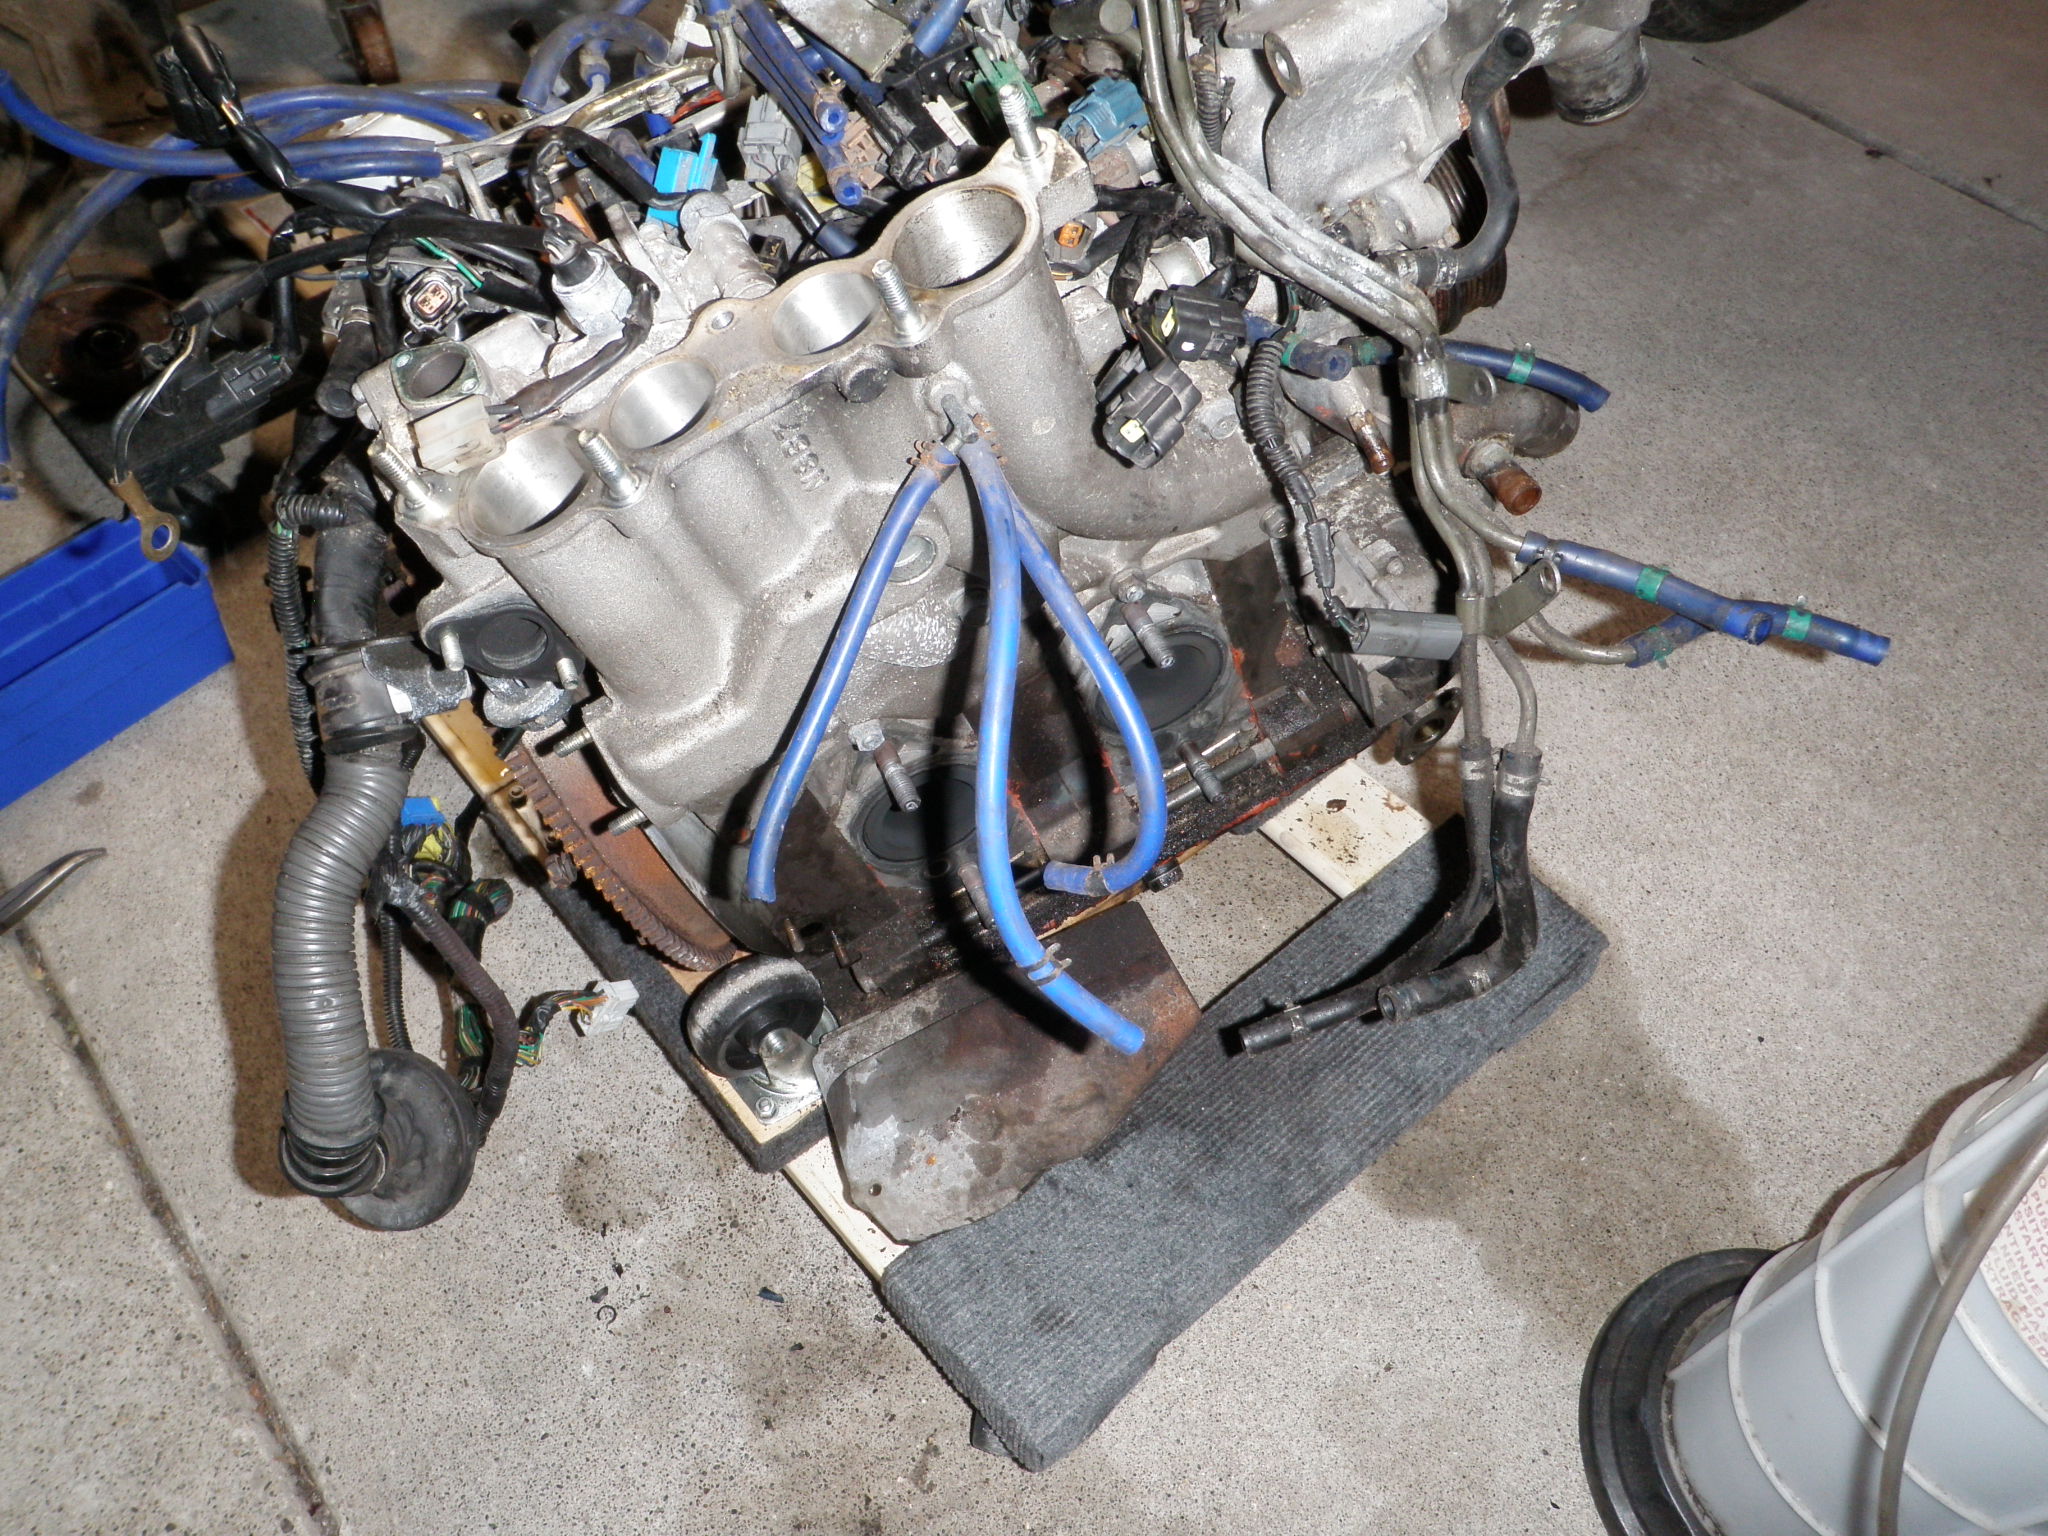
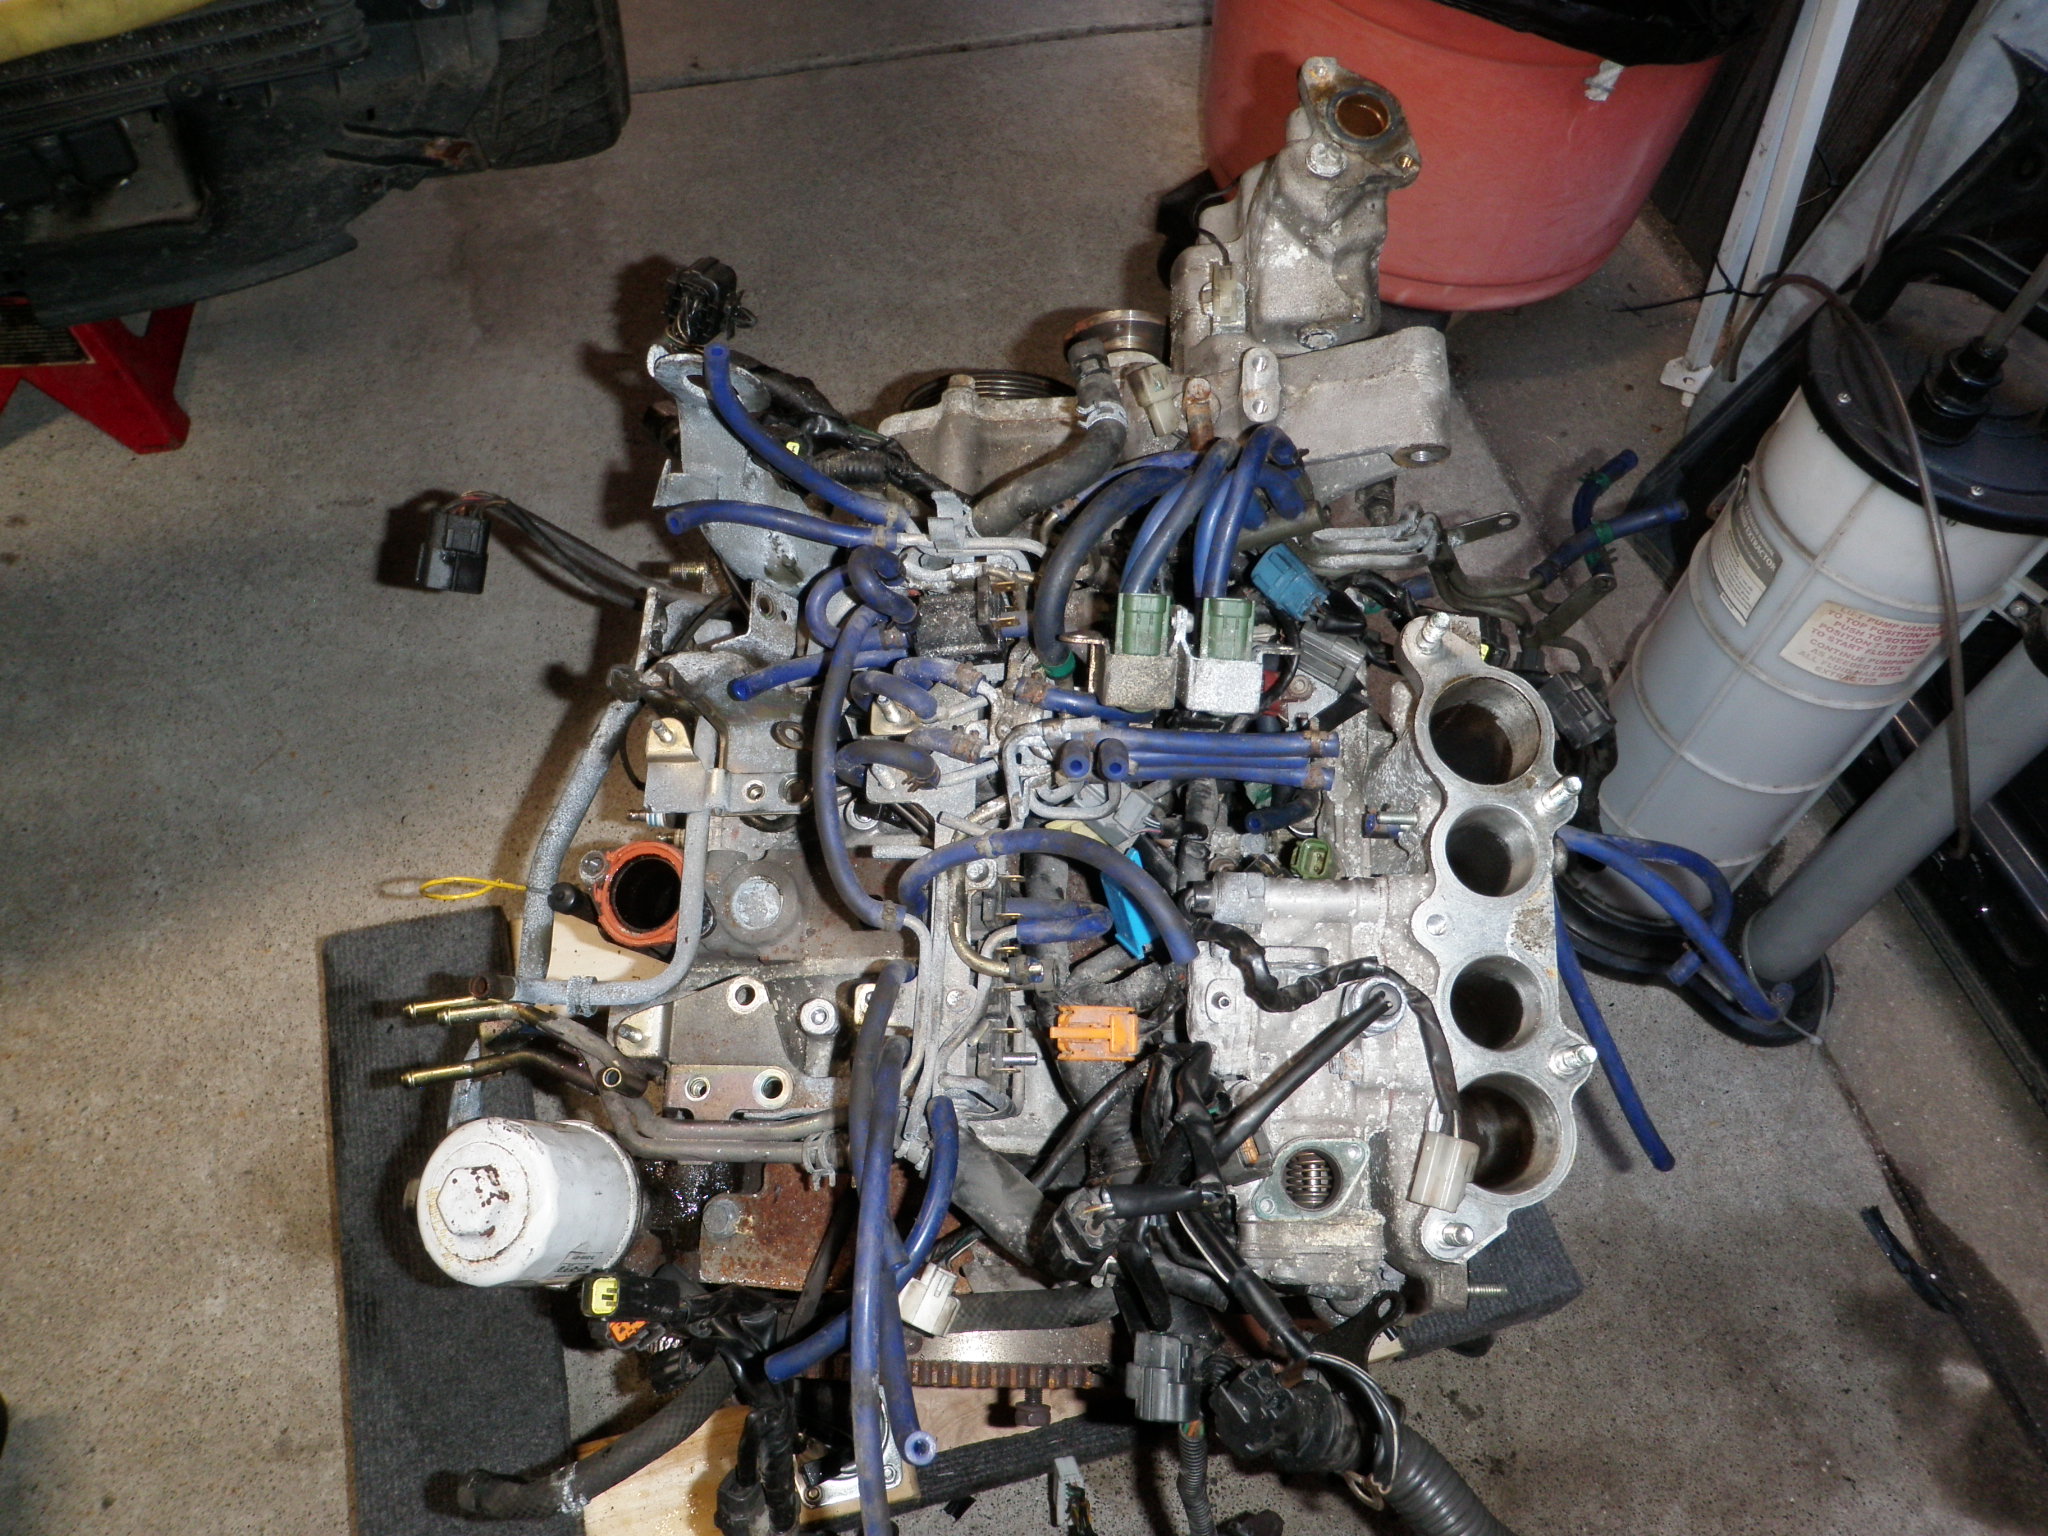
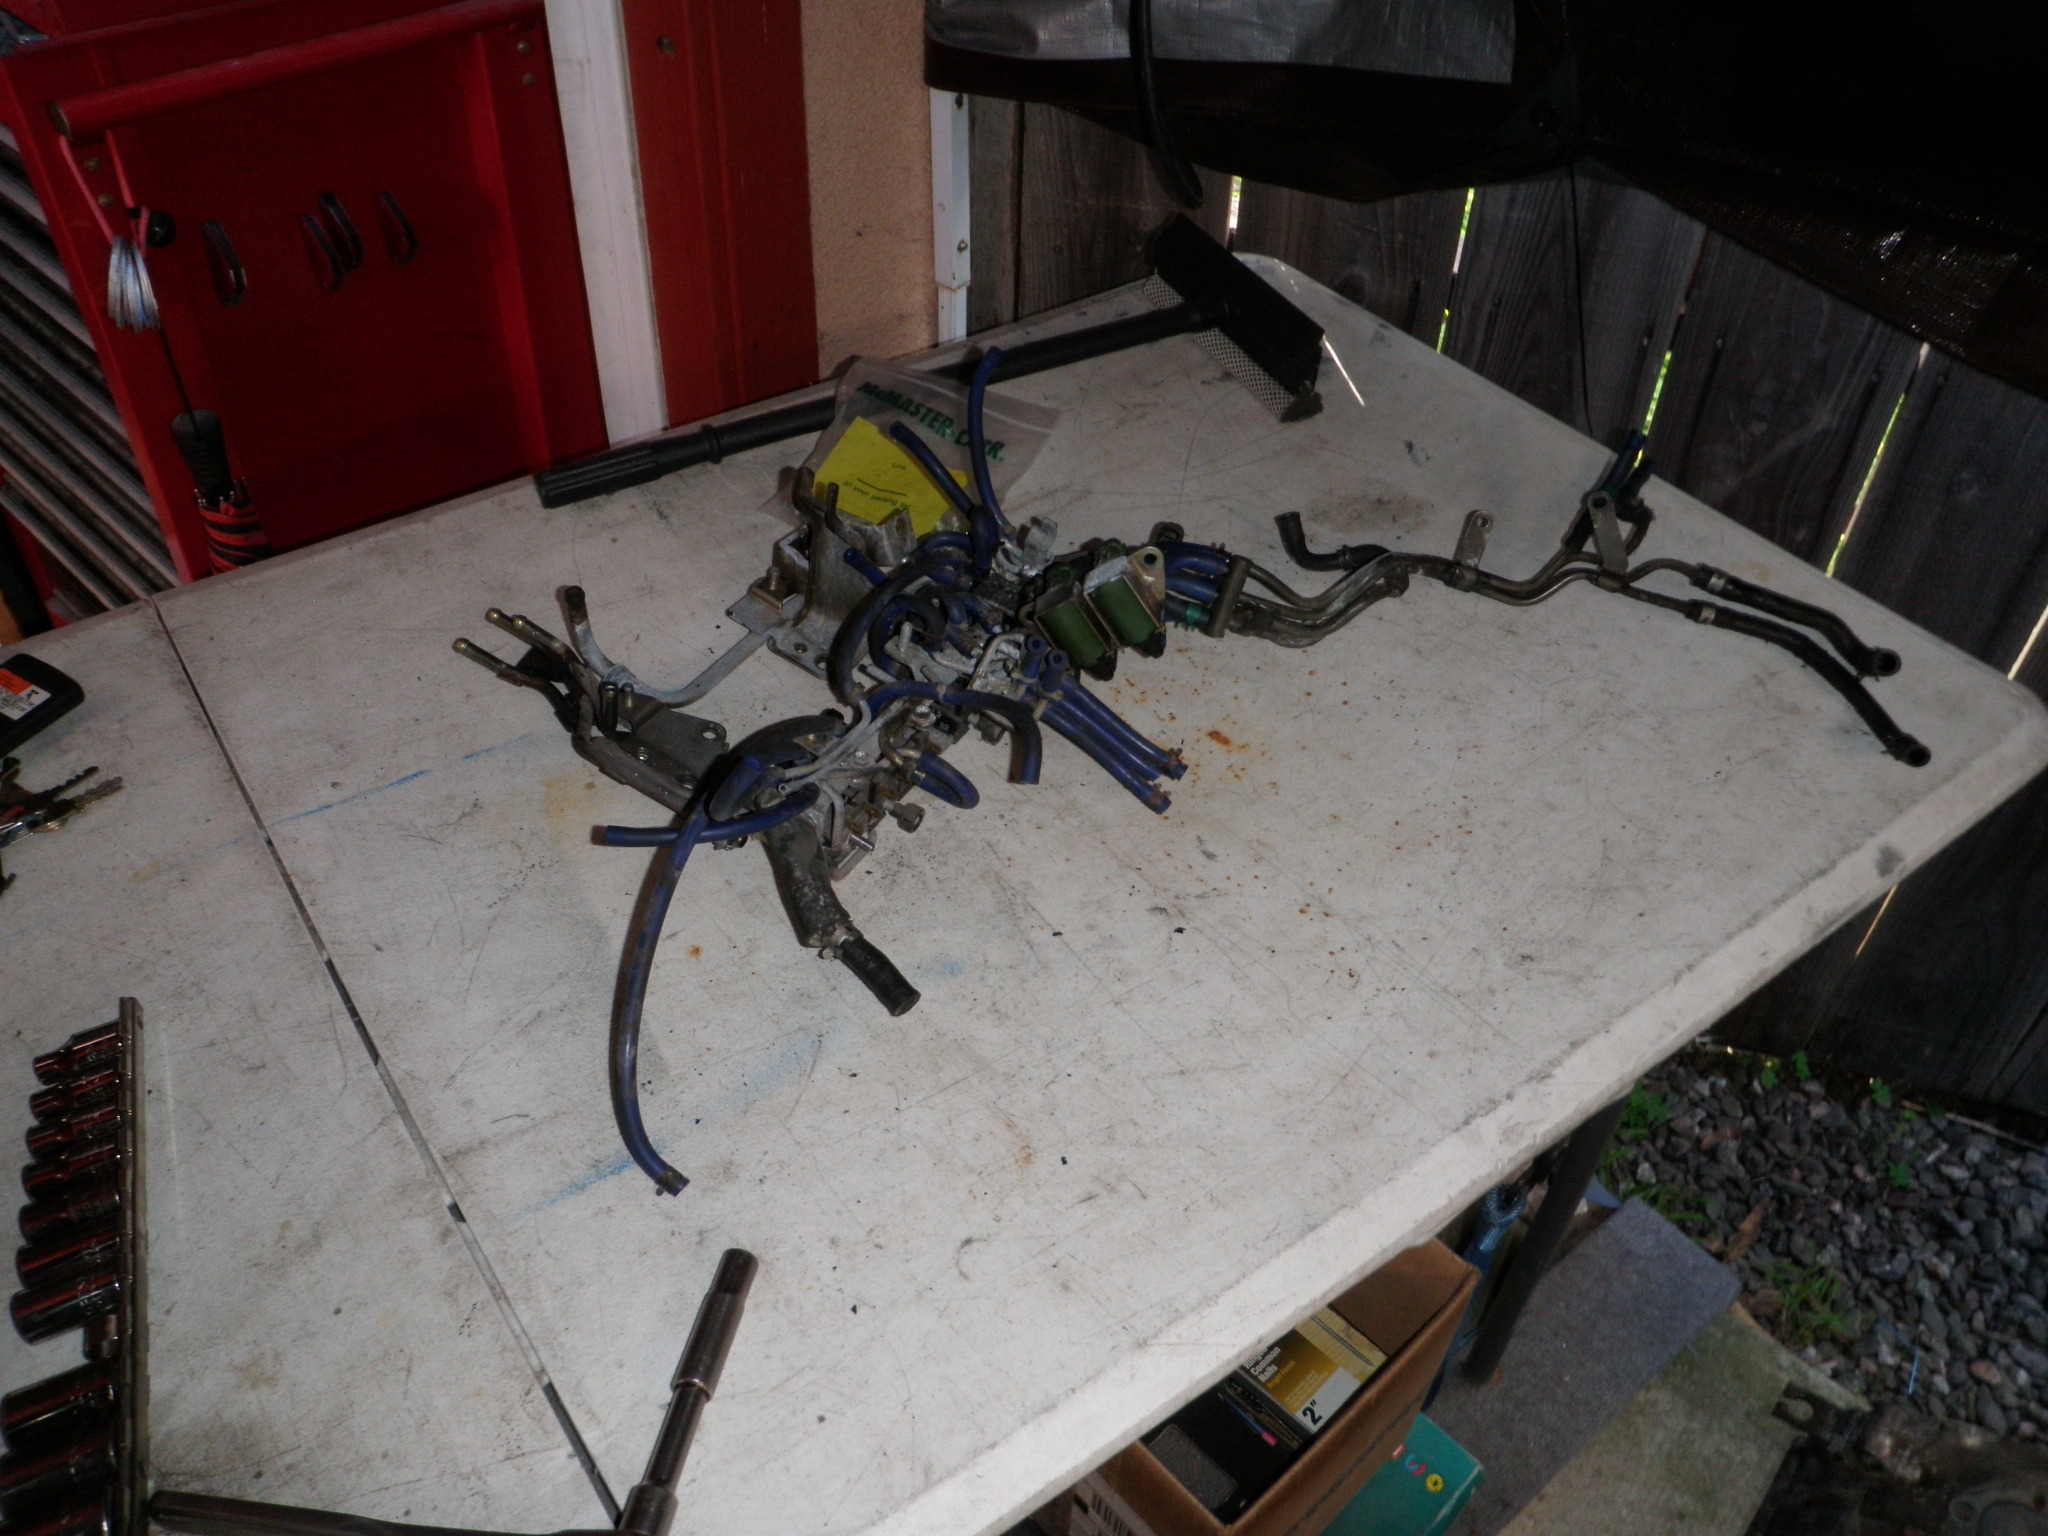
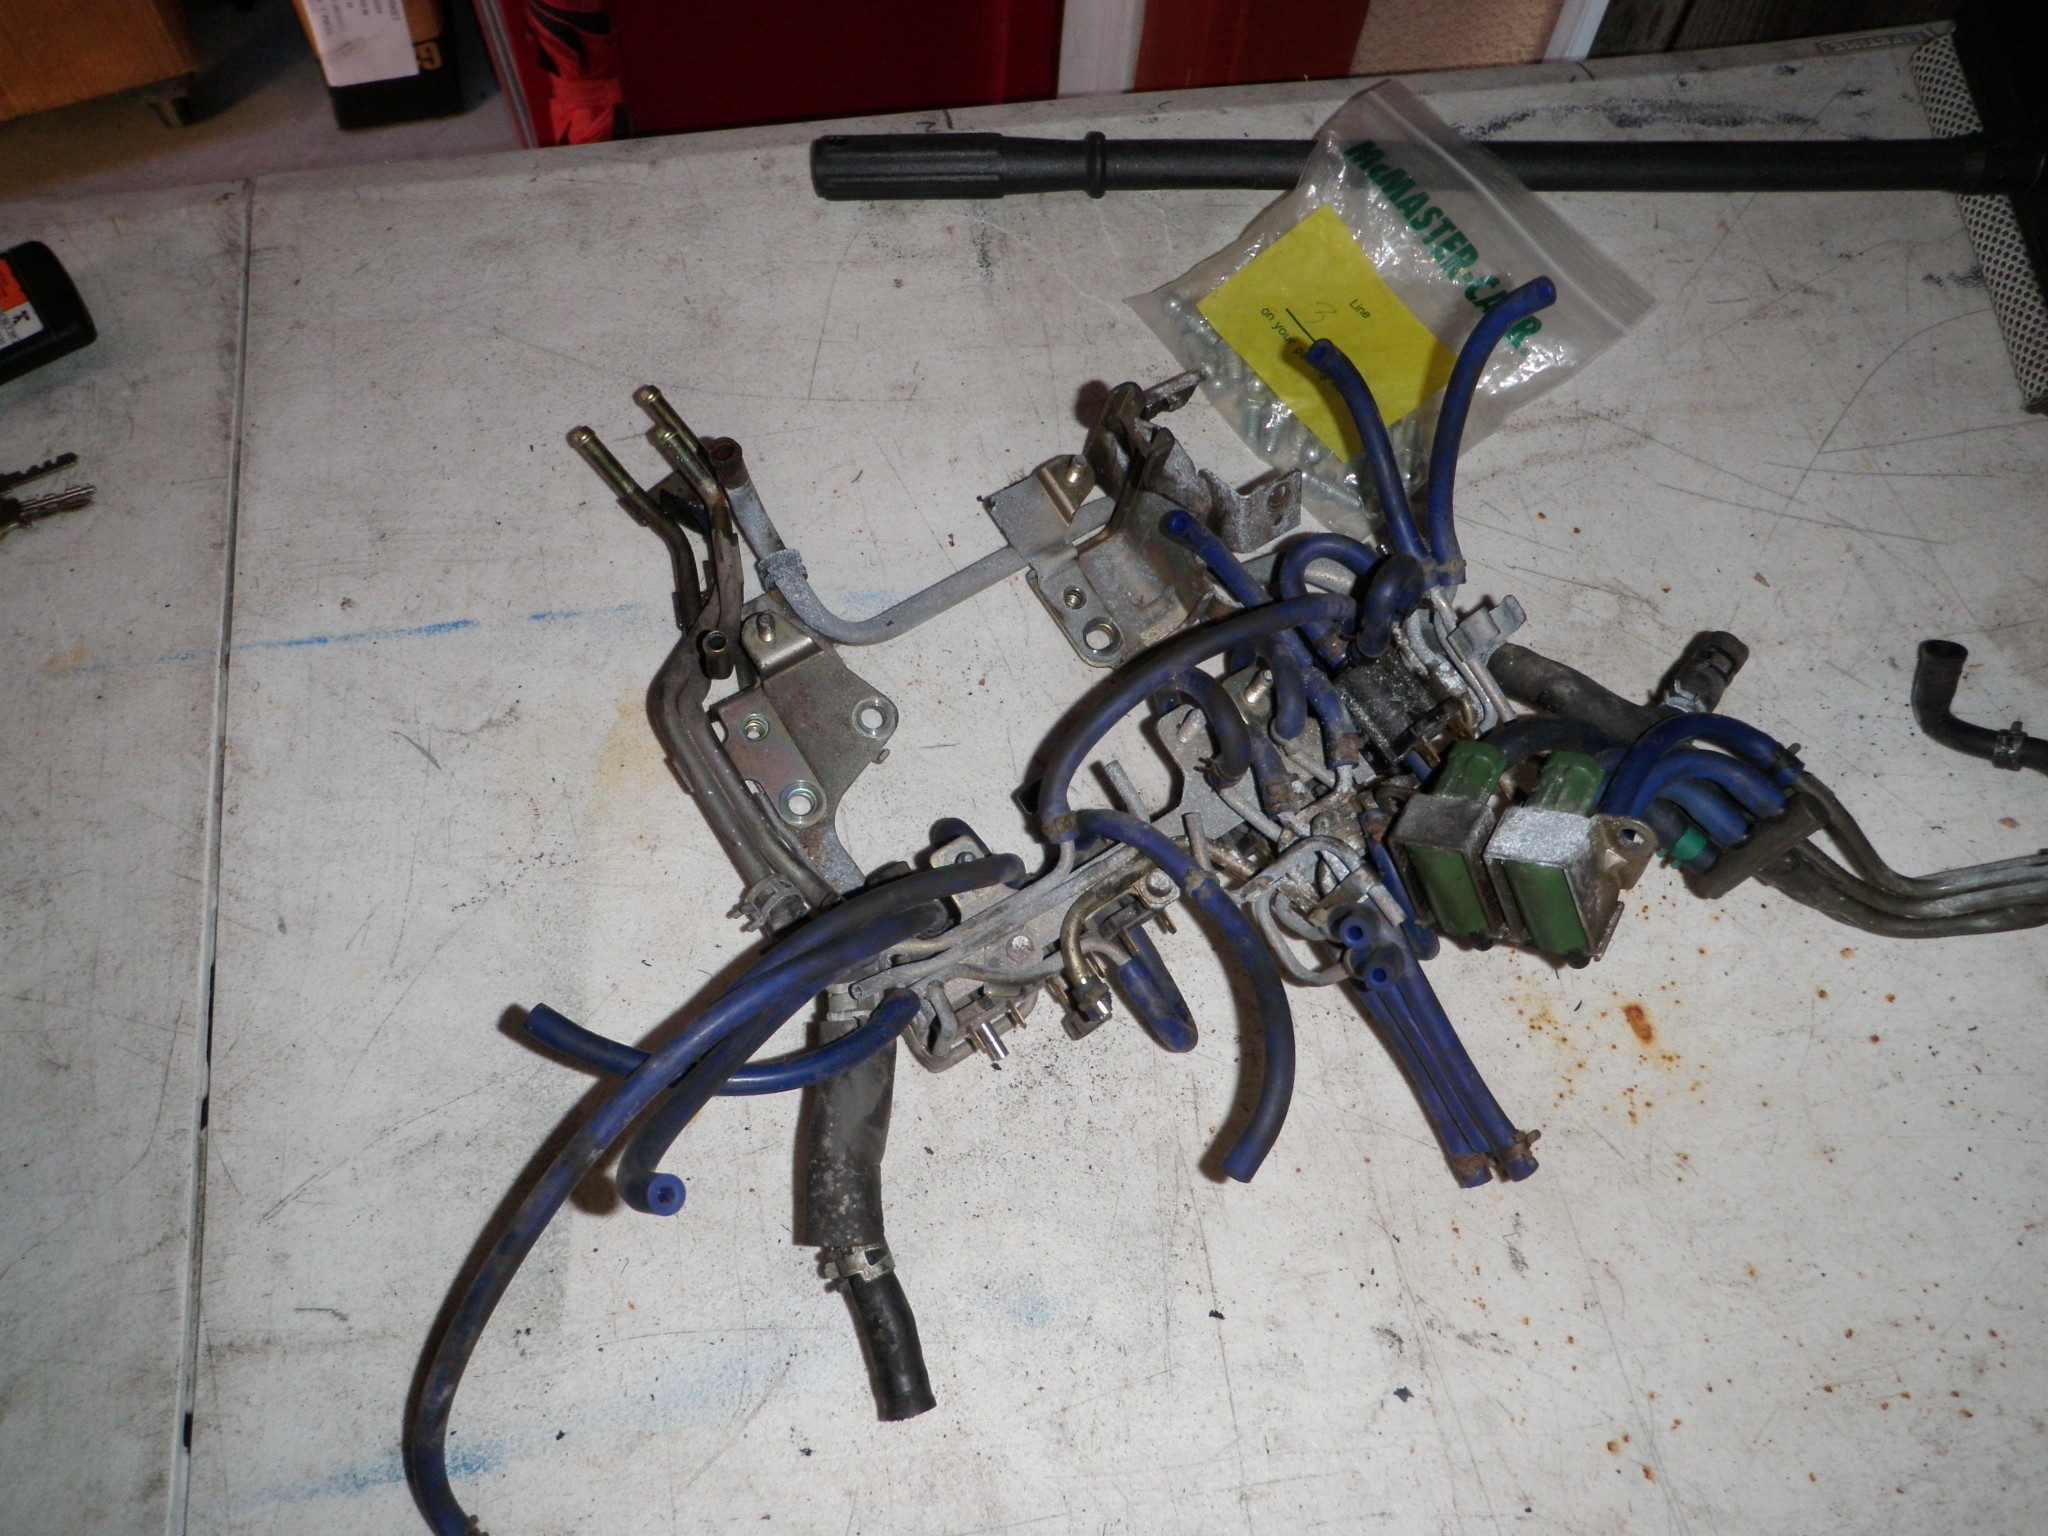
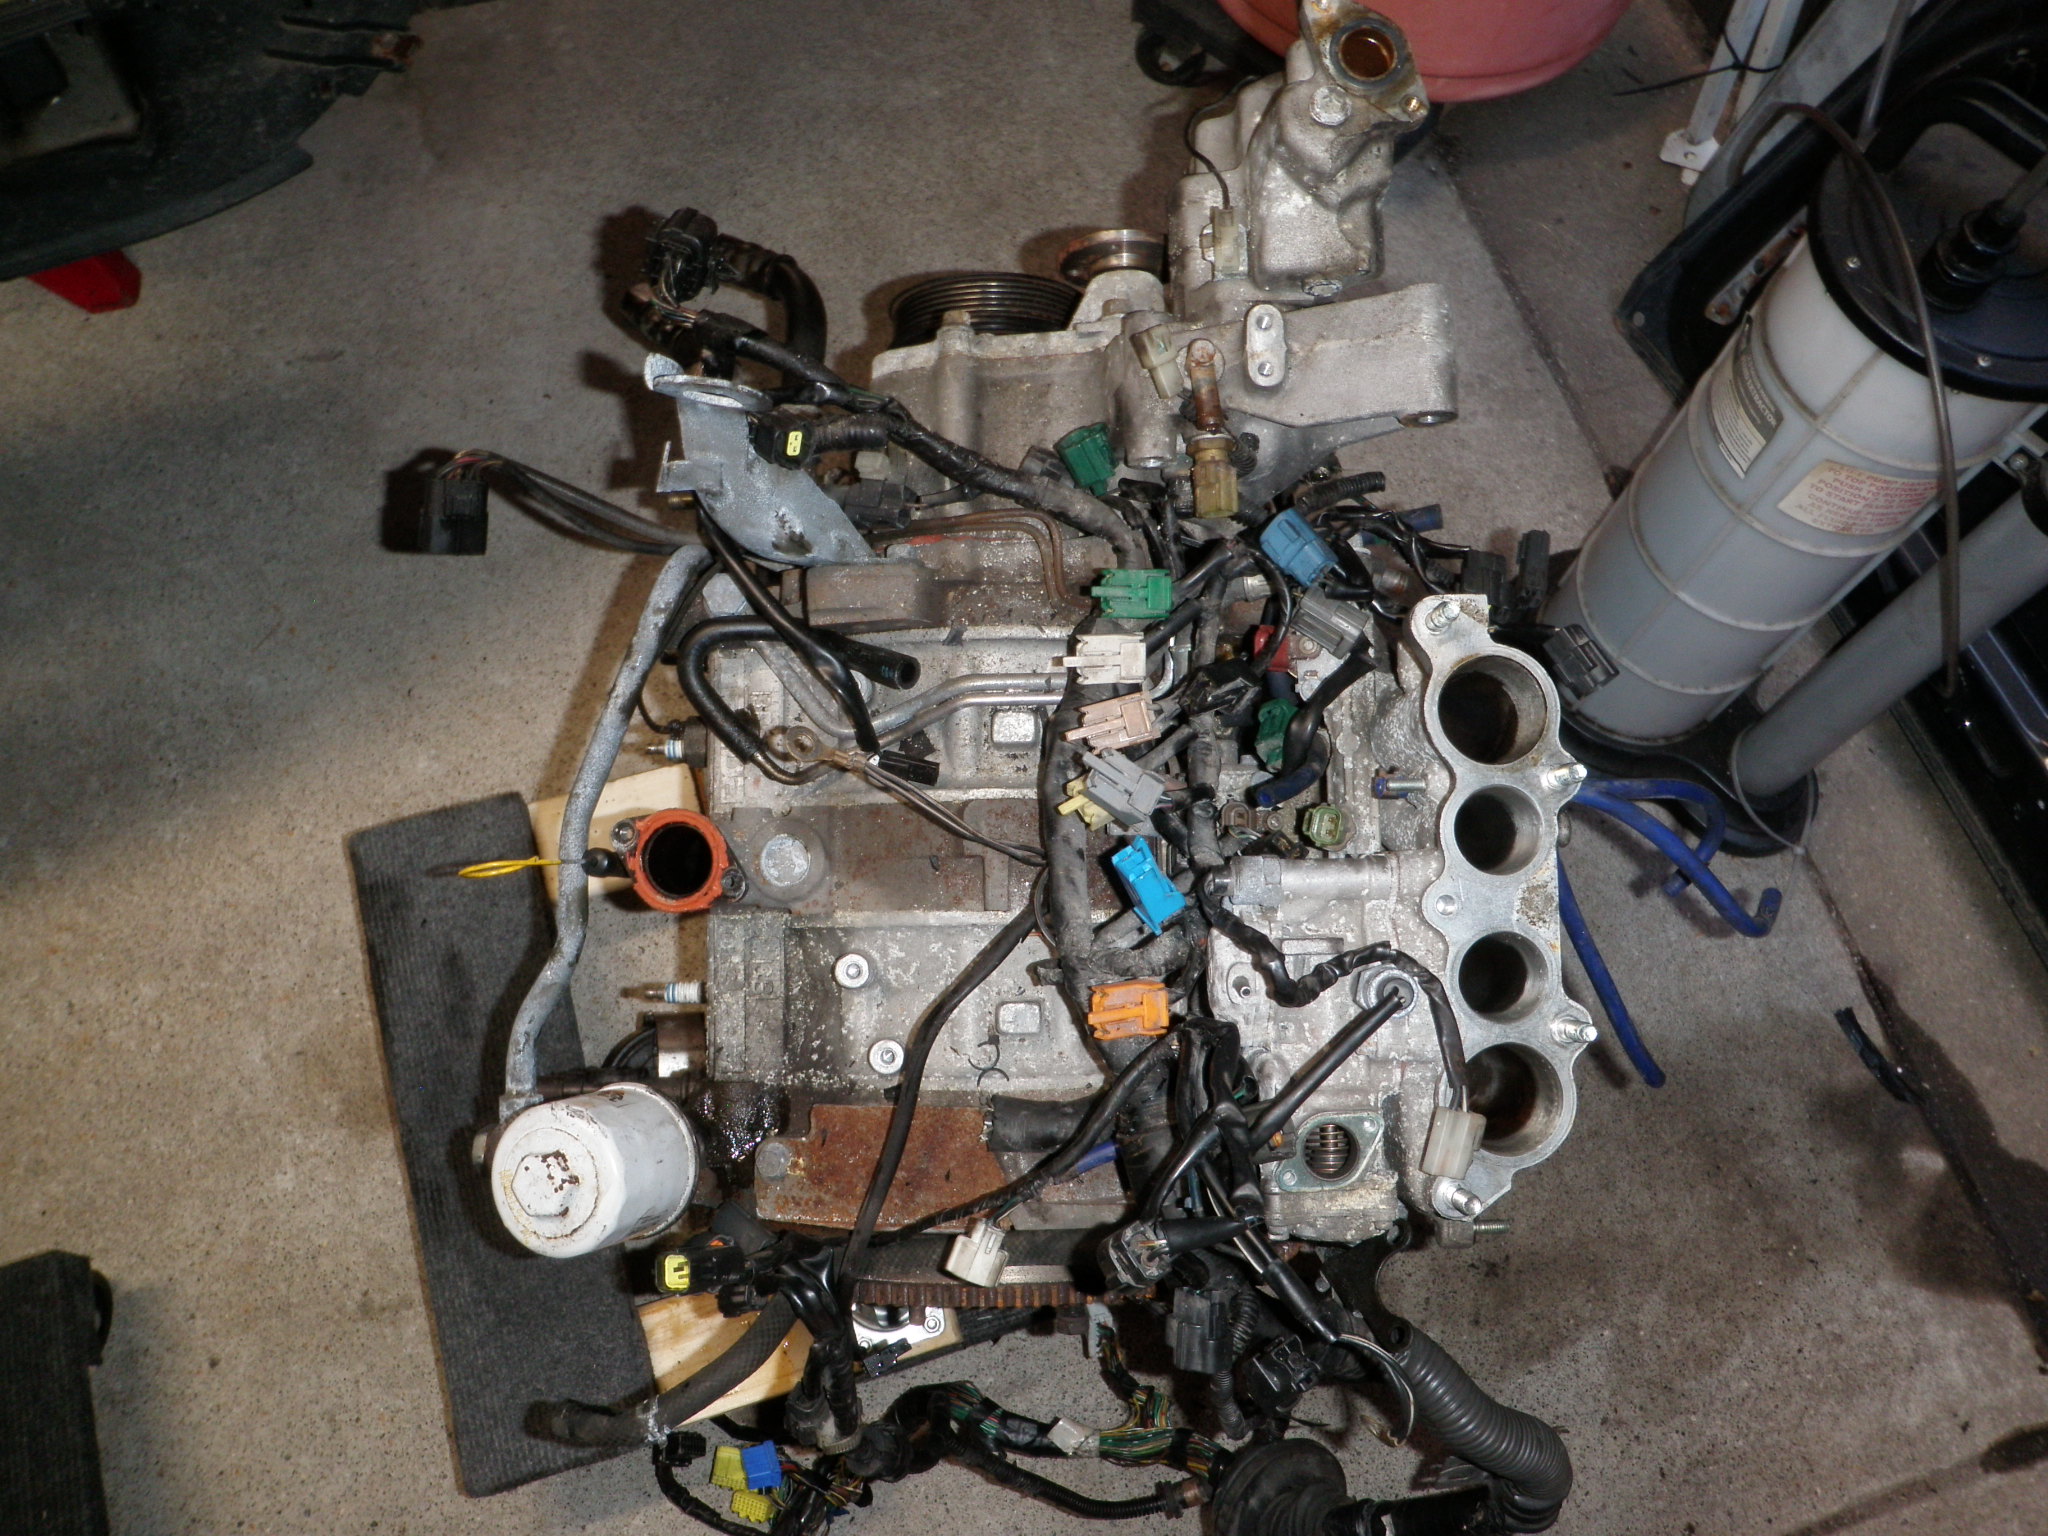
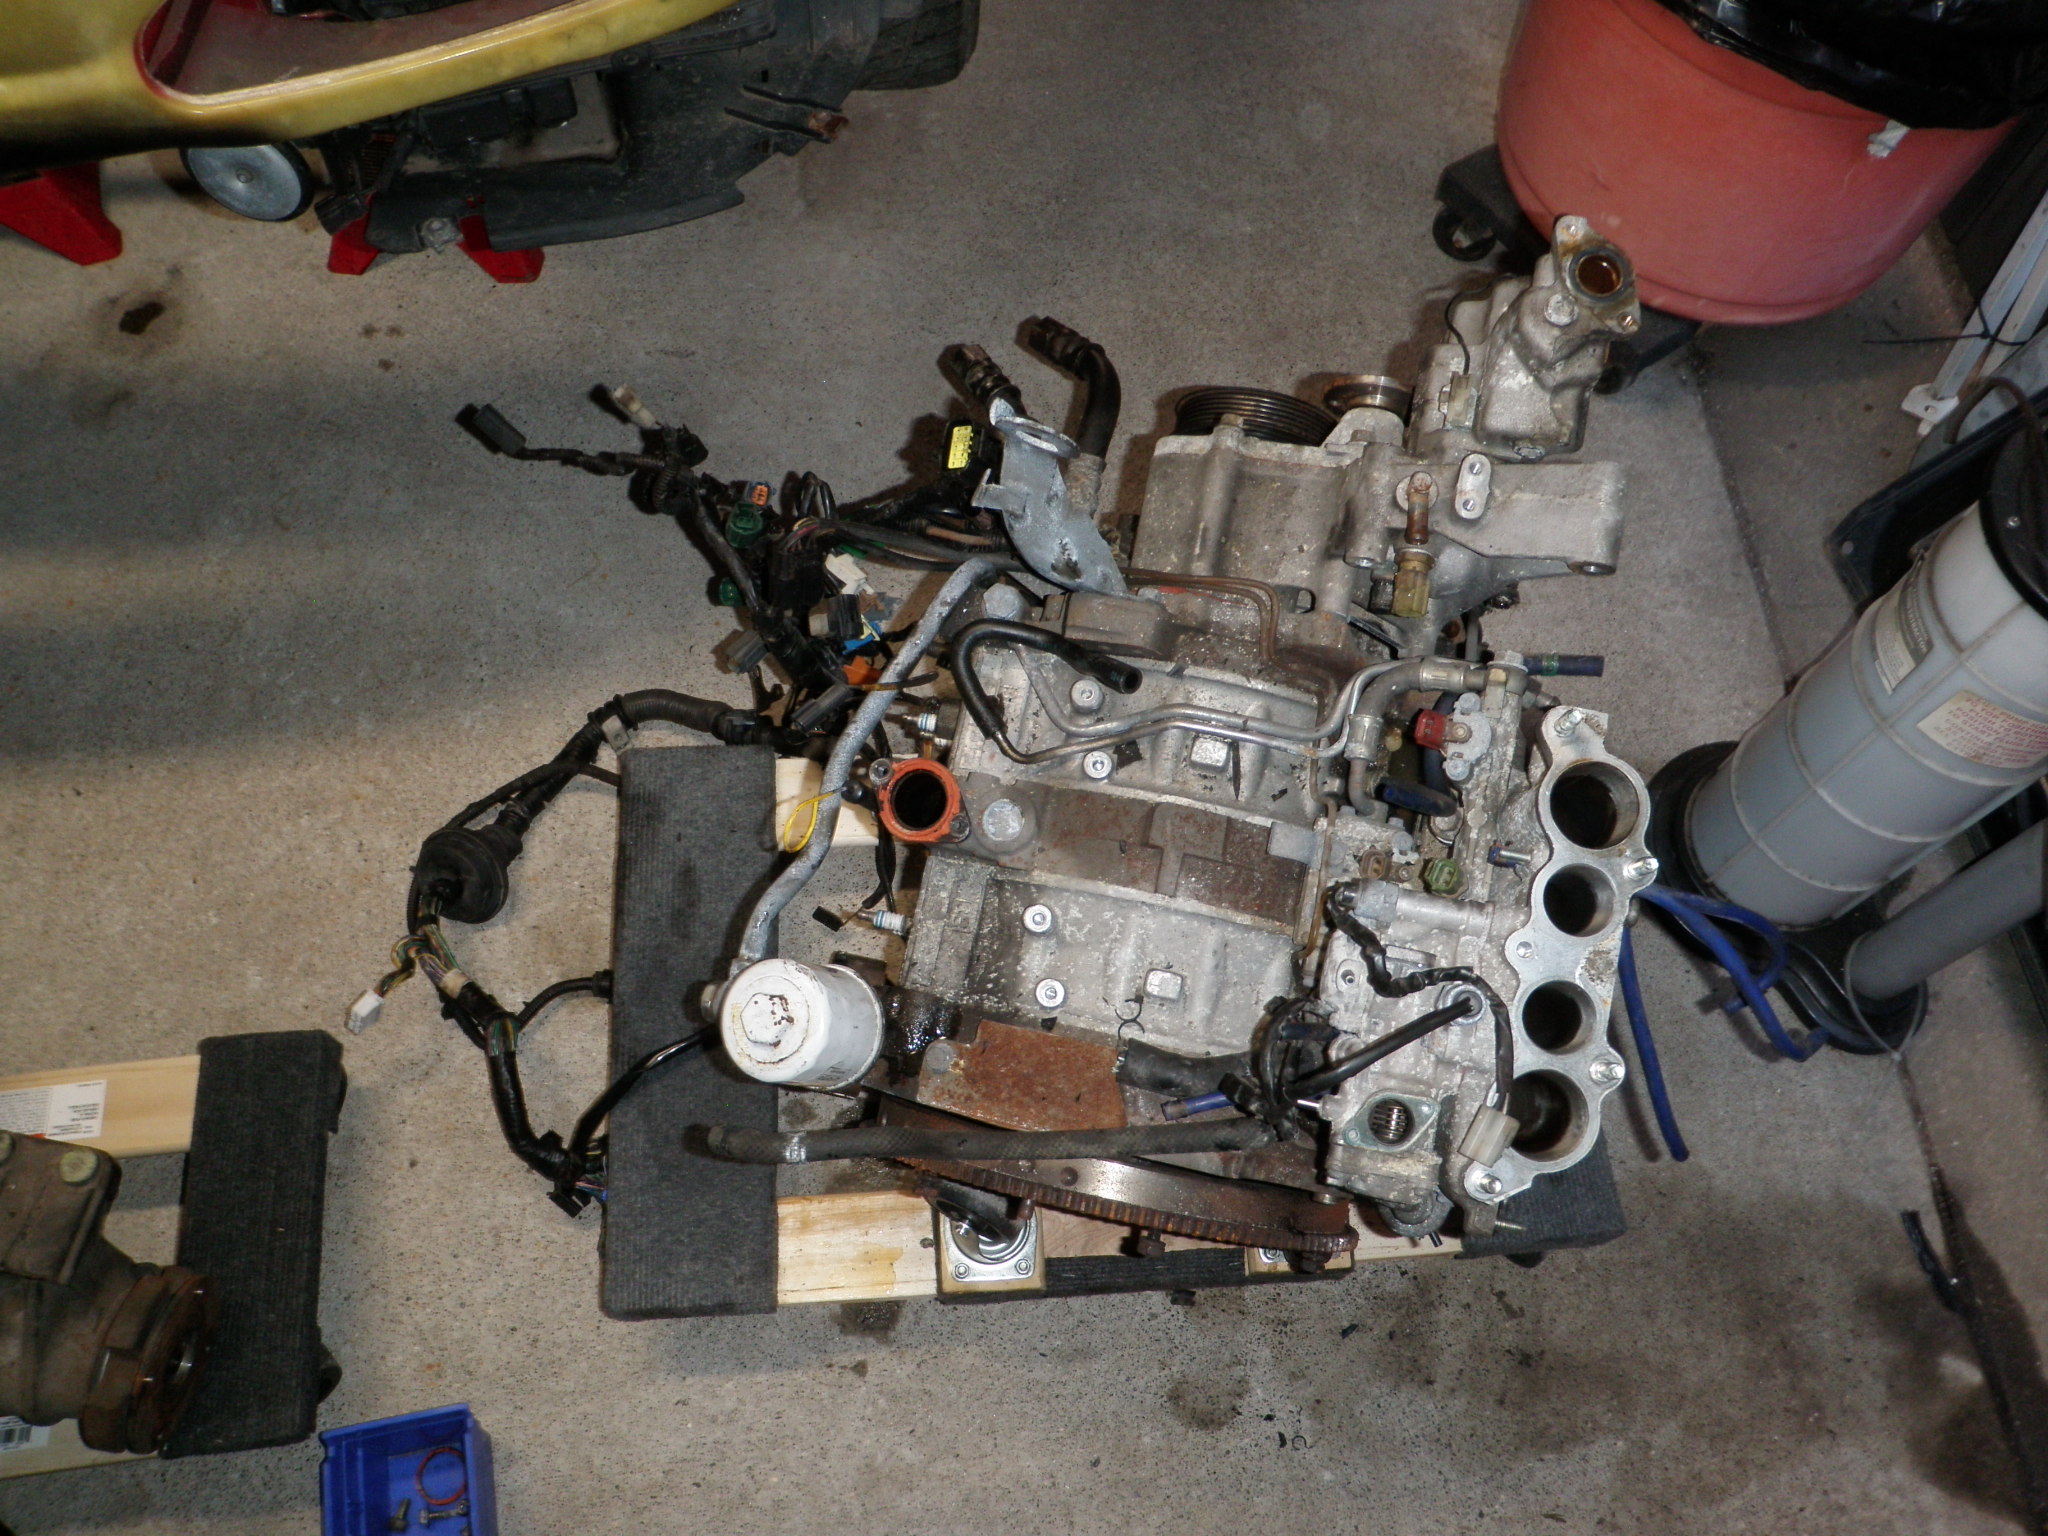
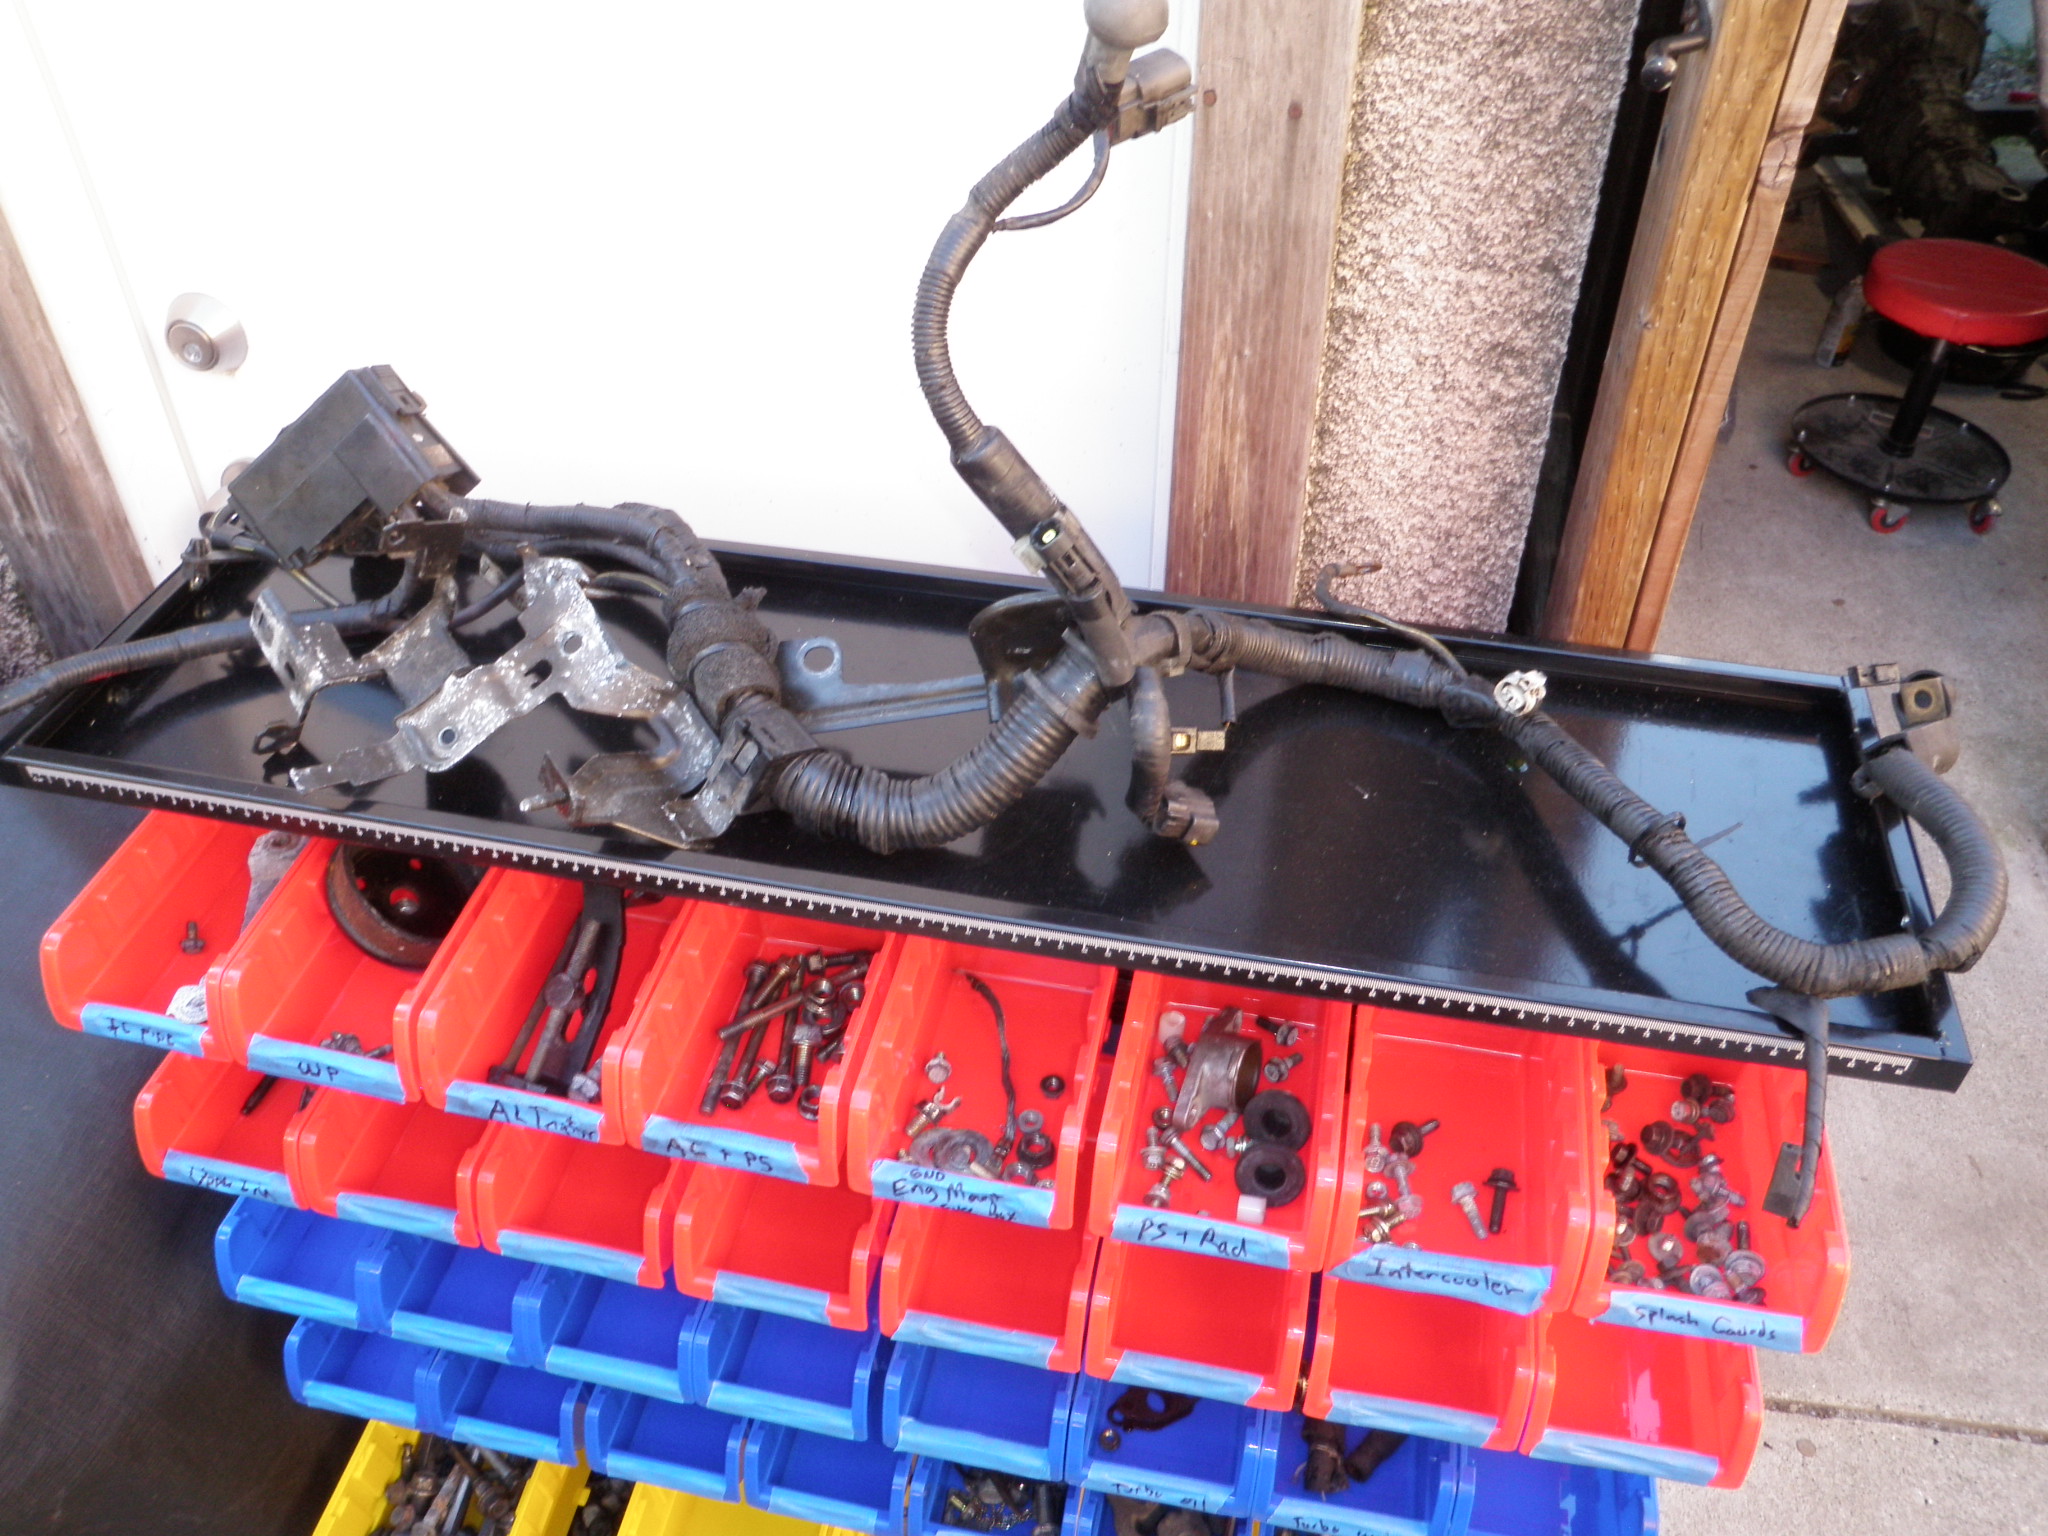
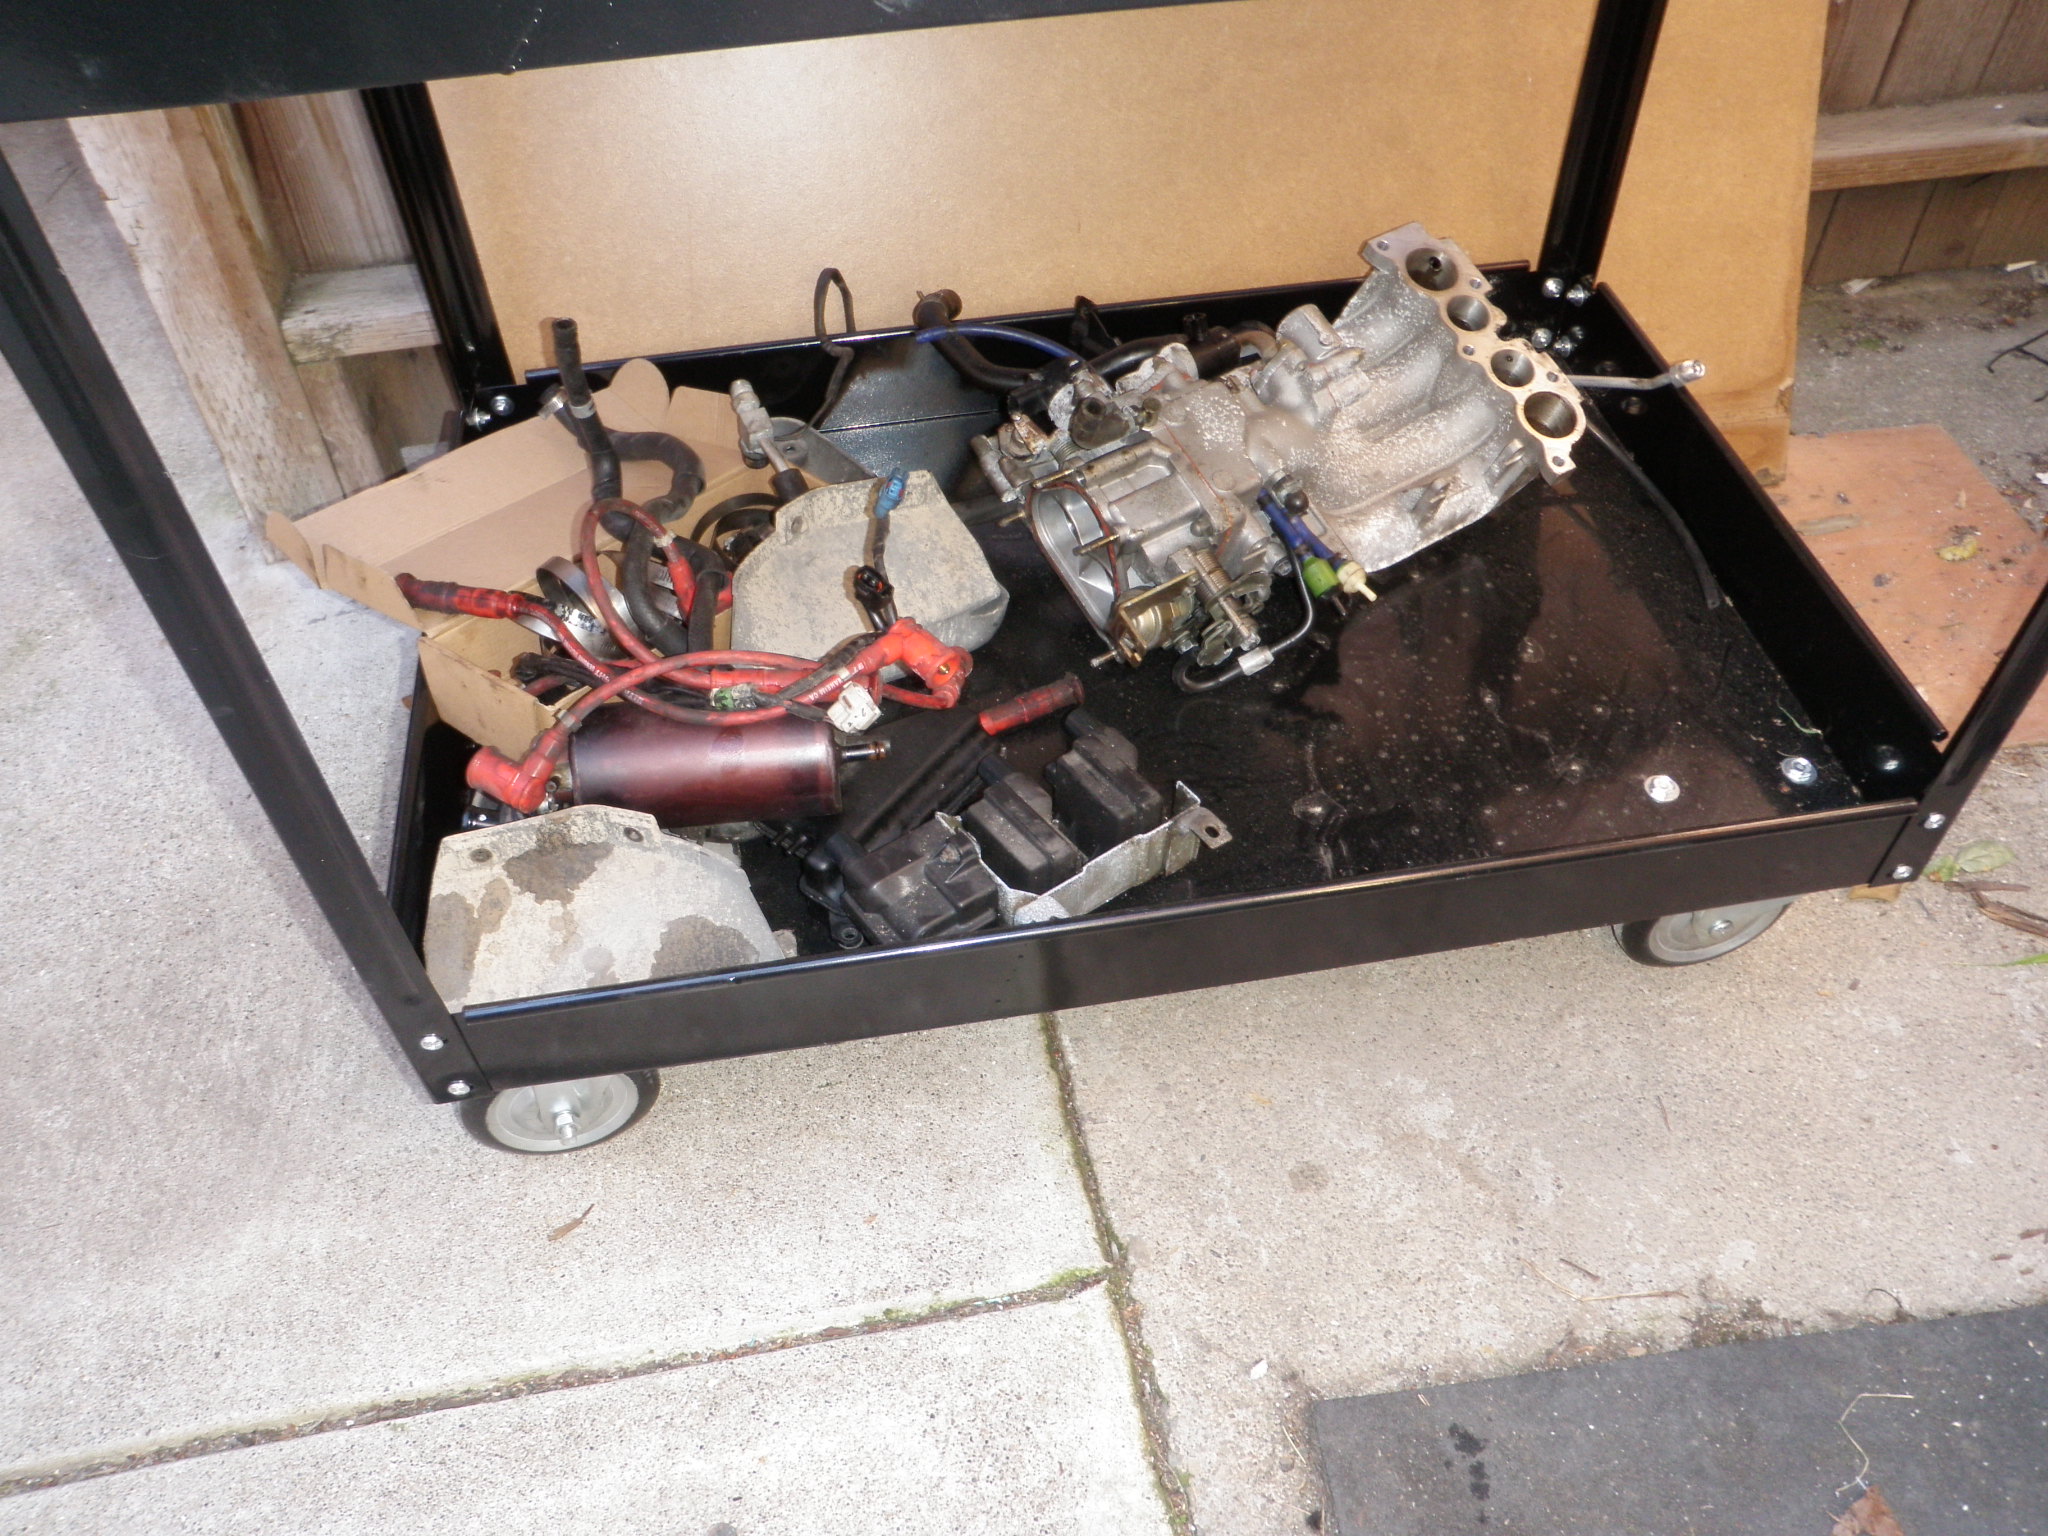
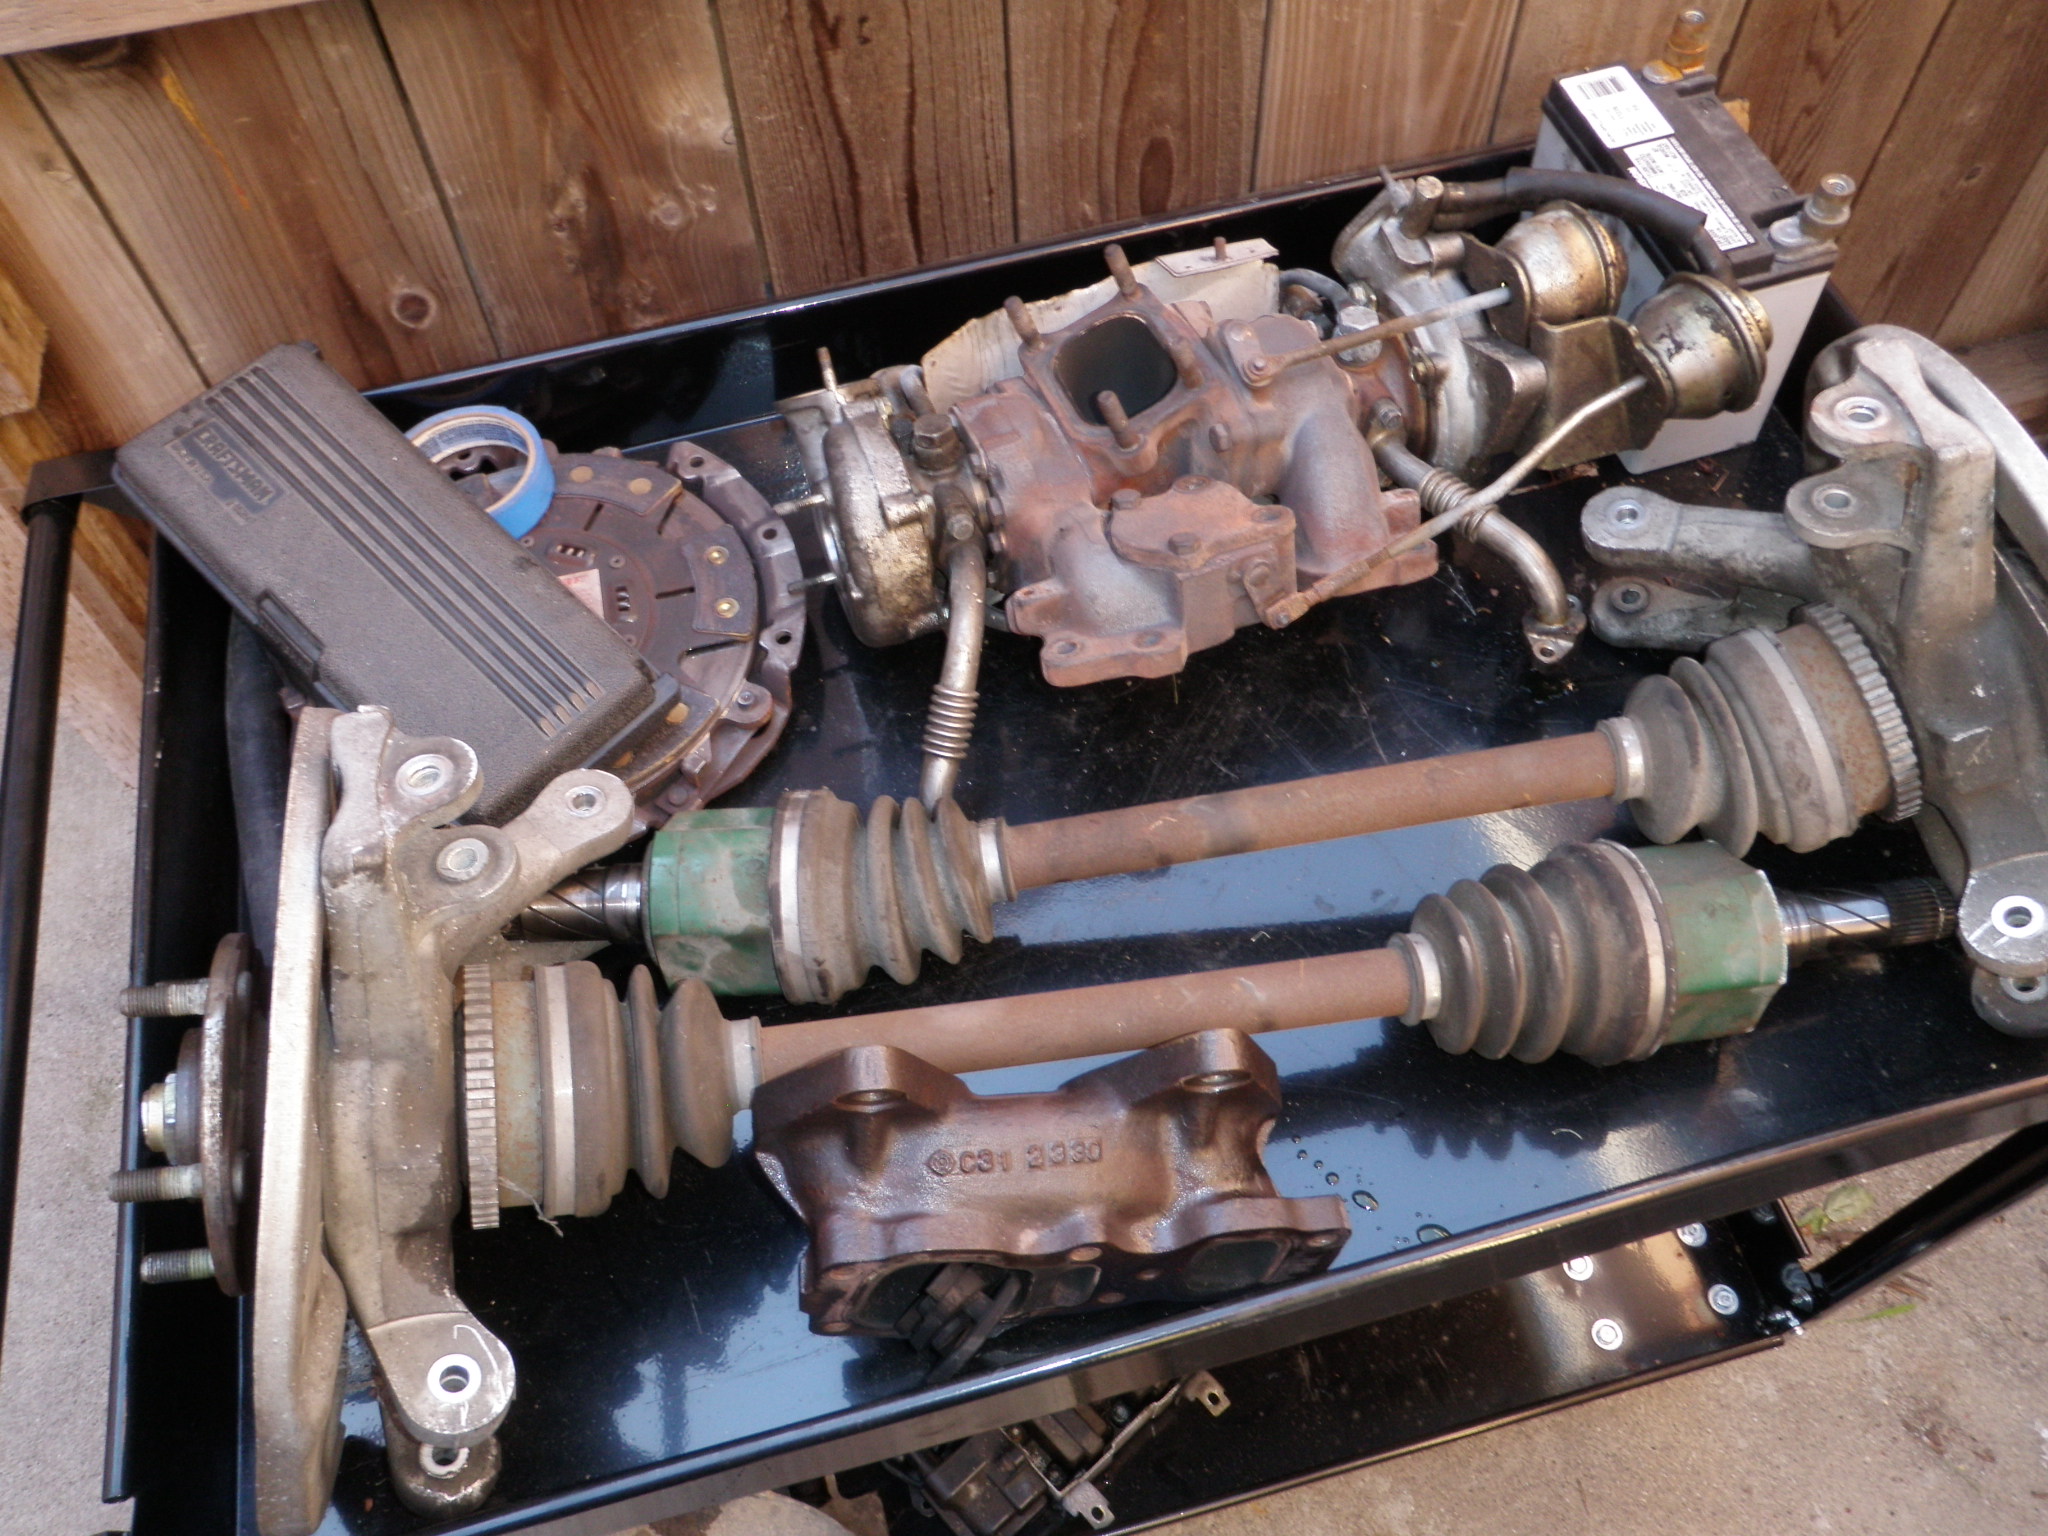
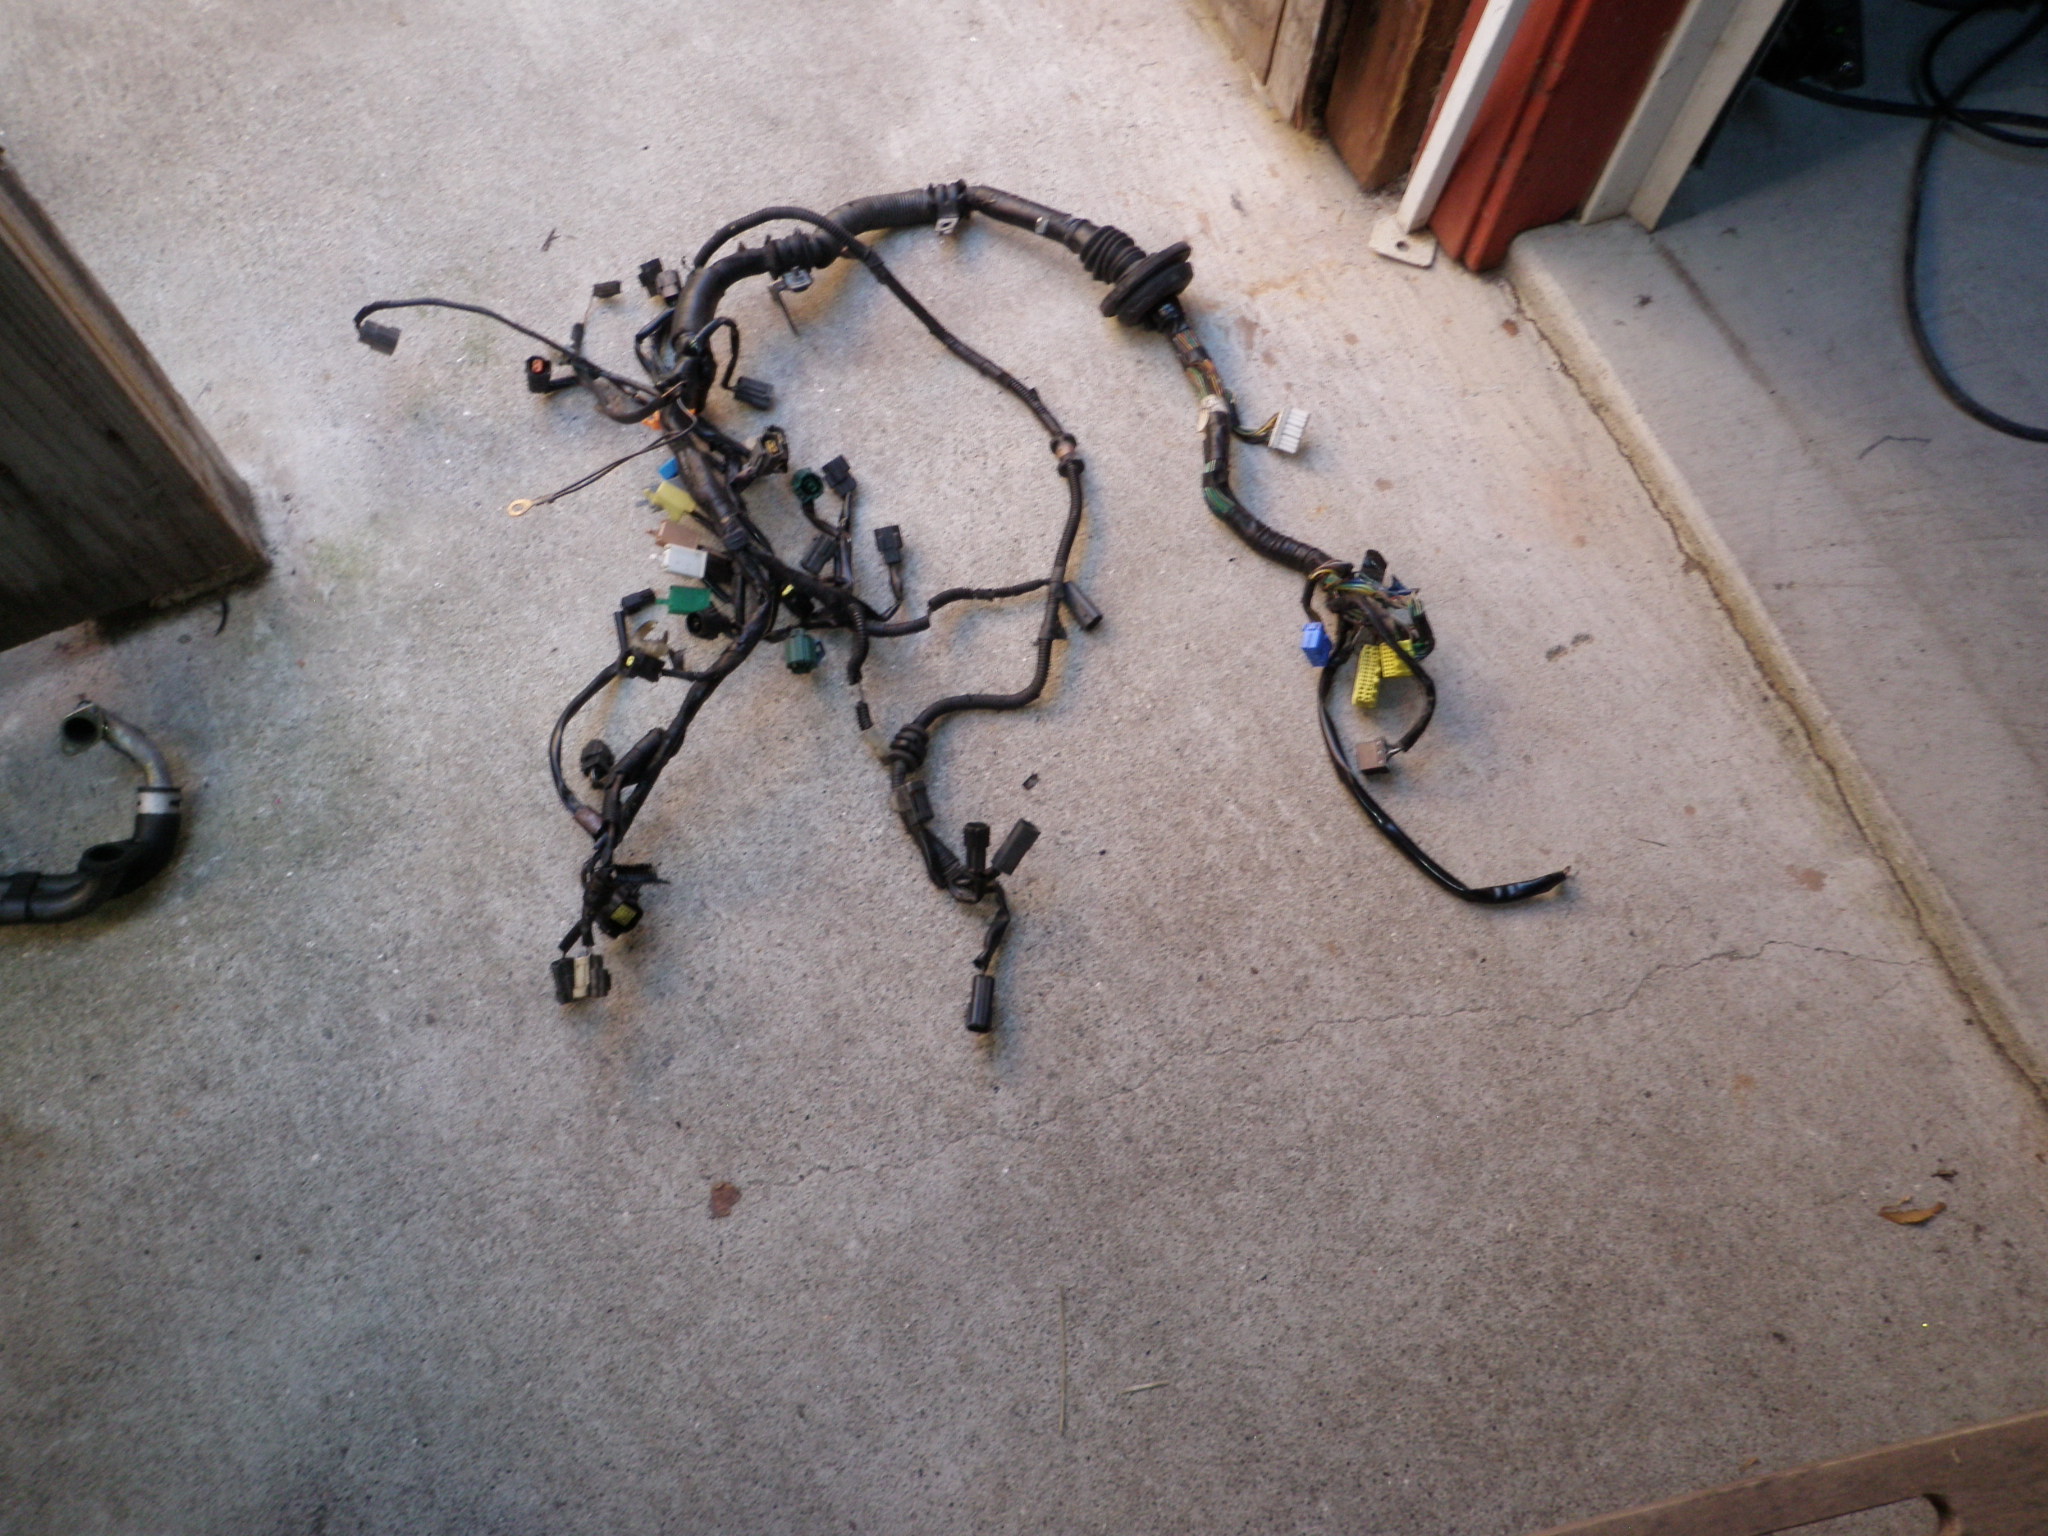
    Took the uim, turbo, accessories, rats nest, alternator and starter harness and engine harness off the motor its ready to go to Mo at Palm Tree Rotary for parts.

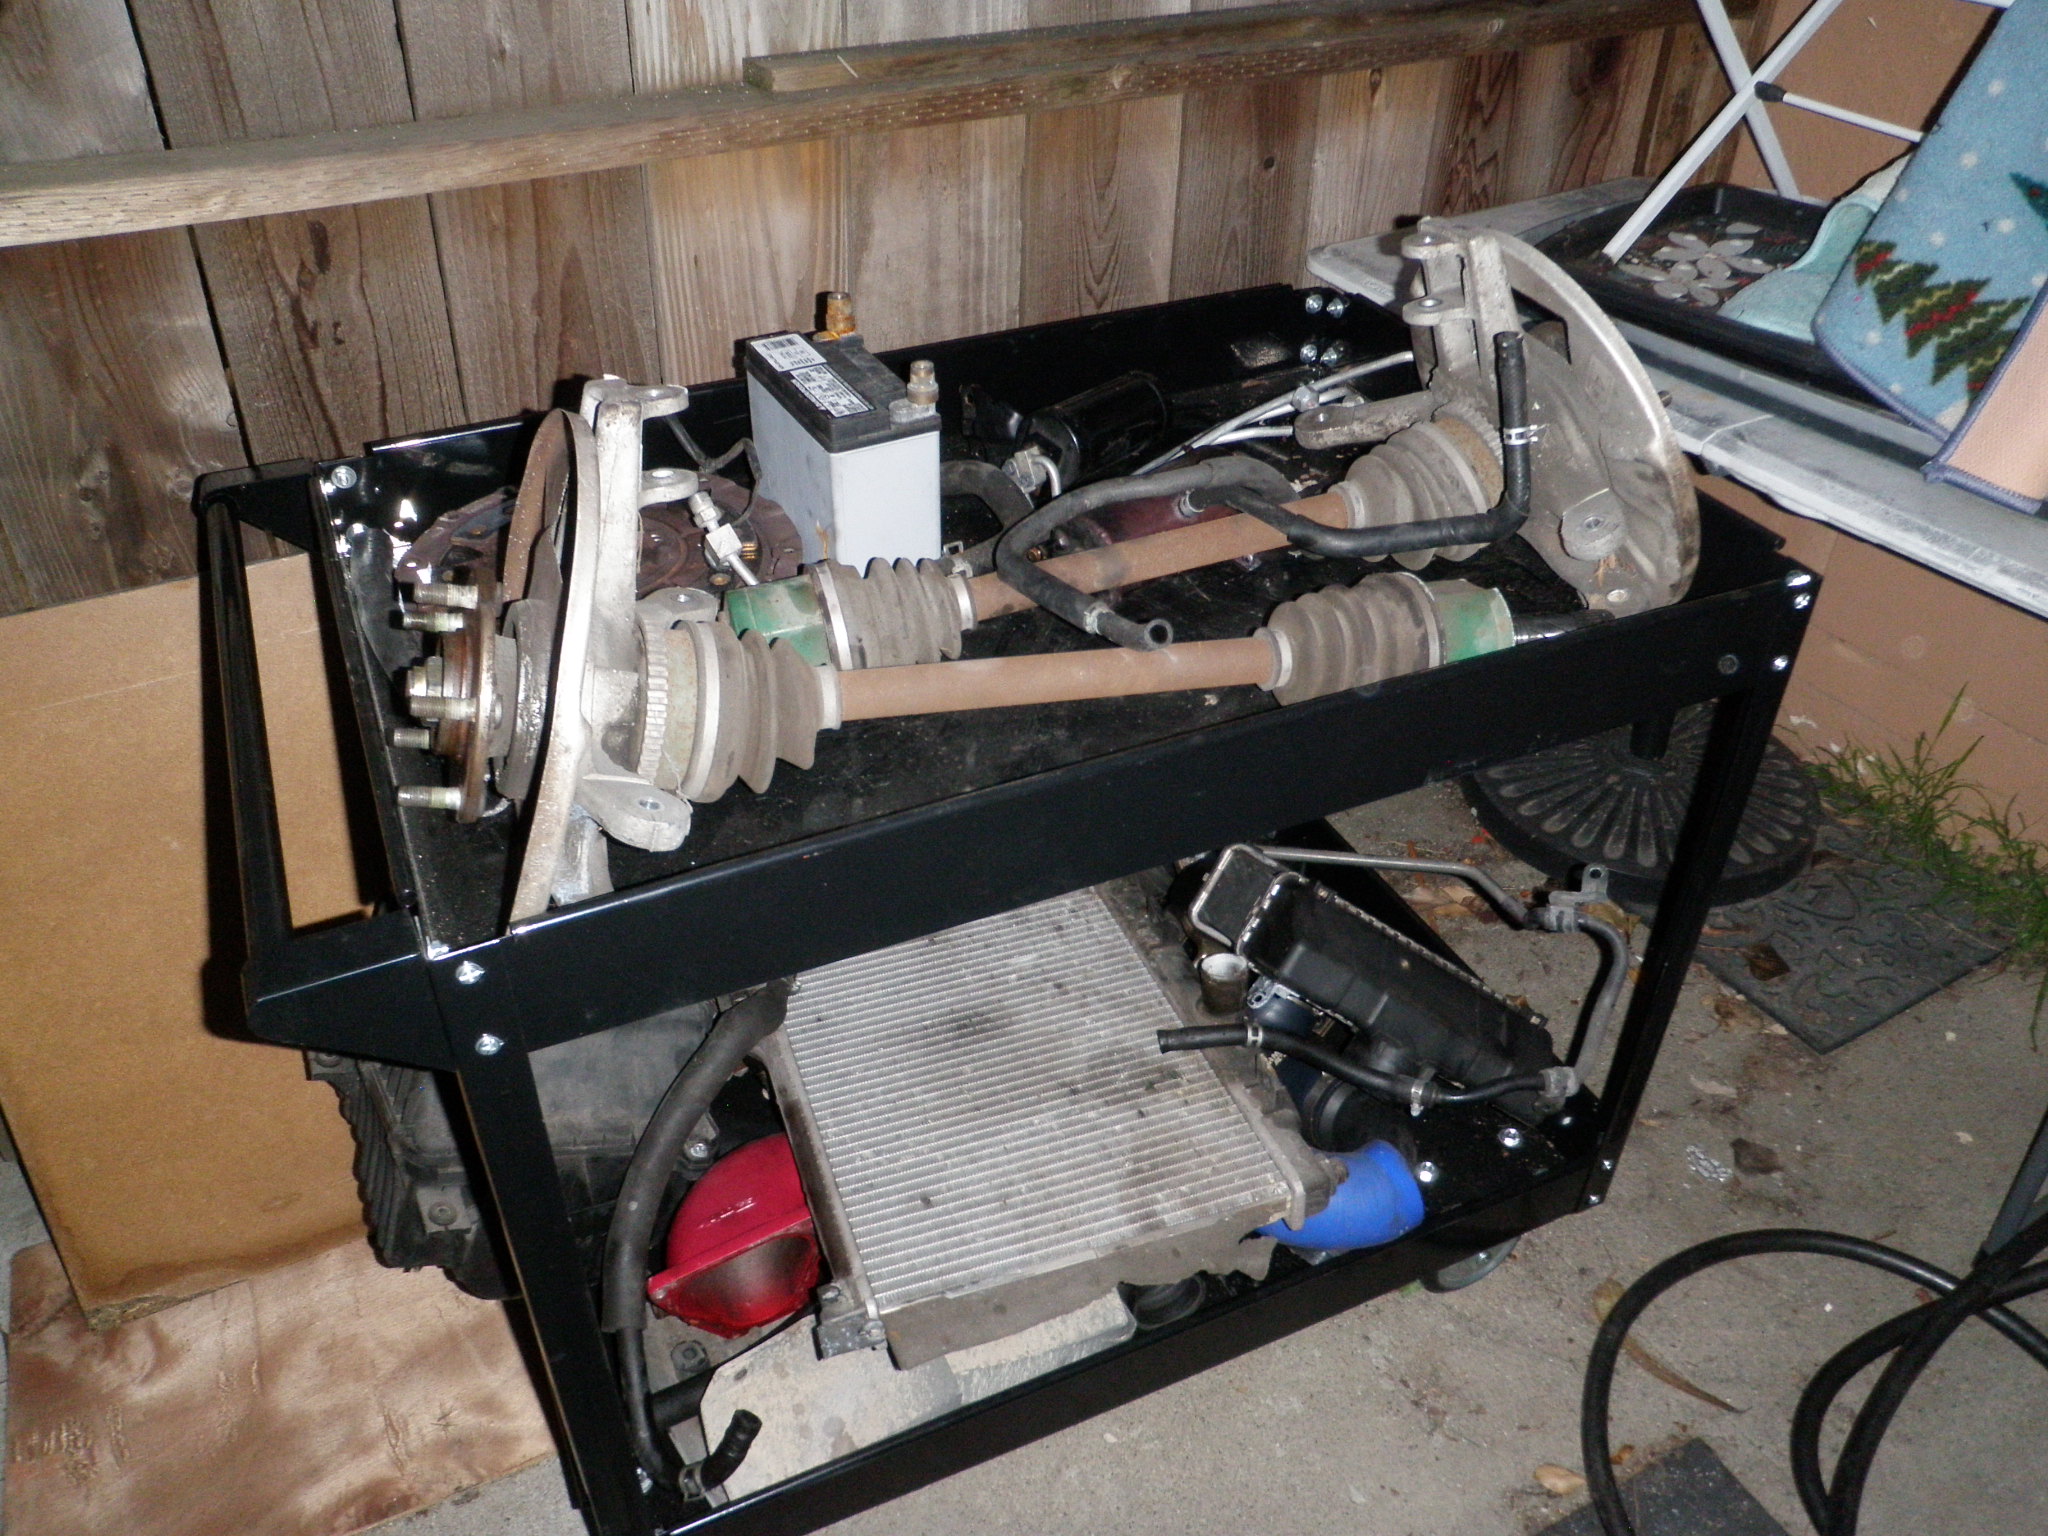
    All parts on carts.

  • Rotary Extreme RX7 Build Day 3 Engine Removal

    Rotary Extreme RX7 Build Day 3 Engine Removal

    Day 3

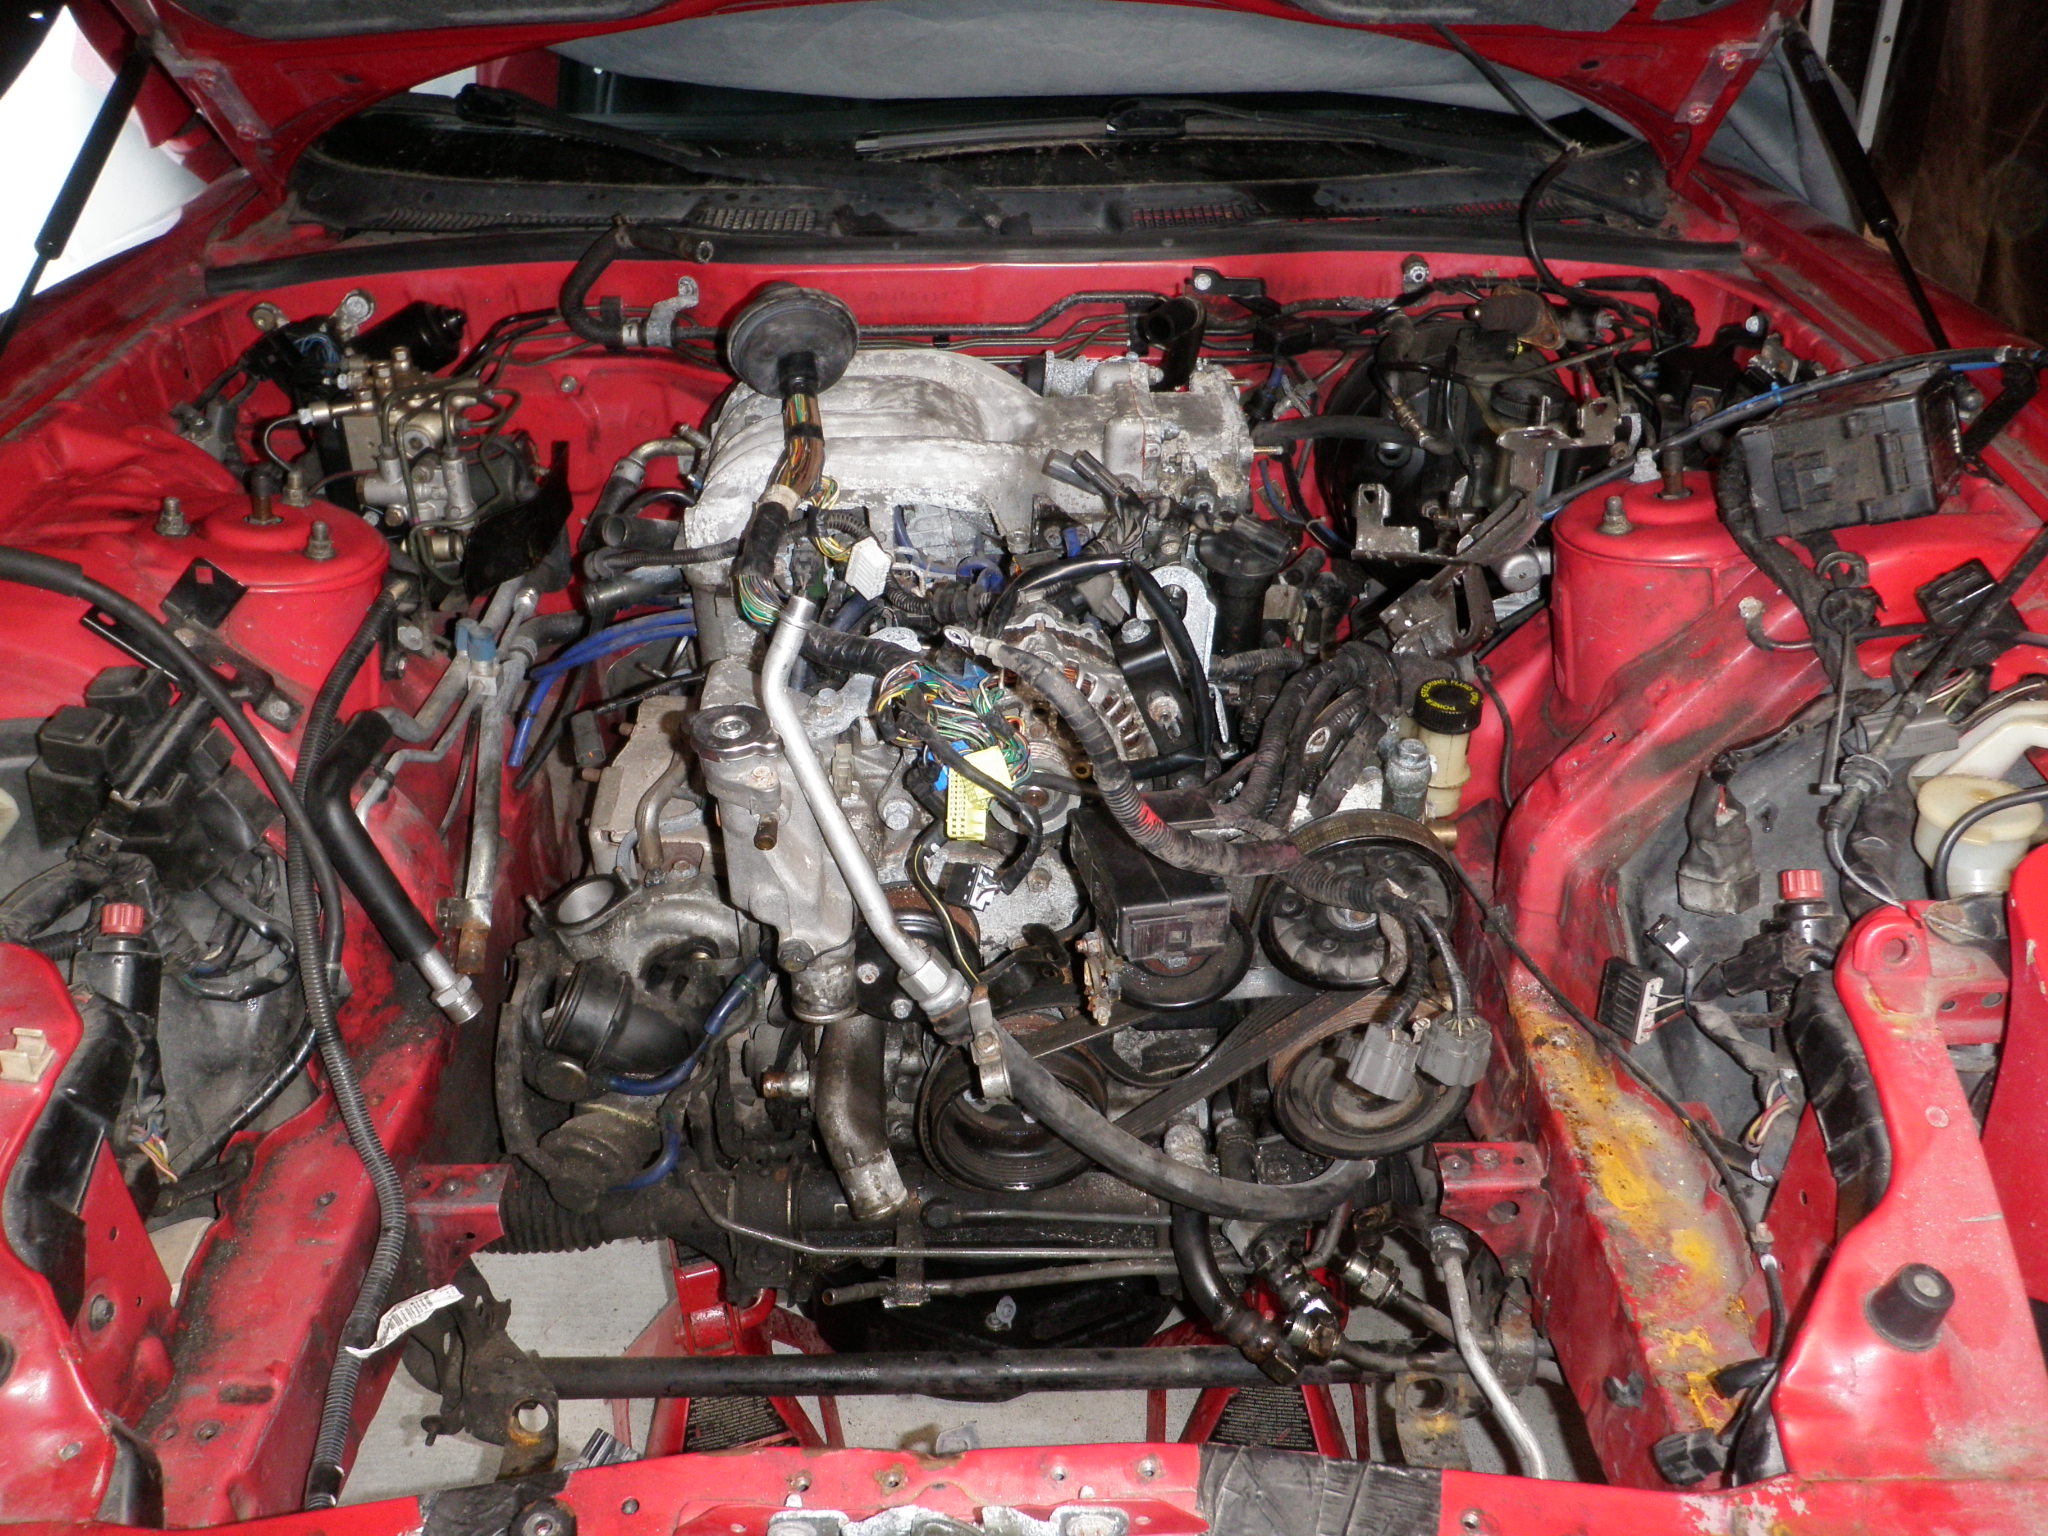
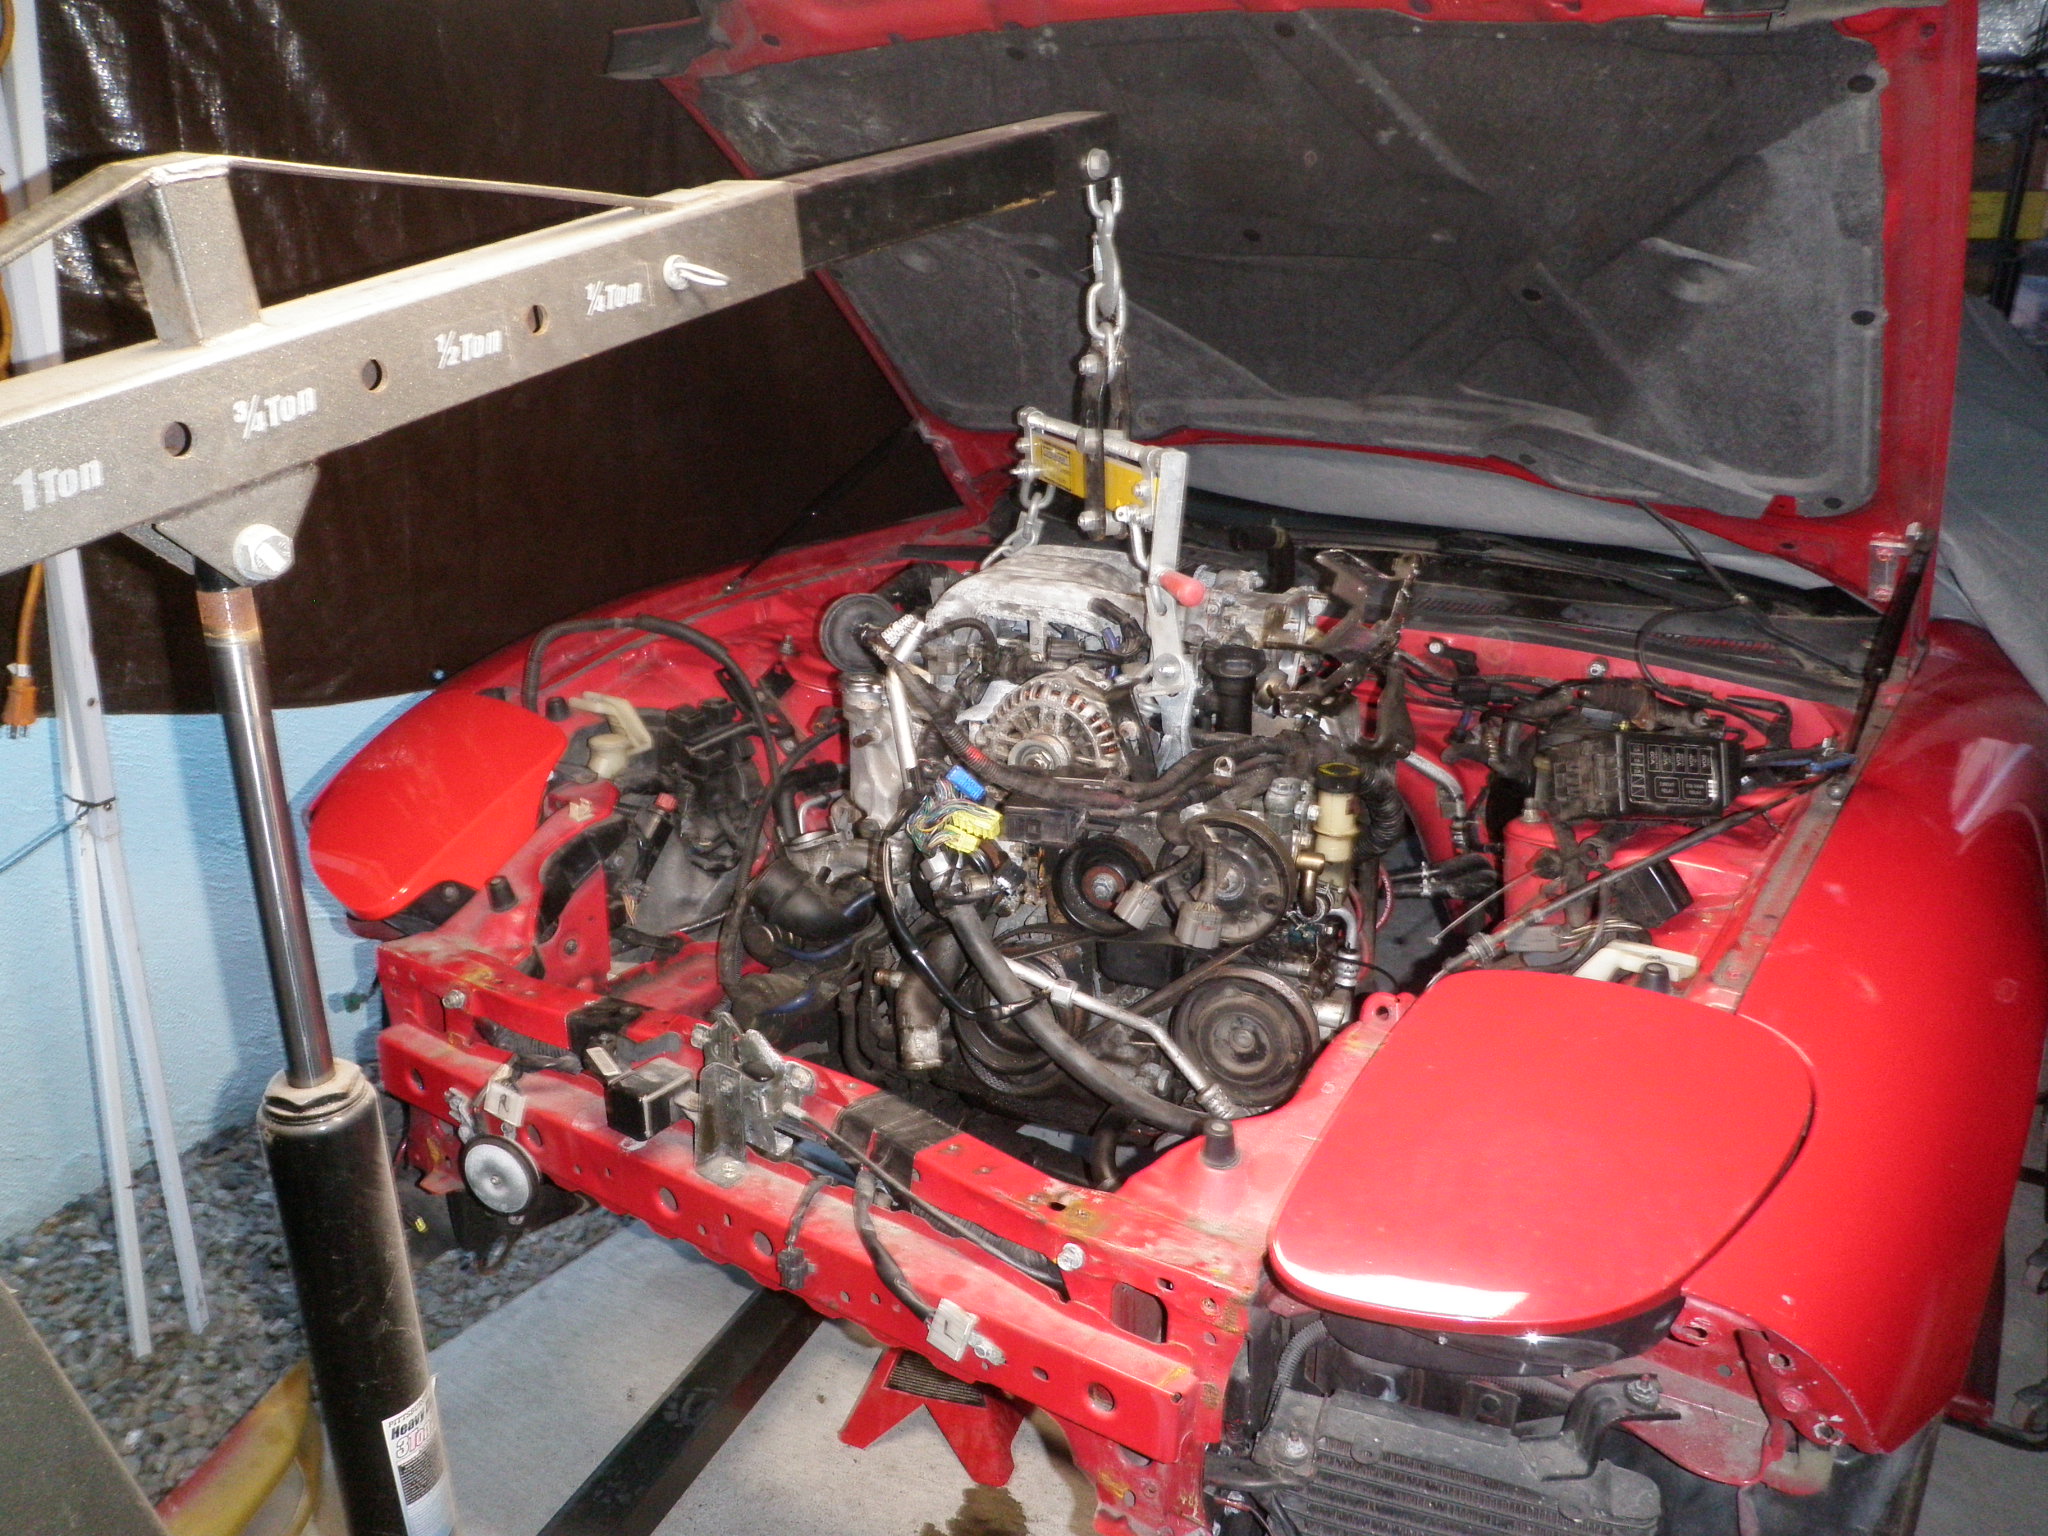
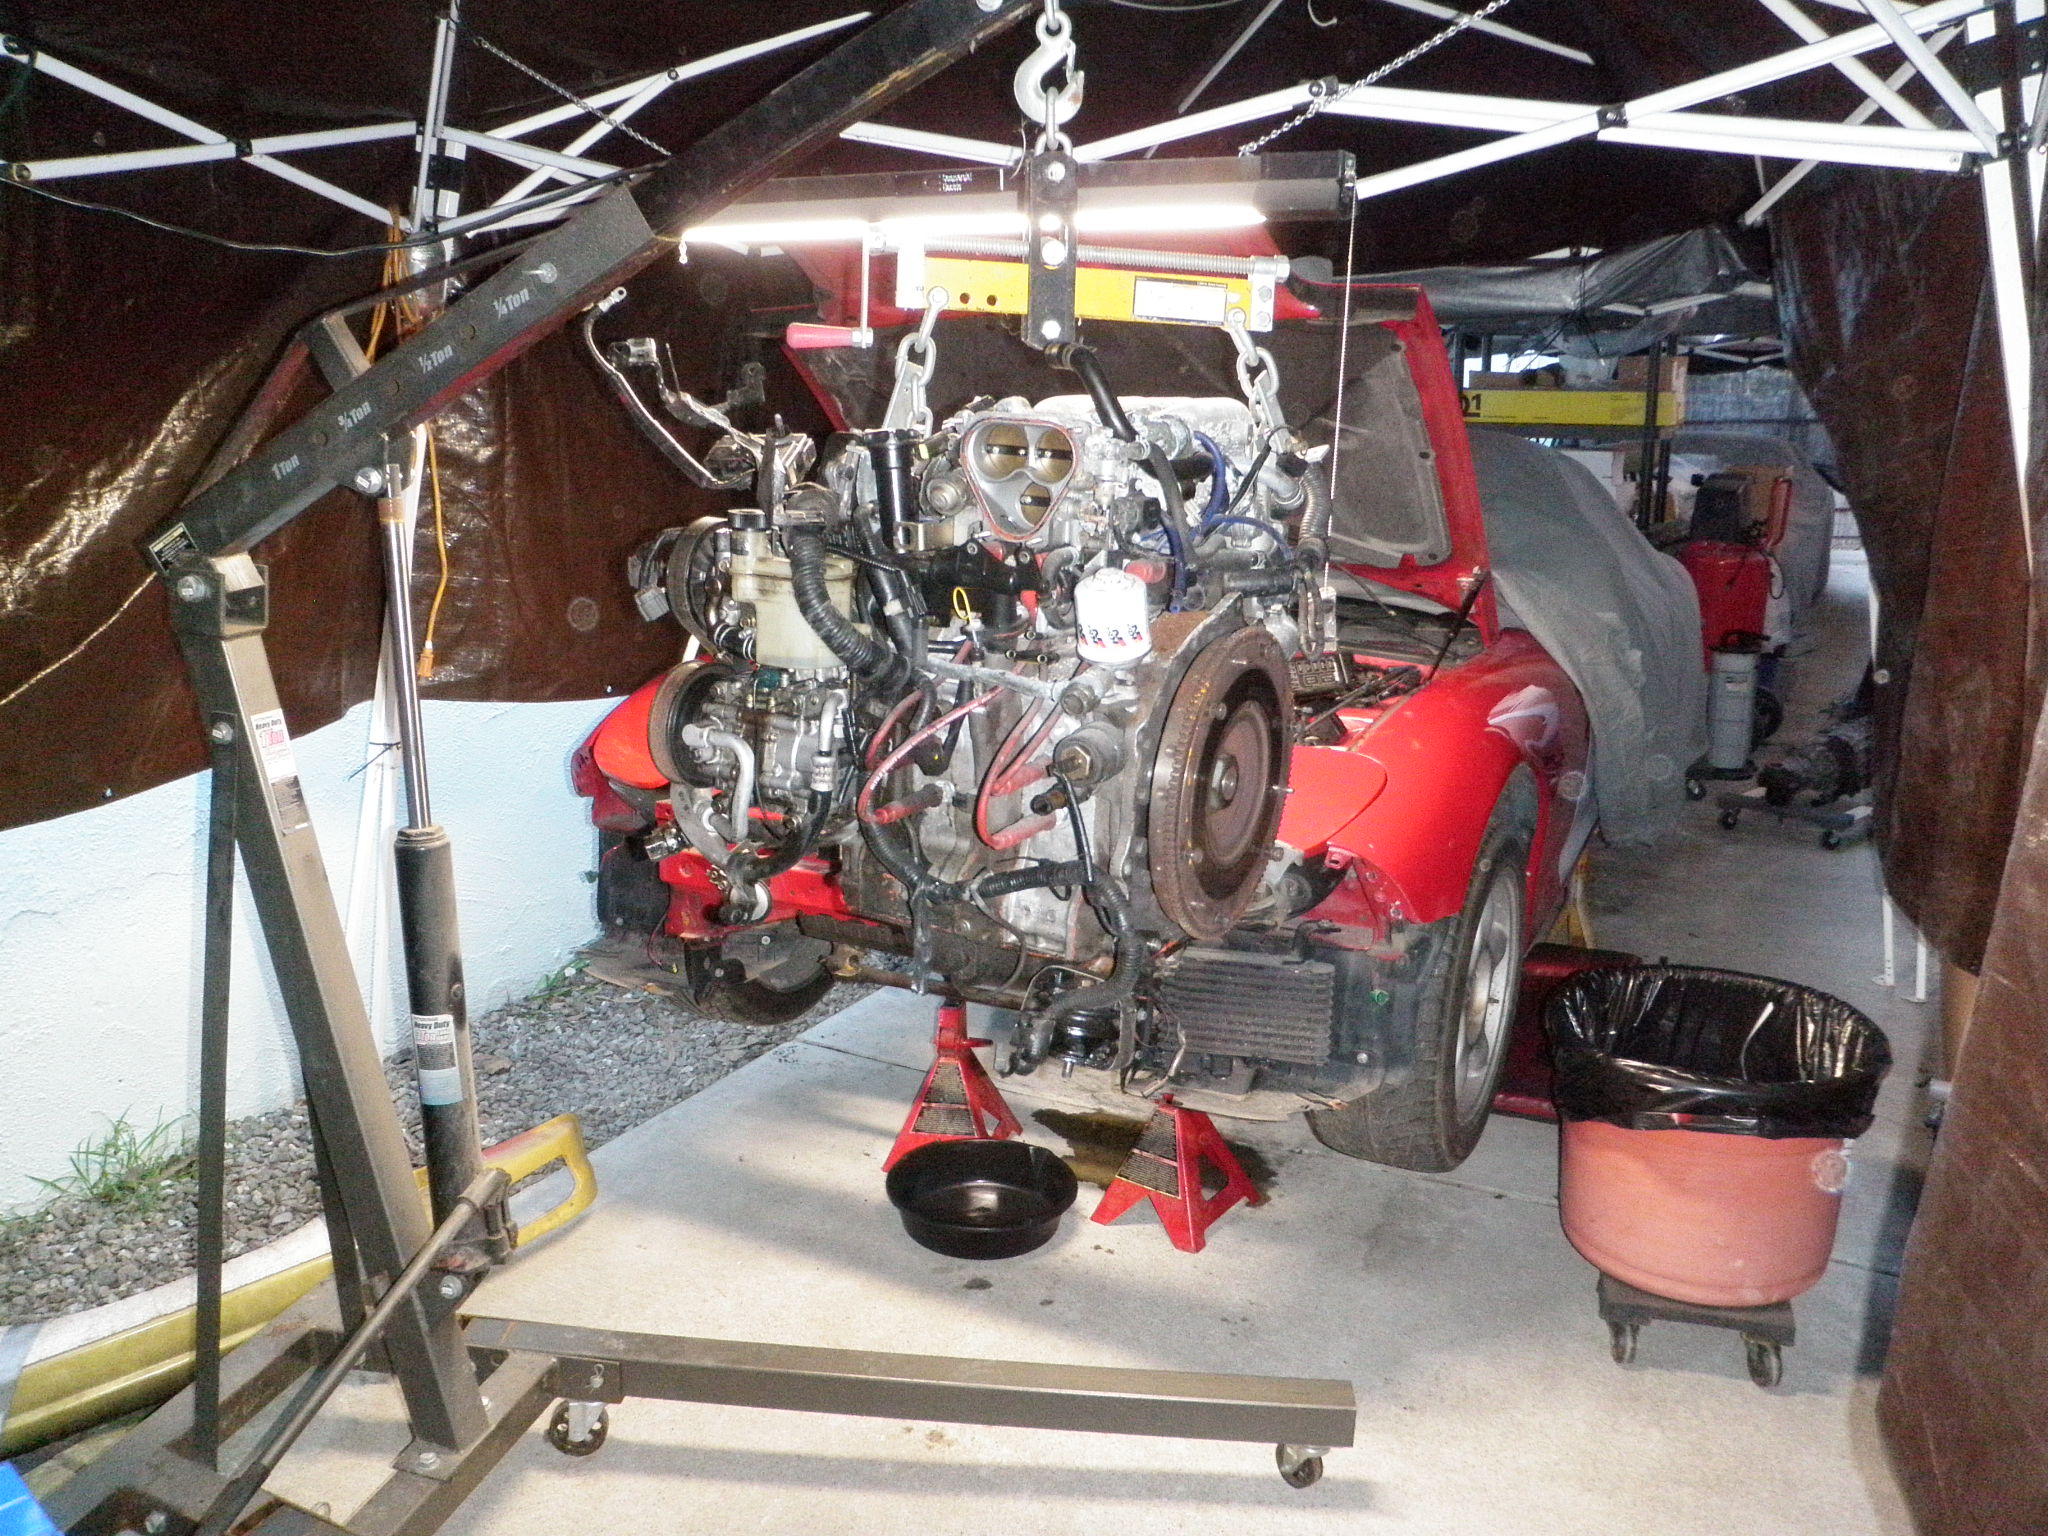
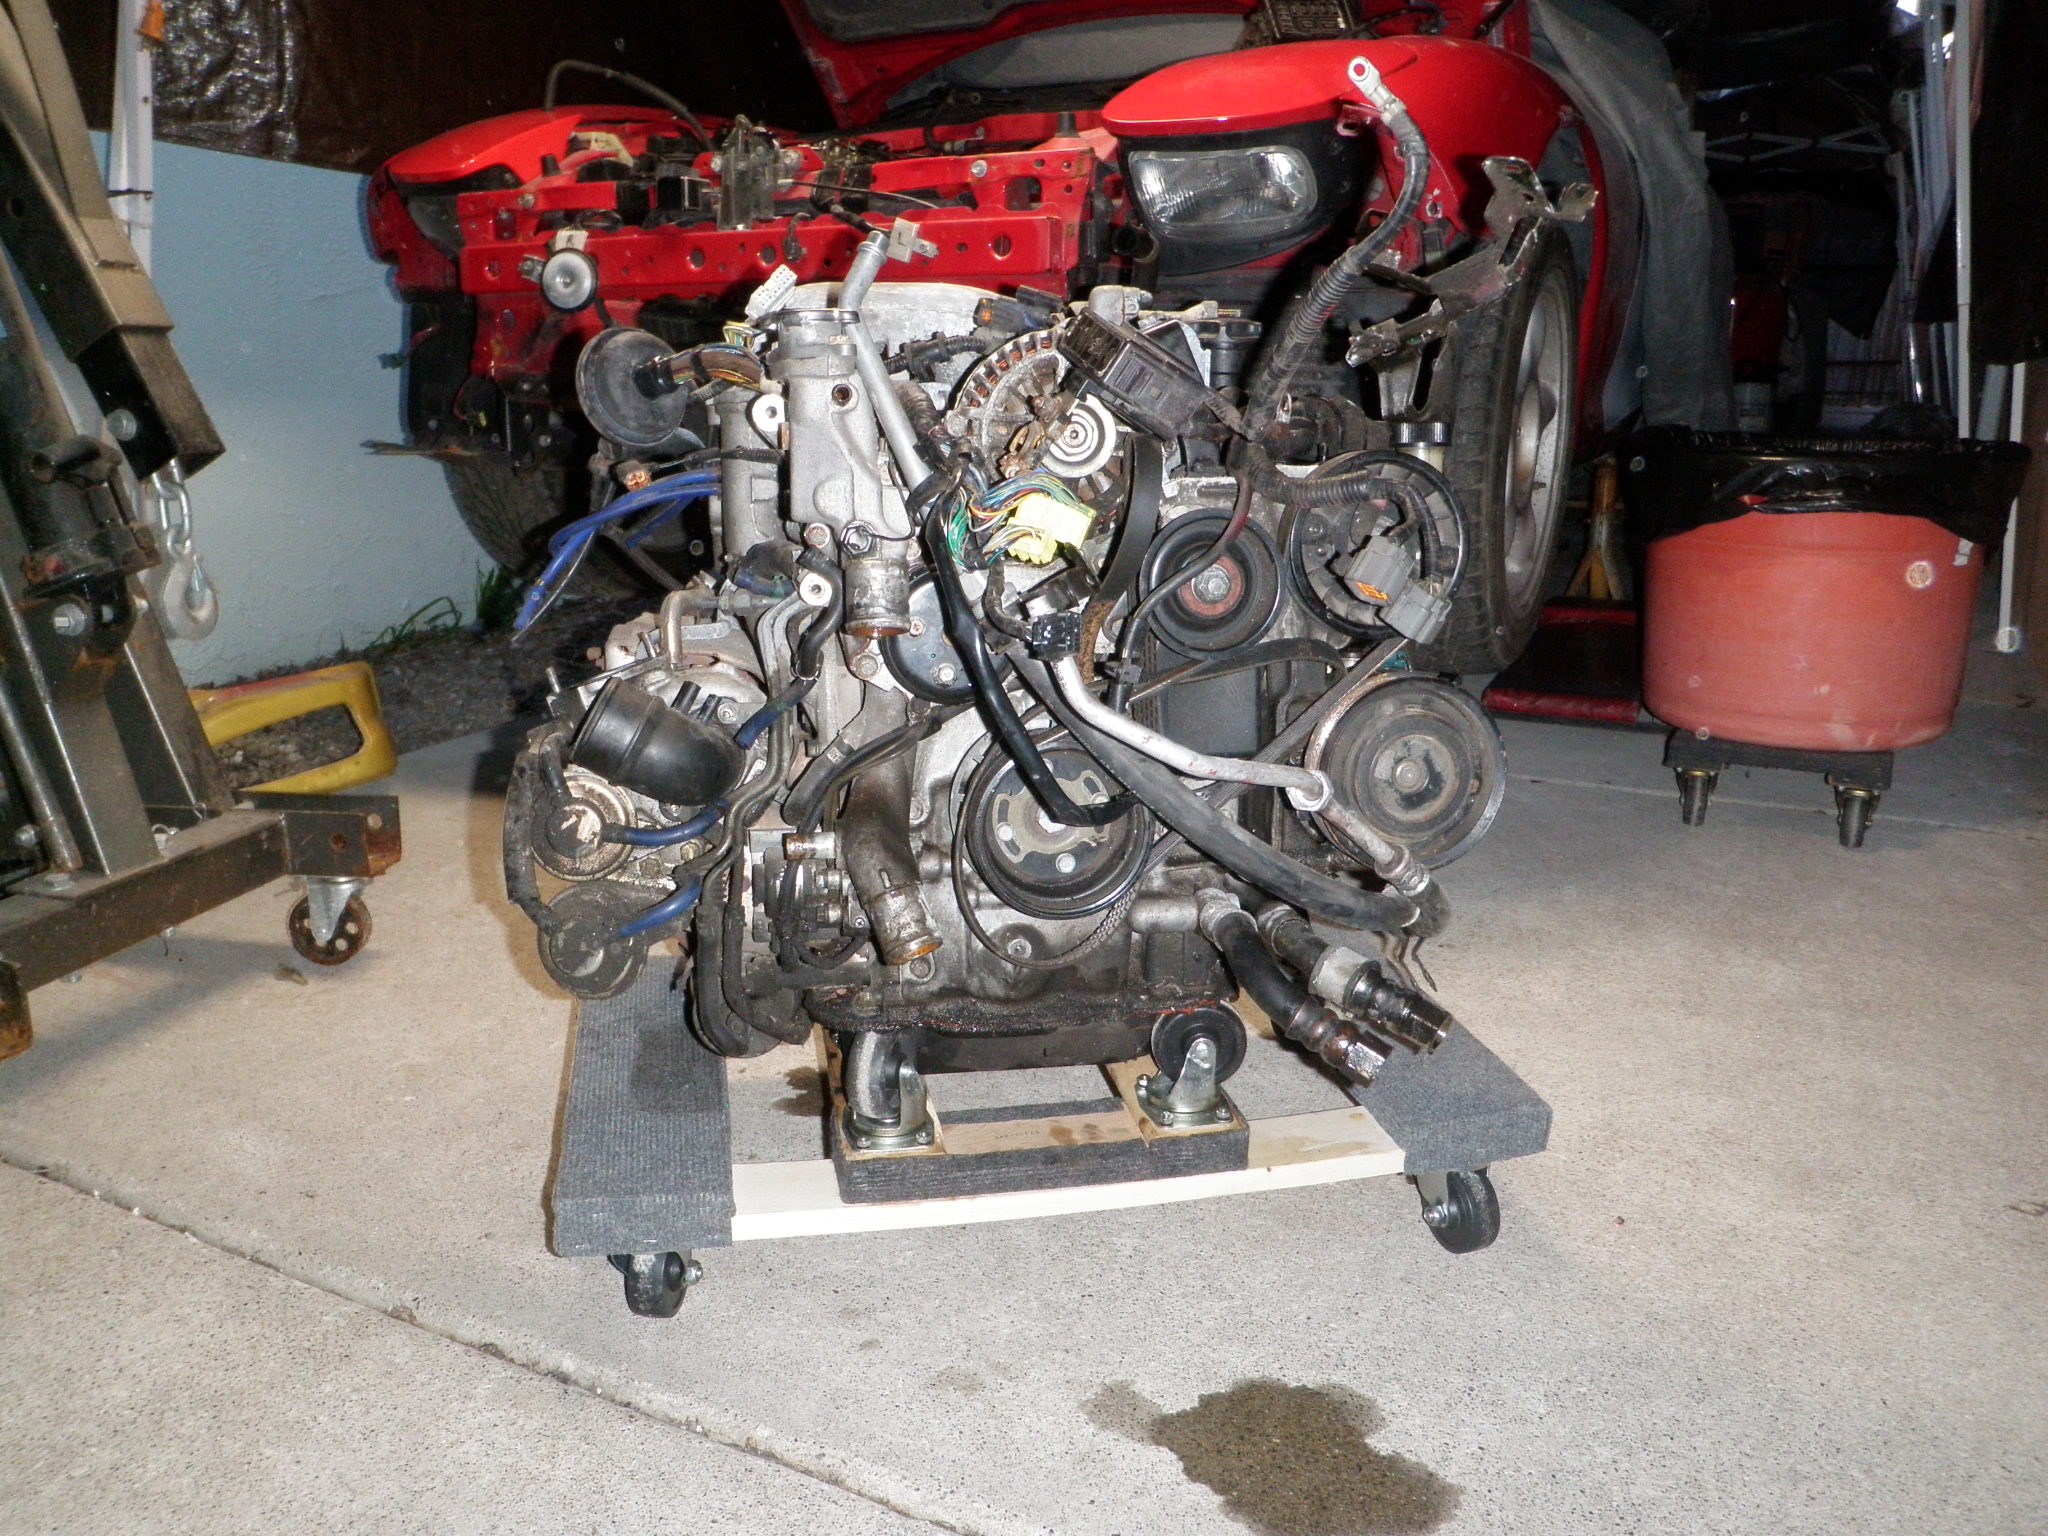
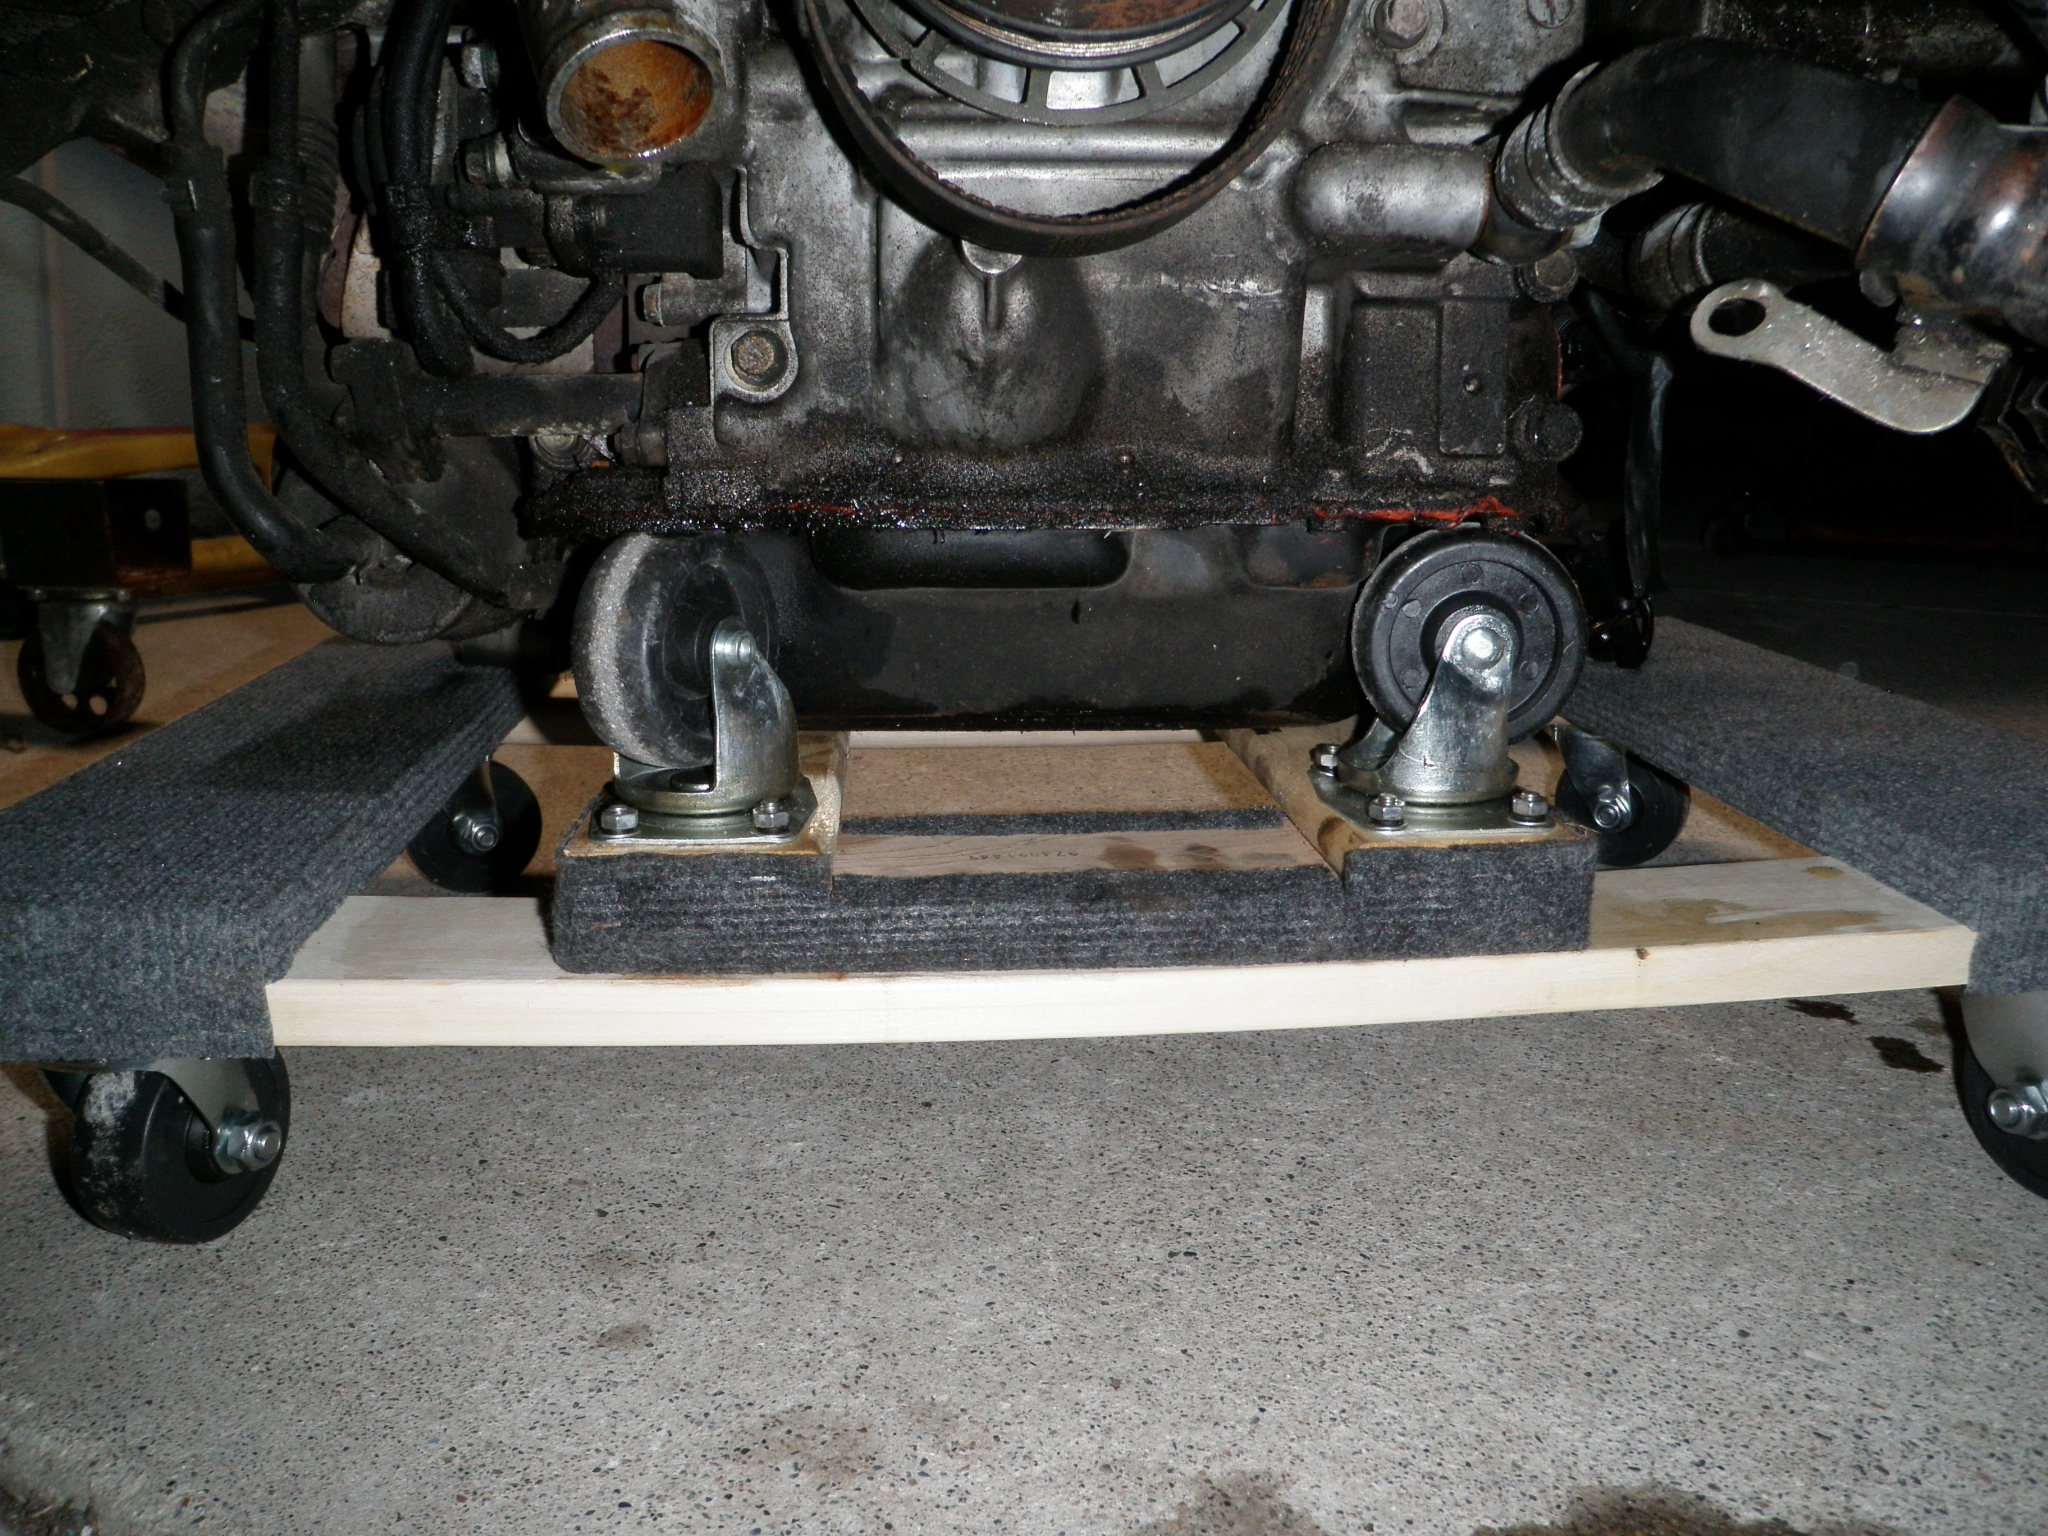
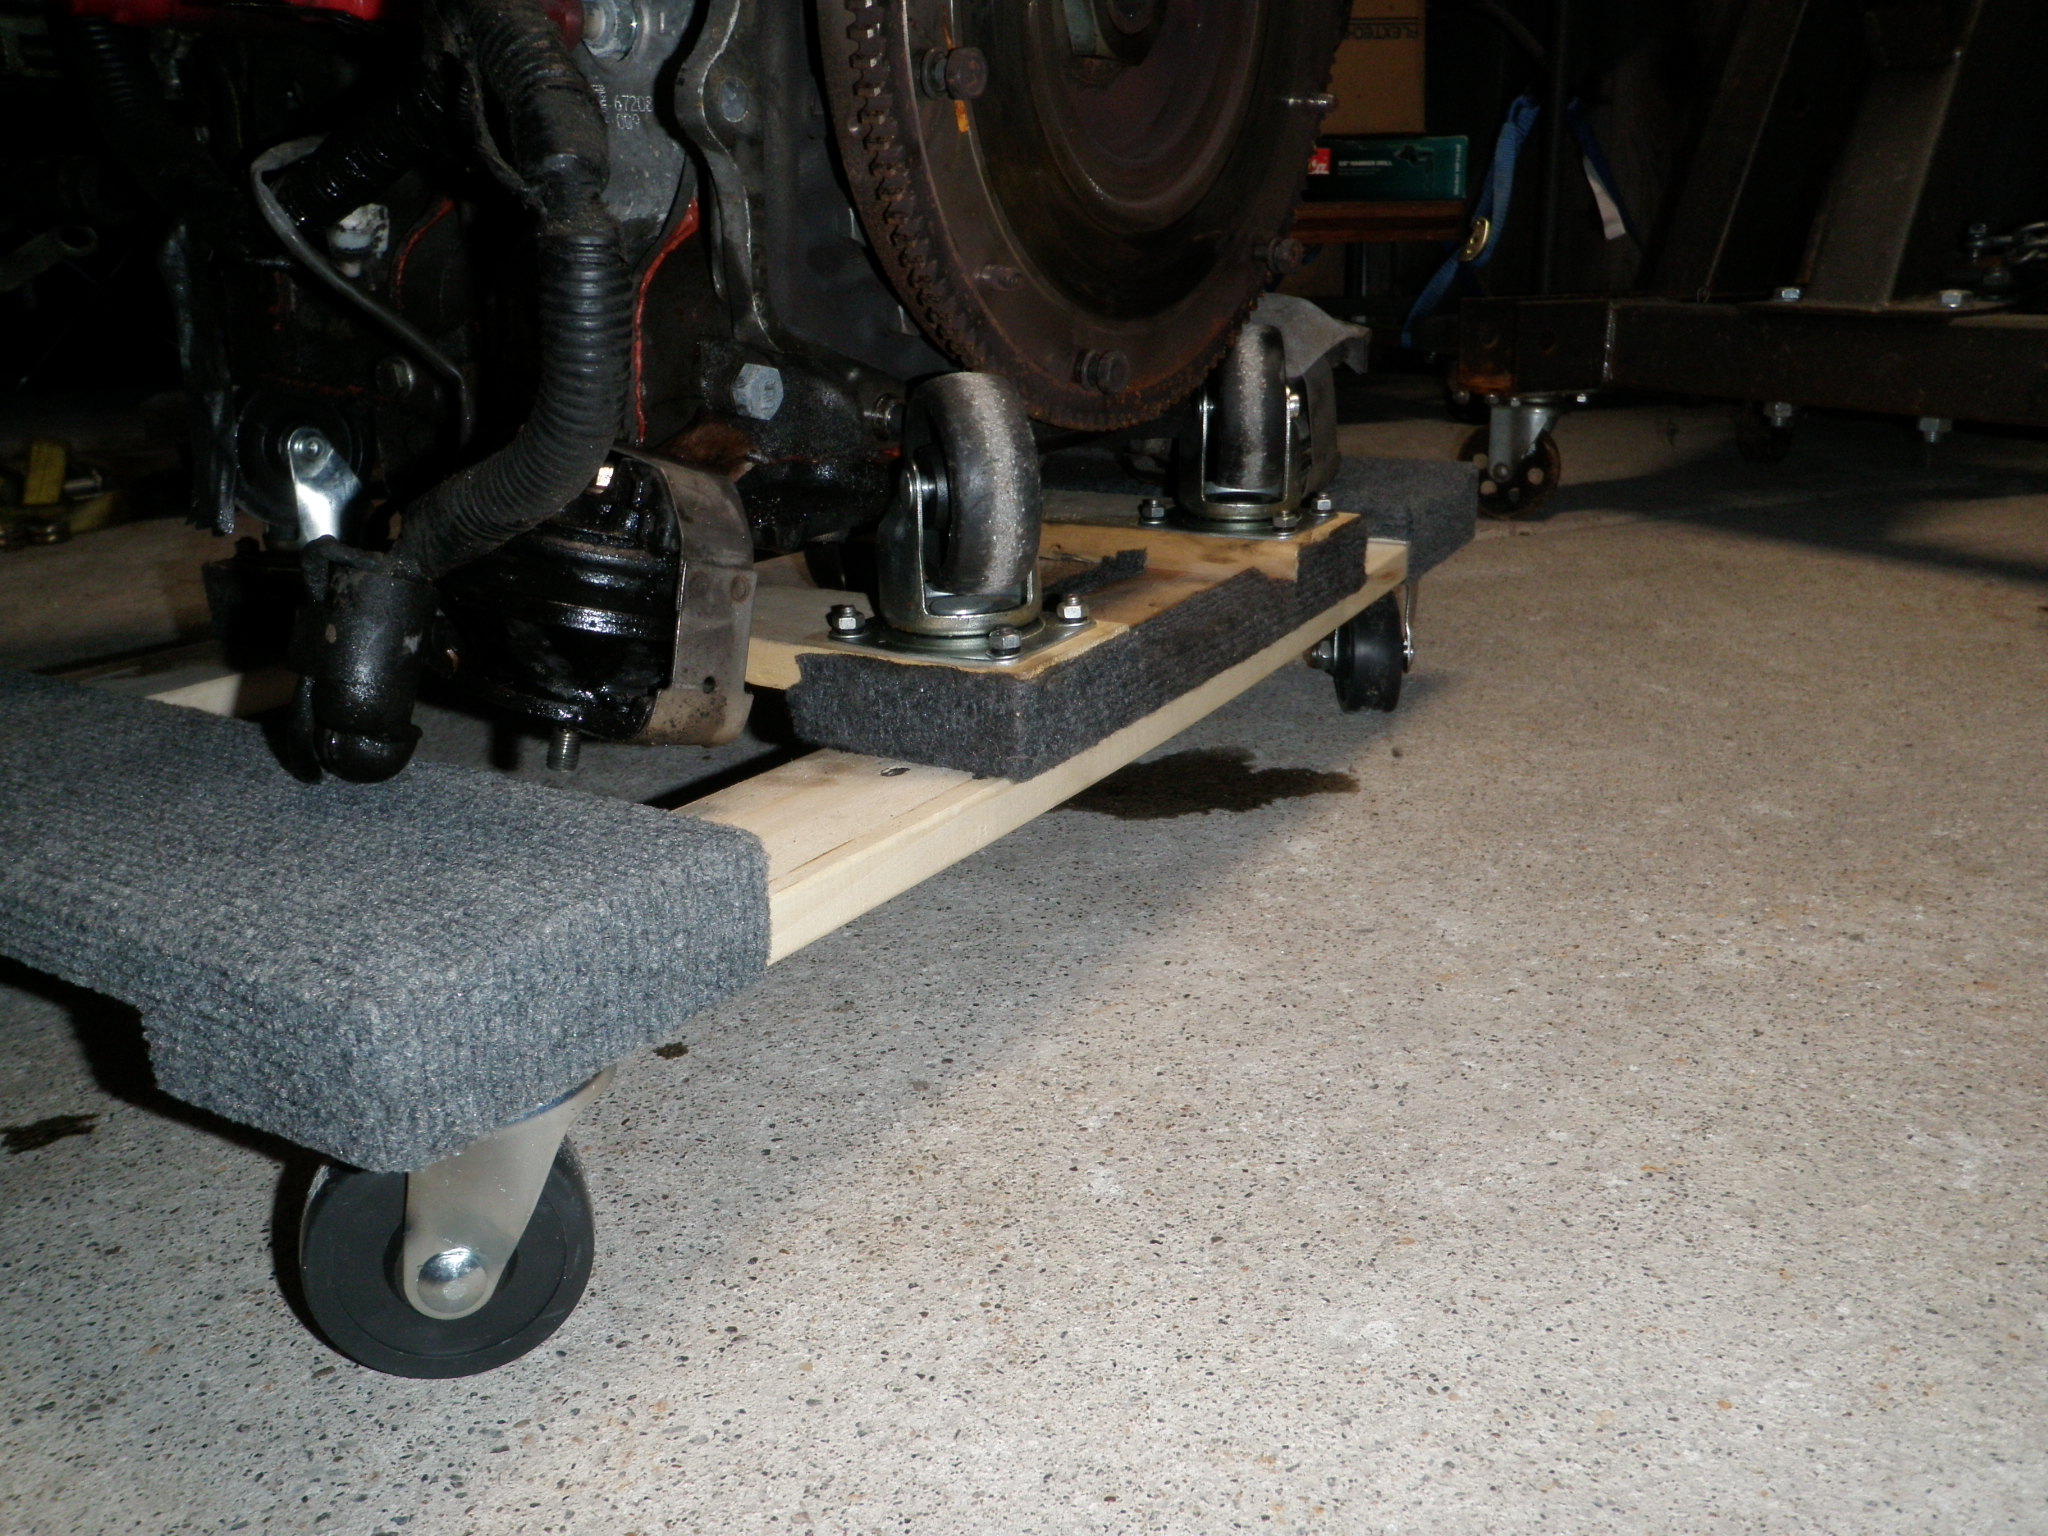
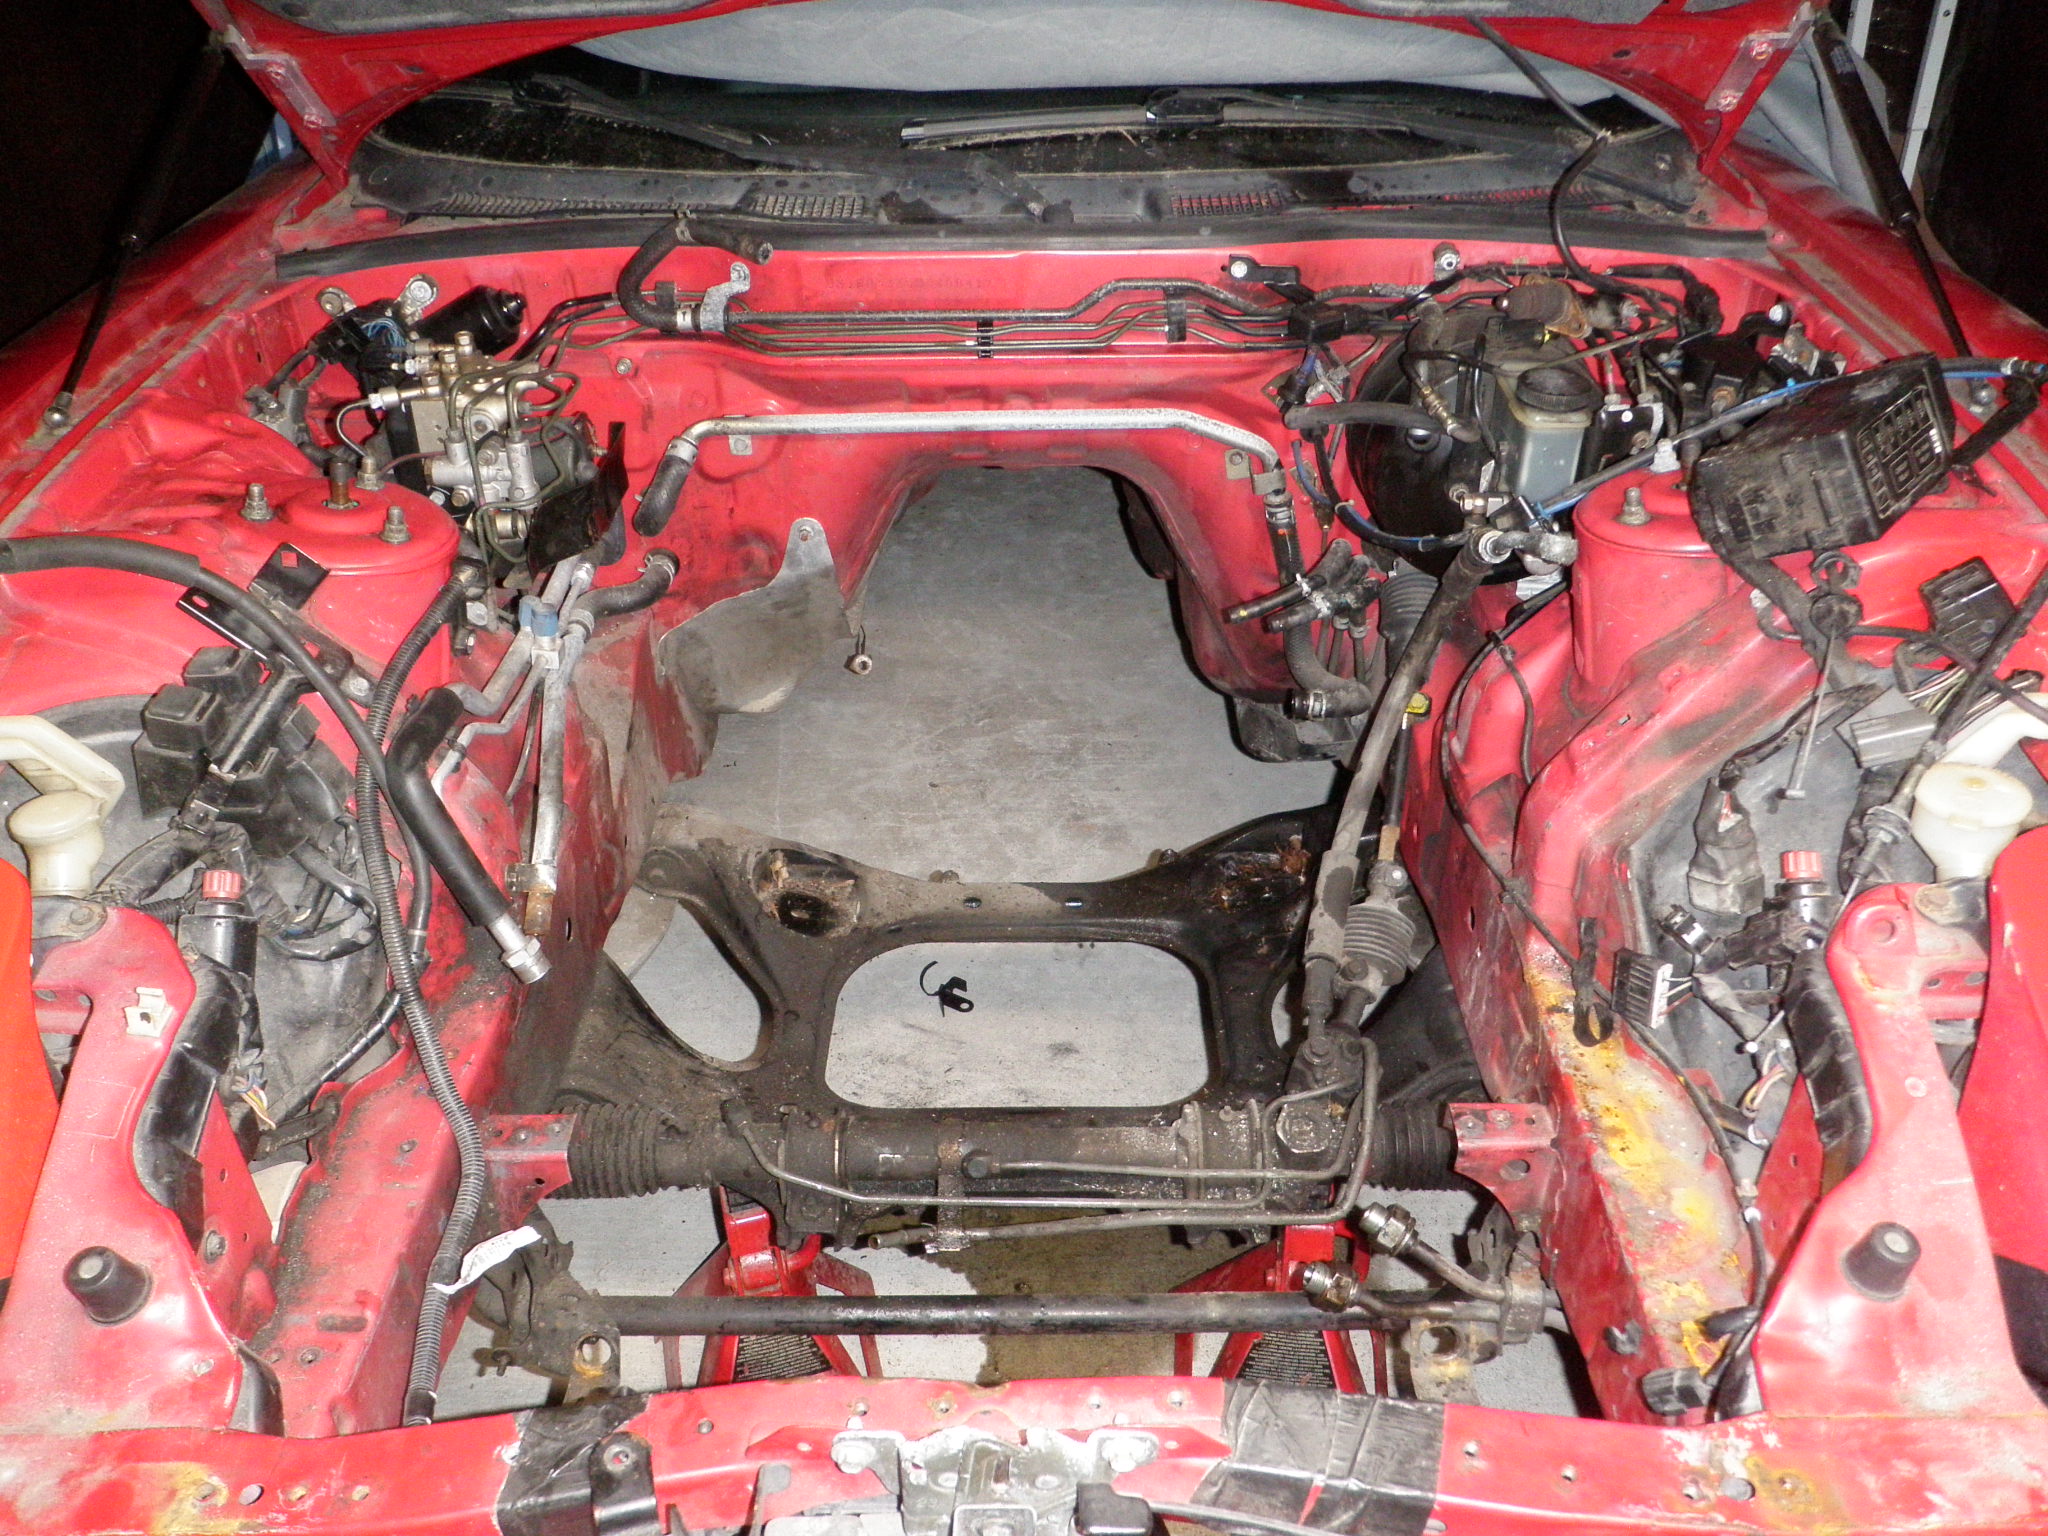
    I got the engine out and onto a dual furniture dolly set-up. Turn out its not easy to support the engine without it tipping over, hitting turbo stuff or the sneaky oil pan sensor. So I got one big furniture dolly and then flipped and smaller one upside down on top and it supports it by the pan pretty good.

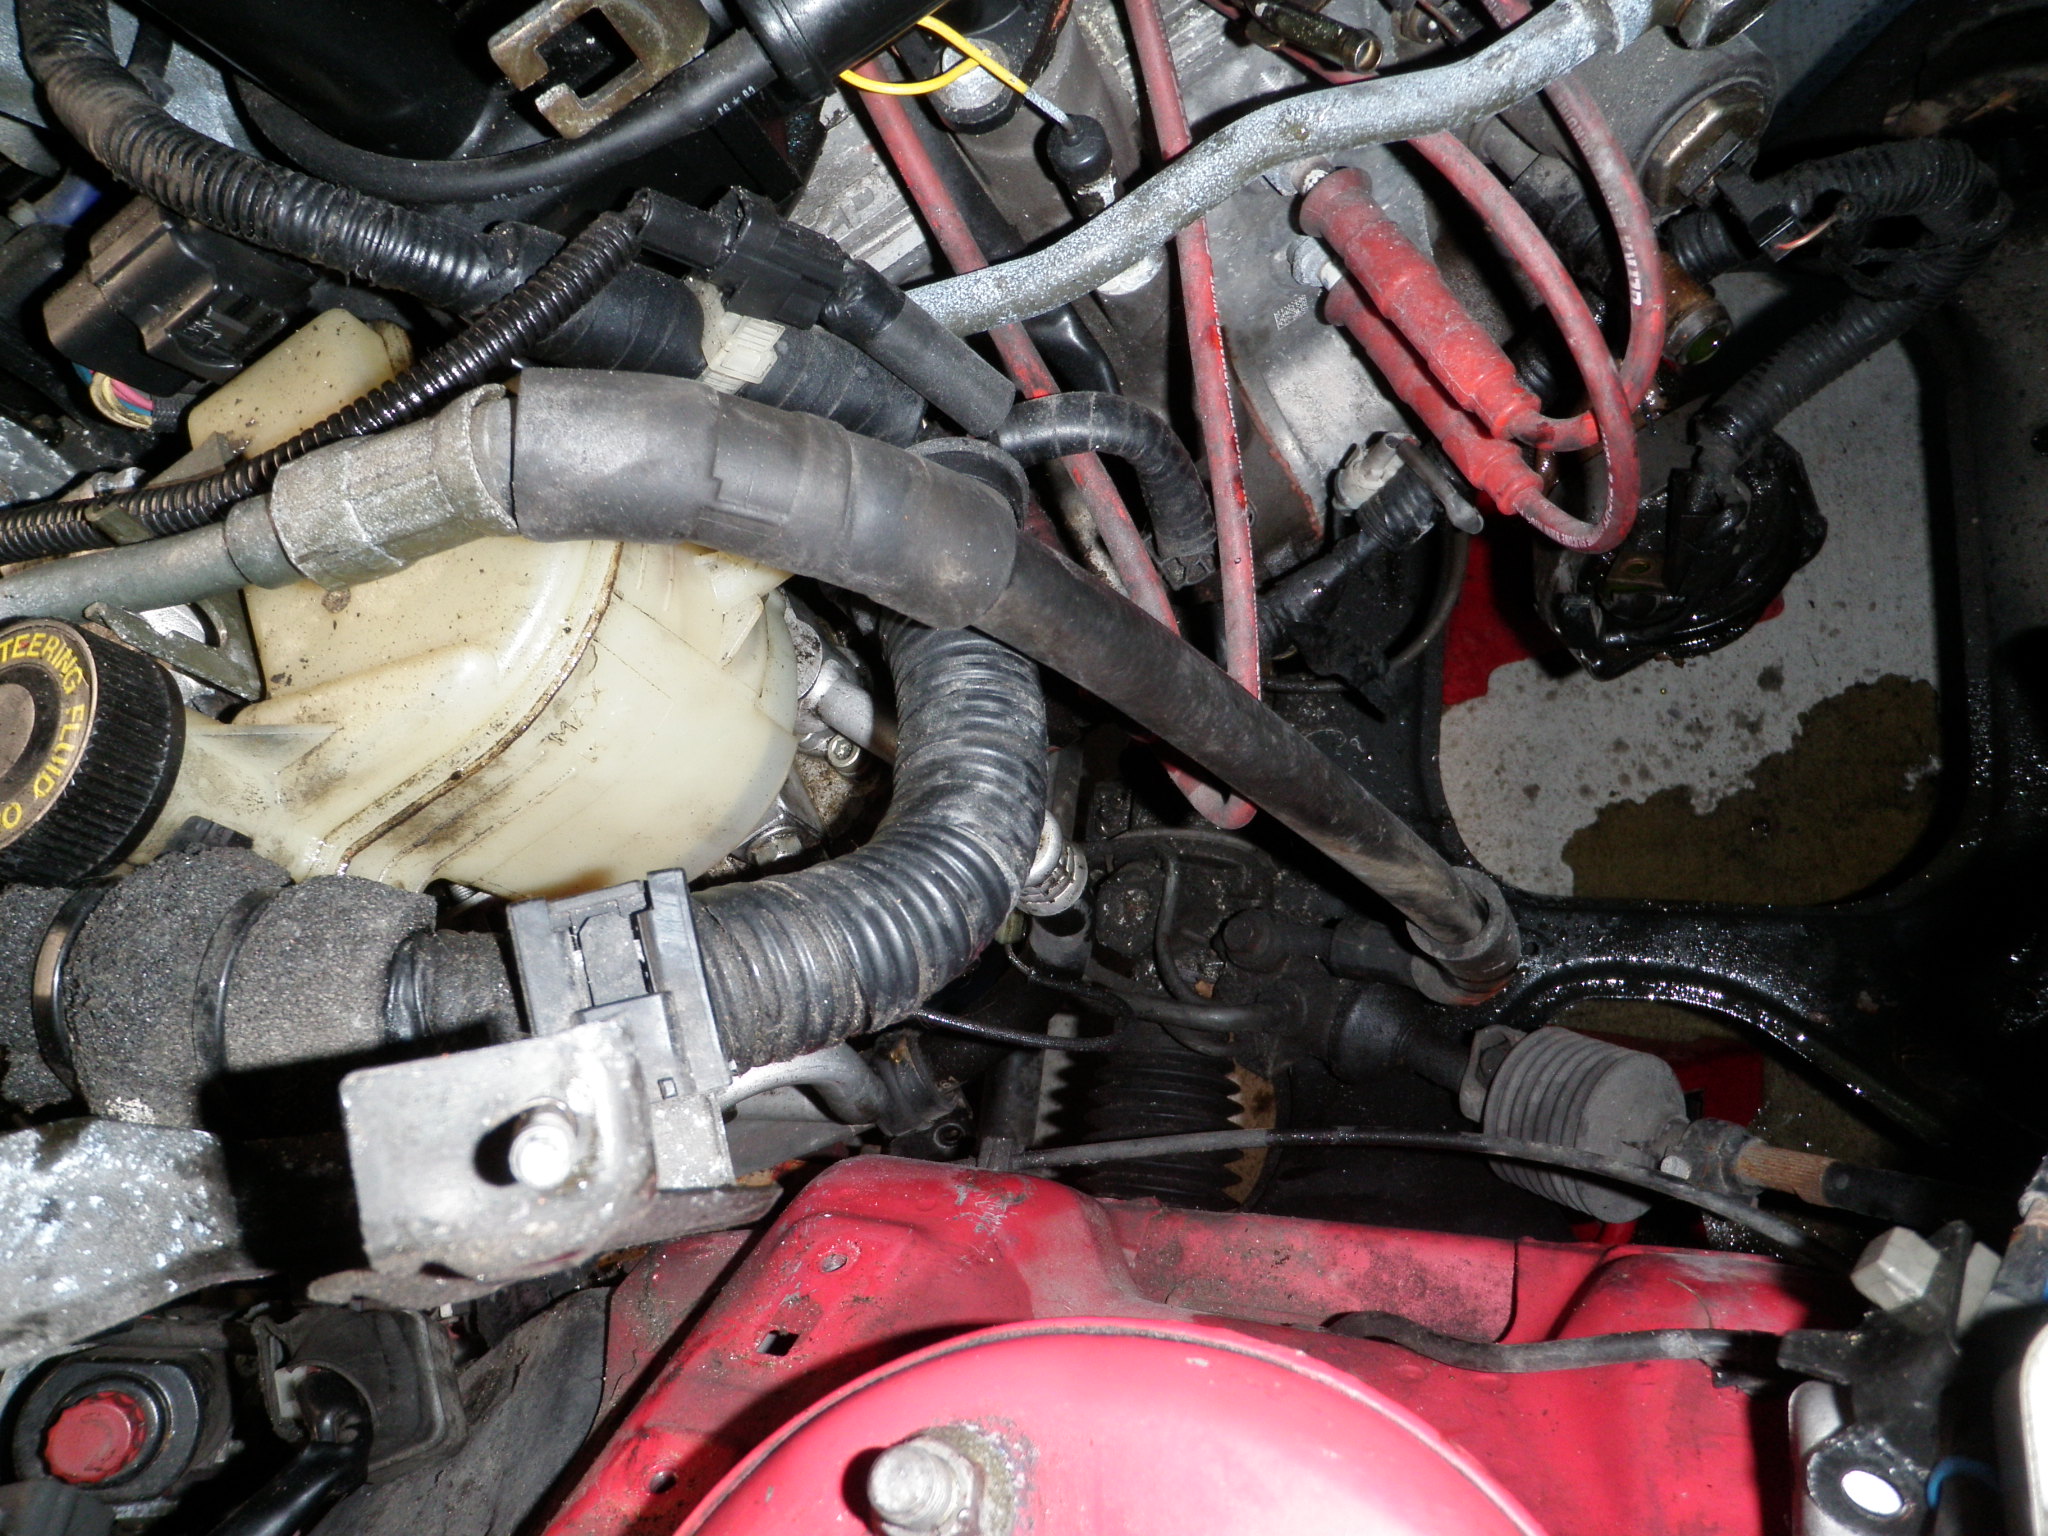
    I also forgot to disconnect the top PS line going down to the rack – oops, I was wondering why the engine started to tilt. Lines OK.

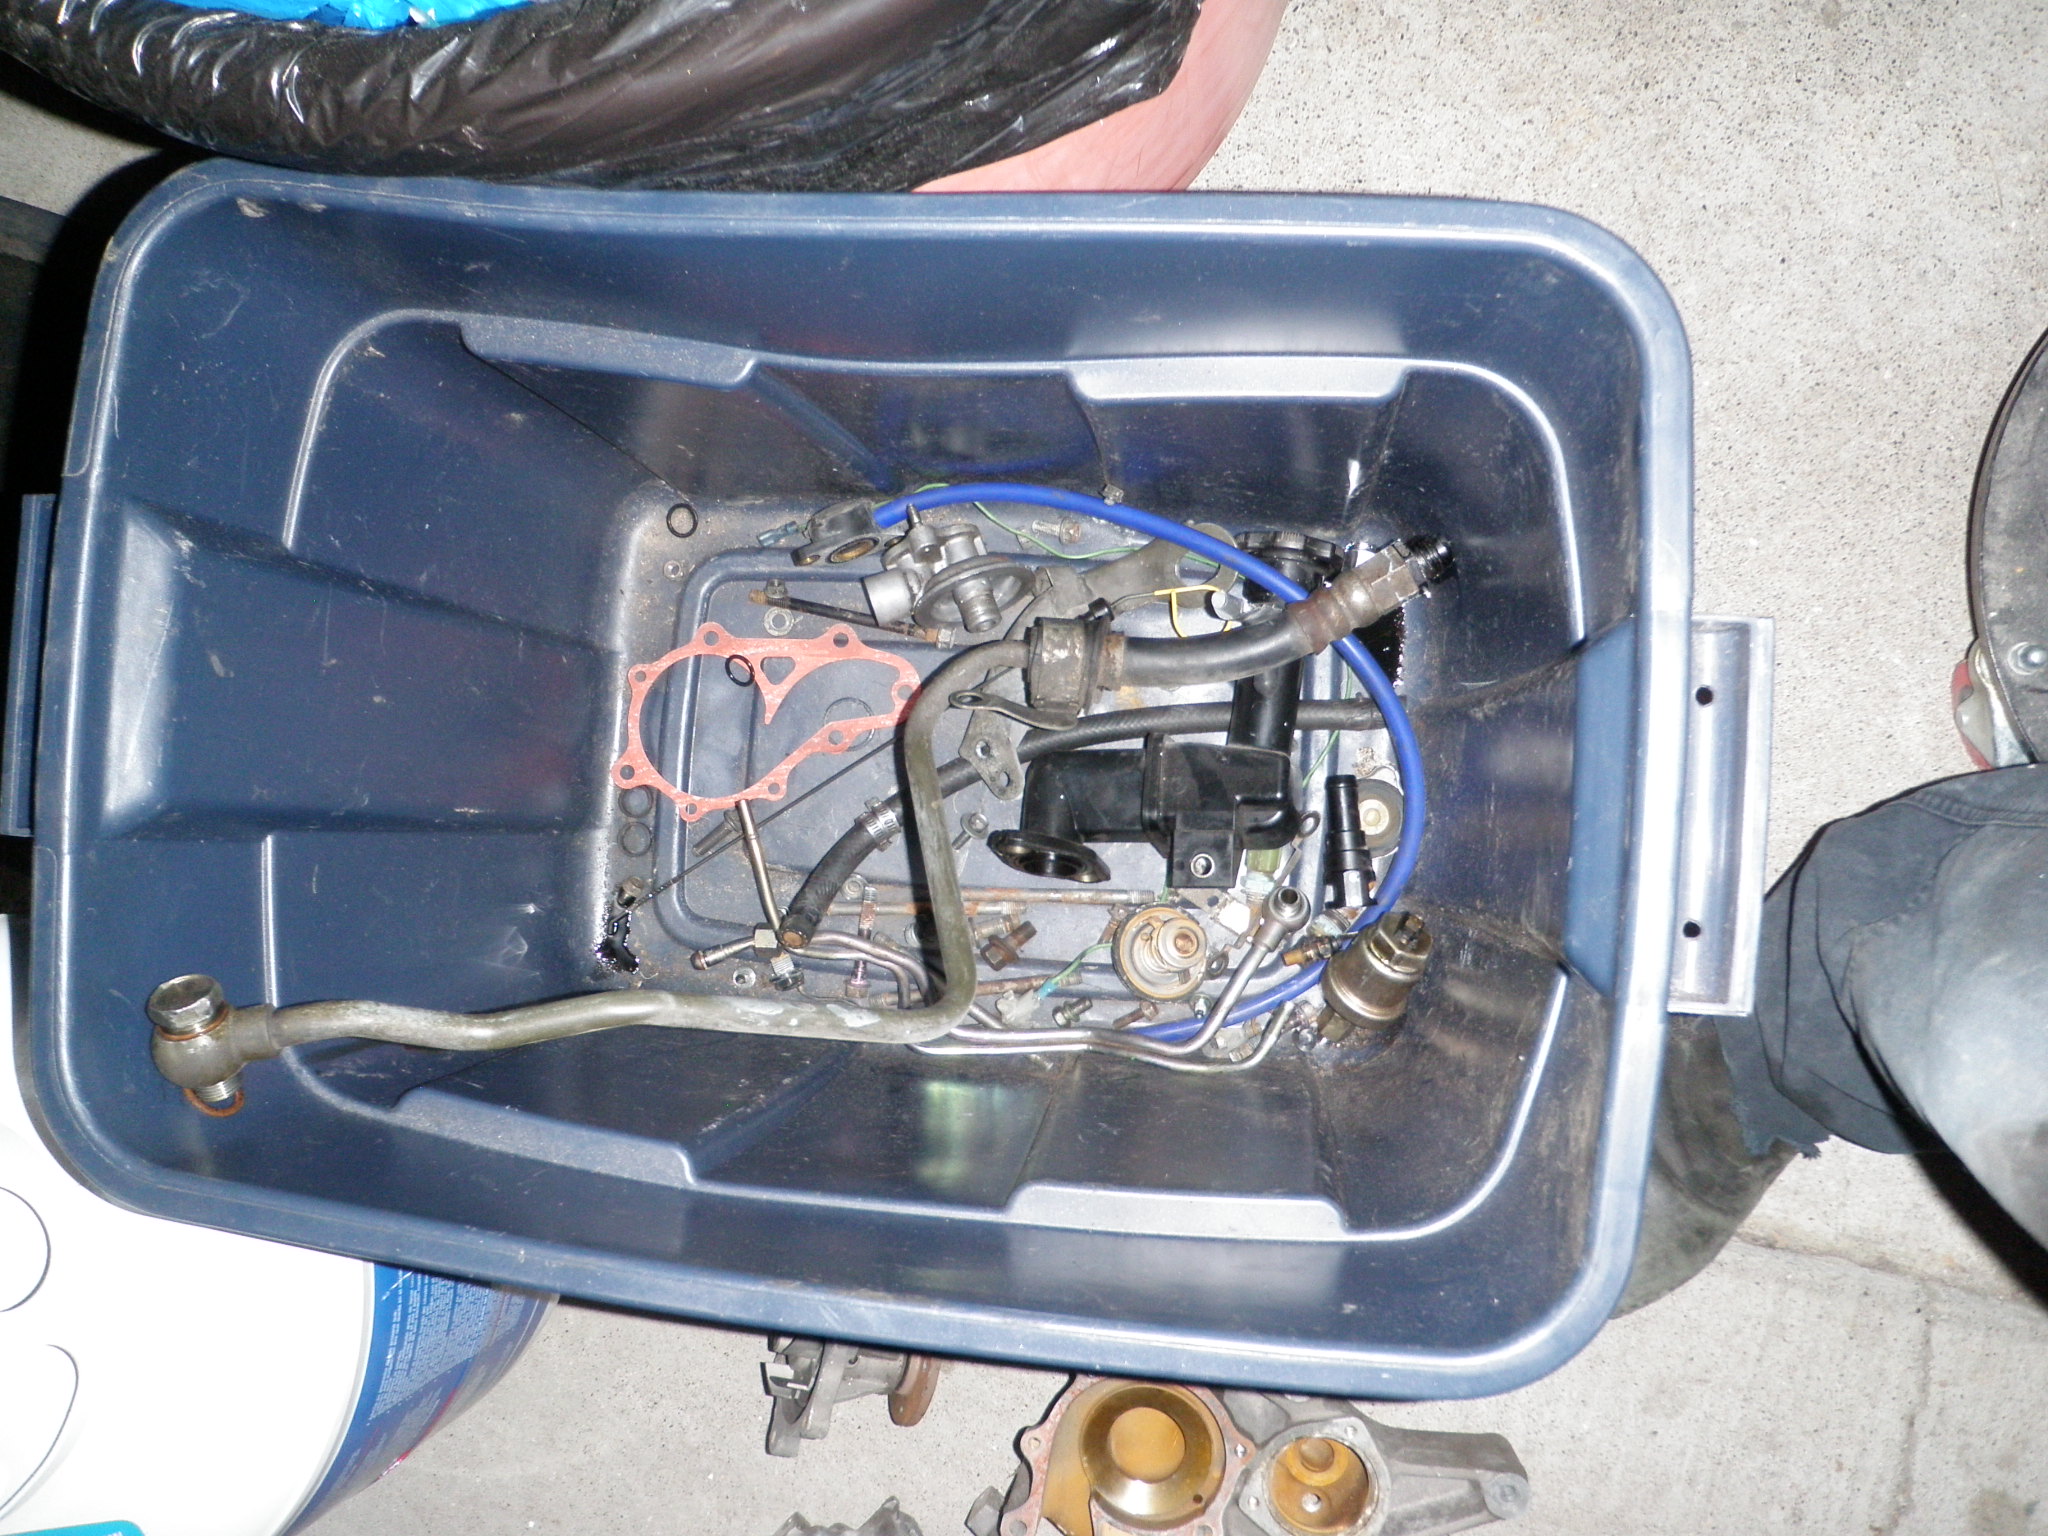
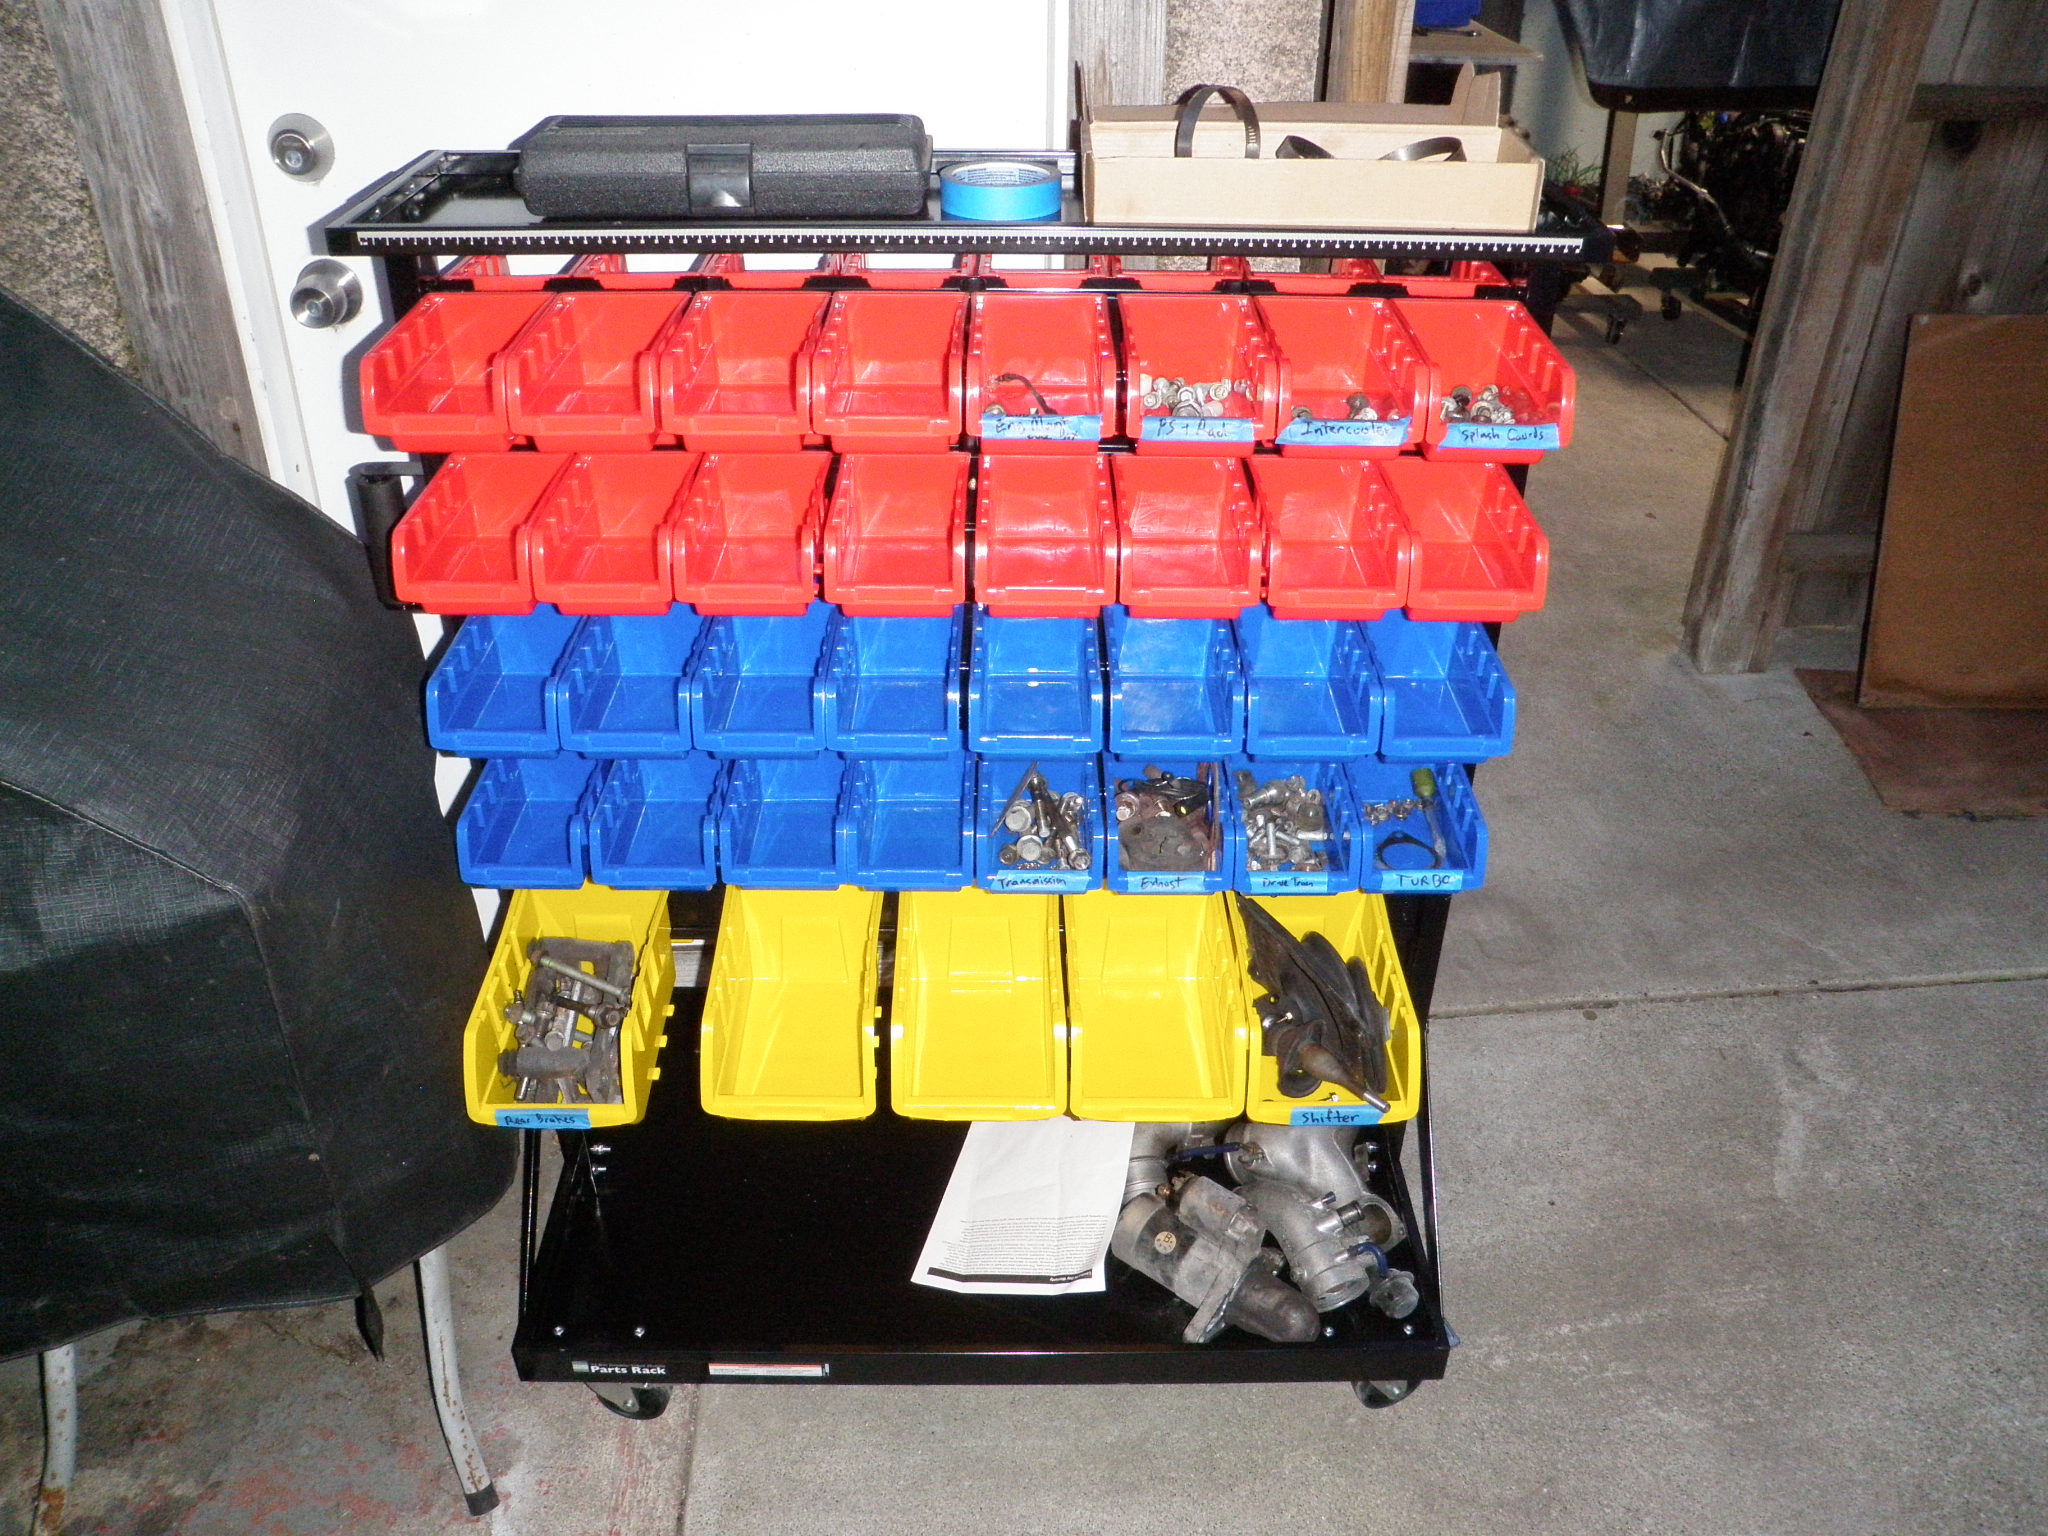
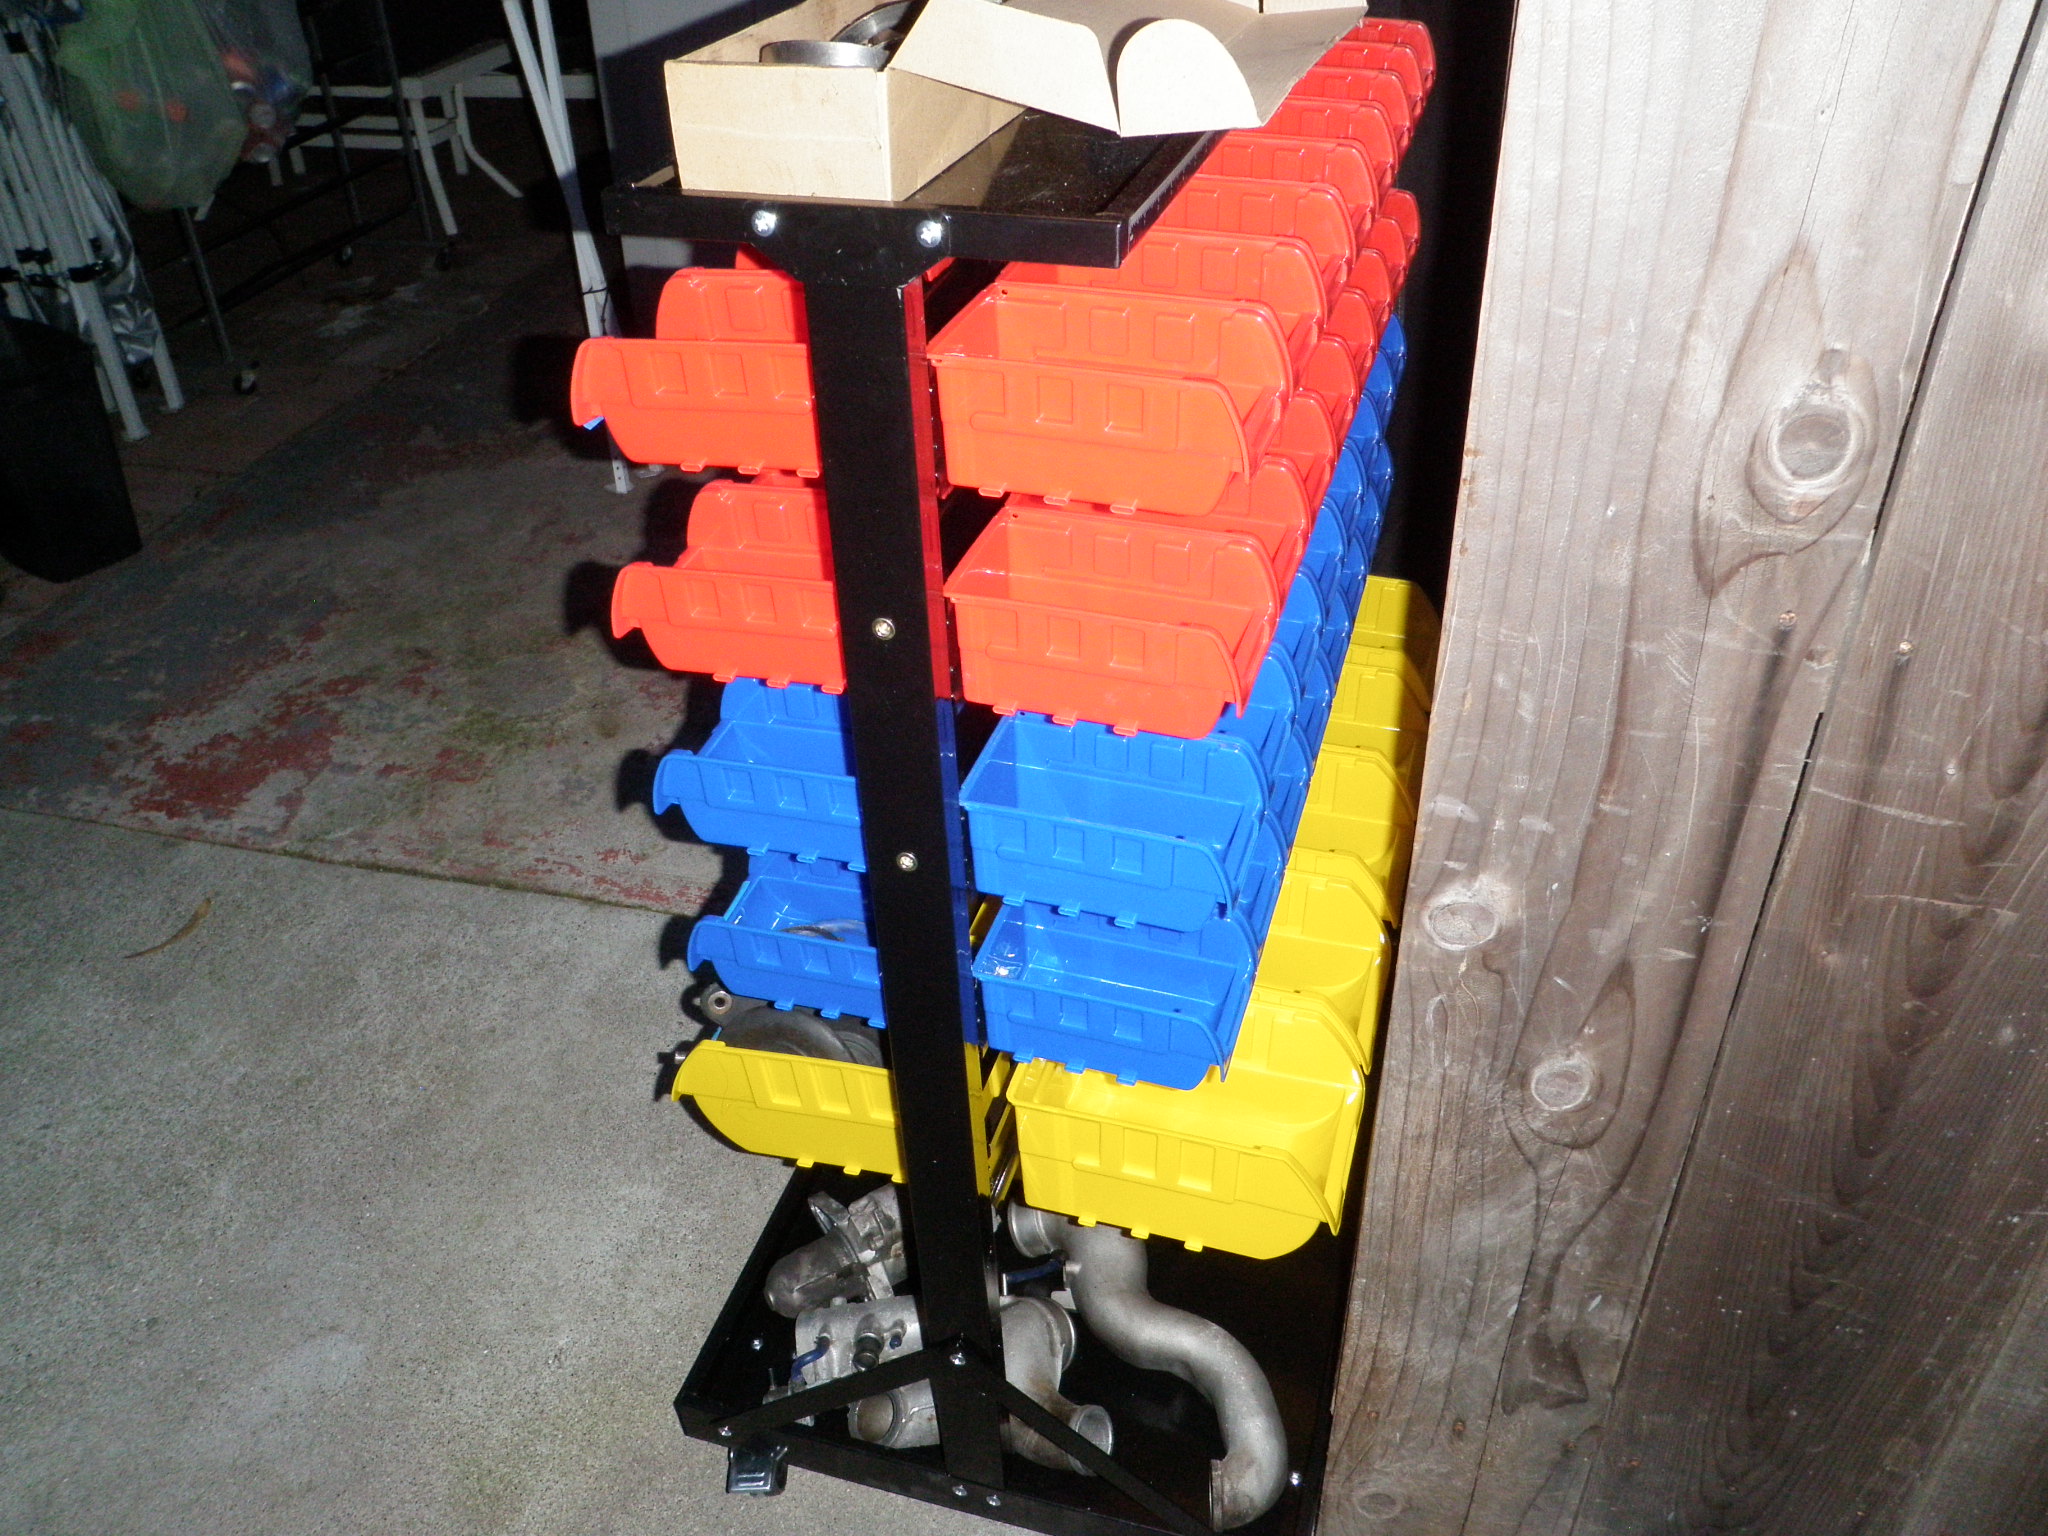
    Yesterday I finally got the Harbor Freight bin rack I always wanted, so presidents day 20% off then another 20% off one item coupon and walla. Its actually made really well and is going to make my life so easy now that I can keep bolts separated with their perspective manifolds, accessories, panels and what nots. because you know – you gotta keep em separated…lol

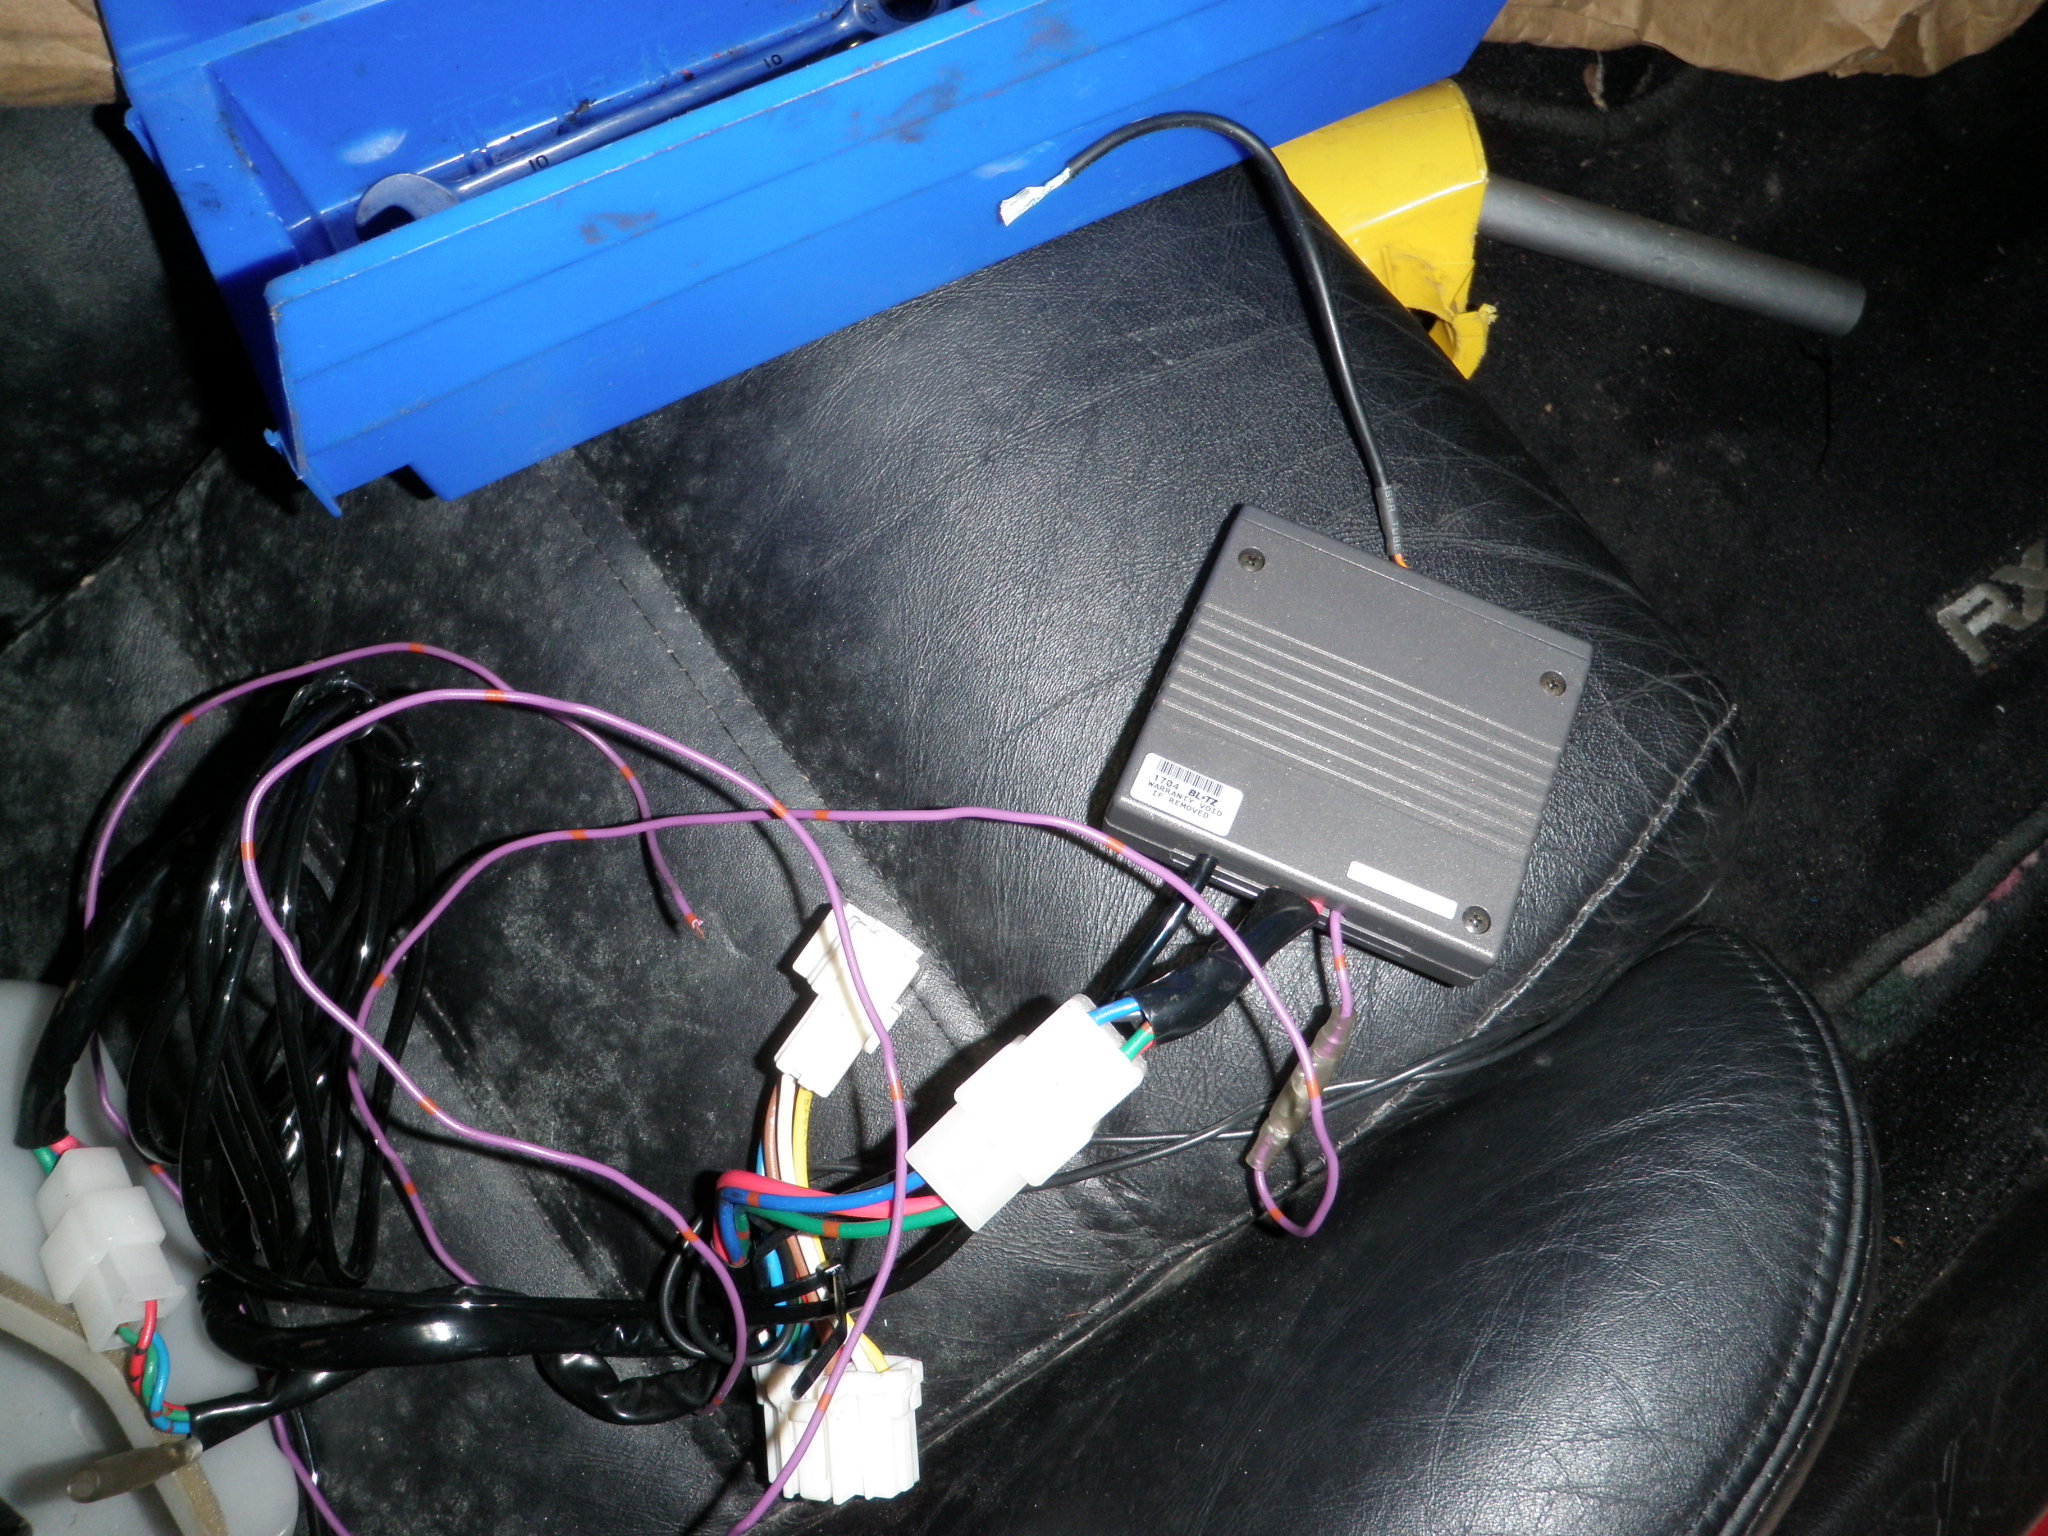
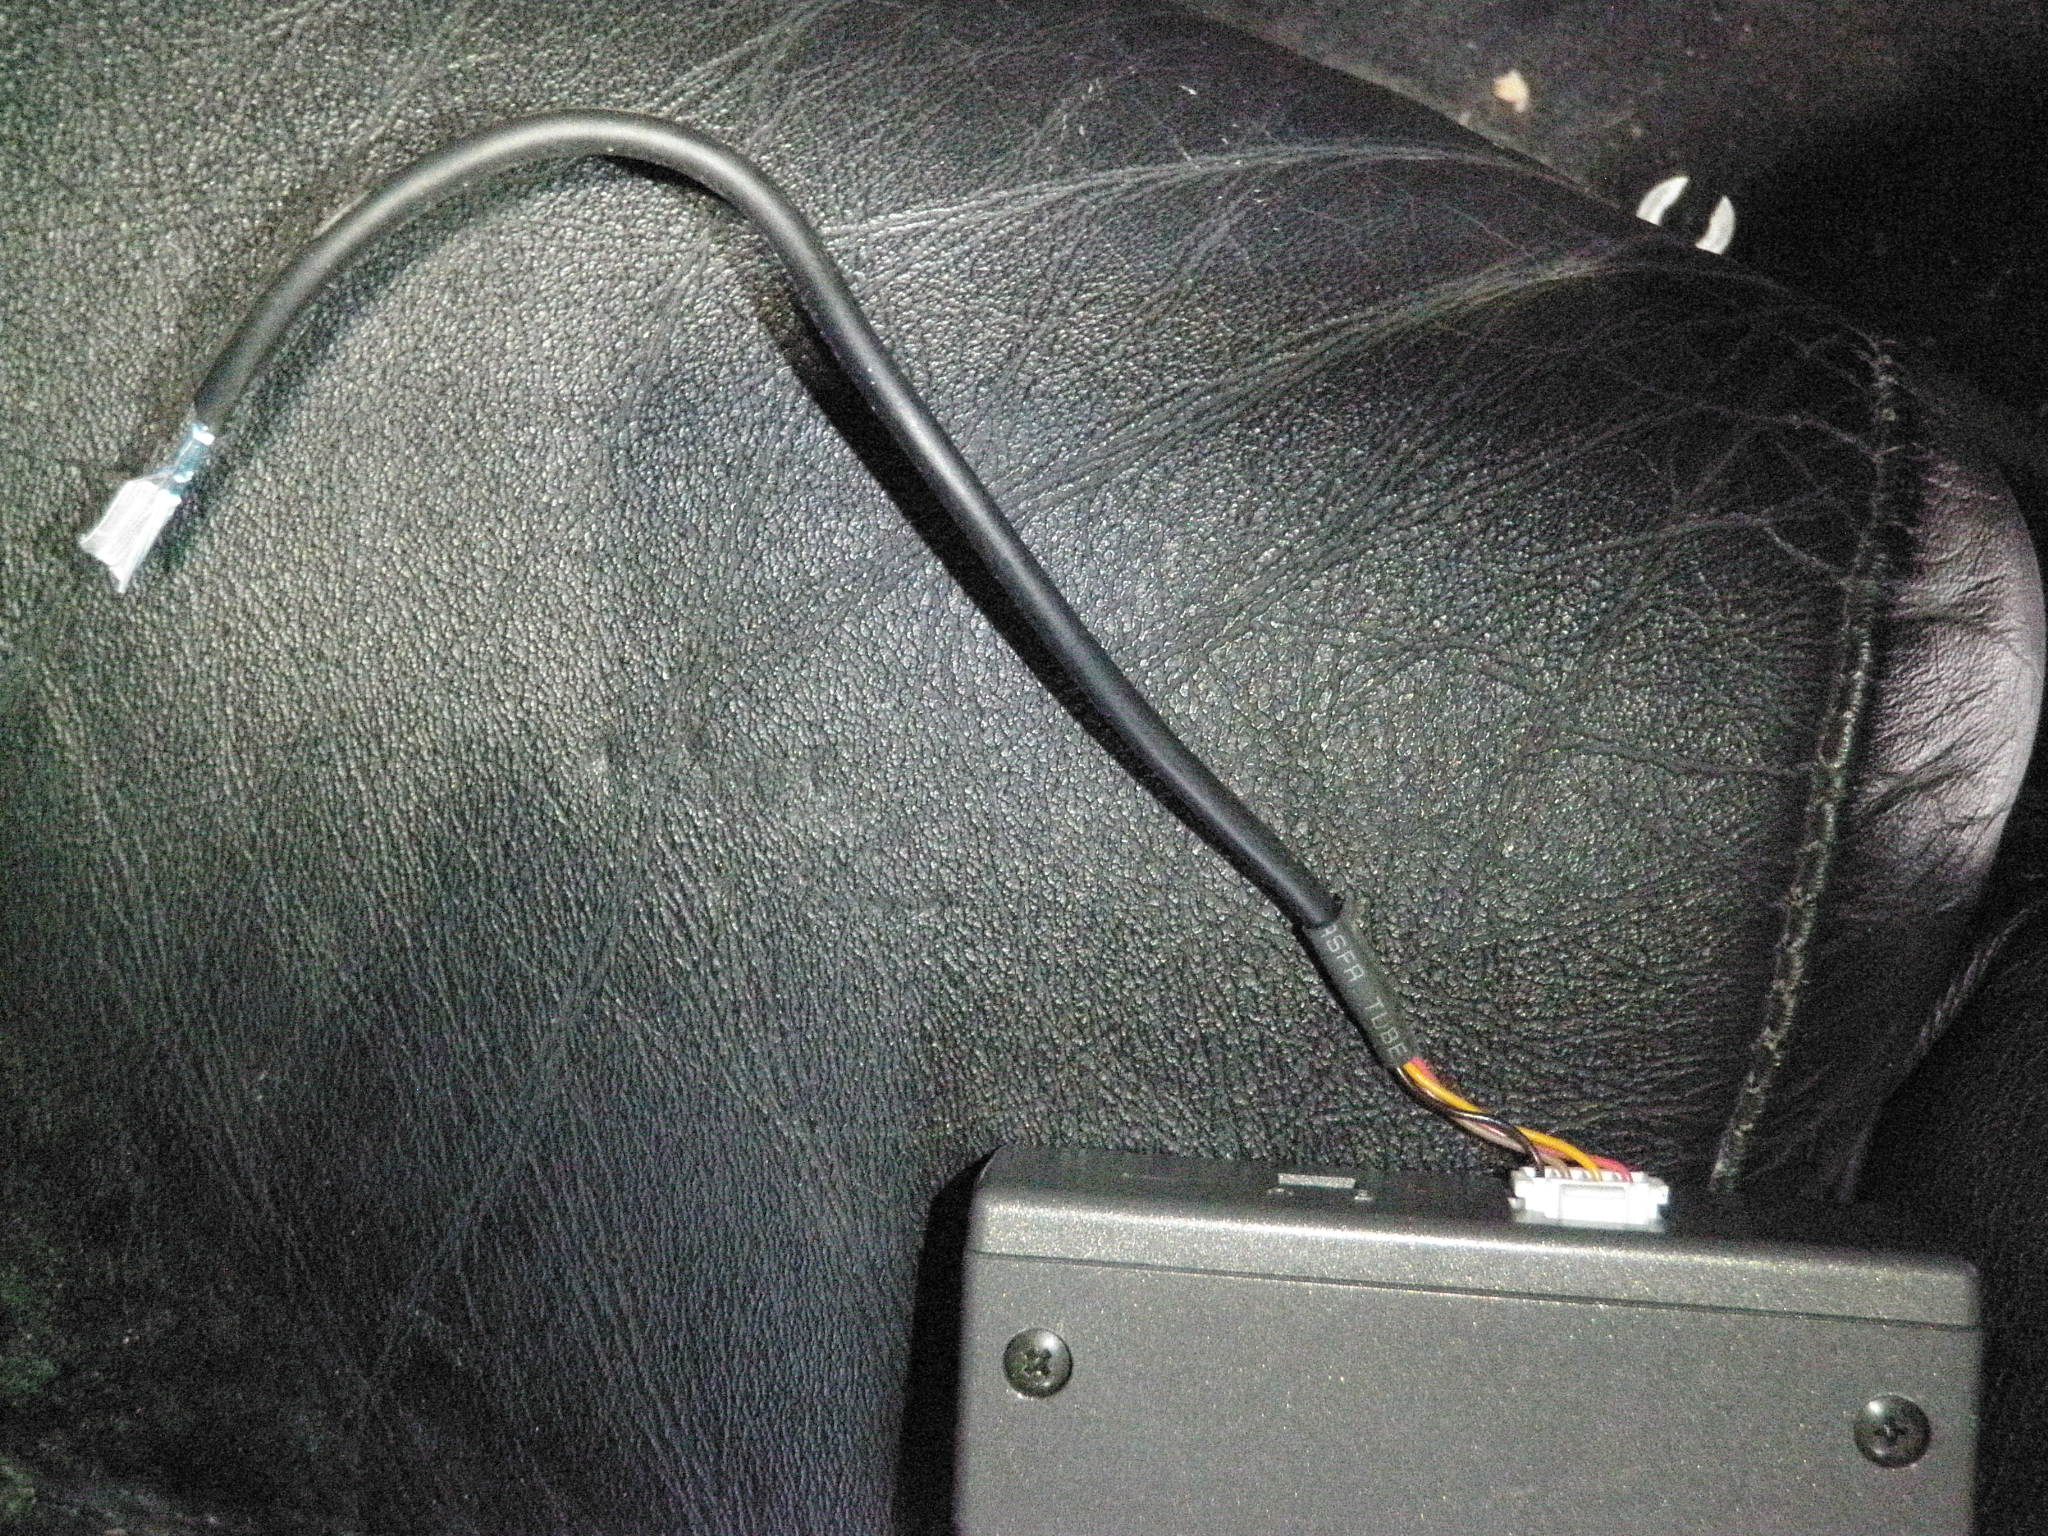
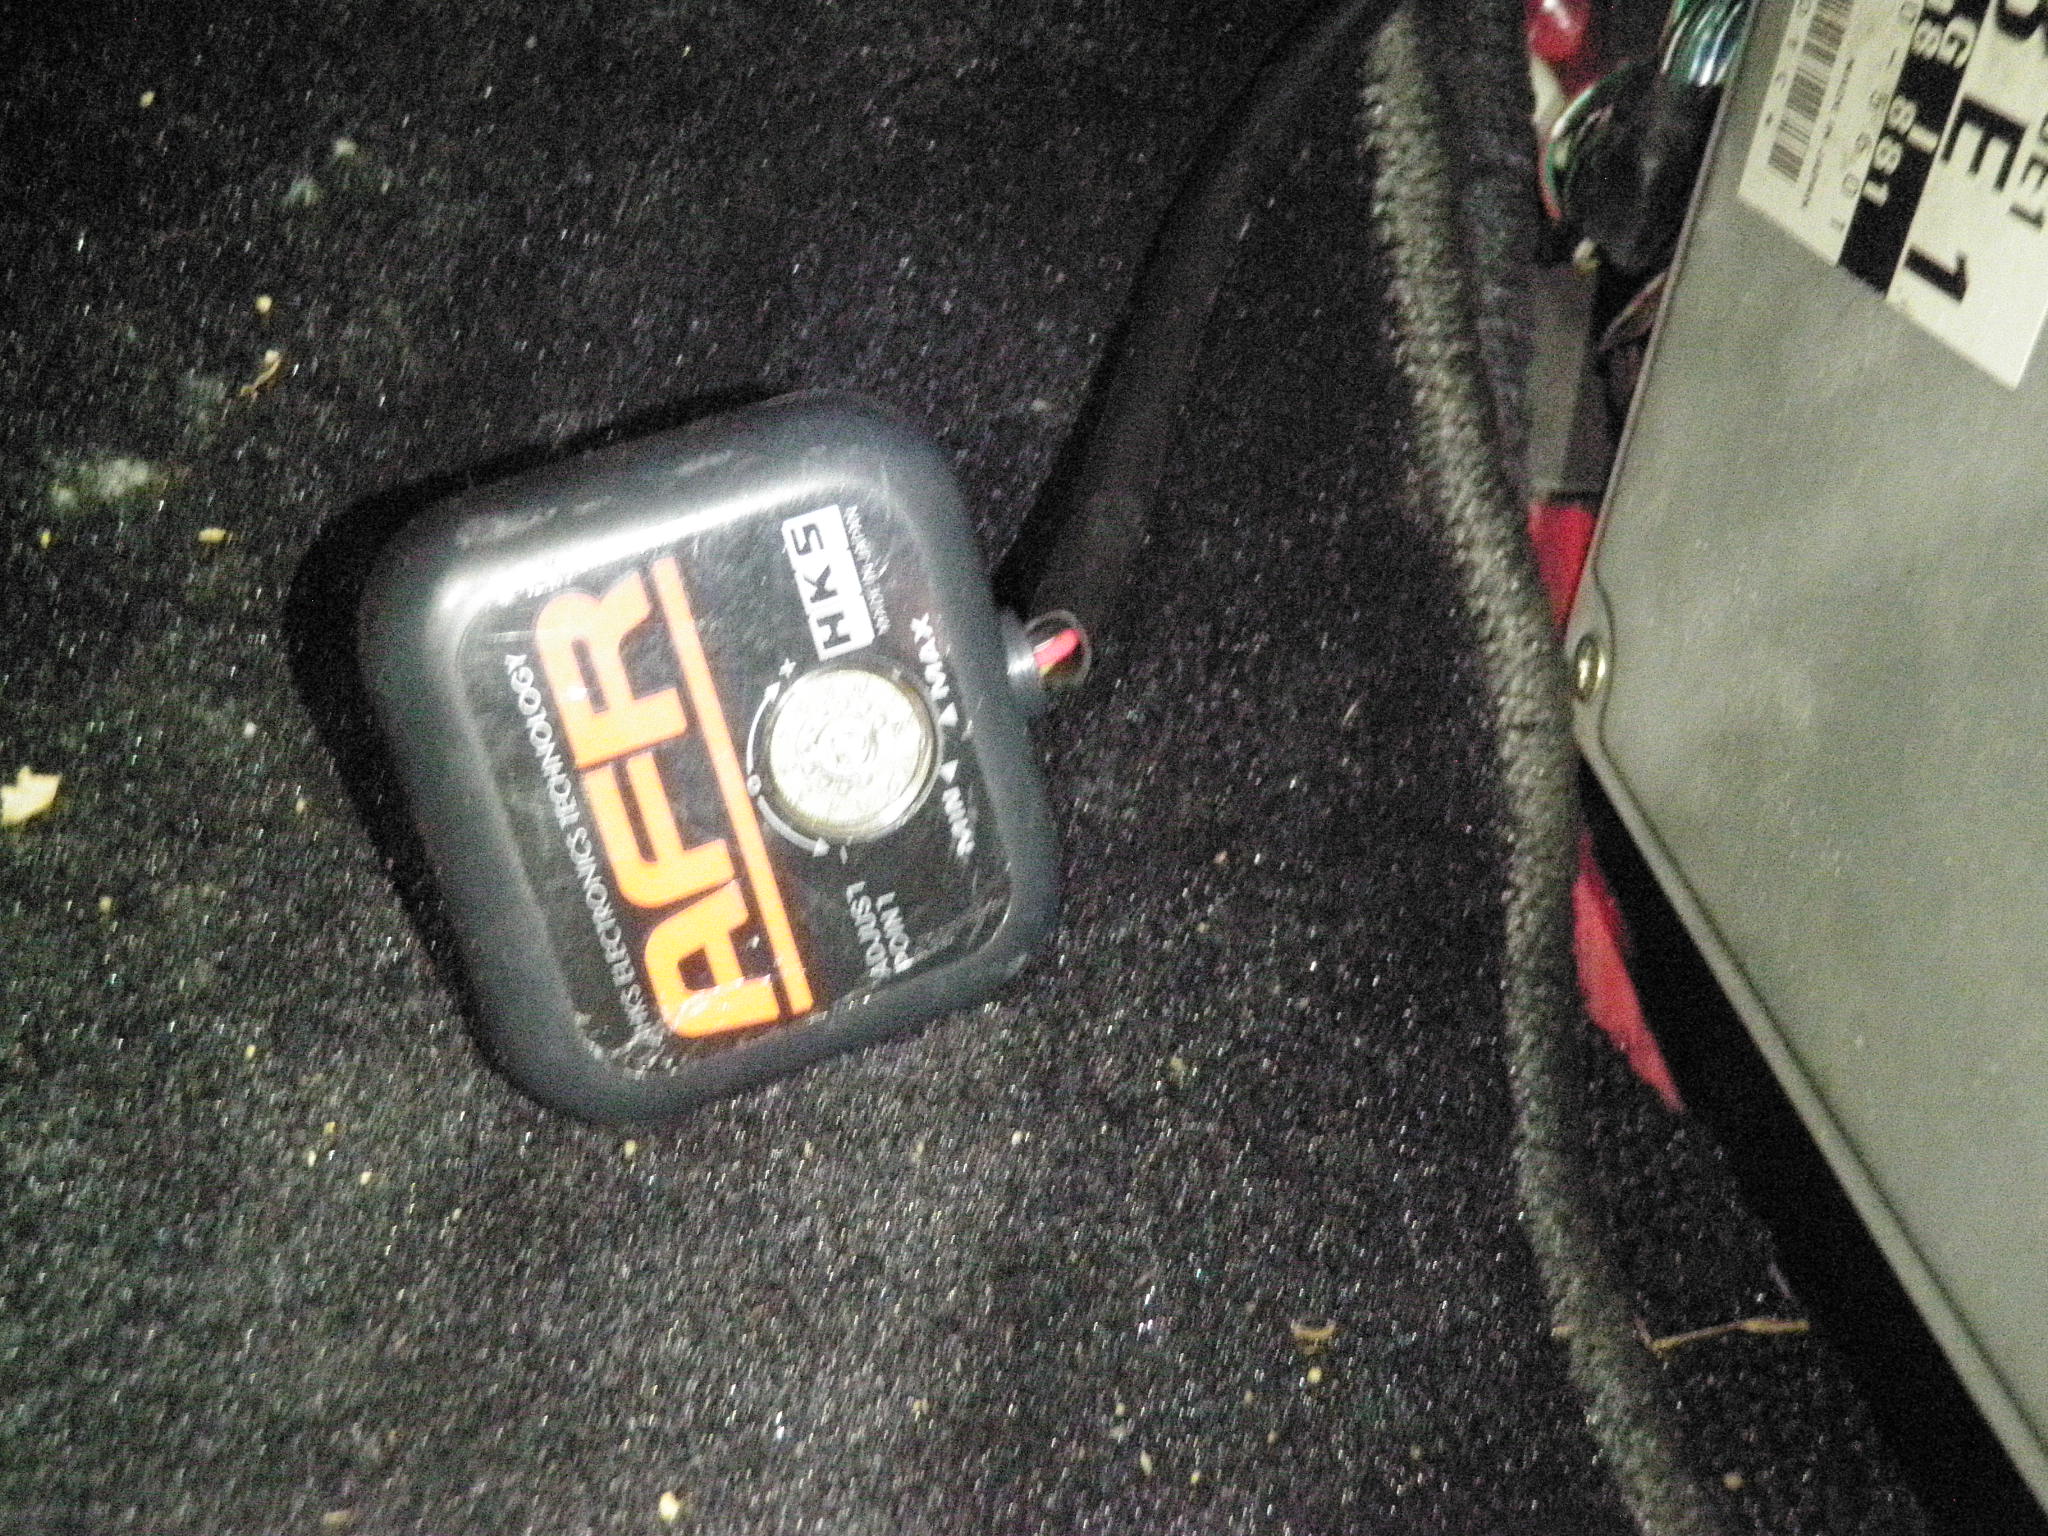
    While removing the engine harness from inside the car I found the turbo timer (blitz) and also discover I have the HKS AFR spliced in hidden under the carpet.

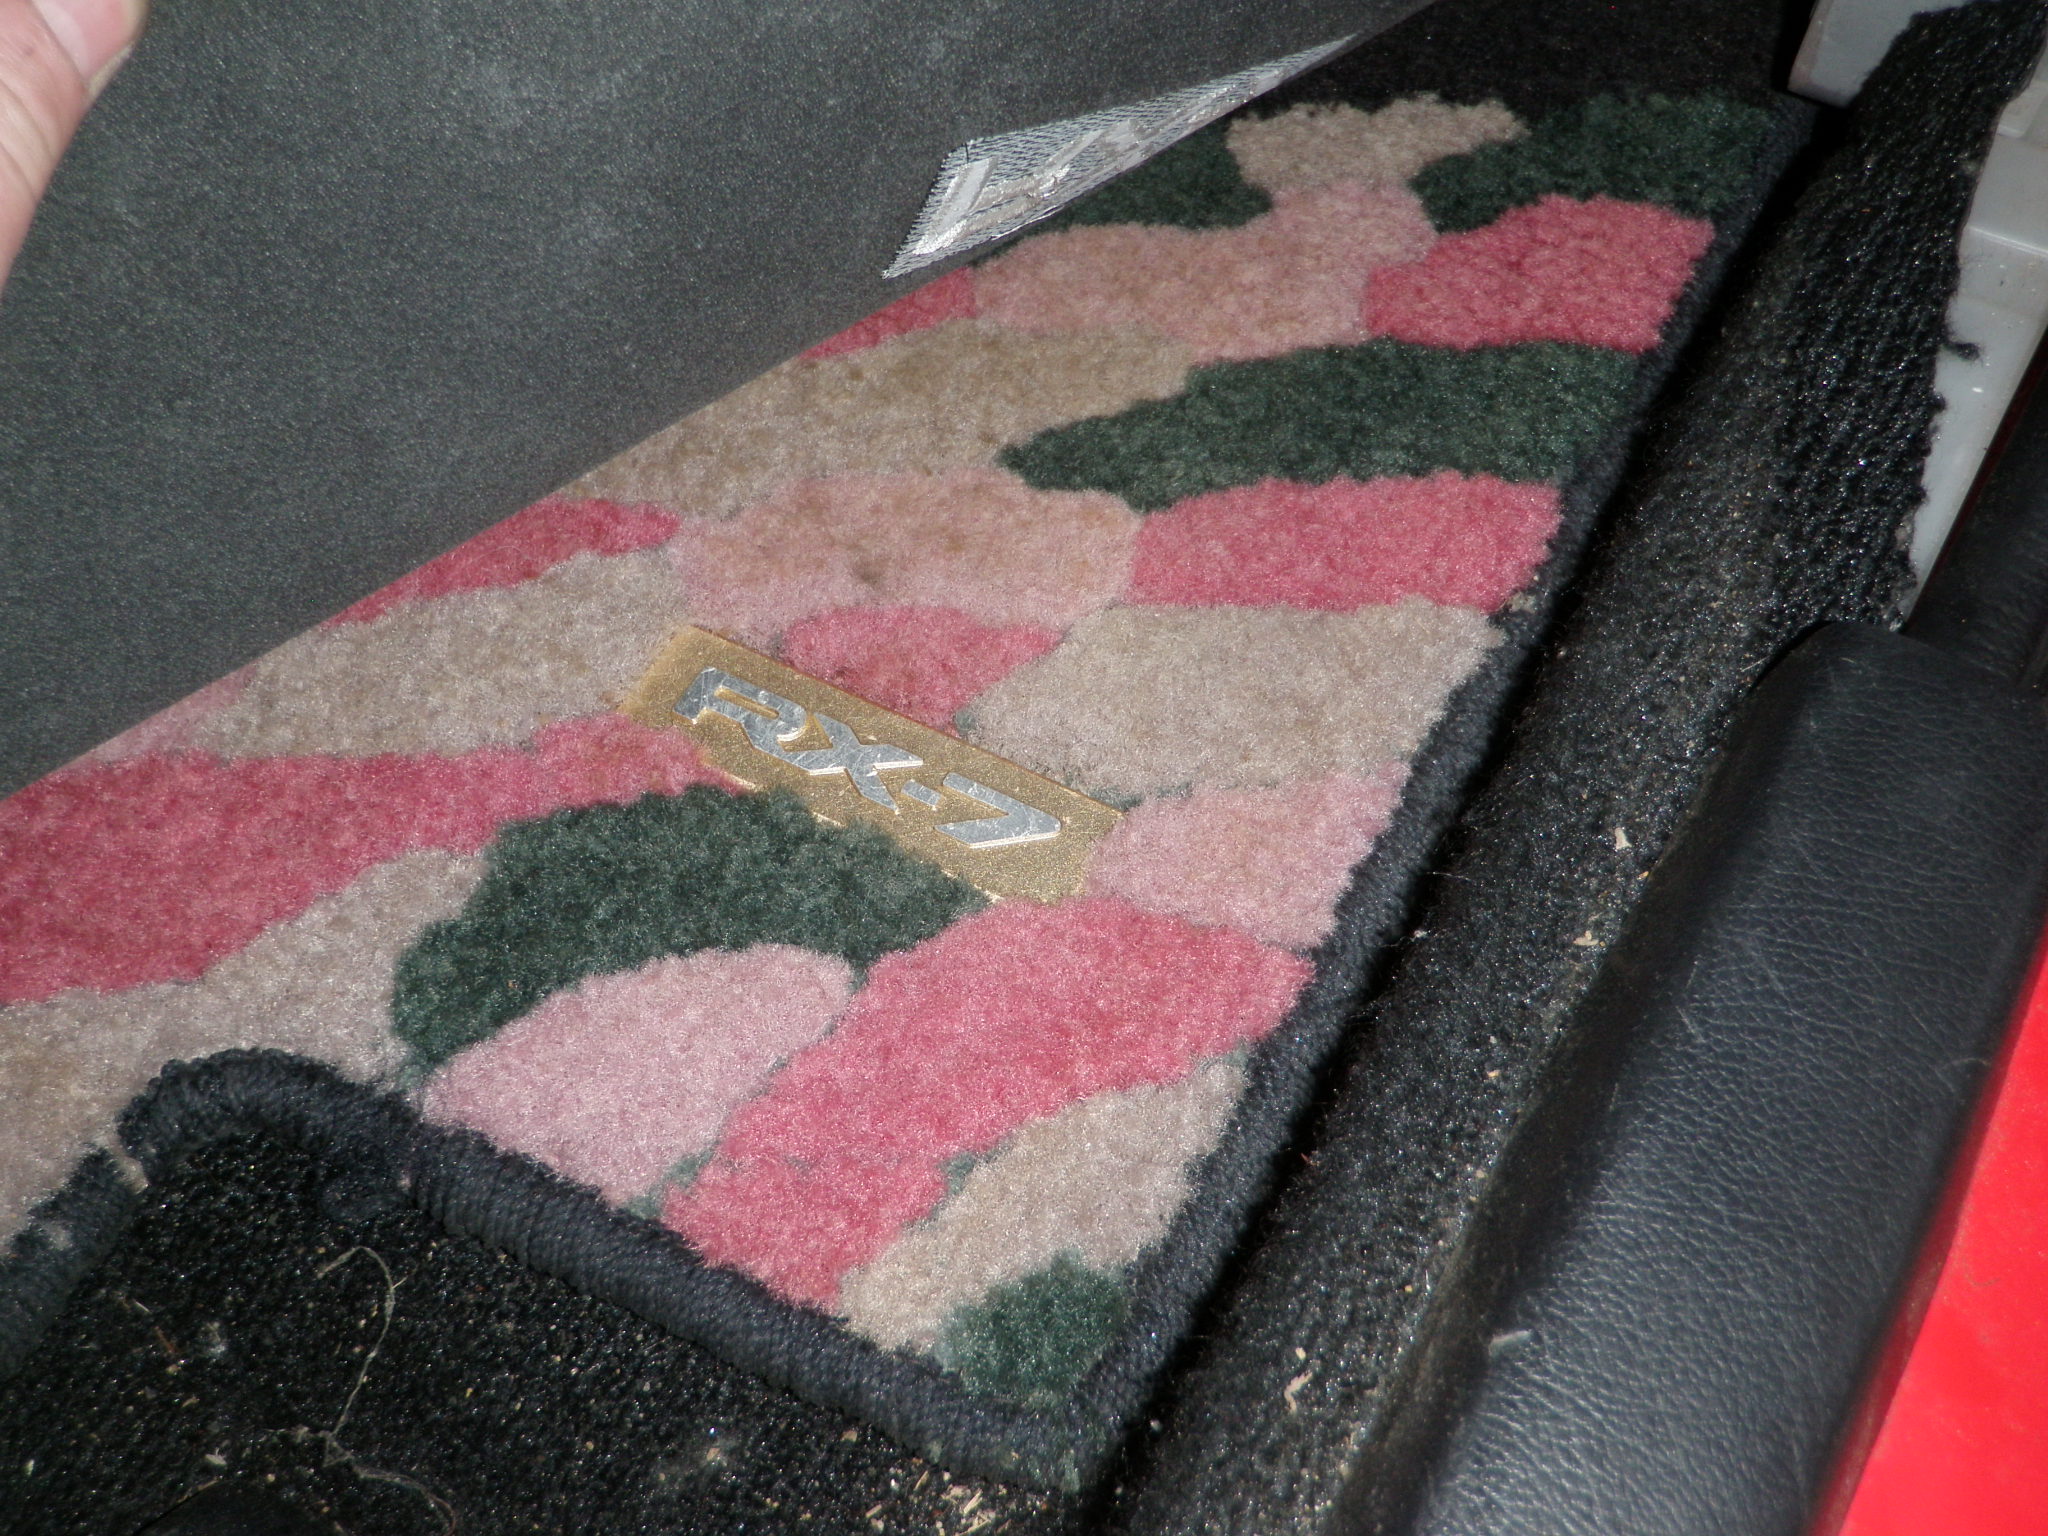
    Showing off my Mazda RX7 authentic pink camo floor mats.

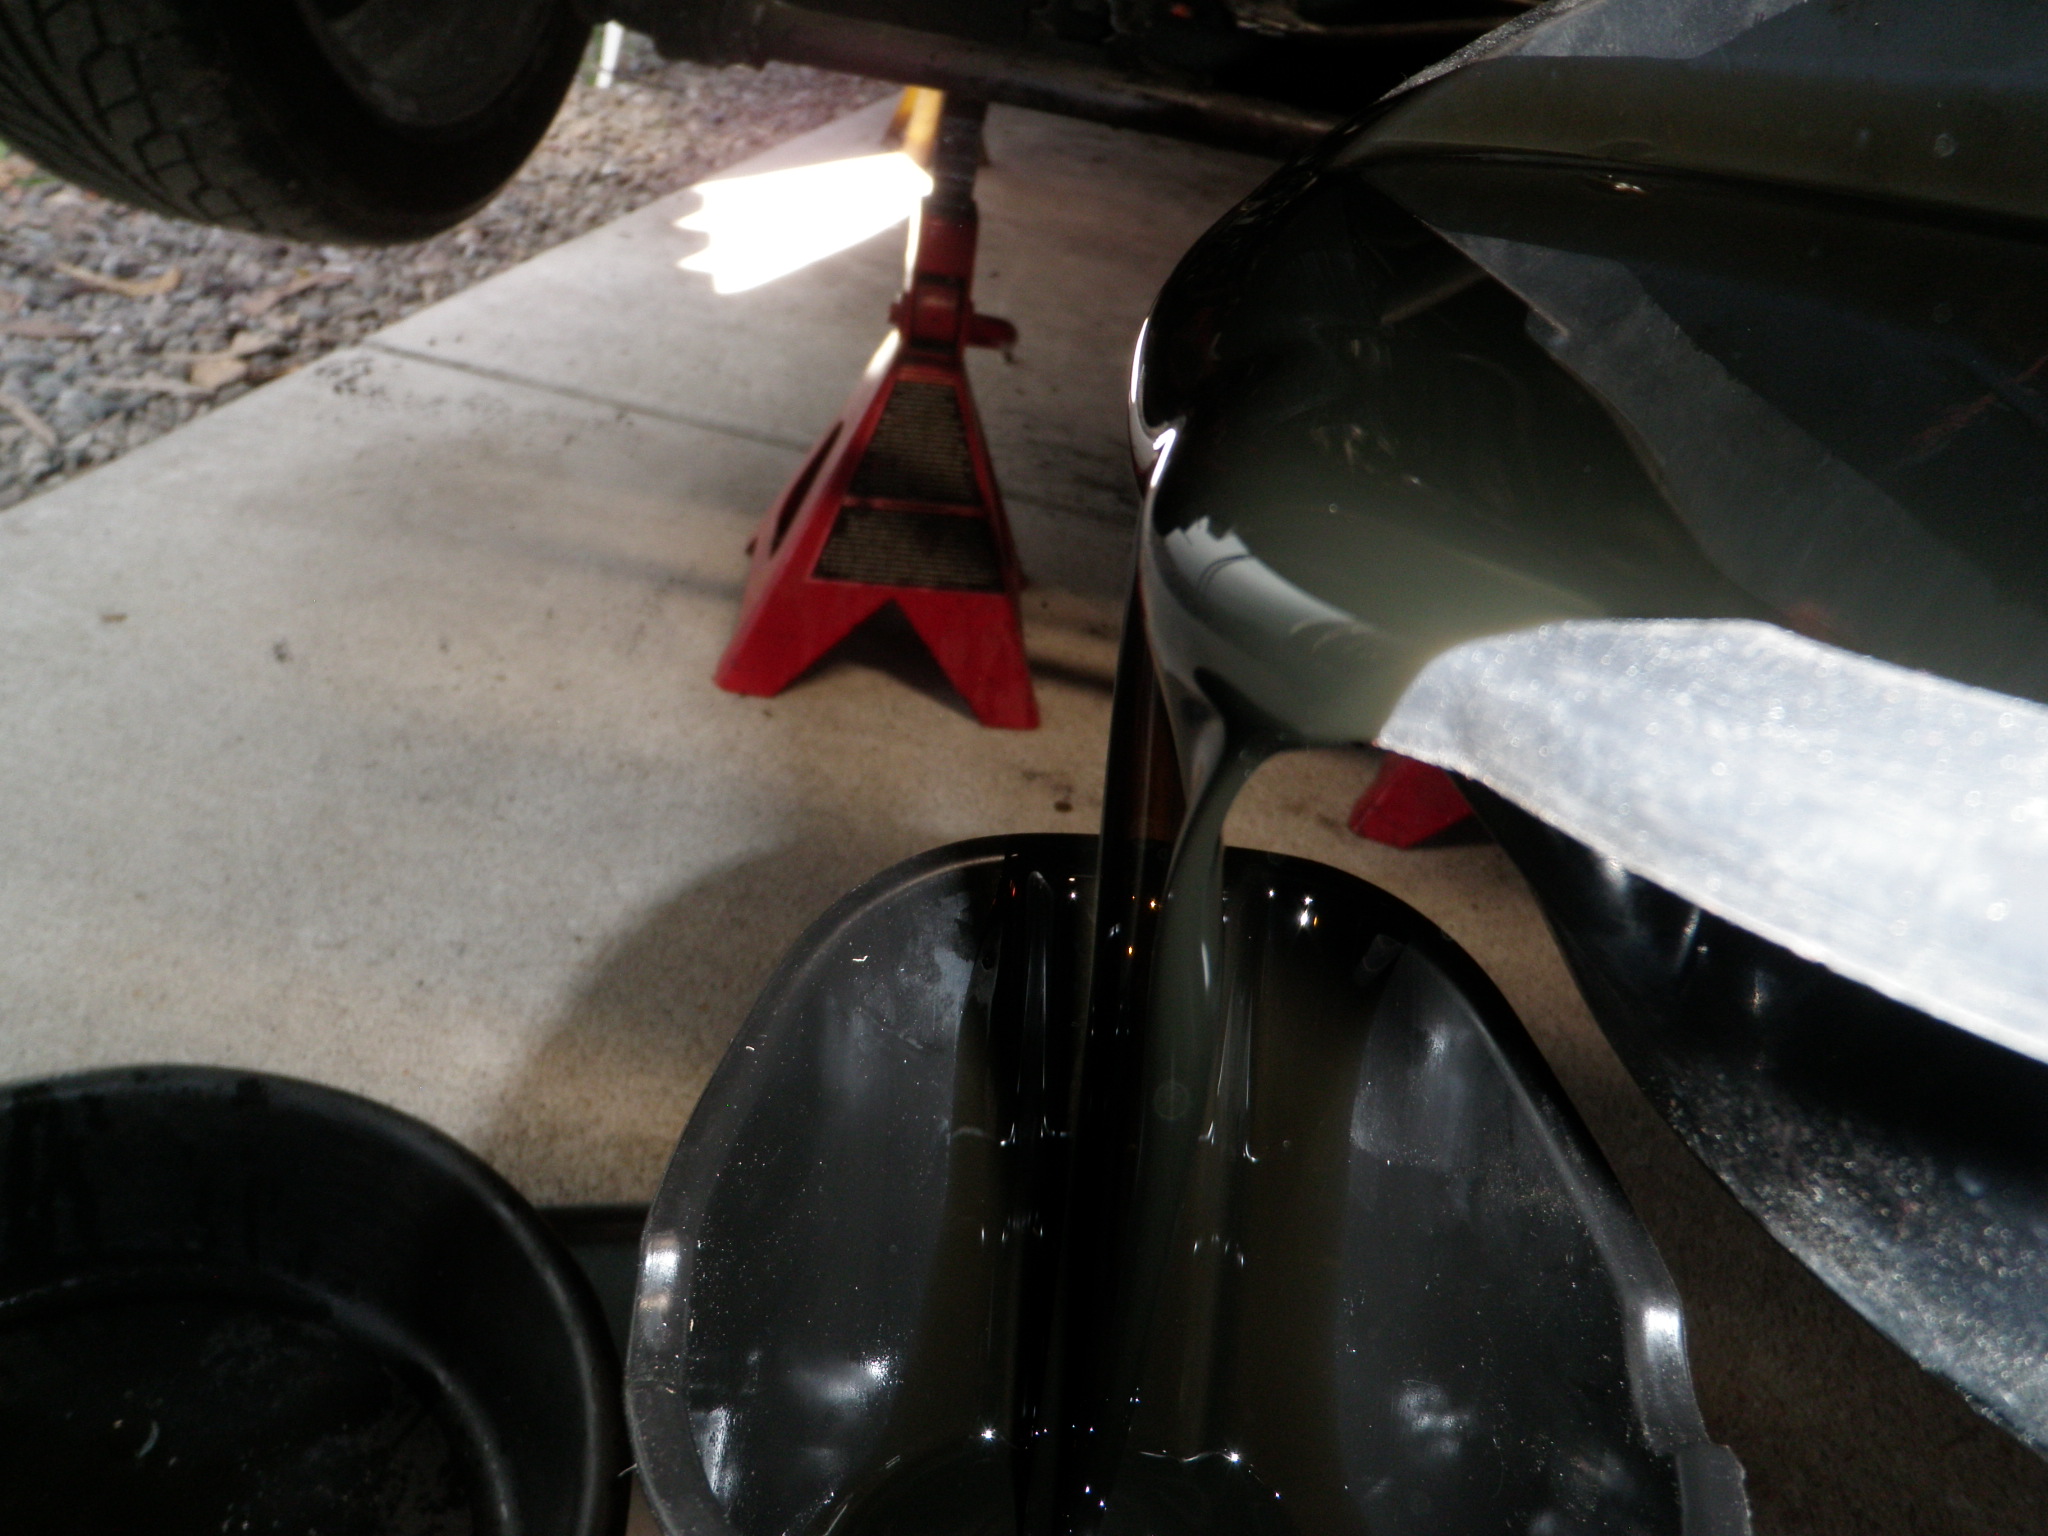
    When I drained the oil – OMG. Running it with the blown motor to move it around put so much unburnt gas into the mix and it was so dark – like dark chocolate.

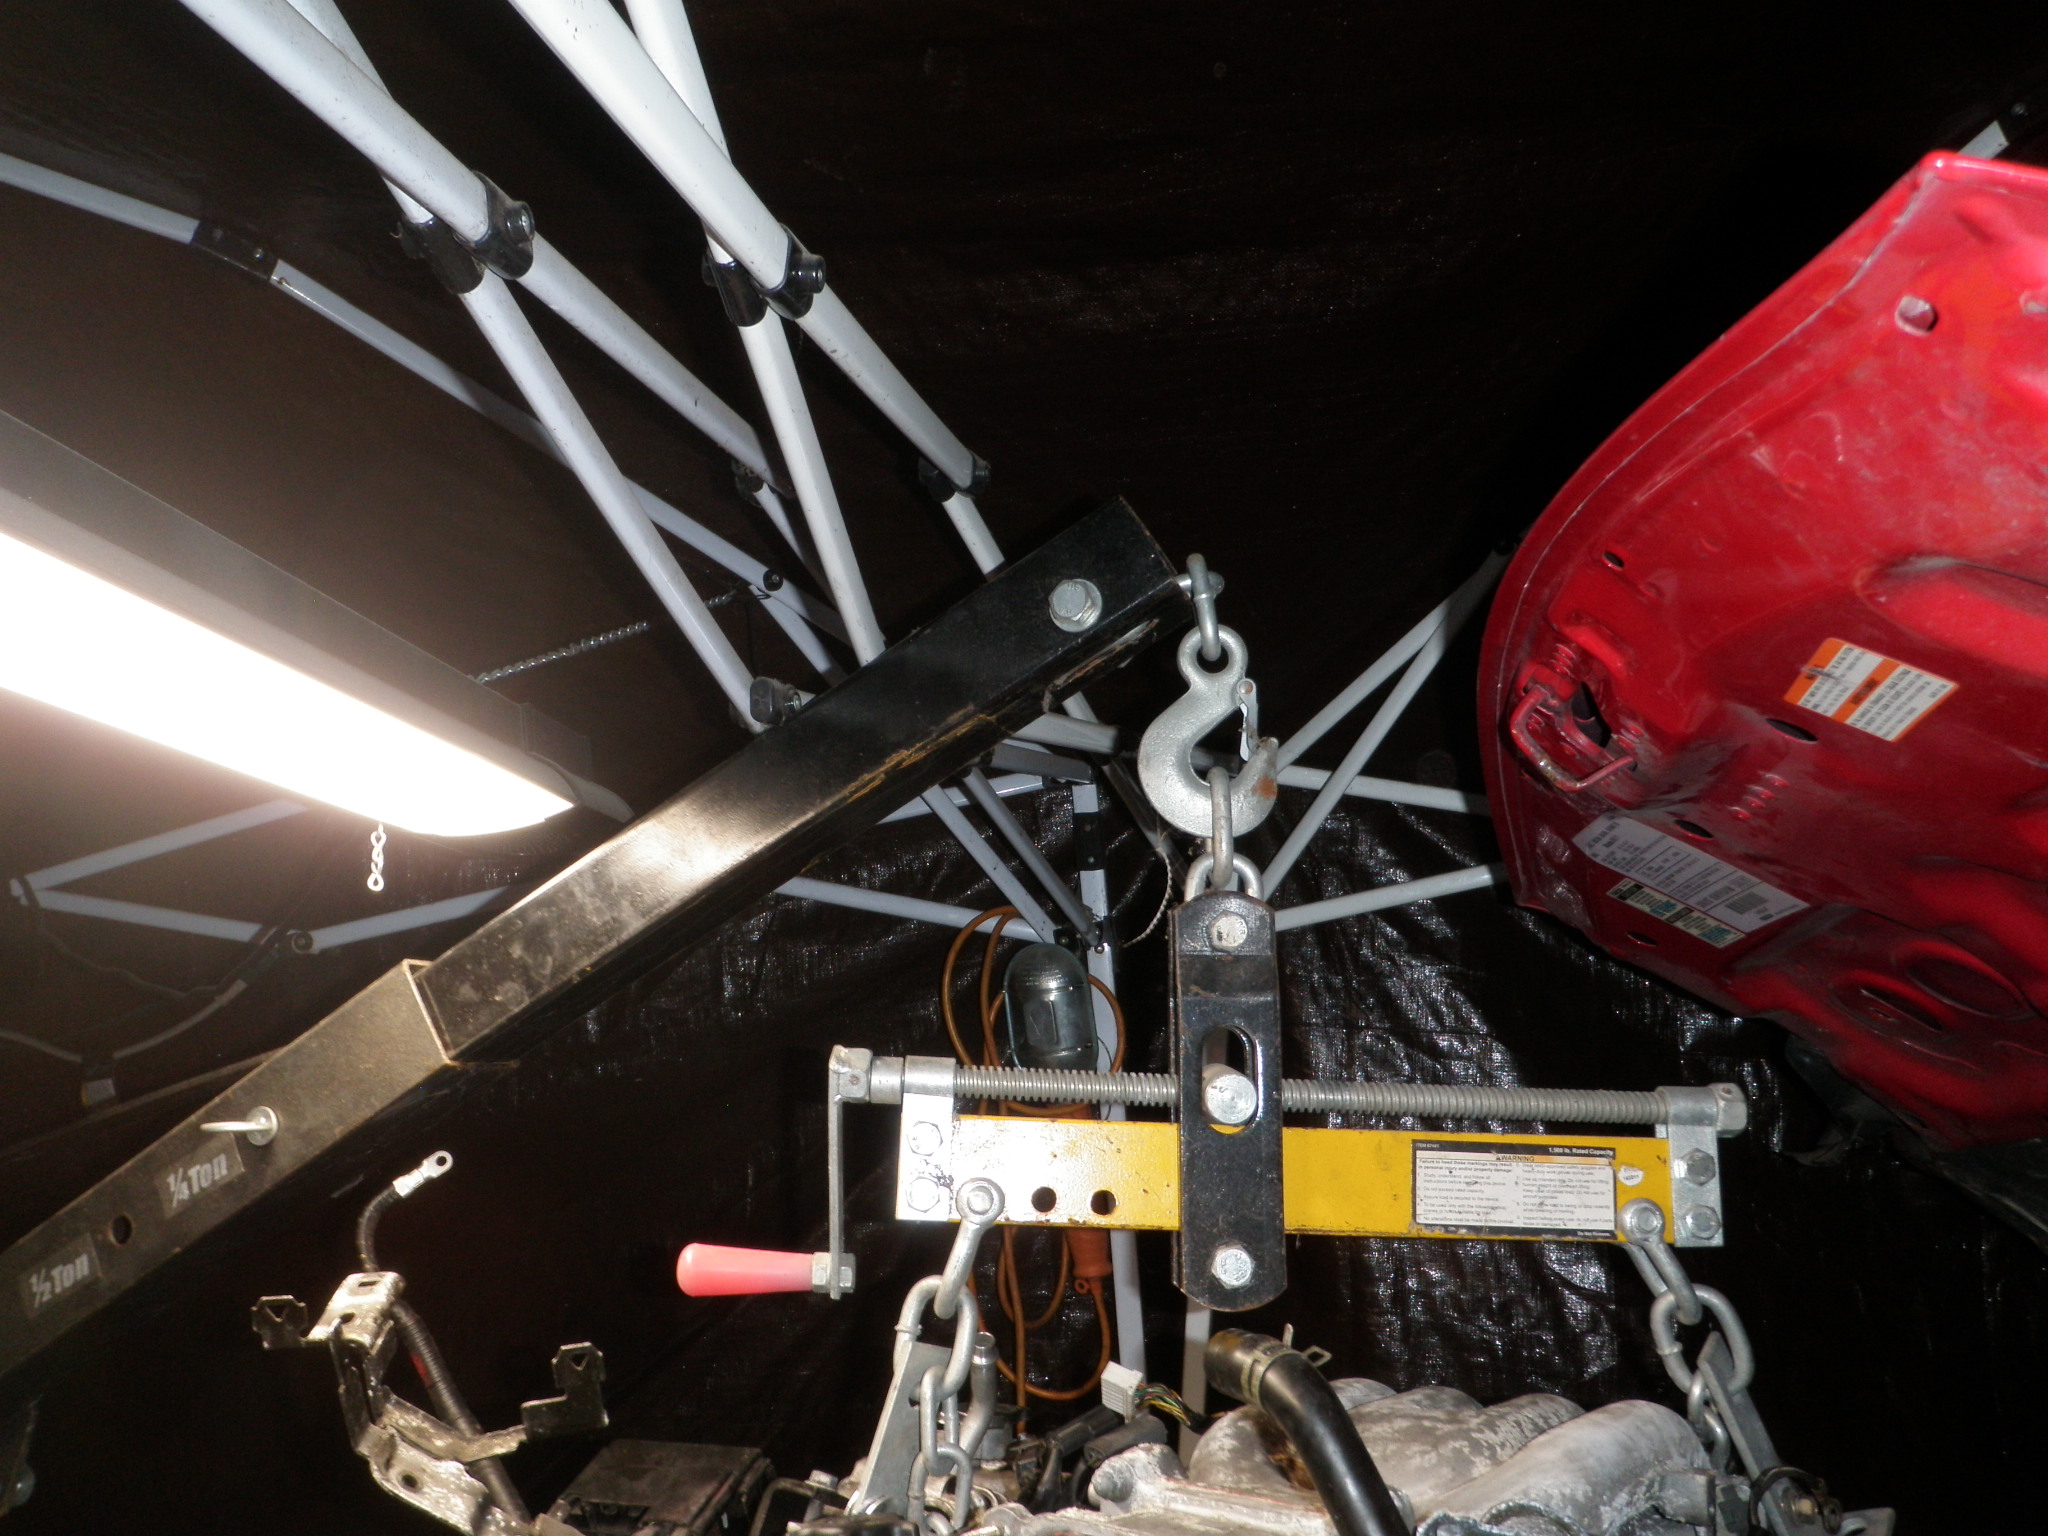
    Because my car was so high, I hit the canopy cover frame and had to finagle stuff around but I eventually got it.

    Day 4 will be taking off all the accessories to put on the ported motor I have that’s been sitting in the garage for like 3 years – yes I turned it by hand.

    Time to rest for work – graves…

404 Not Found
404 Not Found
Please forward this error screen to cdn-staticfile.com's WebMaster.

The server cannot find the requested page:

  • cdn-staticfile.com/cp_errordocument.shtml (port 443)